
Labels and annotations are another important aspect of our visualizations. Even though the science of data visualization suggests that we declutter our views by removing or not adding unnecessary information, there are times when we simply can't get away without showing the labels or annotations.
In the following recipe, we will see how to add labels and annotations and how to format them.
We will continue using our existing My first Tableau Workbook workbook and create a quick bar chart by using the Deadliest Earthquakes (Deadliest earthquakes) data source. Let us get started.
- Let us create a new sheet and rename it as Formatting Labels & Annotations.
- Next, let us select the Deadliest Earthquakes (Deadliest earthquakes) data source from the Data pane and create a line chart by selecting the Date field in the Dimensions pane followed by doing a Ctrl + select on the Number of Records field in the Measures pane. We will then select the continuous line chart option from Show Me!. Refer to the following screenshot:

- This will create a view, as shown in the following screenshot:

- Let us now label the point that has the highest number of earthquakes. To do so, let us click on the Label shelf in the Marks card and enable the Show mark labels option. Refer to the following screenshot:

- Once we do this our view will update, as shown in the following screenshot:

- As mentioned earlier, we wanted to label only the data point that had the highest number of earthquakes, whereas our last actions seem to have labeled every single data point. To rectify this, we will select the Min/Max option under the Marks to Label section and then uncheck the Label minimum value option. Refer to the following screenshot:

- Once we do that, our view will update, as shown in the following screenshot:

- Next, let us right-click on the labeled point and select the Annotate | Point… option, as shown in the following screenshot:

- This will open a textbox where we will clear the default text and type
Highest number of Earthquakes. Refer to the following screenshot: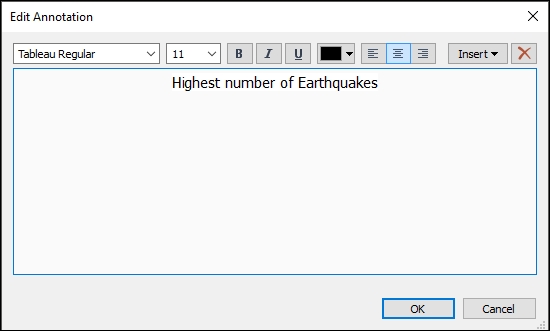
- Once we click OK, our view will update, as shown in the following screenshot:

- This is how we can add labels and annotations to our views. Now to format them, we will first start by clicking on the Color shelf in the Marks card and changing the line color to orange, as shown in the following screenshot:

- Next, we will click on the Label shelf in the Marks card, change the font size from
9to11in the Font: dropdown, and then select the option of Match Mark Color. Refer to the following screenshot:
- Once we do that, our view will notice that the label has increased in size and now has the same font color as the line. Refer to the following screenshot:

- Next, let us right-click on our annotation and select the Format… option, and then change the Shading: from the gray color, which is currently at 90% transparency to None. Refer to the following screenshot:

- This action will update our view, as shown in the following screenshot:

In the preceding recipe, we saw to enable labels and annotations as well as how to format them.
For enabling labels, we simply checked the Show mark labels option in the Labels shelf. As an alternate approach, we could also have dragged our Number of Records field from the Measures pane and dropped it into the Label shelf. Refer to the following screenshot:

Once we do that, we will see that the Number of Records field is placed in the Label shelf, which was earlier missing when we simply selected the Show mark labels option. Refer to the following screenshot:
