
Putting It Together
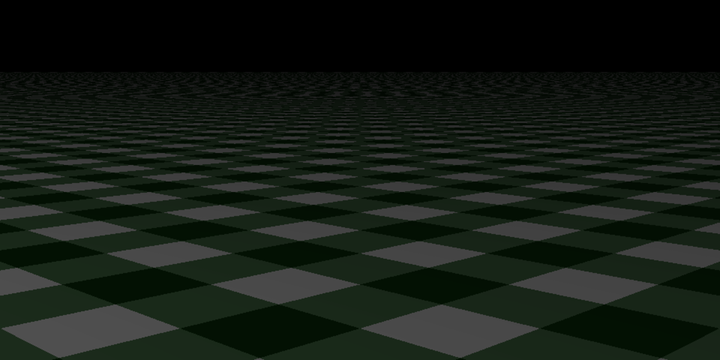
Okay! You have working implementations of four different patterns: stripes, gradients, rings, and checkers. Your first order of business, then, should be to take them all for a spin! Try them each on planes and spheres, scale them, rotate them, experiment with different colors, and get a feel for how these patterns behave in practice.
Once you feel like you’re getting a handle on them, try some deeper experiments. Here are a few ideas to get you started:
- Radial gradient pattern
-
Consider your ring pattern, which creates a radial pattern of concentric circles. Then, consider your gradient pattern, which interpolates between two colors. How would you combine those two concepts to create a new “radial gradient” pattern that interpolates between two colors, radially?
- Nested patterns
-
Instead of specifying a pair of colors when instantiating a pattern, what if you instead specified other patterns? So instead of a checker pattern in black and white, make one where the checkers contain alternating patterns of stripes in different orientations, like this:

One way to make this work is to add a new pattern, called solid_pattern(color), which returns the same color for every point. Patterns can then be nested, with the innermost pattern always being one of these solid color patterns.
- Blended patterns
-
This adds a new pattern, blended_pattern(a, b), where a and b are other patterns, rather than colors. The blend pattern will then evaluate both of its patterns at each point, and blend the resulting colors together. (Blending a color can be as simple as averaging them, if you want, but you could get creative with that formula, too!) For example, here’s a blending of two green/white stripe patterns, crossing at ninety-degree angles to one another:
- Perturbed patterns
-
This is another fun one! It’s a way to add organic-looking textures to your scenes. The way it works is you use a 3D noise function to “jitter” the point before the pattern consumes it. Look for an implementation of Perlin noise, or Simplex noise. Then, create a new pattern, called perturb(pattern), which uses that noise to jitter each point before delegating it to the given pattern.
“Jittering” a point means moving it by some small amount. With most implementations of Perlin noise, for instance, you can request a range of values for a given three-dimensional point. You scale those numbers by some fraction (maybe 20% or less), and then take the first of those values and add it to the x coordinate. Then, add the second value to the y coordinate, and the third value to the z coordinate. Finally, you treat that as a new point, and pass it to the subpattern.
The result is that each pattern looks perturbed, as if someone had stuck their finger in wet paint and swirled it around. Here’s an example of perturbed versions of each of the patterns from this chapter:

Implementations of Perlin noise exist for many programming languages. For example, you can review Ken Perlin’s original reference implementation, written in Java.[16]
The sky’s the limit! Play around with patterns and see what you can come up with. When you’re ready to move on, in the next chapter we’ll be taking the realism of your scenes up a notch, with reflection and refraction.