11. Blogging on the Go
Objective: To create a moblog so you can manage your blog on the go.
There’s no reason you have to be tethered to a computer to make blog posts. Blogger accepts posts you make from your mobile phone; it’s like texting a post to your blog.
In addition, you can create a blog specifically for mobile posting. This type of moblog—short for mobile blog—is the perfect communications vehicle if you’re constantly on the go.
Understanding Blogger’s Mobile Services
Blogger lets you create blog posts from any mobile phone, which is great when you need to update your blog on the go. Once you have everything properly configured, it’s as easy as sending a text message.
That’s because Blogger’s mobile posts are text messages, sent from your phone to a special Blogger phone number. When Blogger receives your text, it converts it into a standard blog post.
To blog from your mobile phone, of course, it must be enabled for SMS text messages or MMS multimedia messages. You also need to subscribe to your phone provider’s text messaging service.
That said, Blogger offers two ways to create mobile posts. The first method lets you post to your existing blog from your mobile phone. The second method creates a new mobile blog specifically for your mobile posts. Both methods let you post either pure text messages or text messages with photos attached.
Tell Me More: Media 11.1—About Mobile Blogs

To learn more about mobile blogging, listen to the audio clip titled “About Mobile Blogs” on the companion Using website at my.safaribooksonline.com/9780132119603/media.
Posting from Your Mobile Phone
If you already have a Blogger blog, it’s easy to configure that blog to accept posts from your mobile phone. Once configured, you can then create new posts by sending text messages from your phone.
Show Me: Media 11.2—How to Configure Blogger for Mobile Phone Posting

To learn how to post to Blogger from your mobile phone, see the video titled “How to Configure Blogger for Mobile Phone Posting” on the companion Using website, my.safaribooksonline.com/9780132119603/media.
 LET ME TRY IT
Configuring Your Blog for Mobile Phone Posting
To post to your existing blog from your mobile phone, you first have to configure Blogger for your particular phone. Follow these steps:
- From the Blogger Dashboard, click the Settings link next to your blog name.
- On Settings tab, select the Email & Mobile subtab.
- When the Email & Mobile page appears, scroll down to the Mobile Devices section and click the Add Mobile Device link.
- Blogger now displays a registration code, like the one shown in Figure 11.1. Write down this code.
Figure 11.1. Displaying the mobile registration code.
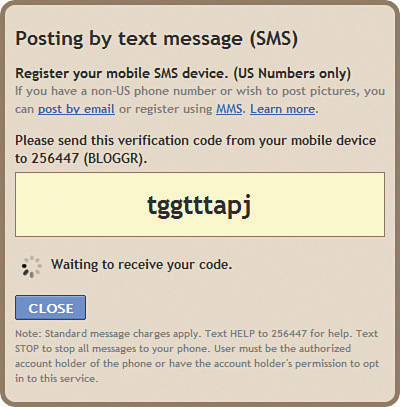
- On your mobile phone, enter the registration code as an SMS text message and send that message to 256447 (BLOGGR).
Blogger now registers your phone number to your Blogger account.
LET ME TRY IT
Creating a Mobile Post
When Blogger is properly configured, you can send new posts from your SMS-enabled mobile phone. Here’s how:
- From your mobile phone, compose a new text message.
- If you want to include a photo in your post, attach a photo to your message.
- Send the text message to 256447 (BLOGGR).
That’s it. Your text message will be sent to Blogger and converted into a new blog post.
Using Blogger Mobile
If you don’t yet have a Blogger blog, you can set up a new blog via the Blogger Mobile service. This is a mobile blog, which you can then post to using your mobile phone.
Signing Up for Blogger Mobile
You sign up for Blogger Mobile from your mobile phone. When you sign up, Blogger creates a new mobile blog for you on the spot.
LET ME TRY IT
Creating a Blogger Mobile Account and Blog
You create your new Blogger Mobile account directly from your mobile phone. Here’s how it works:
- From your mobile phone, create a new text message with the word register in the text.
- Send the text message to 256447 (BLOGGR), or to [email protected].
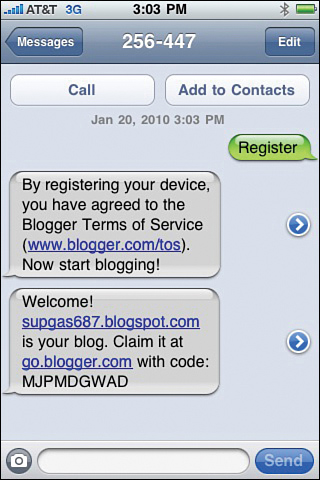
- Within a minute or so you should receive a confirmation message from Blogger, like the one shown in Figure 11.2. This message includes your claim code.
Figure 11.2. Blogger’s mobile confirmation message displayed on your phone.
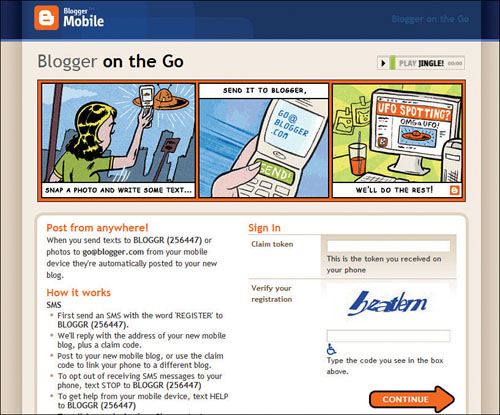
- From your computer, go to the Blogger on the Go page at go.blogger.com, shown in Figure 11.3.
Figure 11.3. Entering your mobile confirmation code.
- Enter your claim code into the Claim Token box, enter the secret word into the Verify Your Registration box, and click Continue.
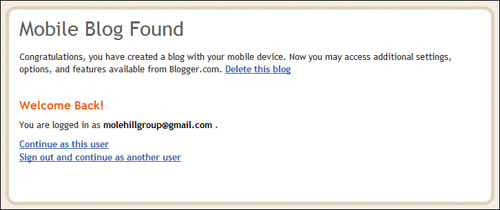
- You now see the Mobile Blog Found page, shown in Figure 11.4. Click the Continue as This User link.
Figure 11.4. Your confirmation code was successfully entered!
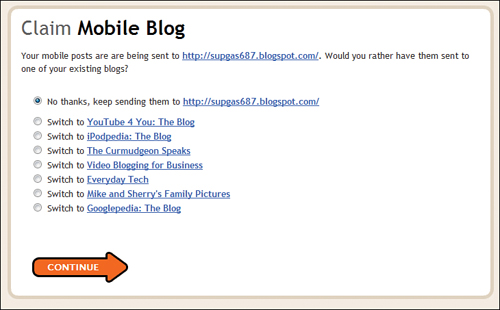
- The Claim Mobile Blog page, shown in Figure 11.5, shows the URL for your new mobile blog. To accept this blog, make sure the No Thanks option is selected. To link your mobile registration with an existing blog—that is, to send all your mobile posts to one of your other blogs—select the appropriate Switch To option. Click Continue when you’re ready.
Figure 11.5. Accepting your new mobile blog.
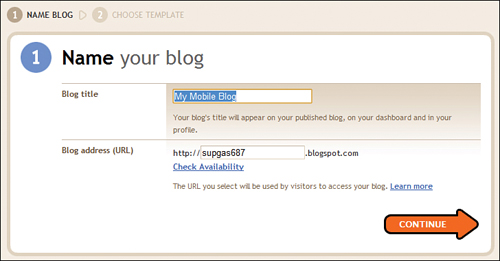
- If you opted to create a new mobile blog, you now see the Name Your Blog page, shown in Figure 11.6. Enter a name for your blog into the Blog Title box, accept the URL shown in the Blog Address box, then click Continue.
Figure 11.6. Naming your mobile blog.
- When you see the Choose a Template page, shown in Figure 11.7, select a template and then click Continue.
Figure 11.7. Selecting a template for your mobile blog.

Your new mobile blog is now complete, as evidenced by the You’re Done page that Blogger displays. You can now post to your new blog, either on the Web or from your mobile phone.
Managing Your Mobile Blog
Once you’ve set up your mobile blog, you can change various aspects of its configuration. These changes are made from the traditional Blogger Dashboard.
LET ME TRY IT
Merging Your Mobile Blog with an Existing Blog
If you want to change the blog you post to from your mobile phone, follow these steps:
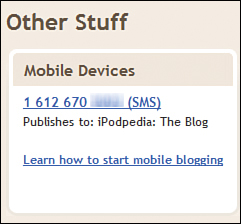
- From the Blogger Dashboard, scroll down to the bottom of the page to the Mobile Devices panel, shown in Figure 11.8, and click the phone number for your mobile device.
Figure 11.8. Managing your mobile devices.
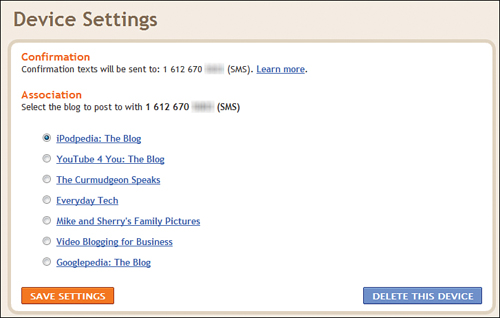
- When the Device Settings page appears, as shown in Figure 11.9, select the blog you wish to associate with this phone number.
Figure 11.9. Associating your phone with a different blog.
- Click the Save Settings button.
LET ME TRY IT
Deleting a Mobile Device
If you change mobile phones, you want to delete your old device from Blogger. Follow these steps:
- From the Blogger Dashboard, scroll down to the bottom of the page to the Mobile Devices panel and click the phone number for your mobile device.
- When the Device Settings page appears, click the Delete This Device button.
By default, Google sends a confirmation message to your phone every time you make a mobile post. If you’d rather not receive these confirmation messages, simply text the message STOP to 256447 (BLOGGR).
Posting to Your Mobile Blog
Posting to your mobile blog is as easy as sending a text message—because a mobile post is a text message.
LET ME TRY IT
Posting from Your Mobile Phone
Here’s how to send a post from your mobile phone to your mobile blog:
- From your mobile phone, compose a new text message.
- If you want to include a photo in your post, attach a photo to your message.
- Send the text message to 256447 (BLOGGR).
Blogging from Your iPhone
If you have an Apple iPhone or iPod Touch, you can blog directly from your device by using the BlogPress Lite application. This app is available from the iPhone Store.
BlogPress Lite lets you compose blog posts directly from your iPhone in a WYSIWYG environment. You can include labels and multiple photos with your posts.
Configuring BlogPress Lite
When you first install the BlogPress Lite application, you need to configure it for your Blogger account. Follow these steps:
- When you first launch the application, you see the Add Blog page, shown in Figure 11.10. Enter your Blogger email address into the Username box.
Figure 11.10. Configuring BlogPress Lite for your Blogger account.
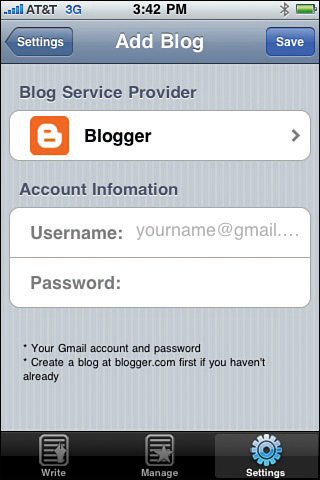
- Enter your Blogger password into the Password box.
- Press the Save button.
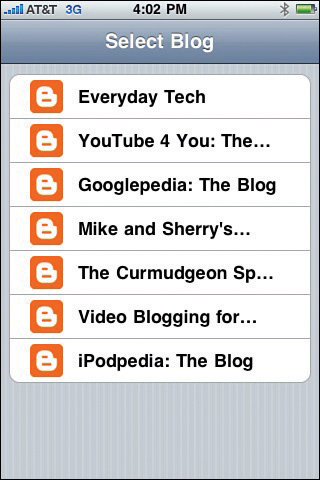
- When the Select Blog screen appears, as shown in Figure 11.11, press the blog you want to post to. This becomes your default blog for mobile posting—although you can post to your other blogs, as well.
Figure 11.11. Selecting your default blog.
- You’re now prompted to add your Picasa account for photo storage. Press OK.
- When the Add Album page appears, enter your username and password, then press Save.
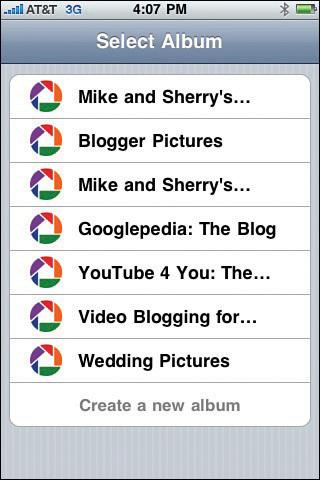
- When the Select Album page appears, as shown in Figure 11.12, select the album where you store your blog photos.
Figure 11.12. Selecting your Picasa album for photo storage.
Adding Additional Blogs
If you want to post to more than one blog from your iPhone, you can add those blogs to BlogPress Lite. Just follow these steps:
- Press the Settings button at the bottom of the screen.
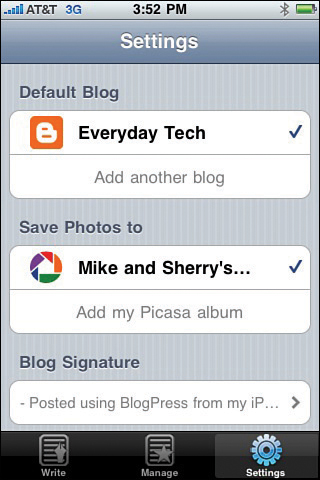
- When the Settings page appears, as shown in Figure 11.13, press Add Another Blog.
Figure 11.13. Configuring your blog settings.
- When the Add Blog page appears, confirm your username and password, then press Save.
- When the Select Blog screen appears, press the blog you want to add.
LET ME TRY IT
Posting with BlogPress Lite
To create a blog post with BlogPress Lite, follow these steps:
- Press the Write button at the bottom of the screen.
- When the Write screen appears, as shown in Figure 11.14, select the blog you want to post to from the Blogs list.
Figure 11.14. Creating a new blog post.
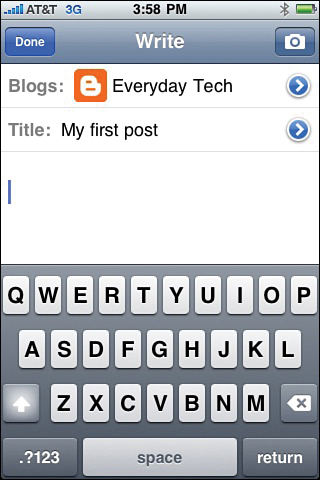
- Enter the title for this post in the Title box.
- Enter the text for your post into the main text box.
- To insert a photograph into this post, position the cursor where you want the picture to appear and then press the Camera button at the top of the screen. When prompted, press the Camera button to take a new picture or press the Media Library button to insert a picture already stored on your computer.
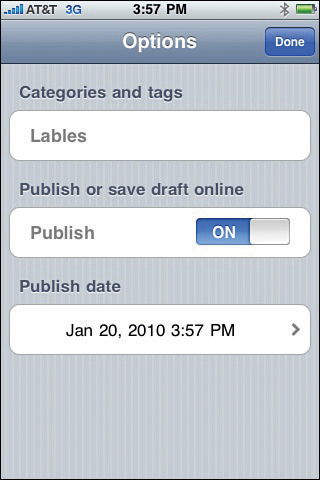
- To enter labels for this post, press the arrow next to the Title box to display the Options screen, shown in Figure 11.15. Enter any labels for this post into the Labels box, then press Done.
Figure 11.15. Entering labels (or “lables,” as BlogPress Lite puts it) for your post.
- When you’re ready to complete the post, press the Save button.
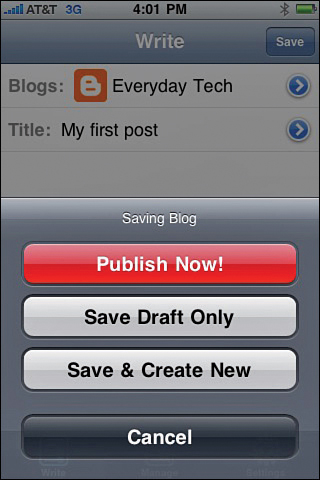
- When prompted, as shown in Figure 11.16, press the Publish Now! button.
Figure 11.16. Publishing your post.