
We can imagine images as rectangular arrays (bitmaps) of elements (pixels).
In Xamarin.Forms, bitmaps can be displayed by a view named Image. Different platforms have different ways to manage bitmaps.
Each platform has its own design guideline and the required formats and sizes can be different.
In this chapter, we will develop a simple game step by step that's based on image processing. Talking about images, we will also cover the design guidelines platform by platform for the icons and images.
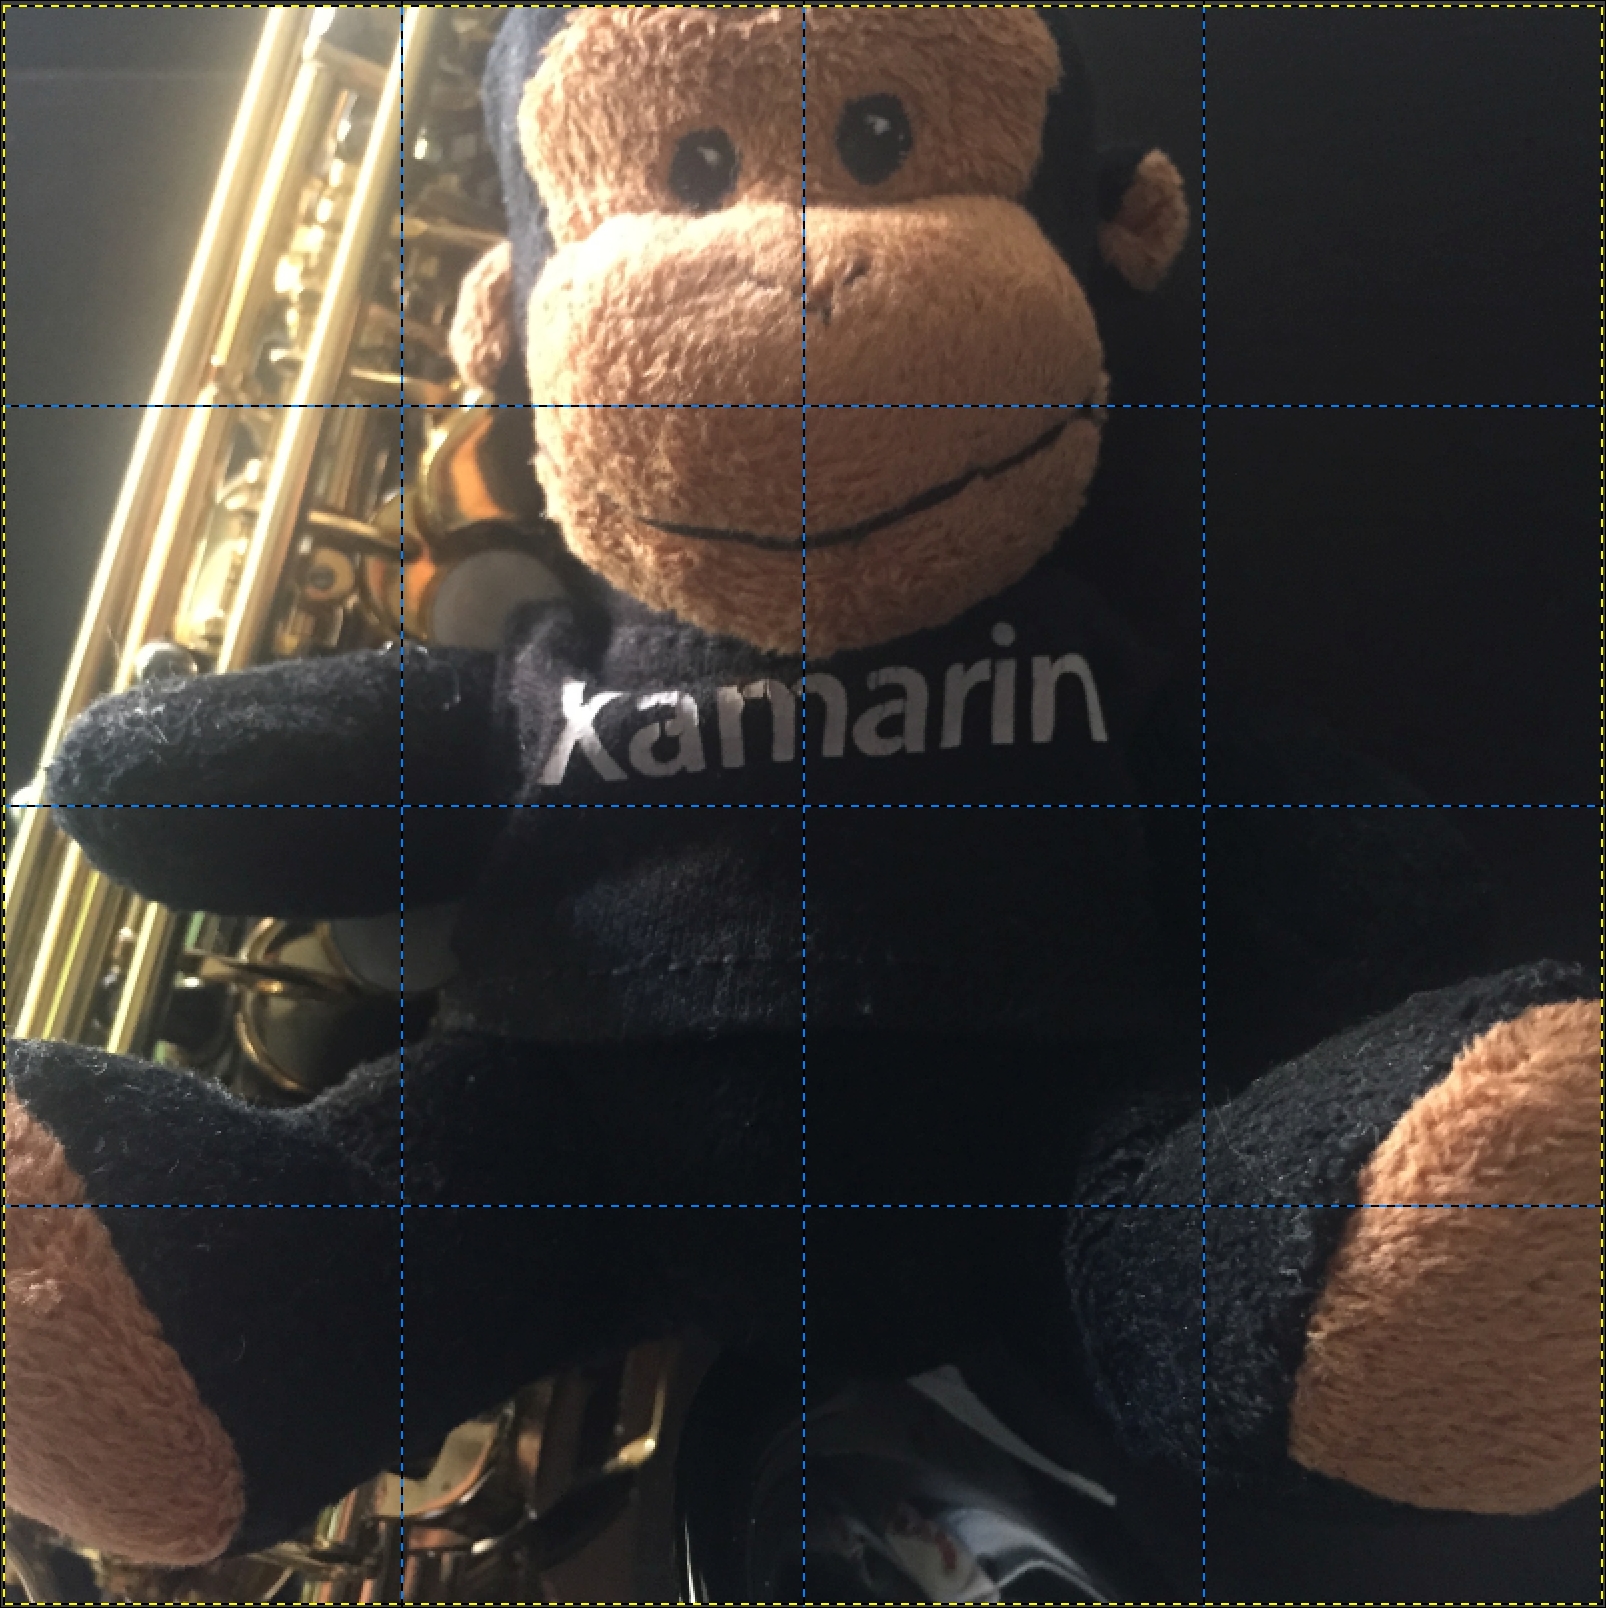
We will develop a classic 14-15 puzzle using a monkey image.
The game will contain a Start button, a chronometer, and a tiled image.
After pressing the Start button, the user will just tap a tile to move it into an empty position.
The user will use the numbers in the lower-right corner of each tile as a guide.
When the user successfully completes the puzzle, they will be rewarded with a popup.
We will start developing a prototype and then we will add features to this prototype in order to explore the Xamarin.Forms capabilities with images.
In the next chapter, we will also use this project to explore Bluetooth communication.
We need to create a new Xamarin.Forms PCL solution named MonkeyPuzzle:

As we've learnt before, Xamarin Studio Template will prepare four projects:
MonkeyPuzzleis the Xamarin.Forms projectMonkeyPuzzle.Droidis the Android-specific projectMonkeyPuzzle.iOSis the iOS-specific projectMonkeyPuzzle.UITestsis the test project
We will now focus on developing the core of our game in the MonkeyPuzzle project.
The first class we are going to create is the single box that will contain a portion of the image.
We will call it PuzzleBox. It will inherit from the ContentView base class and it will contain the index and the images needed for all the status of the box as properties:
public class PuzzleBox : ContentView
    {
        public int Index {
            get;
            set;
        }


        public Image NormalImage {
            get;
            set;
        }

        public PuzzleBox ()
        {
        }
    }
}
We will define a constructor that takes the index and the images as input parameters:
public PuzzleBox (Image normal, Image winner, int index)
{
    Index = index;
    NormalImage = normal;
    winner = winner;

    ShownImage = new Image {
        Source = NormalImage.Source
    };

    this.Content = new Frame {
        OutlineColor = Color.Accent,
        Content = new StackLayout {
            Children = {
                ShownImage
            }
        }
    };

    this.BackgroundColor = Color.Transparent;
}
Next step will be to develop the page that will contain the puzzle, the button to start a new game, and the stopwatch.
The approach we will follow in the first instance is to separate the image into 16 sub-images, saving each one of them as local resources for the Xamarin.Forms main project.
When our images are saved on the PCL project, we can assign the property using the static method FromResource of the class ImageSource.
Before that, we need to import our images in the PCL project.
We can now add a Resources folder to the common PCL project and drag an image to this folder.
We now need to click on the image and change the build action of the file to EmbeddedResource from the Properties pad:

We now need to copy the Resource ID because we need to pass it as a parameter in the FromResource method. When we start the app, we will see the common image in each separate platform.
As we can see, this approach allows us to use a platform independent bitmap.
Another way we can show a platform independent bitmap is by using the FromUri static method of the class ImageSource.
This method allows us to access a bitmap saved somewhere in the Web:
Source = ImageSource.FromUri("https://goo.gl/OdXkWQ")Tip
The FromUri method of the ImageSource class spends some extra time to save results to the local cache folder. By caching results to the local folder, it saves precious time to load it from the cache instead of getting it from a server later. If we do not want to use the cache, simply turn it off by setting CachingEnabled = to false inside the UriImageSource class.
When the URL is not found, the image doesn't appear and this will not raise any exceptions.
We can now create the page and we will call it PuzzlePage:
public class PuzzlePage : ContentPage
{
    // Number of squares horizontally and vertically,
    //  but if you change it, some code will break.
    static readonly int NUM = 4;

    // Array of PuzzleBox views, and empty row & column.
    PuzzleBox[,] squares = new PuzzleBox[NUM, NUM];
    int emptyRow = NUM - 1;
    int emptyCol = NUM - 1;

    public PuzzlePage (){

    }
}
In the constructor, we first need to define an absolute layout where to position all the Puzzle Boxes:
// AbsoluteLayout to host the squares.
absoluteLayout = new AbsoluteLayout () {
    HorizontalOptions = LayoutOptions.Center,
    VerticalOptions = LayoutOptions.Center
};
Then, we will define an array of images to save each one of the pieces of the puzzle:
 // Create PuzzleBox's for all the rows and columns.
Image[] normalImages = new Image[NUM * NUM];
In a cycle, we will create an instance of each single image and instantiate the puzzle box, saving its row and the column:
 int index = 0;

for (int row = 0; row < NUM; row++) {
    for (int col = 0; col < NUM; col++) {
        // But skip the last one!
        if (row == NUM - 1 && col == NUM - 1)
            break;
       // Instantiate the image reading it from the local resources.
       normalImages [index] = new Image ();
       normalImages[index].Source = ImageSource
       .FromResource( String.Format("MonkeyPuzzle.{0}.png", index + 1));

        // Instantiate PuzzleBox.
        PuzzleBox square = new PuzzleBox (normalImages [index], index) {
            Row = row,
            Col = col
        };

        // Add here tap recognition

        // Add it to the array and the AbsoluteLayout.
        squares [row, col] = square;
        absoluteLayout.Children.Add (square);
        index++;
    }
}
We now need to add a tap recognizer in order to manage the touch on a single box element:
TapGestureRecognizer tapGestureRecognizer =
        new TapGestureRecognizer {
            Command = new Command (OnSquareTapped),
            CommandParameter = square
        };
        square.GestureRecognizers.Add (tapGestureRecognizer);
In the OnSquareTapped method, we will write the logic to shift the square into an empty position.
First, we need to code the animation of the square.
We need to move a PuzzleBox from the current row and column to a new one.
To animate it, we will use the LayoutTo method, which is one of the extension methods for Views in Xamarin.Forms.
Tip
The LayoutTo method comes with Xamarin.Forms and it's actually an extension method of VisualElement. We may use the LayoutTo method with any VisualElement, as we want to animate transitions between layout states that changes its size or position. It's usable if we need to animate visual elements, size, or position changes easily. Alternatively, we may use FadeTo, RotateTo, ScaleTo, and other methods as well.
ViewExtensions provide views with animated scaling, rotation, and layout functions:
async Task AnimateSquare (int row,
                          int col,
                          int newRow,
                          int newCol
                         )
{
    // The Square to be animated.
    PuzzleBox animaSquare = squares [row, col];

    // The destination rectangle.
    Rectangle rect = new Rectangle (squareSize * emptyCol,
        squareSize * emptyRow,
        squareSize,
        squareSize);

    // This is the actual animation call.
    await animaSquare.LayoutTo (rect, 100);
}
We can now write the logic to shift the squares into the empty position.
When it happens, if in the same row or column of the tapped element there is the empty box, the tapped element will be empty and all the elements in the row or column will shift away:
async Task ShiftIntoEmpty (int tappedRow, int tappedCol)
{
    // Shift columns.
    if (tappedRow == emptyRow && tappedCol != emptyCol) {
        int inc = Math.Sign (tappedCol - emptyCol);
        int begCol = emptyCol + inc;
        int endCol = tappedCol + inc;

        for (int col = begCol; col != endCol; col += inc) {
            await AnimateSquare (emptyRow, col, emptyRow, emptyCol);
        }
    }
    // Shift rows.
    else if (tappedCol == emptyCol && tappedRow != emptyRow) {
        int inc = Math.Sign (tappedRow - emptyRow);
        int begRow = emptyRow + inc;
        int endRow = tappedRow + inc;

        for (int row = begRow; row != endRow; row += inc) {
            await AnimateSquare (row, emptyCol, emptyRow, emptyCol);
        }
    }
}
Now we have everything we need to write our OnSquareTapped method.
We will check here whether the move makes the player a winner, or if it needs to just shift the boxes into the empty position:
async void OnSquareTapped (object parameter)
{
   PuzzleBox tappedSquare = (PuzzleBox)parameter;
   await ShiftIntoEmpty (tappedSquare.Row, tappedSquare.Col);

   // Check for a "win".
        int index;

        for (index = 0; index < NUM * NUM - 1; index++) {
            int row = index / NUM;
            int col = index % NUM;
            PuzzleBox square = squares [row, col];
            if (square == null || square.Index != index)
                break;
        }

     // We have a winner!
     if (index == NUM * NUM - 1) {
       isPlaying = false;
       await DisplayAlert ("CONGRATULATION", "YOU WON","OK");
        }
    }
}
As we can see in the preceding code, we implemented the OnSquareTapped method to detect whether the user has solved the puzzle or not. We basically loop through all the cells and check its index if it is correct or wrong. If all the cells are in the correct index, then we display the winning message.
We almost have all the pieces we need to run the game.
The last few things that we need in order to build our first prototype are the stopwatch and a button to start the game and randomize the elements.
For the stopwatch, we can use the static method named StartTimer of the Device class.
It will start a recurring timer using the device clock capabilities:
Device.StartTimer (TimeSpan.FromSeconds (1), () => {
    // Round duration and get rid of milliseconds.
    TimeSpan timeSpan = (DateTime.Now - startTime) +
        TimeSpan.FromSeconds (0.5);
    timeSpan = new TimeSpan (timeSpan.Hours, timeSpan.Minutes,
    timeSpan.Seconds);

    // Display the duration.
    if (isPlaying)
        timeLabel.Text = timeSpan.ToString ("t");
    return isPlaying;
});
To stop the timer, we will switch the flag to isPlaying.
To randomize the puzzle, we can simulate a sequence of fast crazy taps in a cycle:
for (int i = 0; i < 100; i++) {
   await ShiftIntoEmpty (rand.Next (NUM), emptyCol, 25);
   await ShiftIntoEmpty (emptyRow, rand.Next (NUM), 25);
}
The following screenshot shows us the start of the puzzle game, the image is mixed, the timer is started, and we can make moves:

As we can see in the following screenshot, the puzzle game detects that a player won the game. All squares (cells) are in the correct position:

We now have the prototype of our puzzle game.
We will write some enhancement in order to make it better and learn how to work with images.
We will now load an image from a url and process it in order to use it in the game.
As we saw before, to load an image from the web is not difficult, and we can use this statement:
Source = ImageSource.FromUri("https://goo.gl/OdXkWQ")
What we need to learn is how to process that image in order to make it square, and to split it in the matrix that each single element of the puzzle needs.
Unfortunately, Xamarin.Forms does not provide a cross-platform crop method.
For this reason, we need to define our own cross-platform custom image and specify the behavior in each platform-specific project defining the renderers.
We will first add a new definition of the image named PuzzleImage in the MonkeyPuzzle project.
We will add a field named MatrixField to the Image defined in the Xamarin.Forms framework:
using Xamarin.Forms;

namespace MonkeyPuzzle
{
    public class PuzzleImage : Image
    {
        public Image[,] MatrixImage { get; set;}

        public PuzzleImage ()
        {

        }
    }
}
Let's now add the renderers to the platform-specific project. We will name them PuzzleImageRenderer, and they both will inherit from ImageRenderer.
It's very important to define the decoration to export the renderer before any namespace declaration:
[assembly: ExportRenderer(typeof(PuzzleImage),typeof(PuzzleImageRenderer))]
In Android, we need to override the void method, OnElementChanged.
Inside this method, we need to first parse the element as PuzzleImage to have access to the MatrixImage field:
PuzzleImage originalImage = e.OldElement as PuzzleImage;
Now we can prepare the handler, assuming that it will arrive from a URL resource:
IImageSourceHandler handler;

if (originalImage.Source is UriImageSource) {
    handler = new ImageLoaderSourceHandler ();
} else {
    throw new NotImplementedException ();
}
Then we can load the image from the given source:
var originalBitmap = await handler.LoadImageAsync (originalImage.Source, Context);
We have to transform the image into a square, looking for the smaller dimension and creating a final bitmap sized with the minimum dimension:
using (Bitmap bitmap = originalBitmap) {
    //transforms the image in a square
    int minDimension = 0;
    if (bitmap.Height <= bitmap.Width) {
        minDimension = bitmap.Height;
    } else {
        minDimension = bitmap.Width;
    }

    Bitmap finalBitmap = null;
    finalBitmap = Bitmap.CreateBitmap (bitmap, 0, 0, minDimension,
    minDimension);
    ...//to continue
}
The using clause manages to dispose the bitmap.
Tip
The using() code block is a compiler trick, actually. When the compiler sees the using() block, it removes it from the code and simply adds the Dispose() method to the variable instantiated inside of the using() block. It is a safe coding trick and frees the developer to call the Dispose() method implicitly, compiler securely calls it. It makes it easy to prevent memory leaks due to not calling the Dispose() method.
We now need to populate the matrix with the portions of the image we need to set as images in the PuzzleBoxes.
We will calculate the size of the image in a single square and then we will iterate the image cropping until we reach the dimension of the puzzle (4 x 4):
int squareSize = minDimension / 4;
originalImage.MatrixImage = new Image[4, 4];
for (int col = 0; col < 4; col++) {
    for (int row = 0; row < 4; row++) {
        Bitmap bmp = Bitmap.CreateBitmap (finalBitmap, row * squareSize, col * squareSize, minDimension, minDimension);
        originalImage.MatrixImage [row, col] = new Image () {
            Source = ImageSource.FromStream (() => {
                MemoryStream ms = new MemoryStream ();
                bmp.Compress (Bitmap.CompressFormat.Jpeg, 100, ms);
                ms.Seek (0L, SeekOrigin.Begin);
                return ms;
            })
        };
    }
}
We will follow almost the same process for iOS and Windows, with the difference that we will use the platform-specific framework in order to split the image.
Let's add the iOS renderer:
[assembly: ExportRenderer (typeof(PuzzleImage), typeof(PuzzleImageRenderer))]
namespace MonkeyPuzzle.iOS
{

    public class PuzzleImageRenderer : ImageRenderer
    {
        public PuzzleImageRenderer ()
        {
        }
    }
}
We need to override the OnElementChanged method of the renderer.
In this method, we will write the code to crop the image and save it in the Matrix property.
In theory, in order to load an image from the gallery, we need to write another renderer and write the platform-specific code that does it in each platform.
Fortunately, there is an open source framework named XLabs, which provides a powerful and cross-platform set of controls and helpers tailored to work with Xamarin.Forms.
XLabs contains a service named Camera that includes taking a picture and selecting a picture from the gallery.
We need to add the Xamarin.Form.Labs reference to our projects from the NuGet package manager:

We can include this functionality as a method in our custom PuzzleImage image.
Inside the method, we first need to define and get a MediaPicker and then use the SelectPhoto method in order to get the ImageSource of the selected image:
public async Task LoadFromGallery(){
    var mediaPicker = DependencyService.Get<IMediaPicker> ();
    ImageSource = null;
    try {
        var mediaFile = await mediaPicker.SelectPhotoAsync
        (new CameraMediaStorageOptions {
            DefaultCamera = CameraDevice.Front,
            MaxPixelDimension = 400
        });
        this.Source = ImageSource.FromStream(() => mediaFile.Source);
        } catch (System.Exception ex) {
        }
}
This code will already work cross platform because the Dependency Services are written in the XLabs project that we've referenced.
We can go ahead and use the camera on the device to take the picture to include in the game.
In this case, we need to set the Androidpermission for the camera and the storage. We can do that by double-clicking on the Android project and setting it from the settings window:

Tip
Each application lives in a sandbox in the OS it's installed in. It ensures the end user that an application cannot exit or enter the boundaries of the sandbox. This is a good way to provide security in terms of CPU instructions, memory space, and local storage. If an application needs to communicate with another application (such as contact store, camera, and so on) or device sub-system (such as geoposition, accelerometer, and so on) it should declare it to the OS during installation/first use and the end user should accept this communication.
This is done by Permissions.
Xamarin allows developers to declare required permissions and the end user sees the required permission list during the installation or first use. If the end user does not allow an application to access some of the required permissions, then that application cannot access it.
We will now add a method to our PuzzleImage in order to load an image from the camera using XLabs.
To do that, we will use the TakePicture method of the MediaPicker object:
public async Task LoadFromCamera ()
{
    ImageSource = null;
    var mediaPicker = DependencyService.Get<IMediaPicker> ();
    await mediaPicker.TakePhotoAsync (new CameraMediaStorageOptions {
        DefaultCamera = CameraDevice.Front,
        MaxPixelDimension = 400
    }).ContinueWith (t => {
        if (t.IsFaulted) {
            var s = t.Exception.InnerException.ToString ();
        } else if (t.IsCanceled) {
            var canceled = true;
        } else {
            var mediaFile = t.Result;

            Source = ImageSource.FromStream (() => mediaFile.Source);

            return mediaFile;
        }

        return null;
    }, null);
}
Now we just need to add the buttons to our UI in order to call these methods and make the feature available for our final users.