
In this chapter we will start to develop a new project, People Around Me, with the help of Xamarin.Forms and Web API. We'll start by creating a project on all three platforms (iOS, Android, and Windows Phone). Then, we'll go through the development process and end up with a working solution.
The first thing we'll do is prepare our development machine so it's ready to develop Xamarin.Forms applications. We'll download, install, and set up IDEs and emulators to debug our project.
We'll also develop a service application to act as a web backend. It's important to run some logic on a web backend, as it'll give us the ability to change that logic over time without any end users noticing. It's also good practice to store important client-generated data in the web backend.
Let's think about the needs first:
- We need an application that finds others around us. Here is the list of requirements we need in our application: the application should provide a page that enables a user to enter their first name and last name, a check-in button, and a Map element.
- When the user opens the application, the Map element displays people with pins via information received from the web backend.
- When the user clicks the button after entering their first name and last name, the application should send the user's info (first name, last name, and geolocation) to the web end.
- Development environment
This time we'll use Windows OS in the development computer and Visual Studio Community Edition as the development IDE.
If we already have Windows installed on our computer, we can skip the Installing Windows 10 section following. If we don't have Windows installed on our computer but have OS X installed, we can easily set up Windows inside of a Mac computer (MacBook, MacBook Pro, MacBook Air, and so on).
The latest version of Windows at the time of writing this book is Windows 10.
We need two things to install Windows 10 onto a Mac: a USB drive with at least 4 GB of space and the Windows 10 ISO.
Of course, we should also back up OS X just in case.
Installing Windows 10 from USB will format the USB drive first, so we should back up any personal files that we don't want to lose.
In OS X, launch your preferred web browser and navigate to Microsoft's website to download the Windows 10 ISO: http://www.microsoft.com/software-download/windows10
As we can see in the following image, there is an edition selection box and a Confirm button:
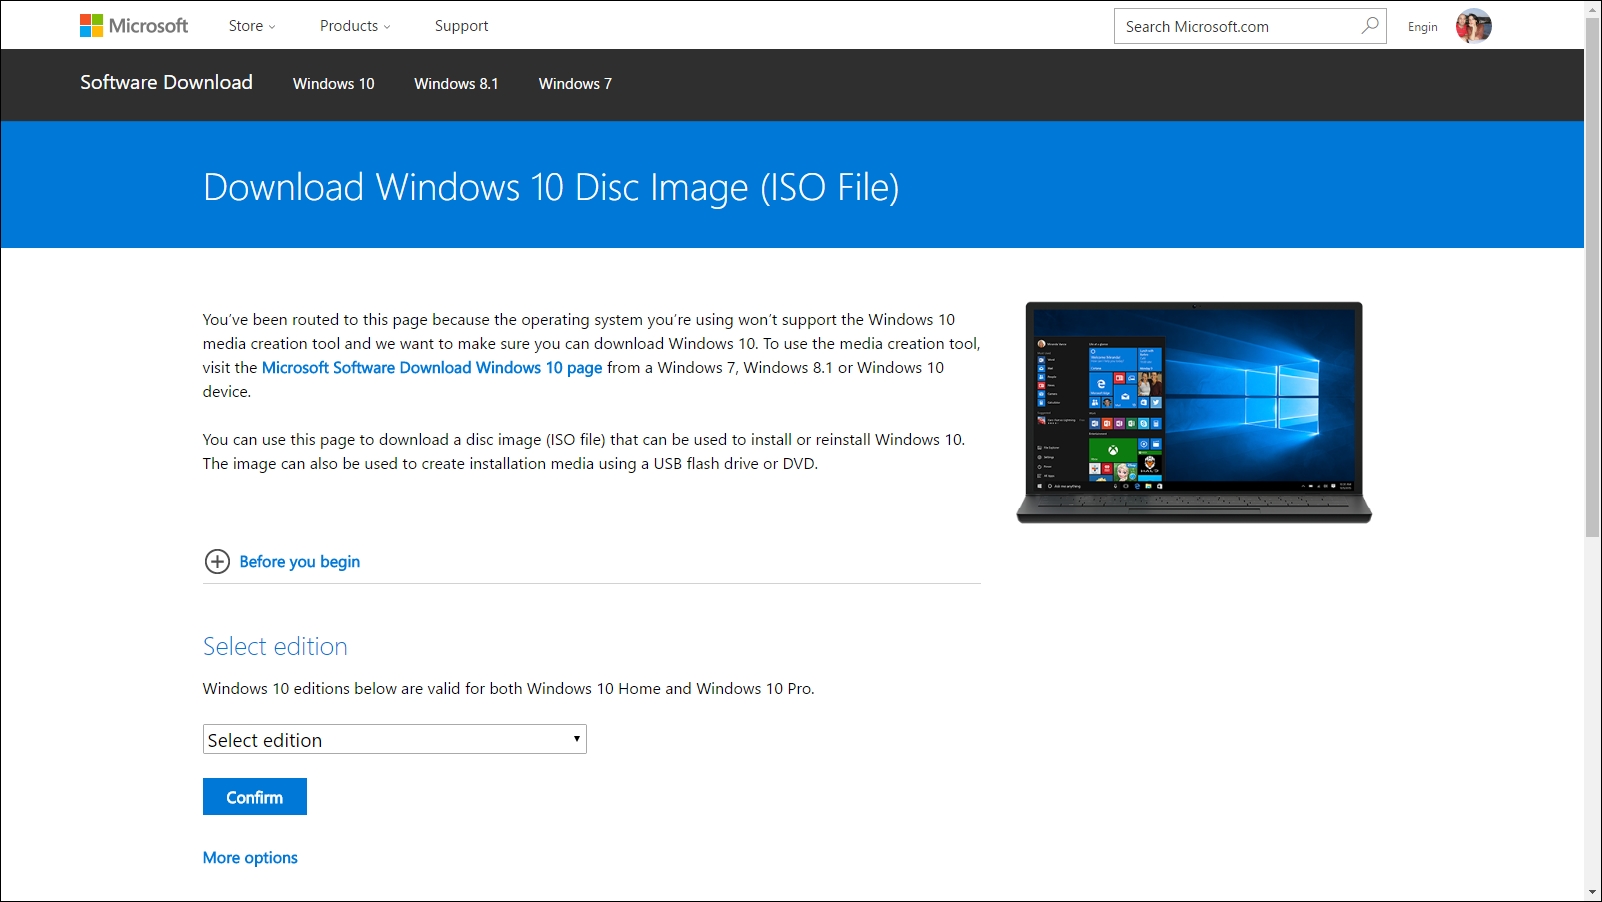
We should select the edition first; here is the list of Windows 10 editions:
- Windows 10
- Windows 10 KN
- Windows 10 N
- Windows 10 Single Language
The Windows 10 N and Windows 10 KN editions are for European and Korean users. These editions don't have media capabilities, so we should skip these editions.
Once we have downloaded the Windows 10 ISO, we should open up BootCamp on the OS X installed computer. BootCamp comes with every OS X installation and it's free to use. BootCamp walks us through the process, including how to format the USB drive and install ISO files onto it.
BootCamp Assistant will try to connect to Apple's servers to download the latest Windows drivers onto your USB drive. Then, BootCamp Assistant will repartition your hard disk with a Boot Camp partition. Once the partition is configured, our Mac will reboot to continue the Windows installation process.
Installation can take around 15-20 minutes, and the computer will reboot a few times as it installs drivers and configures apps. We have to agree to the usual terms and services before the OS installs.
After installing the OS, we'll see Windows 10's default desktop, as shown in the following image:

After installing and updating Windows 10, we should install Visual Studio 2015. If we already have Visual Studio 2015, we can skip the next section.
Visual Studio 2015 has a free version, and we can download this free Visual Studio 2015 Community Edition from the Microsoft website (http://www.visualstudio.com). When you log in to the website, you should get the following window:

After downloading and installing Visual Studio 2015 Community Edition, we can start to install Xamarin.
If you have already installed Xamarin, you can skip the next section.
To install Xamarin, we have to go to the Xamarin Platforms website (https://www.xamarin.com/platform) and download and execute the installer.

Now we have all we need.
Let's start developing!