
This recipe shows how to create a main toolbar for our application. The main toolbar is located at the top of the graphical interface and is the place to put the main navigation buttons and icons. Usually, this toolbar is the basic widget for iPhone applications.
In order to create our toolbar, we're going to use the iWebKit framework. A text editor will be used for creating and editing the main required HTML file. You can use the editor and the operating system of your choice for creating and editing the file. TextMate, Emacs, Vim, and Ultraedit are examples of advanced editors used by many developers for this task. These editors offer useful features such as syntax highlighting, auto-completion, and automatic indenting, making the development easier.
- The first step will be to ensure that the iWebKit framework is installed on our computer, and then we'll create a new HTML file adding the following lines to load the main files of the framework:
<linkhref="../iwebkit/css/style.css" rel="stylesheet" media="screen" type="text/css" />
<scriptsrc="../iwebkit/javascript/functions.js" type="text/javascript"></script>
- In order to create our main toolbar, we'll use two simple HTML div elements:
<div id="topbar">
<div id="title">This is the toolbar</div>
</div>
- After loading your HTML file on the iPhone, you can see a screen similar to the next screenshot:
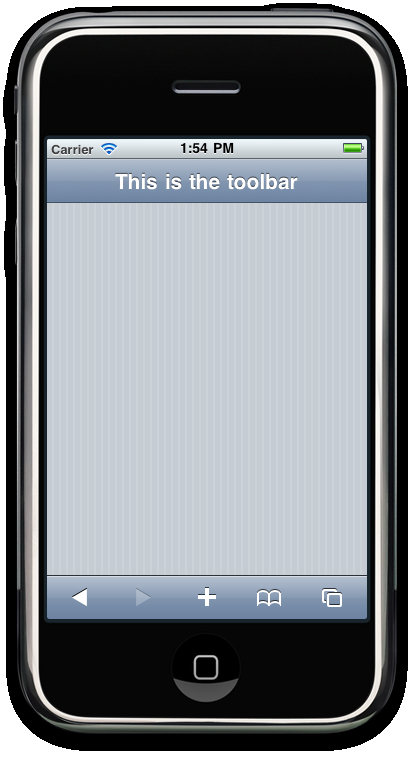
The complete HTML file can be found at code/ch02/toolbar.html in the code bundle provided on the Packtpub site.
iWebKit offers a predefined div element with two CSS classes to build a main toolbar for applications. We only need to create a standard HTML page, adding the references to the HTML and CSS files of the framework, and including the referred div. The id attribute of the div element is used to create the toolbar.
A toolbar should display a label. Usually, this information will be a simple title. For this information we're using a new div element with a specific id, which is defined in the main CSS file of the iWebKit framework.
You can test your new page through a WebKit browser such as Google Chrome or Safari, using the iPhone Simulator on your Mac or directly on your iPhone device. For the moment, we're not using any server-side code so you can load your page from the filesystem or from your web server. In the first case, you'll need to use the file protocol instead of the common HTML. For instance, if you have installed the iWebKit framework under the control of your web server, you can load your page using the URL http://localhost/toolbar.html. Otherwise, you need to use the path to your file using the file protocol: file:///home/user/toolbar.html.
The iWebKit main files are loaded from the iwebkit directory, which is located outside of our main HTML file. Remember, we installed the frameworks in a directory under the main DocumentRoot of the web server.
One of the main advantages of using web technologies for developing iPhone applications is the independence of the operating system. Remember, we need a Mac OS X system to build native applications. However, we recommend testing our applications on the iPhone Simulator because the result is closer to the real iPhone device. Windows users can use Safari or Google Chrome on their local machines. Meanwhile, Linux users should use Google Chrome, although it is possible to use Safari under Wine (http://www.winehq.org).
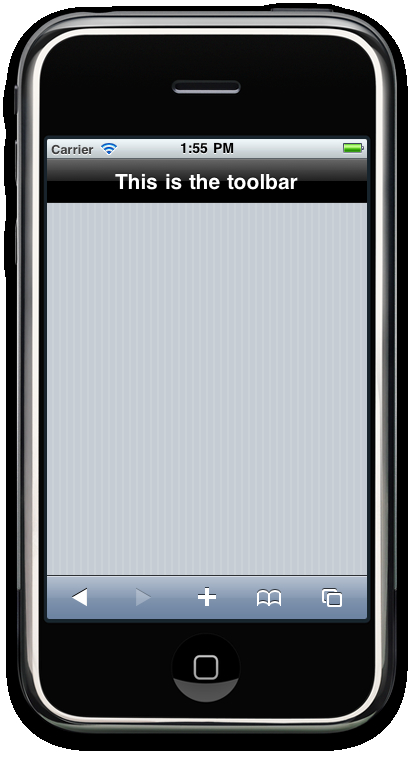
The color of the main toolbar is blue by default, but the iWebKit allows changing it using a black or transparent color. You only need to add a new CSS class to the main div element. This class is defined in the style.css file of the framework. The names of these classes are black and transparent. For example, to change the background of the main toolbar to black, we'll use the following line of code:
<div id="topbar" class="black">
If we reload our page, we can observe how the background color has changed, as shown in the following screenshot:
- Installing the iWebKit framework recipe in Chapter 1 , Frameworks Make Life Easier.