
You can see that the operating system's default scrollbars stick out like a sore thumb in the middle of our nicely designed page. Let's fix that, shall we?
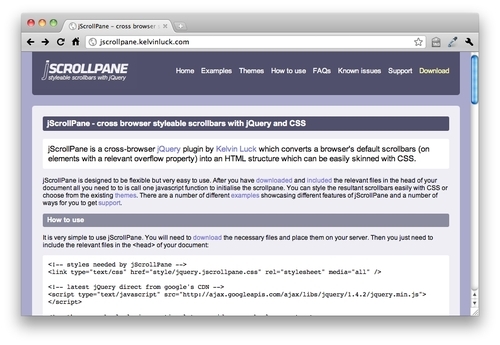
- First, we've got to get our hands on the plugin we'd like to use to create our custom scrollbars. Head over to http://jscrollpane.kelvinluck.com/ and click on the Download link in the navigation menu:
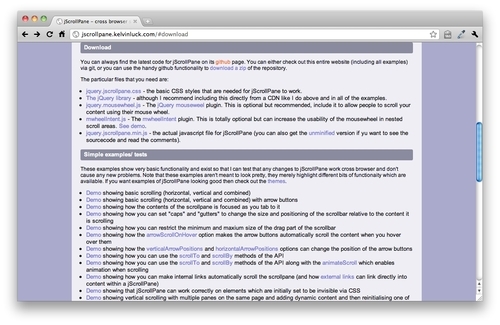
This will jump you down to the Download section of the site, where you'll see Kelvin Luck is using Github to host his code. Github is a social coding hub — a sort of Facebook for developers — where the main focus is on writing, sharing, and discussing code. Hosting jQuery plugins and other open source code projects with Github is becoming more and more common these days as Github offers developers an easy way to share and collaborate on their code with others.
Don't worry — downloading a plugin from Github is simple. I'll walk you through it.
- First, click the Github link on Kelvin Luck's site:
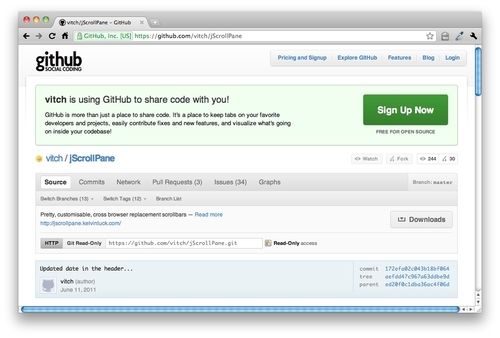
- That will take you to the jScrollPane project's home page on Github. On the right side of the page, you'll see a Downloads button:
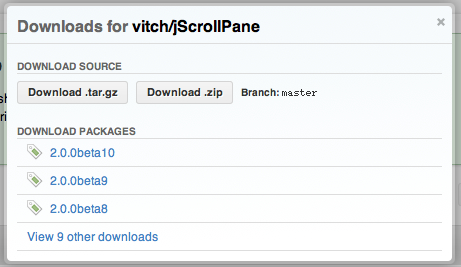
- After you click on the Downloads button, you'll get a modal dialog window showing all the available download packages for the project. Keep it simple, just click on the Download .zip button to get the latest version:
- The ZIP download will kick off automatically. Once it's done, we're done at Github. I told you it was easy. Now, let's unzip the package and see what's inside.

Wow! That's a lot of files! What are we supposed to do with all of these?
It looks a little scary and confusing, but most of these files are examples and documentation about how to use the plugin. All we need to do is find the JavaScript files that make up the plugin. We'll find those inside the
scriptfolder.
- Inside the
scriptfolder, we'll find more like what we expected. Let's figure out what these files are.demo.jsis sample code. It's what Kelvin Luck used to put together the assorted demos in the zip file. It might be useful to look at for examples if we get stuck, but we don't need it for our own project.jquery.jscrollpane.jsis the source code for the jScrollPane plugin. If we wanted to modify the way the plugin works or dig through the source code, we could use this file, but we're not expert coders just yet, so we can leave this one alone for now. Why does the filename begin withjquery.?It's a common practice to add thejquery. in front of the file name to mark it as a jQuery plugin. It can make finding the jQuery plugins much easier in large projects that could be using a dozen or more jQuery plugins along with other JavaScript files.jquery.jscrollpane.min.jsis the compressed version of the plugin. It's the same code asjquery.jscrollpane.jsexcept it's been minified. That just means all the extra spaces, tabs, and so on have been removed to make the file smaller—and you can see that it was pretty effective. The minified file is only 16 KB as opposed to 45 KB for the regular file. We won't be able to read this file easily if we open it, but that's fine. We don't need to be able to read it, and it's more important that we serve up the smallest files possible to our site visitors.jquery.mousewheel.jsis the other plugin that we'll be using for our custom scrollbars. It's the plugin that will let our mouse's scrollwheel work just as it should in our scrollable areasmwheelintent.jsis yet another plugin. Looking through Kelvin Luck's documentation, we see that this plugin is used for making sure our scrollable areas work as we expect when we nest scrollable areas inside one another. We won't be needing that for now.
- Copy
jquery.jscrollpane.min.jsandjquery.mousewheel.jsand put them in yourscriptsfolder inside your own project, right next to thejquery.jsfile. - Next, we need to include these two files in our page, just like we did with jQuery. Go down to the bottom of your page, and attach the new files between the jQuery
<script>tag and your own<script>tag:<script src="scripts/jquery.js"></script> <script src="scripts/jquery.mousewheel.js"></script> <script src="scripts/jquery.jscrollpane.min.js"></script> <script src="scripts/scripts.js"></script> </body> </html>Tip
Anytime you are using jQuery plugins, you want to make sure that you put your
<script>tags in the correct order. The jQuery<script>tag should always be first, any plugins will come next. And finally any script that you're writing that's using jQuery or the plugins will come last. This is because the browser will load these scripts in the order we specify. The plugin files need to be loaded after jQuery because they are using the jQuery library and rely on it being available before they can work. In JavaScript-speak, we call this a dependency. The plugin code is dependent on jQuery. And in turn, our own code is dependent on both the plugin code and the jQuery library itself, so it needs to be loaded after those are available.In this case, we have an additional dependency that we need to be aware of. The jScrollPane plugin is dependent on the MouseWheel plugin. For this reason, we need to make sure that we load up the MouseWheel plugin first, and then the jScrollPane plugin. If you ever have problems getting jQuery or a plugin to work, it's a good idea to check your script order — a missing or out-of-order dependency is often to blame.
We're almost ready to get our scrollbars set up, but there's one more file that we'll need to include. The jScrollPane plugin actually works by hiding the browser's native scrollbars and constructing replacements from ordinary
<div>sand<span>s. That means we'll need some CSS to style those<div>sand<span>sto look like a scrollbar. Later on, we'll look at how we can write our own CSS to make our scrollbars look any way we want, but for now, we'll use the CSS that Kelvin Luck has supplied with his plugin to keep things simple. - Go back into the files we downloaded from Github and find the
stylefolder. Inside the folder, you'll find two files:demo.cssandjquery.jscrollpane.css. Just like with the script files, thedemo.cssfile is special code that was written just for the examples, butjquery.jscrollpane.cssis the file that will style our scrollbars. Copy that file to your ownstylesfolder and then inside the<head>section of your document, attach the new stylesheet before your ownstyles.cssfile:<head> <title>Custom Scrollbars</title> <link rel="stylesheet" href="styles/jquery.jscrollpane.css"/> <link rel="stylesheet" href="styles/styles.css"/> </head> - Phew! We've done a lot of work already, but we still need to add our custom scrollbars to our page. No worries, in true jQuery style, it's just a couple of lines of code. Open up your
scripts.jsfile and add this bit of code:$(document).ready(function(){ $('#scrolling').jScrollPane(); });Now, if you refresh the page, you'll see our scrollable area now has a jScrollPane-style scrollbar.
What just happened?
Let's pick that last bit of code apart to understand what's happening there.
We're already familiar with this:
$(document).ready();
That's the ready method of the jQuery object being called on the document. That means that we'll run our code as soon as the document is ready. As usual, we've told jQuery what should happen as soon as the document is ready by passing a function to this method:
$(document).ready(function(){
//our code will go here
});
So the only really new thing we have to look at is the line of code we wrote inside the function:
$('#scrolling').jScrollPane();
But even this we can understand at least a bit. We know that $('#scrolling') will select the item on the page with the id of scrolling. Remember, we wrapped<div id="scrolling"></div> around the paragraphs of text that we wanted to scroll. Then we used a couple lines of CSS to limit the height of the #scrolling div and show the browser's scrollbar.
Then we can see that we're calling the jScrollPane() method. Most jQuery plugins will work this way — by adding a new method that you can call. How do you know what the new method is named? You'll usually find it in the documentation for the plugin. jScrollPane is exceptionally well documented with piles of examples for you to pick apart, learn from, and modify.