
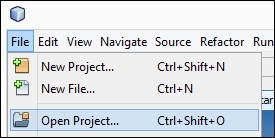
Instead of creating a new Maven project, as we did in the preceding recipe, you may want to open an existing Maven project in NetBeans. Let us now see how we can import an existing Maven project.
NetBeans can be downloaded in two different ways (if not downloaded already):
- Oracle provides a download of the latest JDK along with the latest version of NetBeans. This is a good option, especially if you haven't installed JDK yet.
- If JDK is already installed, then NetBeans can be downloaded separately at https://netbeans.org/. There are different bundles of NetBeans (similar to Eclipse). You can choose one from Java SE or Java EE, or all of them, based on your preference.
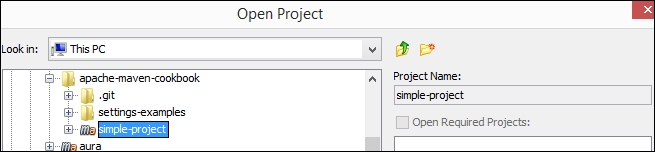
To import an existing Maven project in NetBeans, perform the following steps:
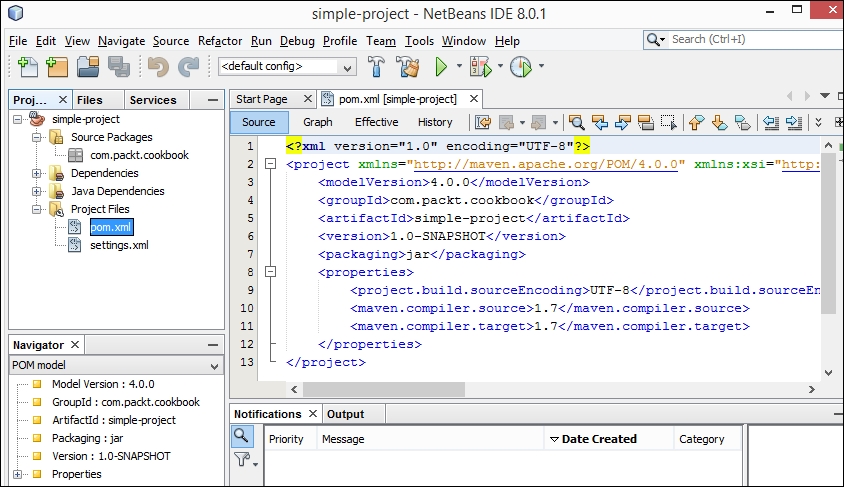
Like Eclipse, NetBeans has built-in support for Maven. It identifies a folder as a Maven project due to the presence of pom.xml. It parses this file and opens the project associating the files and folders to Source Packages, Dependencies, and Project Files, as shown in following screenshot:
..................Content has been hidden....................
You can't read the all page of ebook, please click here login for view all page.