
We have seen that the Eclipse IDE provides support for Maven projects and allows us to run Maven commands from the IDE. Let us now see how we can manage dependencies using Eclipse.
Use the following steps in Eclipse IDE to manage the dependencies:
- Open the demoproject-selendroid file in Eclipse.
- Open the
pom.xmlfile. - Click on the Dependencies tab as shown in the following screenshot:
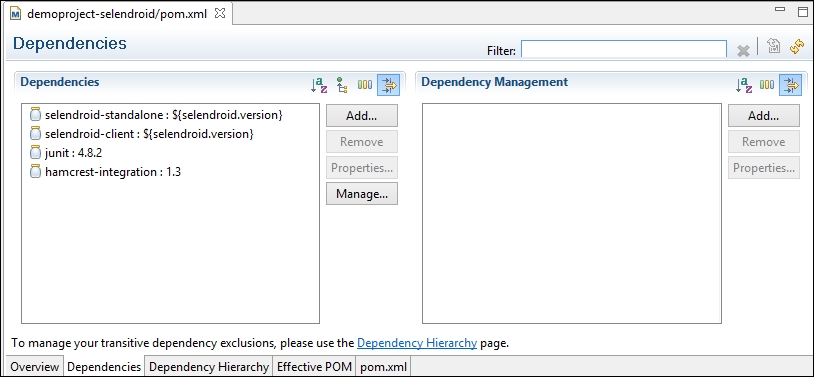
- A new dependency can be added by clicking on the Add… button (see in the preceding screenshot for the Add... button):
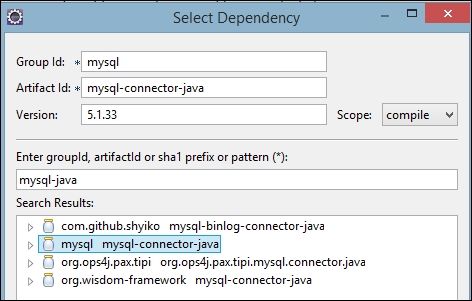
As you can see in the preceding screenshot, you can specify the values in the Group Id:, Artifact Id:, and Version: textboxes along with the value in the Scope dropdown. Alternately, you can search for an artifact in the Enter groupId, artifactId or sha1 prefix or pattern (*): textbox, and eclipse will populate the relevant columns based on your selection in the Search Results list.
- You can also see the dependency tree by clicking on the Dependency Hierarchy tab:
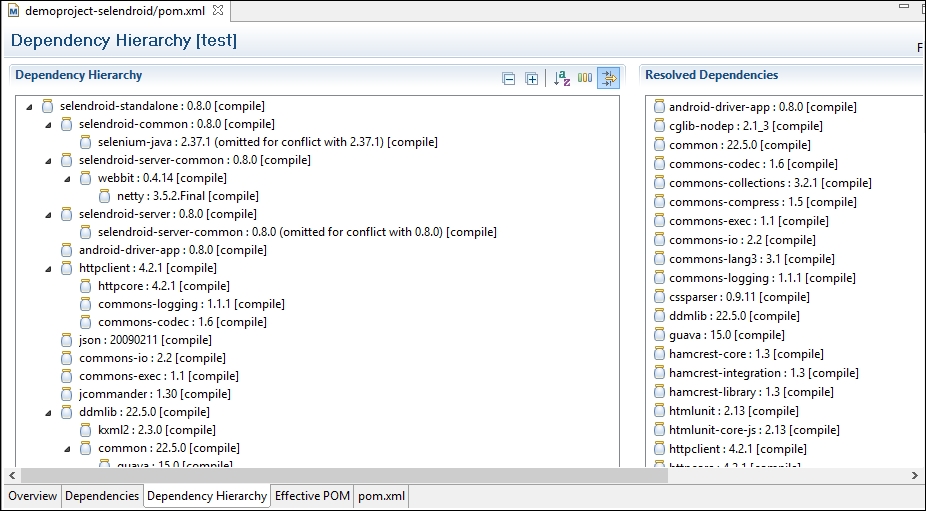
As Eclipse has built-in support for Maven, it allows visualization of dependencies by parsing the pom file. It also calls various Maven commands (such as dependency:tree) internally to build the hierarchy and display the same.
We saw that users can search for and add dependencies. For this to work, navigate to Windows | Preferences | Maven and check the Download repository index updates on startup option to download indexes, as shown in the following screenshot:
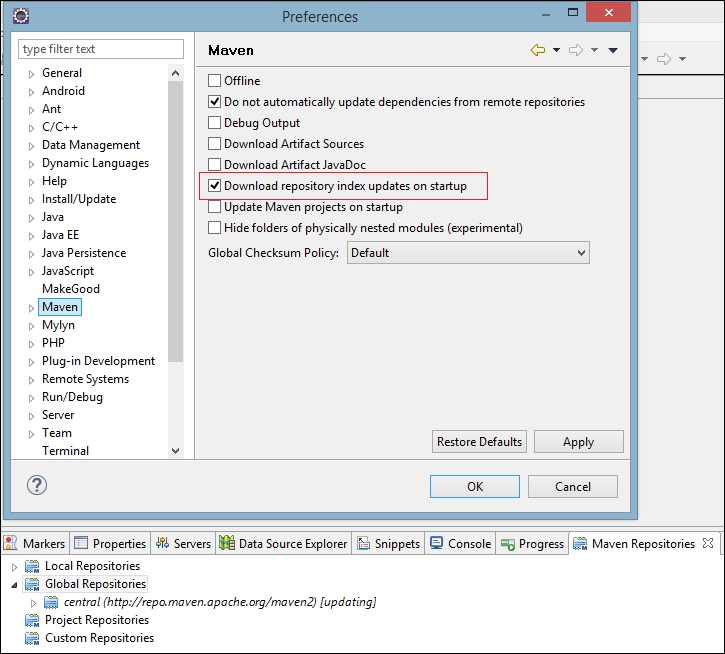
You may need to restart Eclipse for this to take effect. Also, you can enable the Maven Repositories view (see in the preceding screenshot), see the repositories, and also update the index as required.