
Setting Up Your Android Tablet Programming Environment
You’re nearly at the fun part, but first you must make sure your computer is properly set up. You must download and install three packages for your work:
- Java Development Kit (JDK)
- Eclipse, which is the integrated development environment (IDE)
- Android Java SDK
If you’re a Java developer, then you likely have a recent version of the JDK and probably even have Eclipse installed. In that case, skip to the Android SDK portion of the following instructions. Look over the first two sections if you experience problems, though, because you may be using the wrong version of the JDK or Eclipse.
In the following sections, you work through installing each of these packages. When you’re done, you’ll be ready to create your first Android tablet program. This entire process shouldn’t take more than 20 minutes before you’re ready to go.
Installing the Java JDK
The first step is to download and install the latest version of the JDK for your machine. Here’s how:
- To find the JDK you need for your system, go to
www.oracle.com/technetwork/java/javase/downloads/index.html. You need the JDK to let you use the Java language on your computer. Look for the large Java icon at upper left on the page, and select the JDK link, as labeled in Figure 1-1. This link takes you to the JDK SE downloads page.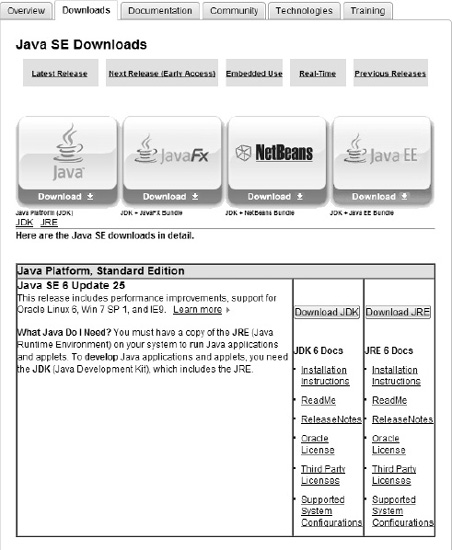
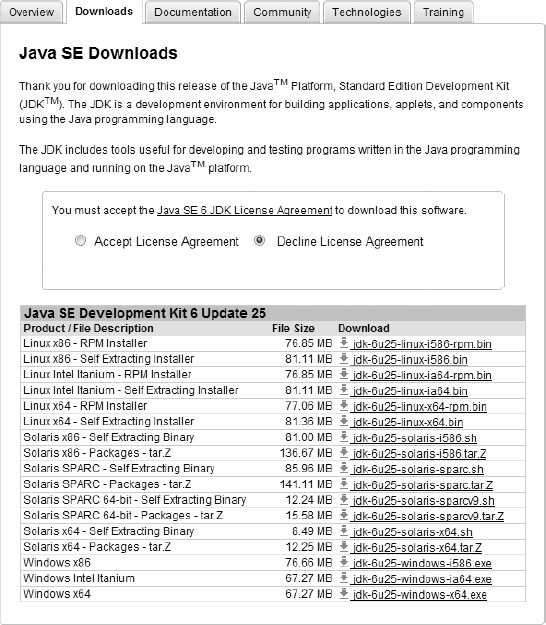
- On the Downloads tab of the Java SE Downloads page, shown in Figure 1-2, accept the license agreement, choose the package that fits your operating system, and click the link to download it.
- When the file downloads, run the installer. On some computers, the installer starts automatically. If this doesn’t happen, locate the folder where the files were downloaded, and sort the folder by the Date Modified. The last file is this installer. Double-click it, and you’re ready to go.
- When the welcome dialog page for Installation for Java wizard appears, as shown in Figure 1-3, click the Next button and follow the instructions provided by the wizard to finish the installation.
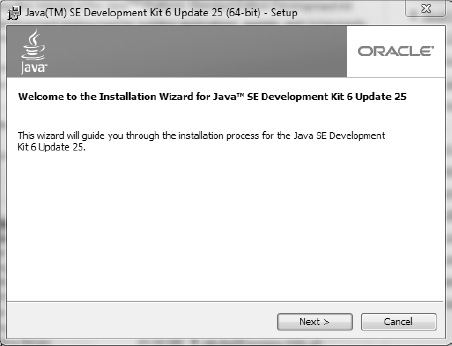
Figure 1-3. JDK installation wizard
Now you’re ready to set up Eclipse, the development environment you use throughout this book to build your games. Without Eclipse, you would be forced to compile your code using a command line. A development environment saves you a lot of time.
Installing the Eclipse IDE
With the JDK installed, you can now set up your developer environment. You’re going to use Eclipse, a free software package with lots of great support for Java and Android developers. Follow these steps:
- To locate the Eclipse package for your system, go to
www.eclipse.org/downloads/. On the Eclipse Downloads page, shown in Figure 1-4, use the small drop-down menu to match your operating system. Then select Eclipse IDE for Java Developers, and click the link for the version you need for your operating system. You’re brought to a download page.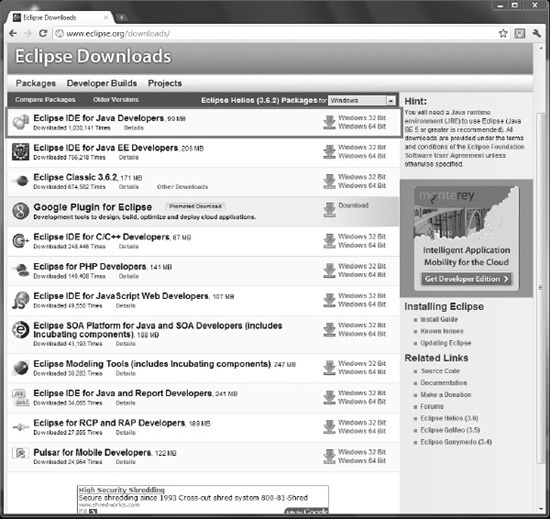
- Download the zipped folder that contains the version you’ve selected, and extract it. Click the install executable. During the installation, make sure you check the box that creates a shortcut to Eclipse on your desktop to enable us to easily access Eclipse later on.
- When the installation is completed, you can start Eclipse via its shortcut. You should see something like Figure 1-5. This means everything is working.
Figure 1-5. Eclipse as it’s starting up
With your developer platform installed, you’re ready to add the Android SDK, which provides you with the libraries and tools you need to start building games. So far, you’ve only worked on the basics, which include the Java language and the development environment.
Installing the Android SDK
The last package you need for your platform is Google’s Android SDK:
- To locate the package you need for your system, go to
http://developer.android.com/sdk/index.html, shown in Figure 1-6, and select the Android SDK package that is made for your operating system by clicking its link. When you’ve done this, the appropriate file begins downloading.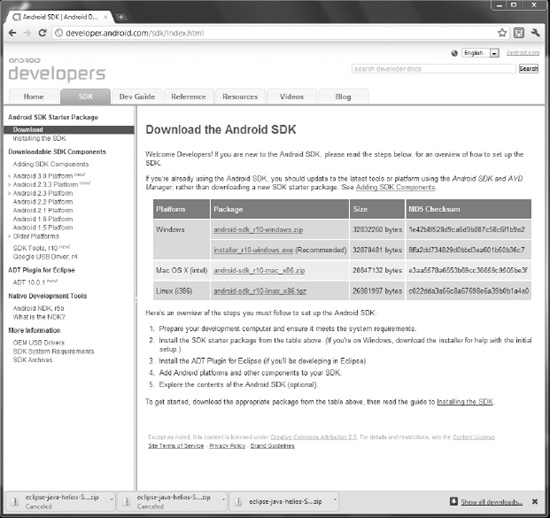
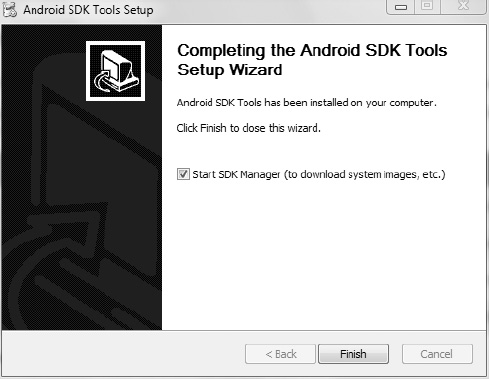
- When the folder or installer is downloaded, run it by finding the file and double-clicking it. The Welcome page of the Android SDK Tools Setup Wizard appears, as shown in Figure 1-7.

Figure 1-7. The Android SDK setup wizard
Note Remember the location where you install the SDK. I prefer to use
C:Androidandroid_sdk. Make a note of the place where it’s installed regardless of which operating system you’re using. We will need its location in the steps to come when we are connecting it to Eclipse.- Click the Next button, and follow the wizard’s instructions to install the SDK. Eventually, you reach the last page. The Start SDK Manager check box should be selected, as shown in Figure 1-8. This causes the SDK Manager to start immediately after the installation is complete.
- When the Android SDK and AVD Manager dialog opens, as shown in Figure 1-9, click the Available Packages link in the left navigation panel, and then click the Install Selected button. This step accepts and installs the default Android packages recommended by Google that you use for games. Without installing these, you can’t use several tools and sample apps.
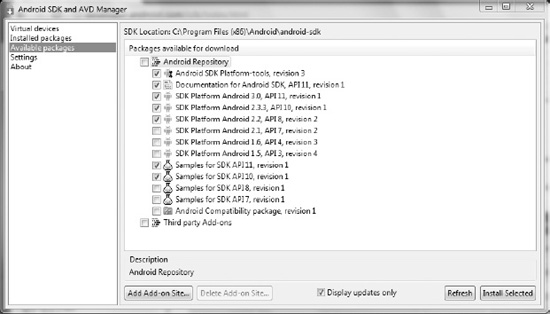
Figure 1-9. The Android SDK Manager. Note the default packages selected.
- When you click Install Selected, a dialog box like the one shown in Figure 1-10 appears, to show the progress of the installation (this may take several minutes).
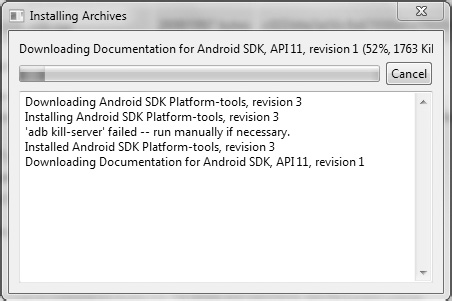
Figure 1-10. The installation of the packages and archives
Now you have the Java language, the development environment, and the Android tools. The only step left is to integrate all these parts together.
Adding Android Tools and a Virtual Device to Eclipse
The last work you have to do is getting Eclipse to mesh with the new Android tools and programs. Doing so lets you type your code into Eclipse and then test from Eclipse itself. Otherwise, you’d have to save your code and use a different program to test the app. Follow these steps:
- To equip your copy of Eclipse with the Android tools you’ll be using, open Eclipse and select Help Install New Software. An Eclipse Install dialog appears, as shown in Figure 1-11. You return to this Install dialog every time you need to add more functionality to Eclipse.
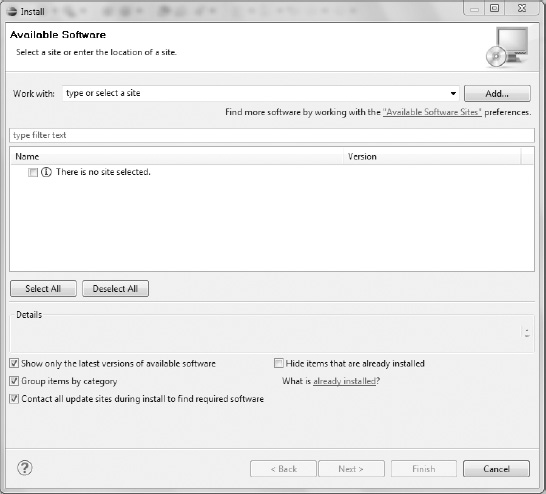
Figure 1-11. The install dialog box for Eclipse.
- You first need to let Eclipse know where to look for the tools you want to add. On the Install screen, click the Add button at upper right. An Add Repository dialog opens, as shown in Figure 1-12.
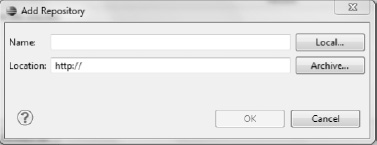
Figure 1-12. The Name and Location boxes used to add Android tools to Eclipse
- Do the following:
- In the Name box, type Android Tools, which is the name you’ll use to refer to the tools this step installs.
- For a Location, enter the URL
https://dl-ssl.google.com/android/eclipse/, which is the location of the tools you’re adding.- When you’ve finished, click the OK button, which returns you to the Install dialog shown in Figure 1-13.
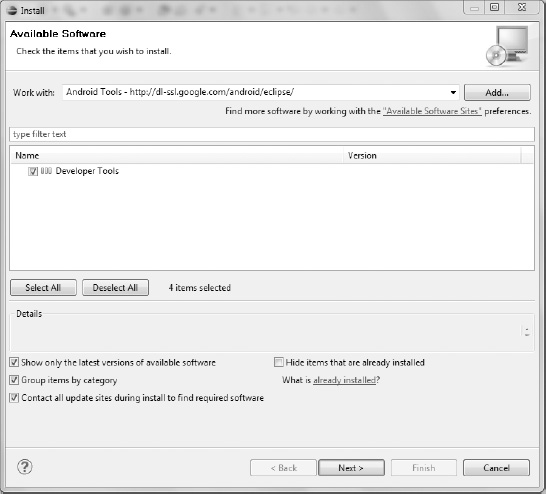
- Select the Developer Tools check box, and follow the prompts to install the updates. Doing so adds the tools you need for Android tablet development.
- Restart Eclipse when the dialog box prompts you to do so.
- In Eclipse, select Window Preferences. Open the Android tab on the side pane. Your screen should look like Figure 1-14. You’re about to point Eclipse to the installation of your Android SDK. This lets you compile the programs from within Eclipse.
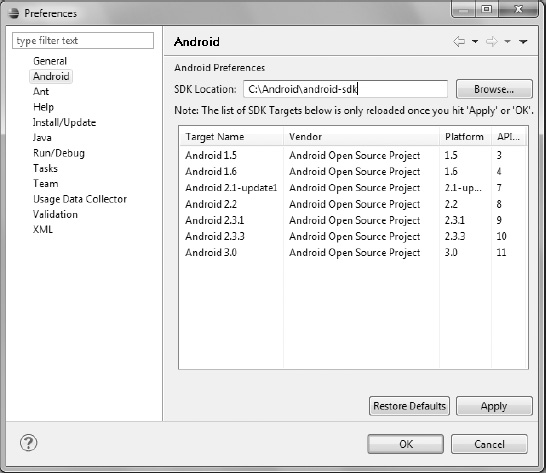
Figure 1-14. The configuration options for Android in Eclipse.
- Type the exact name of the location where you downloaded the Android SDK in the SDK Location field. My example uses
C:AndroidAndroid-sdk.
When you’ve applied these changes, you’re done with the setup process!
From now on, you focus on the structure of actual Android apps and how to make your visions for a game come true. This background makes it easy for you to try out a variety of different tools and techniques in your games. Being able to quickly change your code and see the result of your efforts is invaluable in your efforts.