Before we finalize the settings in our game (the build ID, leaderboard IDs, and store IDs) we need to set up our actual distribution channels. Distribution is probably what most of you bought this book to figure out. It's a murky process, and requires a great deal of patience and tenacity to finish. The sooner we start, the better though... right?
Start by going to the Developer Console (https://play.google.com/apps/publish/signup/). Signing up is an easy process. Just agree to the terms, and pay $25 per year to be a Google Play developer. That's really it! Now, let's set up our app. In the top-right corner of the Developer Console is a button called + Add new application. Just type in the name for our application, and submit it. Then, choose to manage the application (not to upload an APK file). We're not going to actually manage the game (yet) though. On the left side of the screen, click Game Services and again, +Add new application.
Google Play game services are important for saved games, leaderboards, and other services the user takes for granted. Again, we need to add Ramblin' Rover for this. The interface looks like the following:

Go ahead and Continue. We'll circle back to the game details later. First, what we're trying to do here is make sure all of the frameworks are in place to set up our leaderboards within Buildbox. On the left side, click on Leaderboards. Now, select Add new leaderboard and name it Best Rover Drivers (then save it). You should now have something like this:
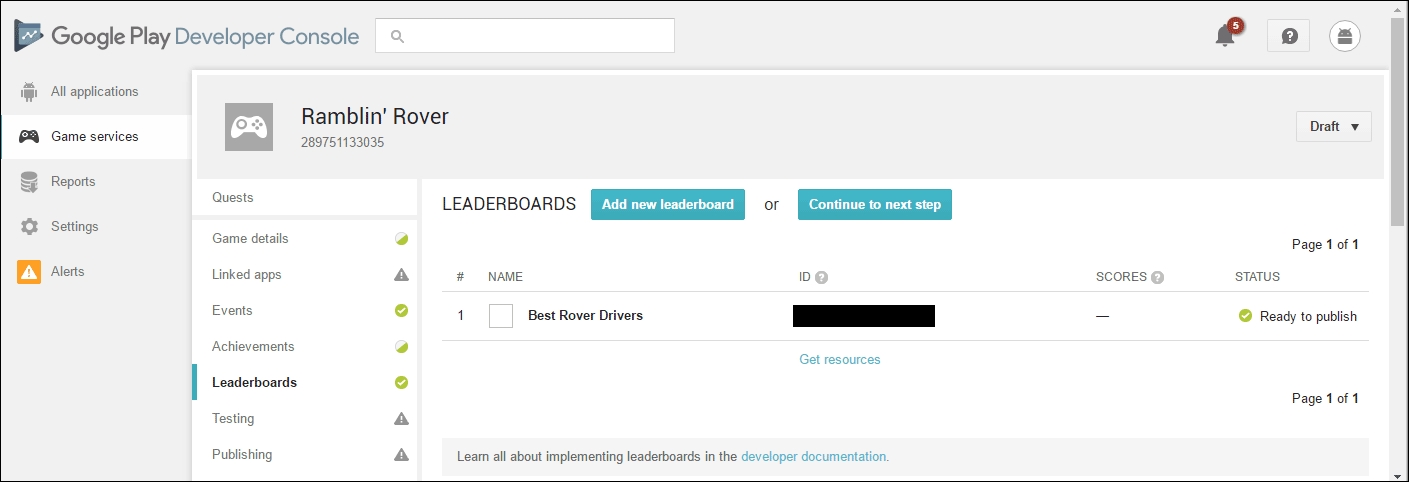
You'll be given an ID (in the screenshot it's been redacted with a black box). Copy this, or write it down. We'll need it later. We'll also come back and populate the rest of our fields in a bit... we just need this ID before we can export. Let's move on to Amazon.
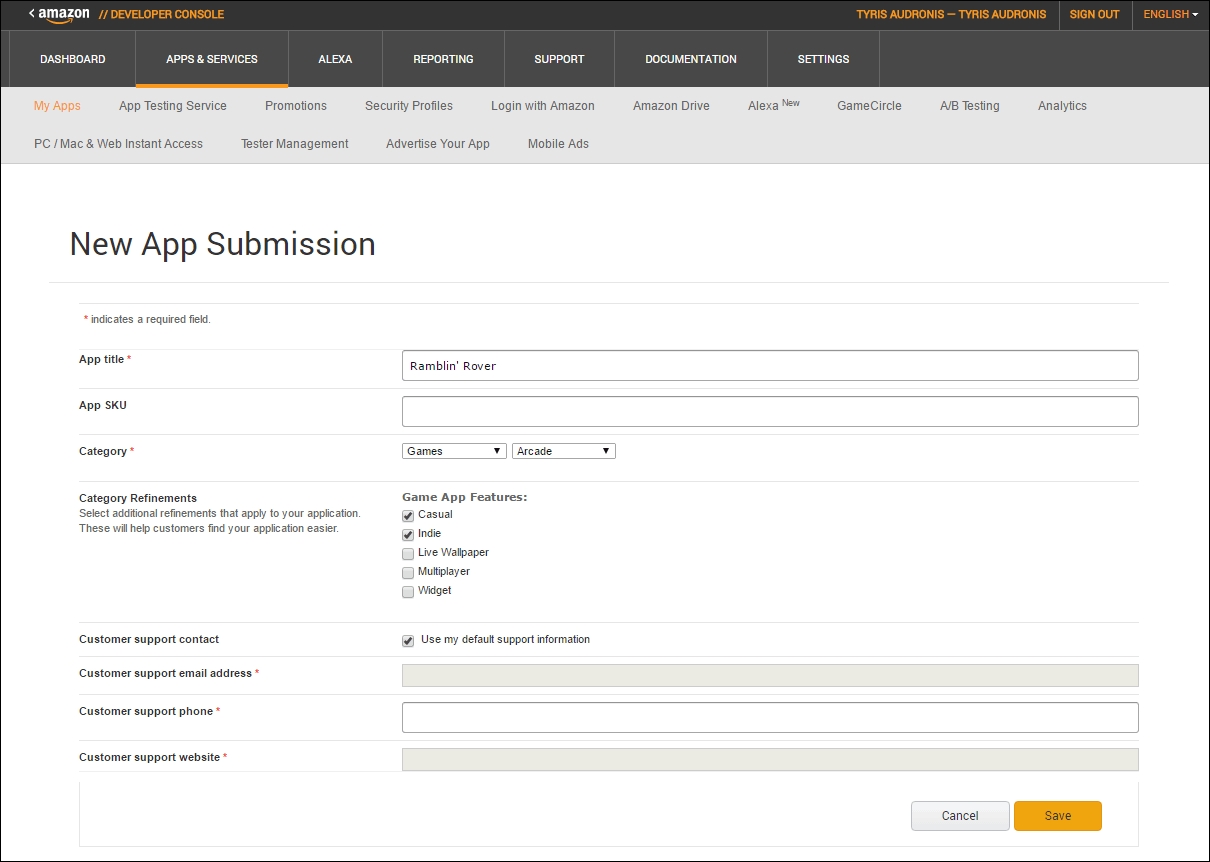
Now go to the Amazon App Store console (https://developer.amazon.com/home.html) and sign up for a new account. This one is free! Once you've signed up and confirmed your account, go to Apps & Services on the console, and select Add a New App. Fill out the form, as shown in the following screenshot:
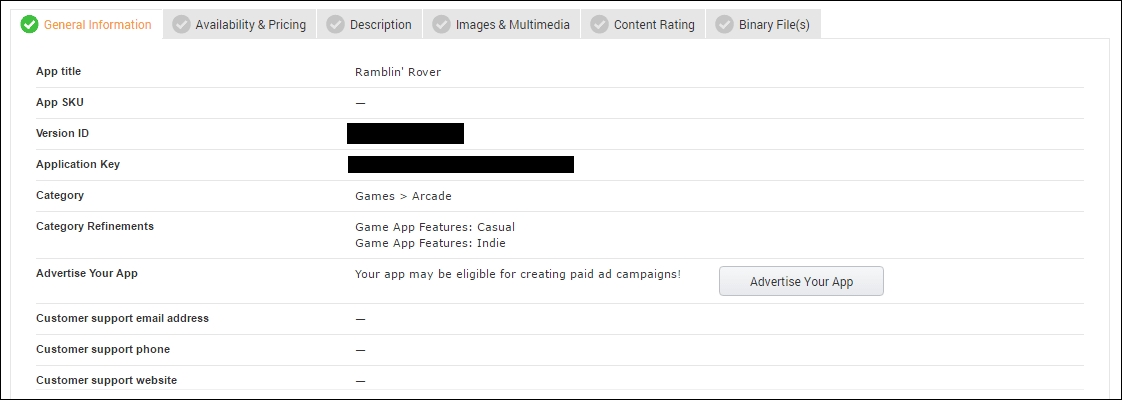
Now click Save. You'll see the following interface. Make note of the Version ID and Application Key (or also called API key). Both are shown as redacted in this screenshot:
This is by far the most convoluted and confusing of the developer programs. In fact, this process is what spawned the idea to write this book (the response to my YouTube tutorial on the export process).
First off, you must sign up for the Apple Developer Program (http://developer.apple.com). It's a pretty steep subscription price of $99 USD per year. But, it's one of the largest distribution channels around. So, what are you going to do?
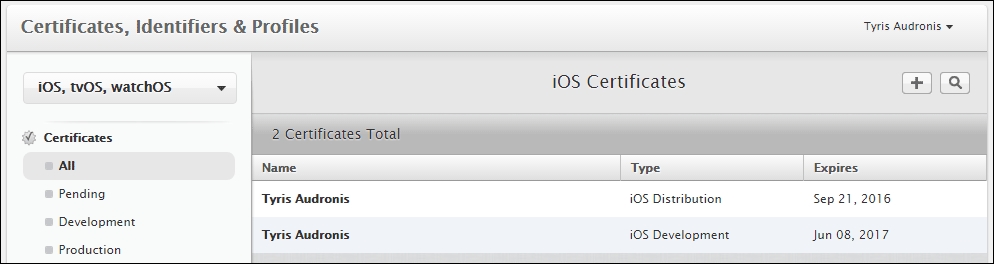
Now, under your account, on the left-side, you'll need to click on Certificates, IDs & Profiles. Once on this screen, click on the + icon (top-right) and create both distribution and development certificates. Your iOS Certificates page should look like this:
Not only do you need to sign up for the Developer Program, but you must now sign up for an iTunes Connect account (http://itunesconnect.apple.com). This one's free, but be prepared... there is a lot of paperwork associated with this (agreeing to policies and whatnot). You're also going to want to log in regularly to this account (after its created) because there is a constant need to agree to changes in these policies. Apple sure doesn't make it easy to make apps. Once you're all signed up, you'll get to this interface:

Ok... let's just let our Apple stuff sit for a while. There's more we need to do (because XCode and iTunesConnect are interlinked). We'll have to go through several steps when we get to exporting for Apple. We'll actually have to export it, then set it up on iTunesConnect, and then export it again for leaderboards. Yeah... thanks Apple. We have our accounts. That's enough for now. We have A LOT left to do for Apple, but we have our basic accounts set up.
Windows store and Steam are completely separate exports, so we'll actually handle all the groundwork for leaderboards later. For now, just sign up for Windows Store (https://developer.microsoft.com/en-us/windows/programs/join) which is $19.
Steam requires a bit of explanation. Steam has a program called Steam Greenlight (which you must sign up for as an indie developer). Submitting to Greenlight does NOT guarantee you a spot on the Steam store. Greenlight gives people a chance to see some screenshots and read a description of your game (but not even try it out), and if people like it... only then will Steam put it up for distribution. The cost is $100 to sign up. That's not $100 per year... just $100 period. All proceeds go to Penny Arcade's Child's Play charity (not Valve), so at least it's a good cause. But this lack of a guarantee of distribution has been likened by some to a $100 lottery ticket. It's highly controversial in the gaming community as the big boys can bypass this and still put their games on the store. You also must sign up through the Steam application (just search for Greenlight).