
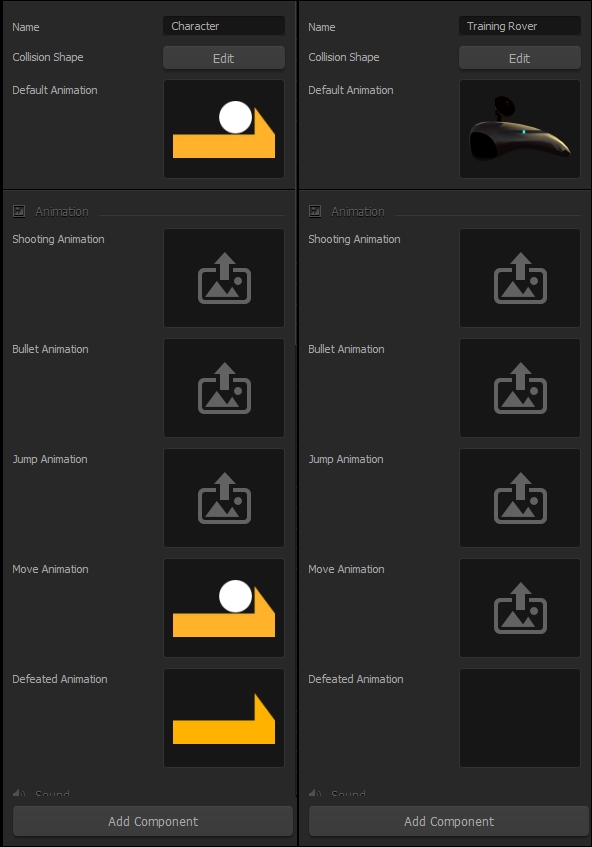
The following screenshot shows how images are currently set up with our character (left) and where they will be soon (right):
We'll do this the same way we did in the last chapter, Chapter 2, Orientation:
- In the Asset Library, open the Characters section and select the Character.
- Rename the character Training Rover in the Properties window. You may think this violates our naming conventions. Those conventions are for files, not for elements in our Buildbox game. It's important to name your objects in plain English. That way, when it comes to choosing characters or unlocking new ones, they are readable in our store.
- Now open your file browser to our content directory and navigate to
Projects/RamblinRover/Characters/Rover001-Body; select all of the images in that folder and drag them to the Default Animation field. - If you hover your mouse over the Move Animation field, you'll see two options in the upper-right of the field. One looks like a pencil, and this is the Edit button. The other looks like an X; this is the Remove button. Click on the Remove button so there is no longer a Move Animation. We do this because the wheels will do the actual moving, not the character. A Move Animation is superfluous, and we want to remain resource efficient.
- Finally, navigate your file browser window to
Projects/RamblinRover/Explosions/boom001. Then, select all the images in this folder and drag them to the Defeated Animation field. This will make the character explode when it is destroyed.
We'll eventually do a lot more with this character in a later section. But for now, the basic body of our rover is complete. Let's move on to the wheels.
The image below shows the wheels already replaced. This is done the same way as the character. In the Asset Library, select the Wheel object from the Objects section. Drag the Rover001-Wheel.png image from your file browser (located in Projects/RamblinRover/Characters) to the Default Animation field in the properties window. Well, things definitely look a little jacked up, don't they? We'll fix this momentarily:
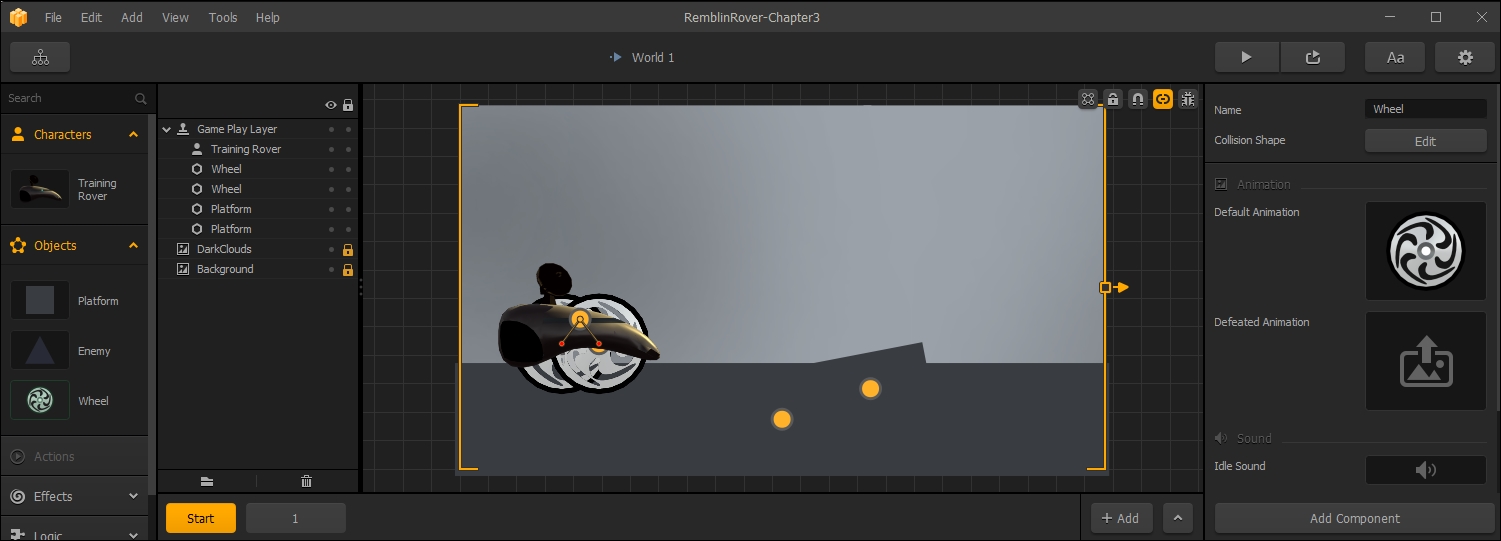
The reason why our character went a little wonky is because the resolution of our new images is higher than the resolution of the old placeholders. Also, the wheels appear behind our rover, so let's fix that problem first. In the Layers window, simply drag the Training Rover under both Wheel objects. When complete, your Layers window should look like the following screenshot:

Now we need to scale and position the objects so that our rover looks proper.
First, select the body of the Rover. This can be done in either the Layer window or by clicking on the body on the Stage. Sometimes, objects can overlap, and selecting on the Stage can be difficult. The Layer window makes this a bit easier. Set both the Scale fields to 0.35. Now the body of the rover is a more playable size.
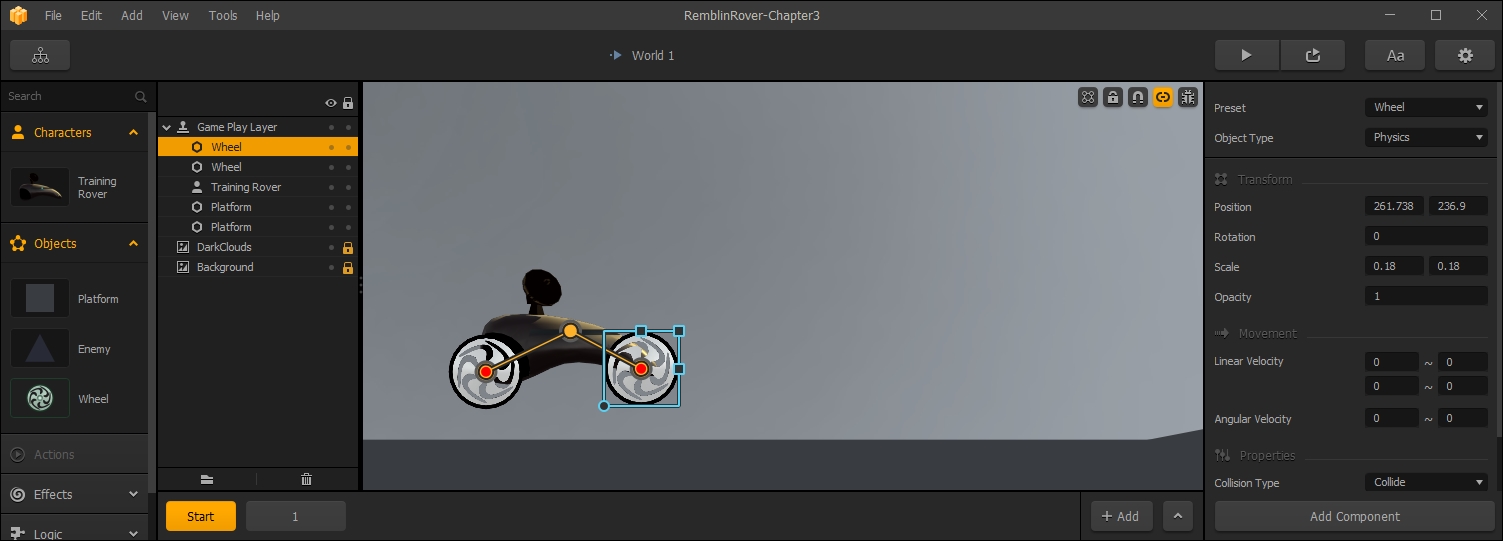
Next, we need to scale the wheels. Select each wheel, and set their Scale fields to 0.18. Now that this is done, you can just drag the wheels so that their positions line up properly with the rover. We've zoomed in so you can see the rover better. It should look like the following screenshot:
Awesome! So our Rover looks great now, but it won't work right just yet. That's because the collision shapes are not set up yet. We'll get to that in a moment. First, though, let's set up our backgrounds.