Are you ready to enter the world of digital image editing and give this powerful program a try? Great! This chapter will guide you in a few things to help you get up and running.
Before getting too far ahead, it should be mentioned that Glimpse does not work on Mac OS at this time. However, the GNU Image Manipulation Program (which is the program Glimpse is based on) does. The content in this book applies to this program equally well.
- 1.
Downloading and installing Glimpse
- 2.
An overview of the workspace
- 3.
Customizing the workspace
- 4.
Menus, windows, and dialogs
Now, let’s proceed to the first topic.
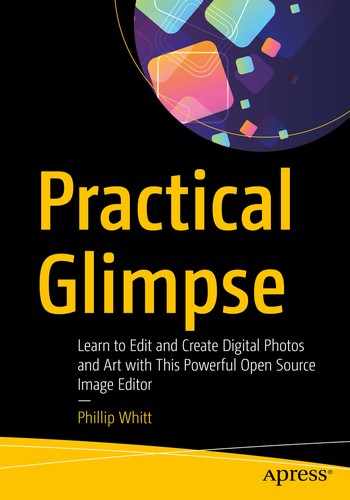
Downloading and Installing Glimpse
The download button is easy to find on the Glimpse home page
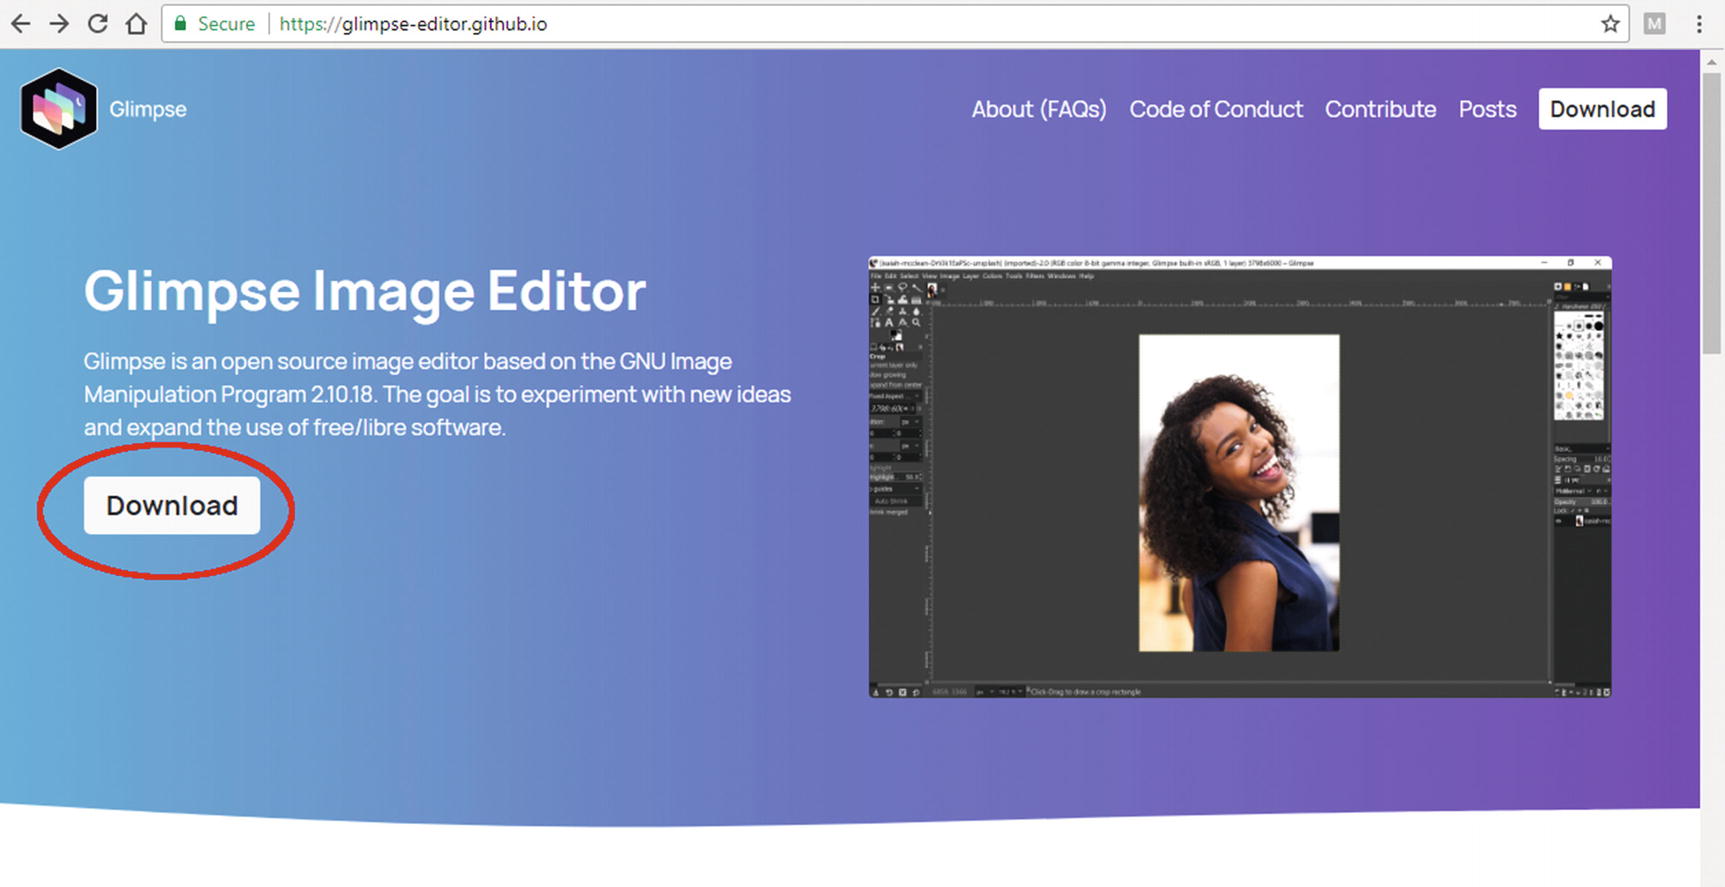
After clicking the download button, you’ll be taken to the Downloads page. Glimpse runs on Windows 7 or later (32 or 64 bit). It also runs on Linux systems. It does not run on Mac OS at this time, but the GNU Image Manipulation Program does—if you use a Mac running this program, the content in this book applies just as well.
Installing Glimpse on Windows
- 1.
From the Downloads page (under the Windows subheading) , click Direct download link shown in Figure 1-2.
The Direct download link for Windows is shown outlined in red
- 2.
After the download is complete, the Glimpse 0.1.2 installer package can be found in Downloads directory (Figure 1-3).

The Glimpse installer located in the Downloads directory
- 3.
Double-click the installer package icon.
- 4.
After the installer window launches, click the Run button when prompted.
- 5.
The Glimpse Image Editor will then install on your Windows computer (Figure 1-4).

The Glimpse Image Editor installation in progress
Installing Glimpse on Linux
- 1.
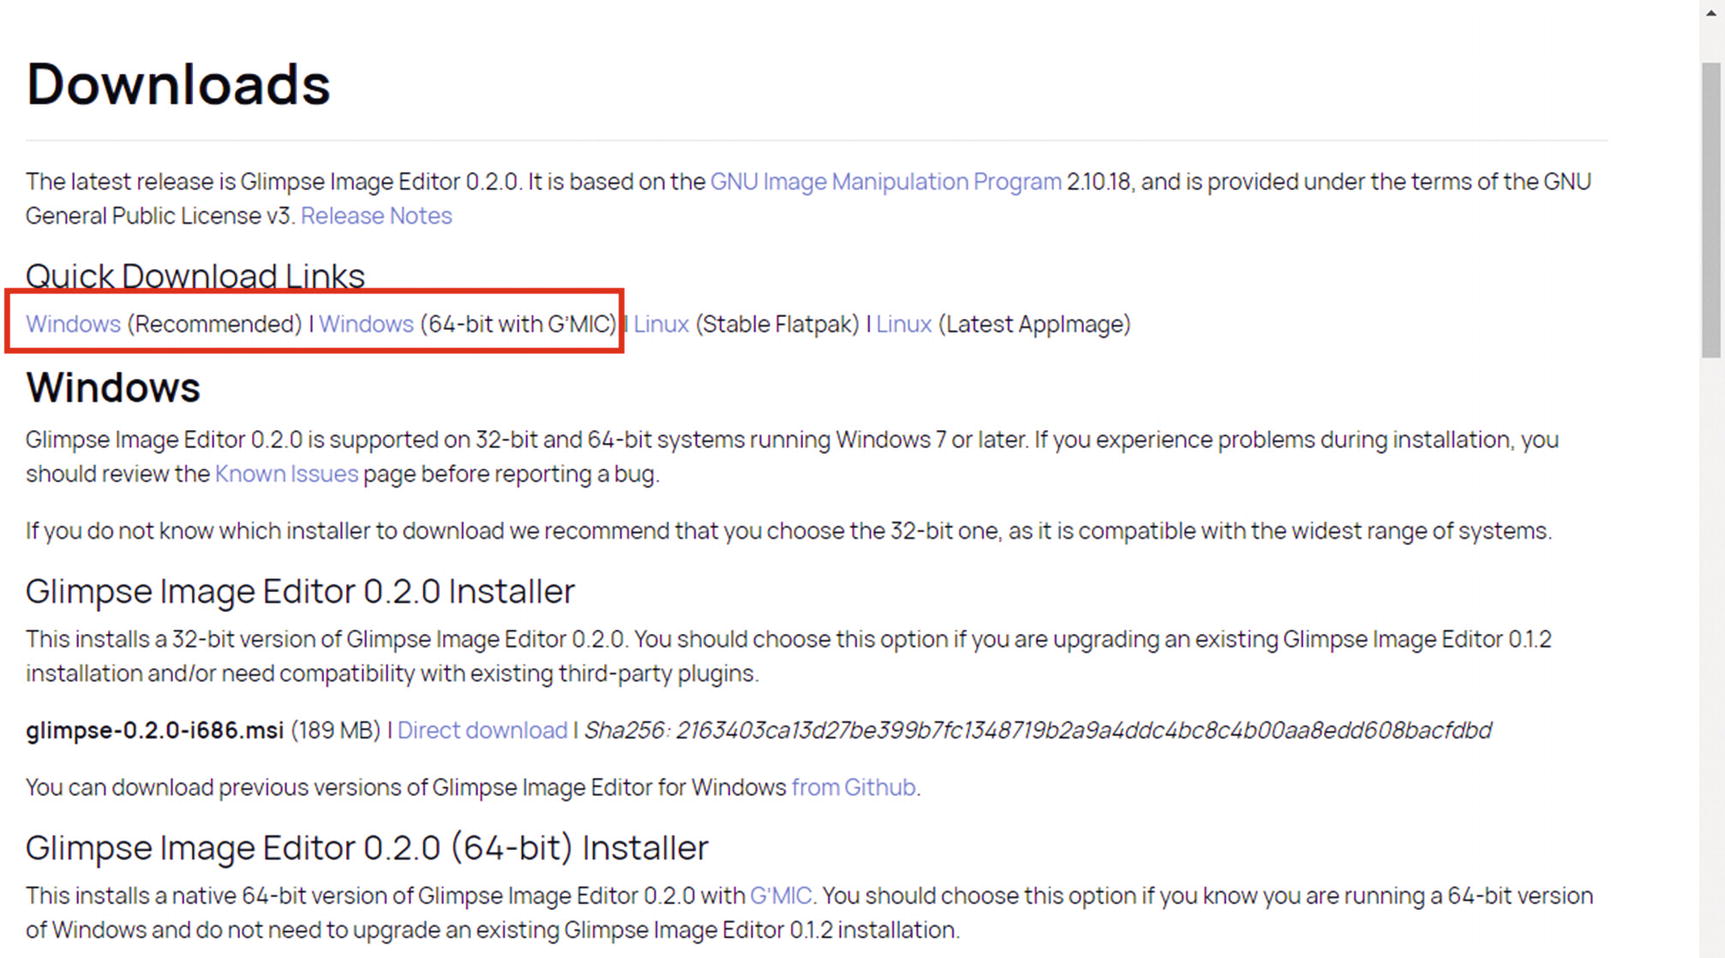
First, Flatpak (which can be used with over 22 distros) will need to be installed on your computer. If it’s already installed on your machine, skip to step 4—if not, just follow the instructions found here: https://flatpak.org/setup/. You’ll be taken to the Quick Setup page shown in Figure 1-5.
The Flatpak Quick Setup page
- 2.
Click the icon that represents your Linux distro.
- 3.
Follow the instructions to install Flatpak on your machine. For example, Figure 1-6 shows the instructions for installing Flatpak on Ubuntu (the installation instructions vary depending on which Linux distro you’re using).
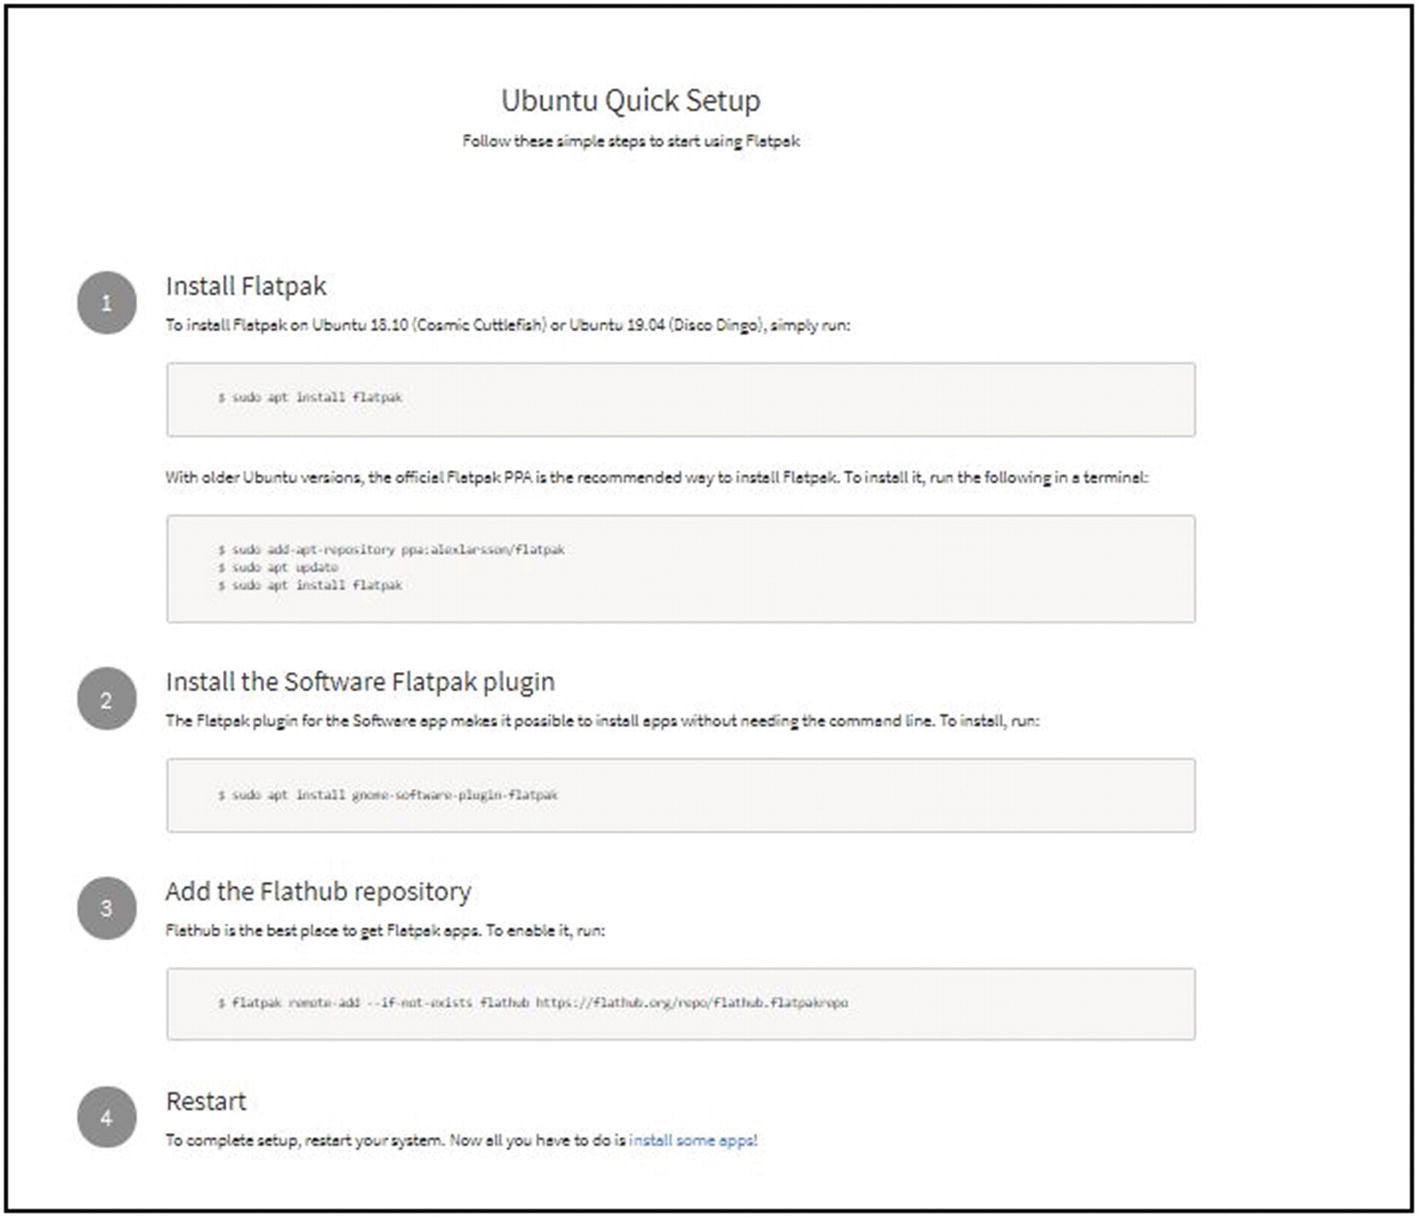
Instructions for installing Flatpak will vary depending on which Linux distro is used
- 4.
After Flatpak has been installed on your system (or if it’s already supplied with your Linux distro), click the link (outlined in red) on the Glimpse Image Editor Downloads page (https://glimpse-editor.github.io/downloads/) shown in Figure 1-7.

Glimpse Image Editor can be found by clicking the link shown outlined in red
- 5.
You’ll be taken to the Glimpse installation page (Figure 1-8) on the Flathub website—click the Install button, and Glimpse will then be installed on your Linux machine.
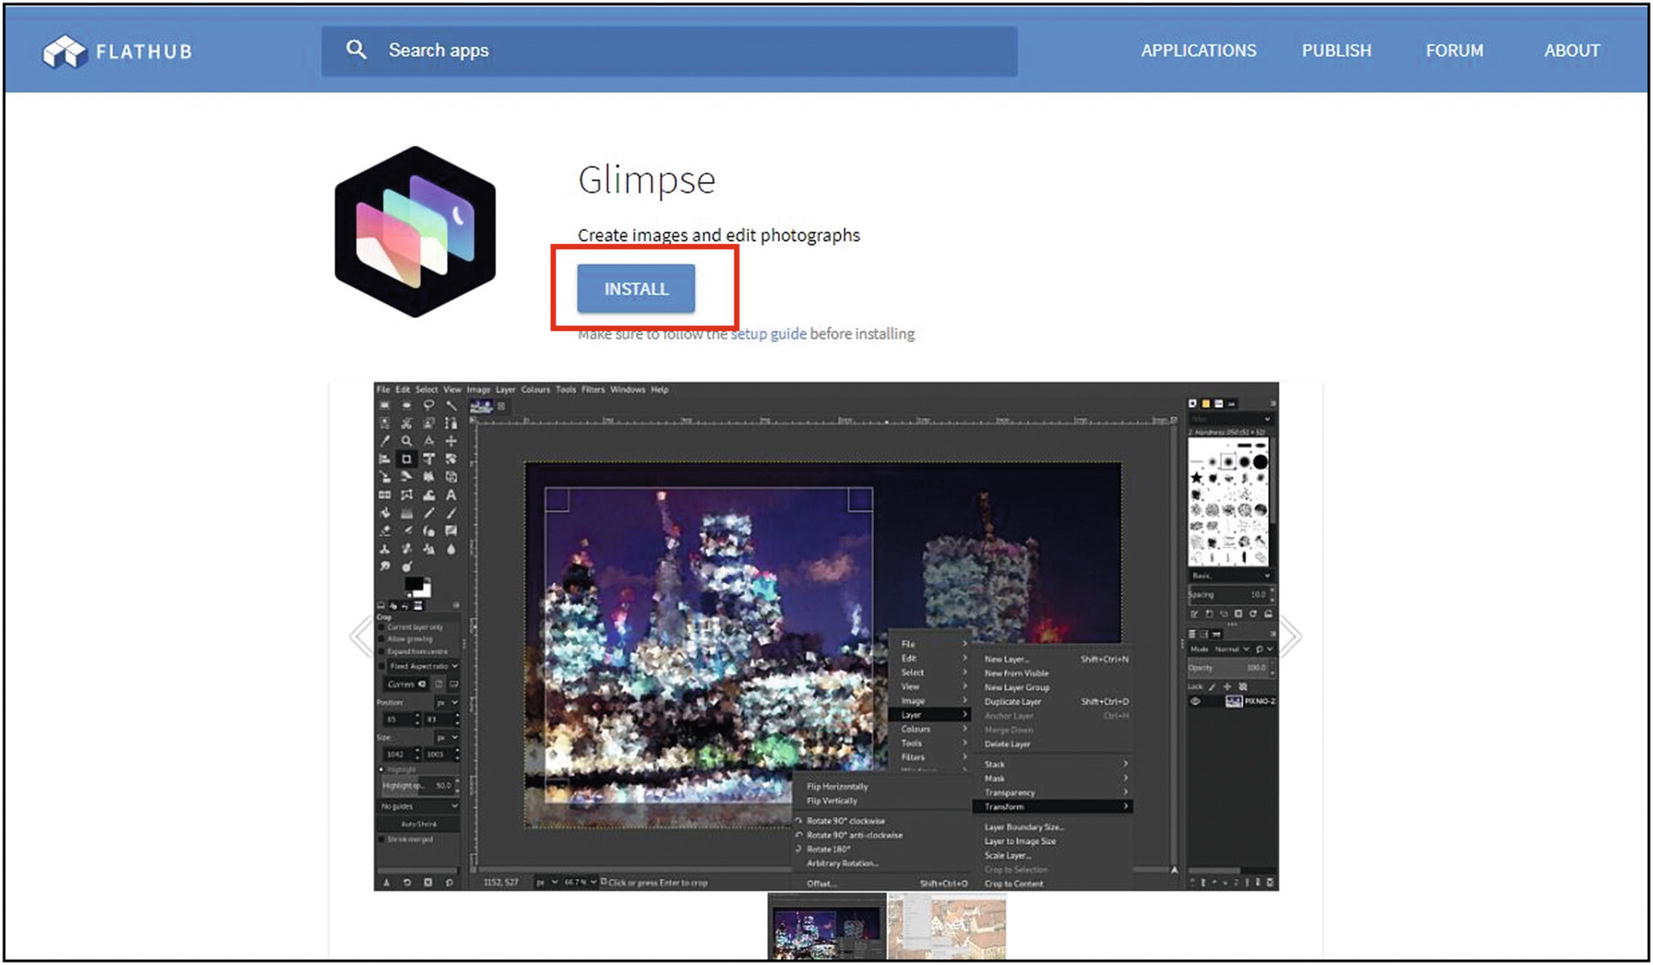
The Download on Flathub button (outlined in red)
Customizing the Workspace
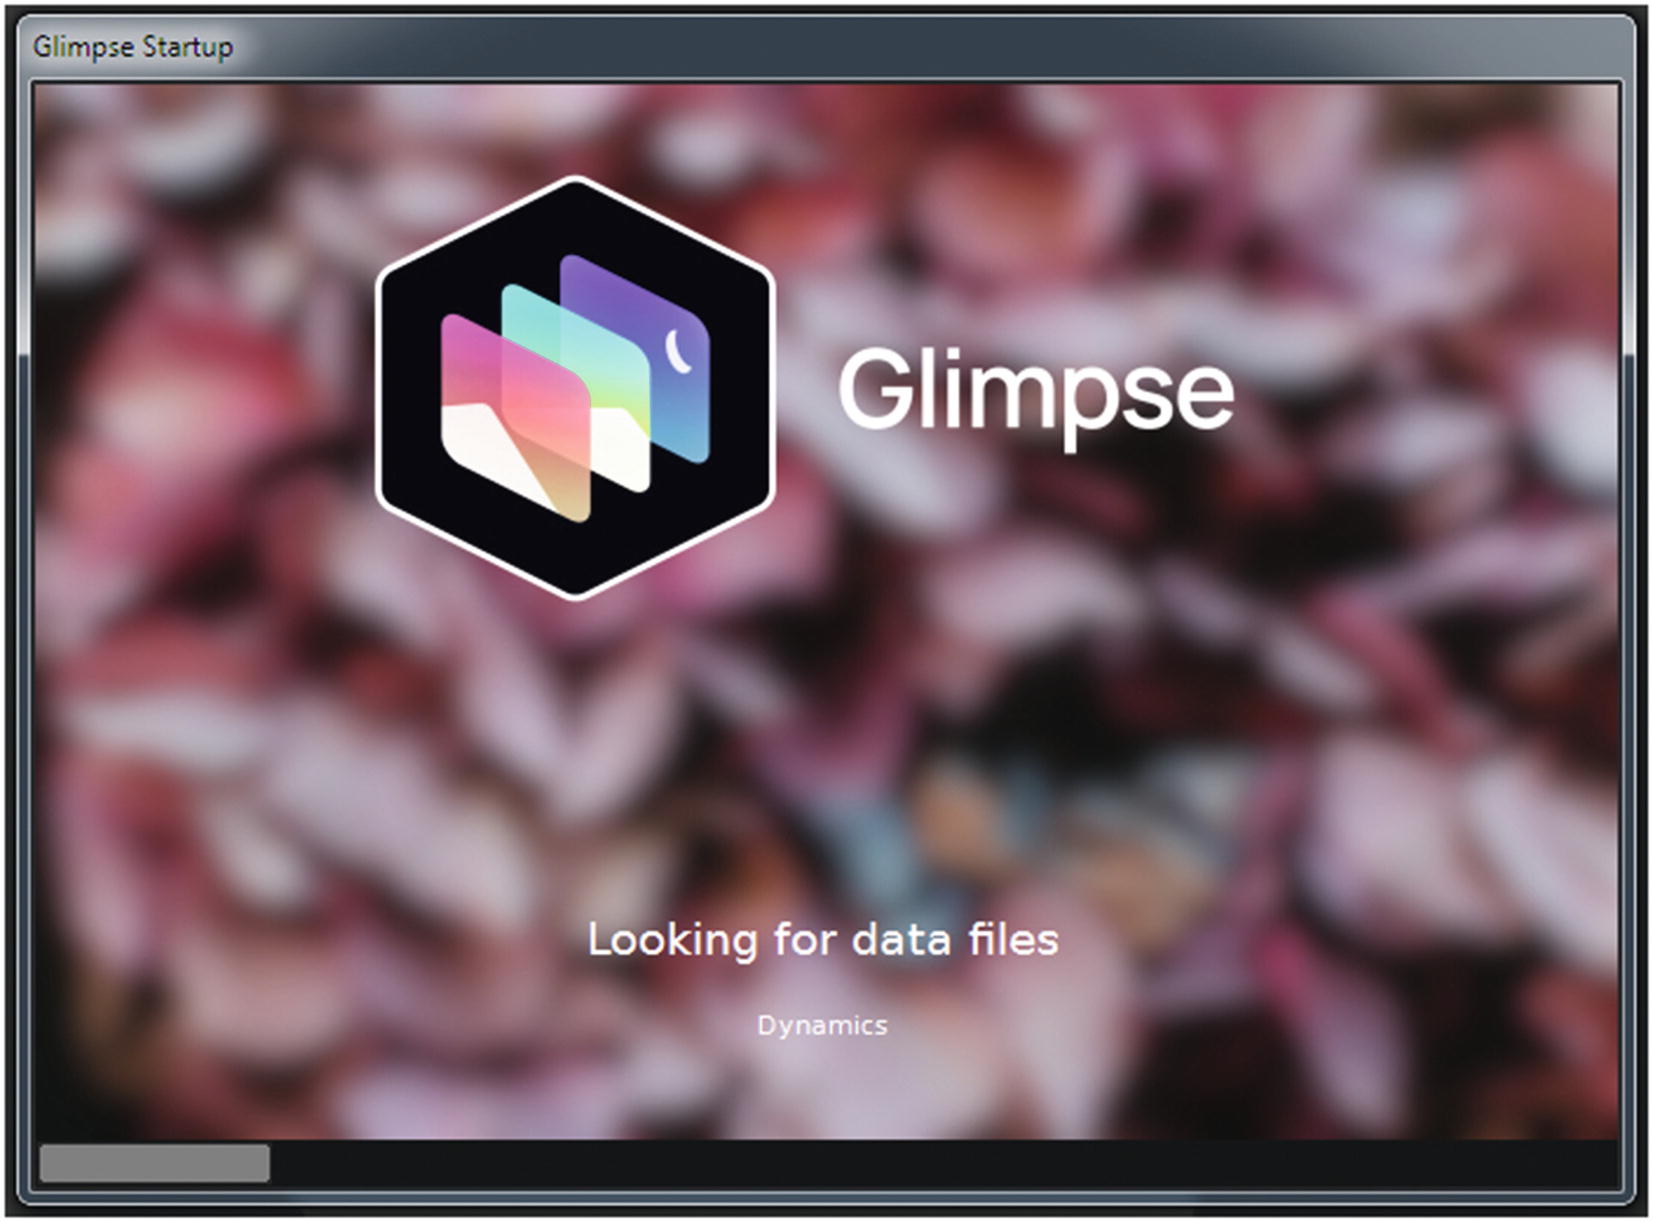
The Glimpse Image Editor startup screen
Single- and Multi-window Modes
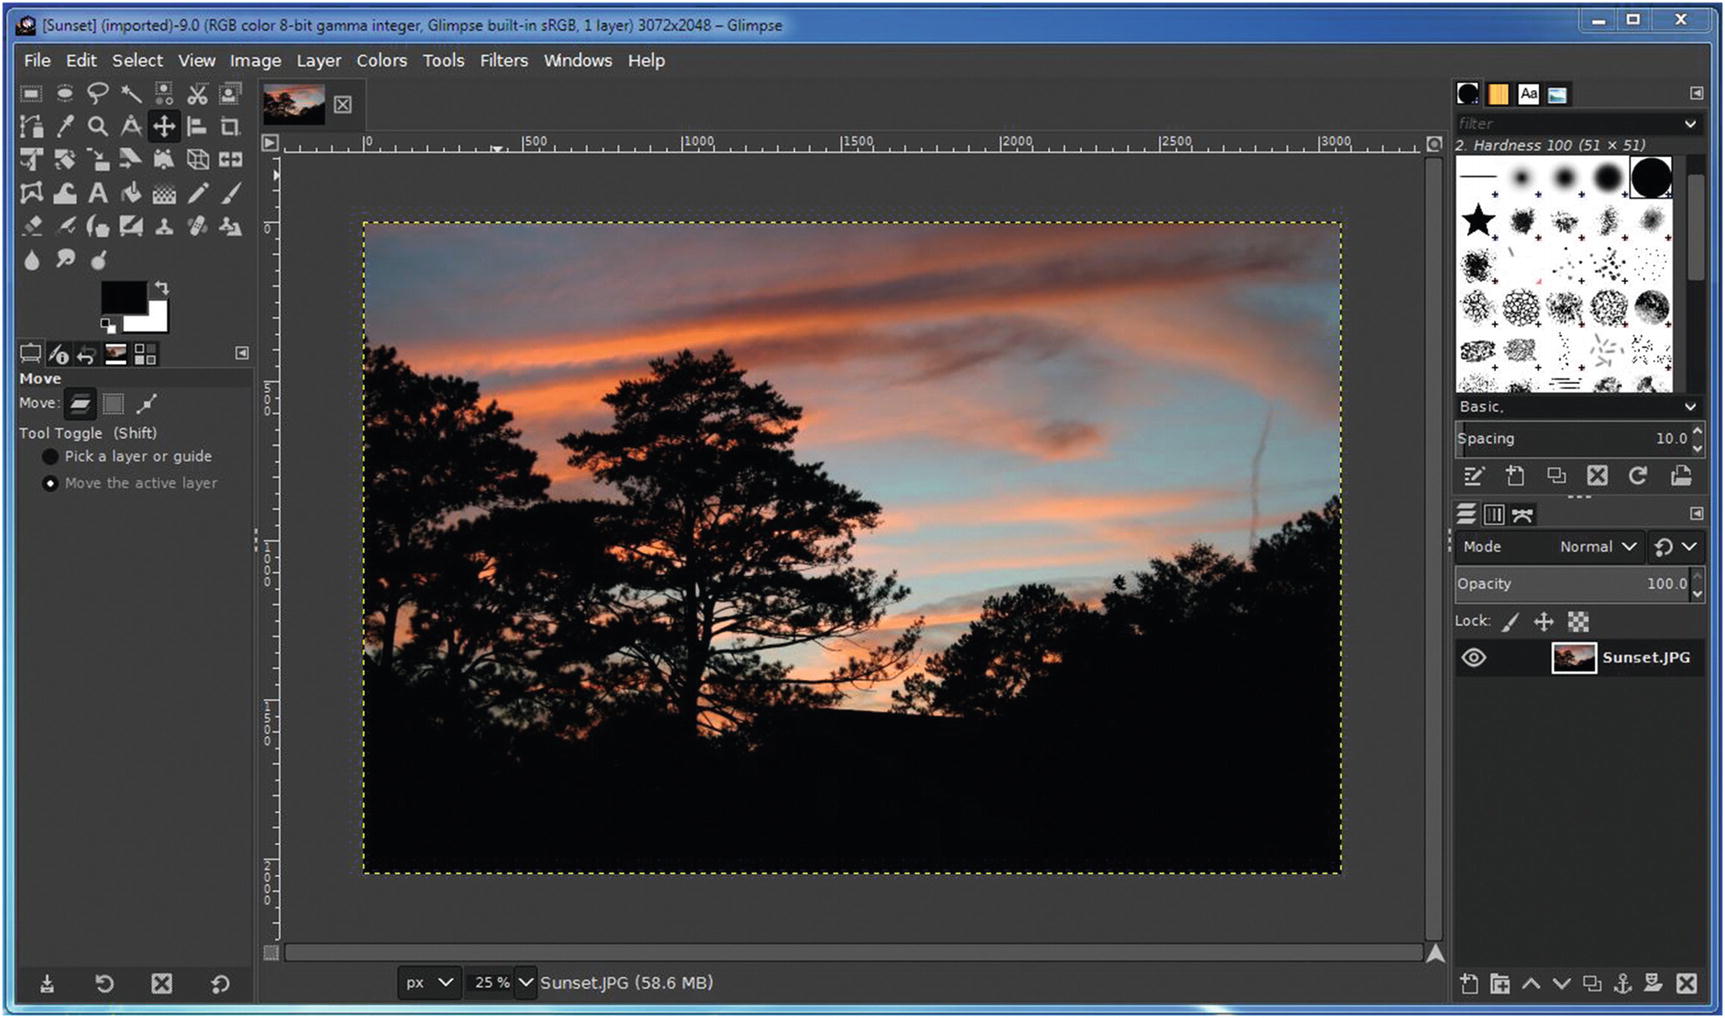
The default Glimpse interface
The interface can be resized by clicking and dragging one of the edges or corners.
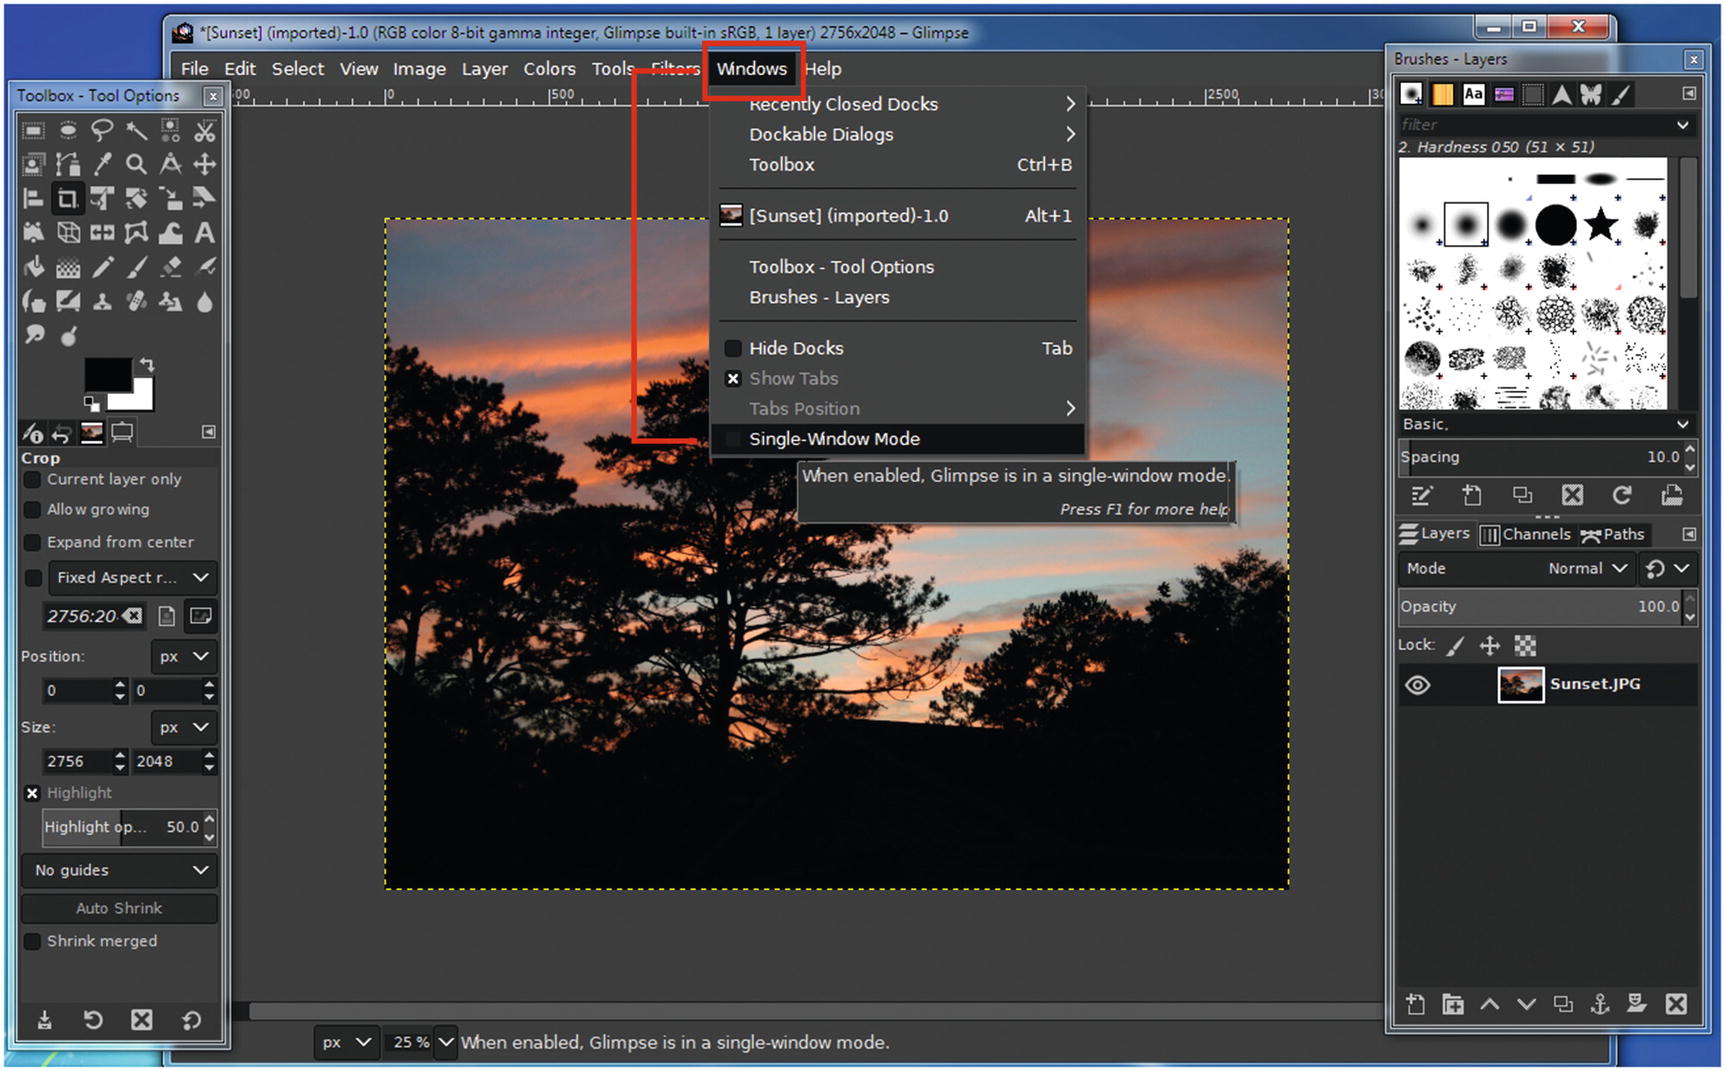
Deactivating the single-window mode initiates a multi-window mode, allowing the docks to be moved if desired
When working in the multi-window mode, it’s easy to accidentally close a dock when the intention is to close the entire program. When this occurs, the dock can be reopened from the Image Menu:
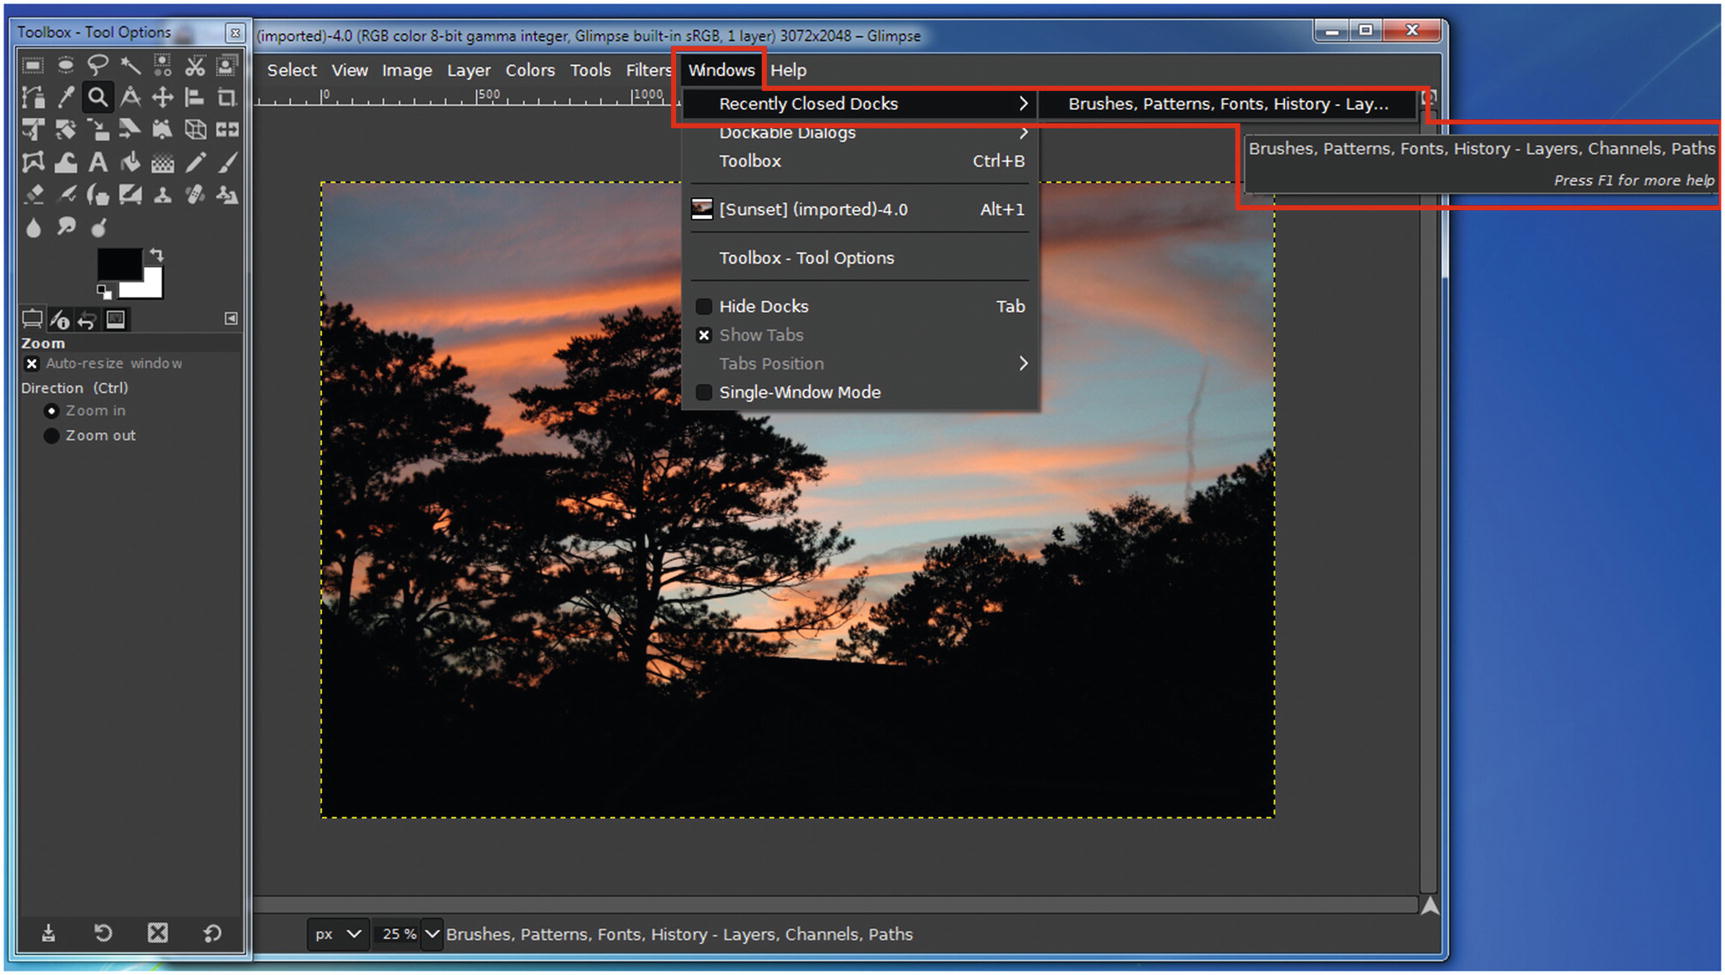
An accidentally closed dock can be reopened from the Image Menu
Themes
The Glimpse interface shown in the Light theme
- 1.
Go to Edit ➤ Preferences.
- 2.
The Preferences dialog will open.
- 3.
Click Theme in the Preferences dialog, then click Light in the Select Theme sub-menu (Figure 1-14).

The Glimpse theme is changed in the Preferences dialog
Icon Themes
Legacy—These were used in older versions of the GNU Image Manipulation Program. There is also an option for color icons (not shown).
Symbolic—The default icons used in Glimpse. There is also an option for Symbolic-high contrast icons (not shown).
Symbolic Inverted—Essentially, these are “negatives” of the Symbolic icons (best viewed using the Light theme). There is also an option for Symbolic Inverted-high contrast icons (not shown).

A comparison of the Glimpse Icon themes (not shown are Color, Symbolic-High Contrast, or Symbolic Inverted-High Contrast)
- 1.
Go to Edit ➤ Preferences.
- 2.
The Preferences dialog will open.
- 3.
Click Icon Theme in the Preferences dialog, then click the icon theme you desire in the Icon Theme submenu as shown in Figure 1-16.

The Icon Theme is changed in the Preferences dialog
Windows and Menus
Because Glimpse Image Editor is so powerful and complex, we’ll now have a quick overview of the menus, windows, and dialogs. This is to help beginners get a general sense of where to find the tools, features, and functions that are offered in this program. They will be covered in greater detail in later chapters.
The Active Image Window and Status Bar
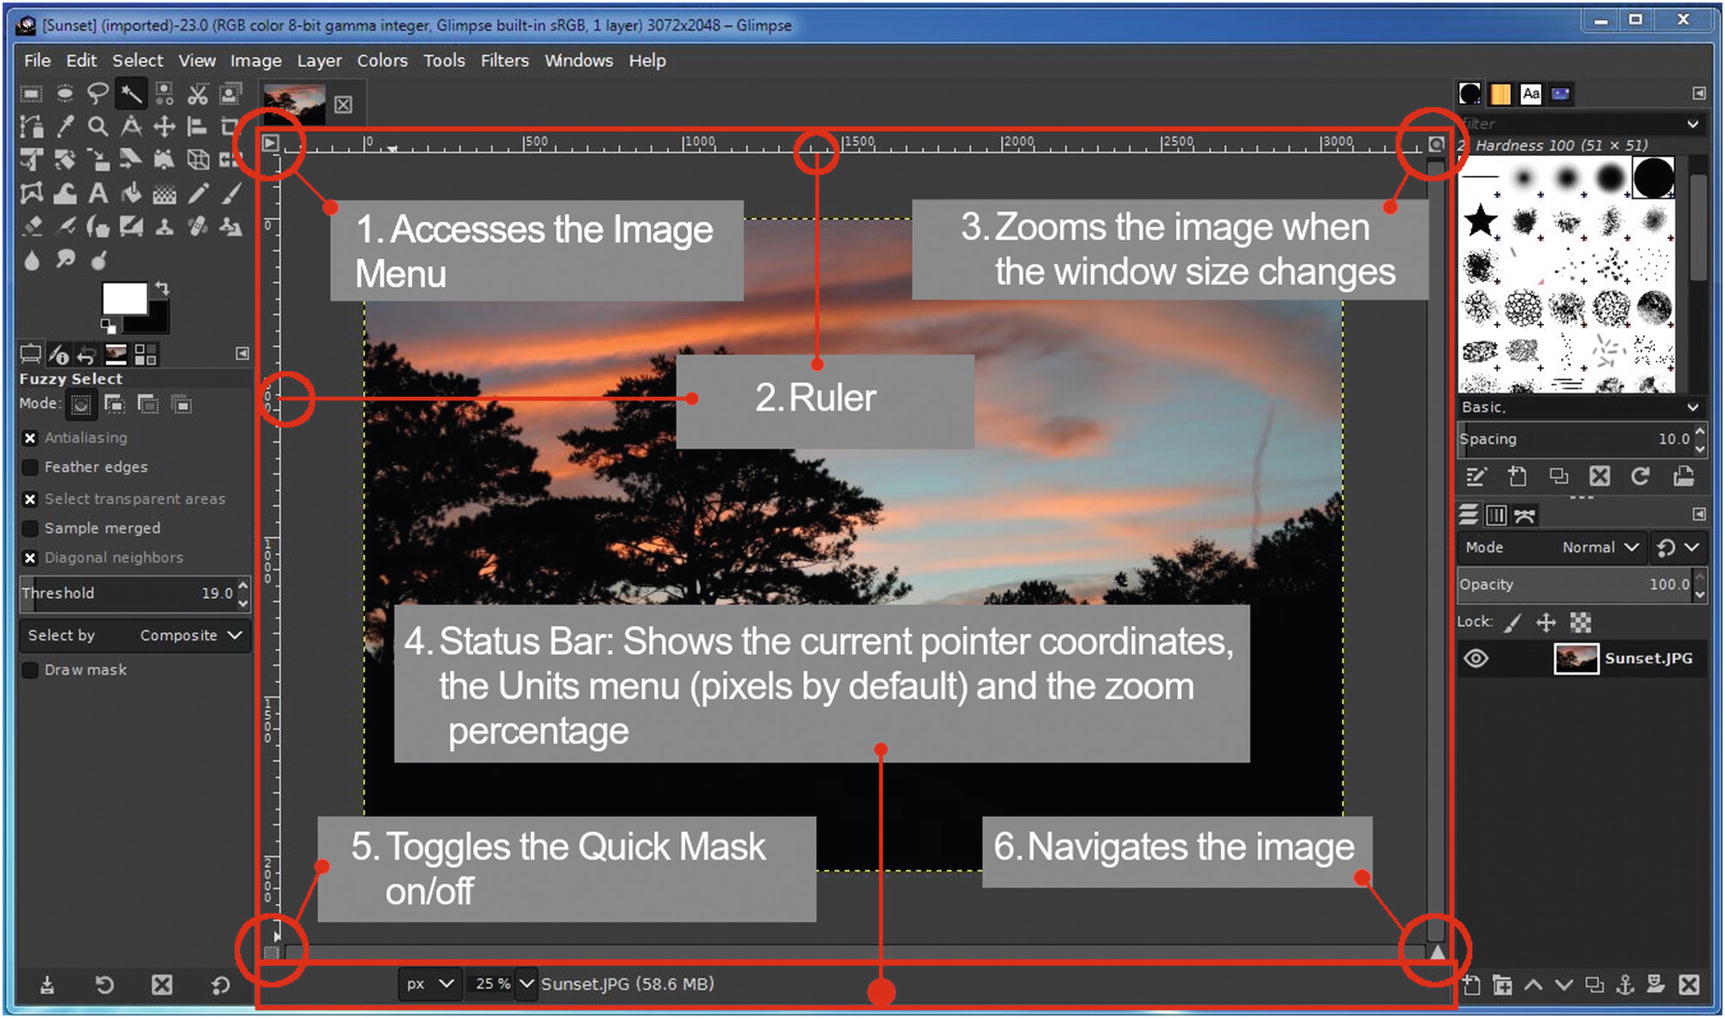
The Active Image Window and Status Bar
- 1.
Access the Image Menu (Triangular Button)—Opens the Image Menu displayed as a column.
- 2.
Ruler/Guides—Scale that runs horizontally along the top and vertically along the left side of the image. Displays units in pixels by default, but the units can be changed by accessing the Units menu on the Status Bar. Guides can be dragged from both the vertical and horizontal rulers and are used to help in placement of graphical elements.
- 3.
Zooms When the Window Size Changes (Zoom Icon)—When enabled, the active image zooms as the window is resized.
- 4.
Status Bar (located just below the Active Image Window)—Displays the current cursor/pointer coordinates, the Units menu (which shows dimensions in pixels by default), and the zoom percentage of the active image.
- 5.
Toggles the Quick Mask On/Off (Shift+Q)—Displays a translucent overlay (outside of a selection) over the active image, allowing the user to make precise refinements to the selection (this will be covered in greater detail in a later chapter).
- 6.
Navigates the Image—By clicking and holding this button, the user can easily navigate around the active image by dragging in a small preview window.
The Title Bar
The Title Bar shown on top of the Glimpse interface
The Image Menu

The Image Menu shown outlined in red

Holding the cursor over a function displays a small call-out window describing the function’s purpose
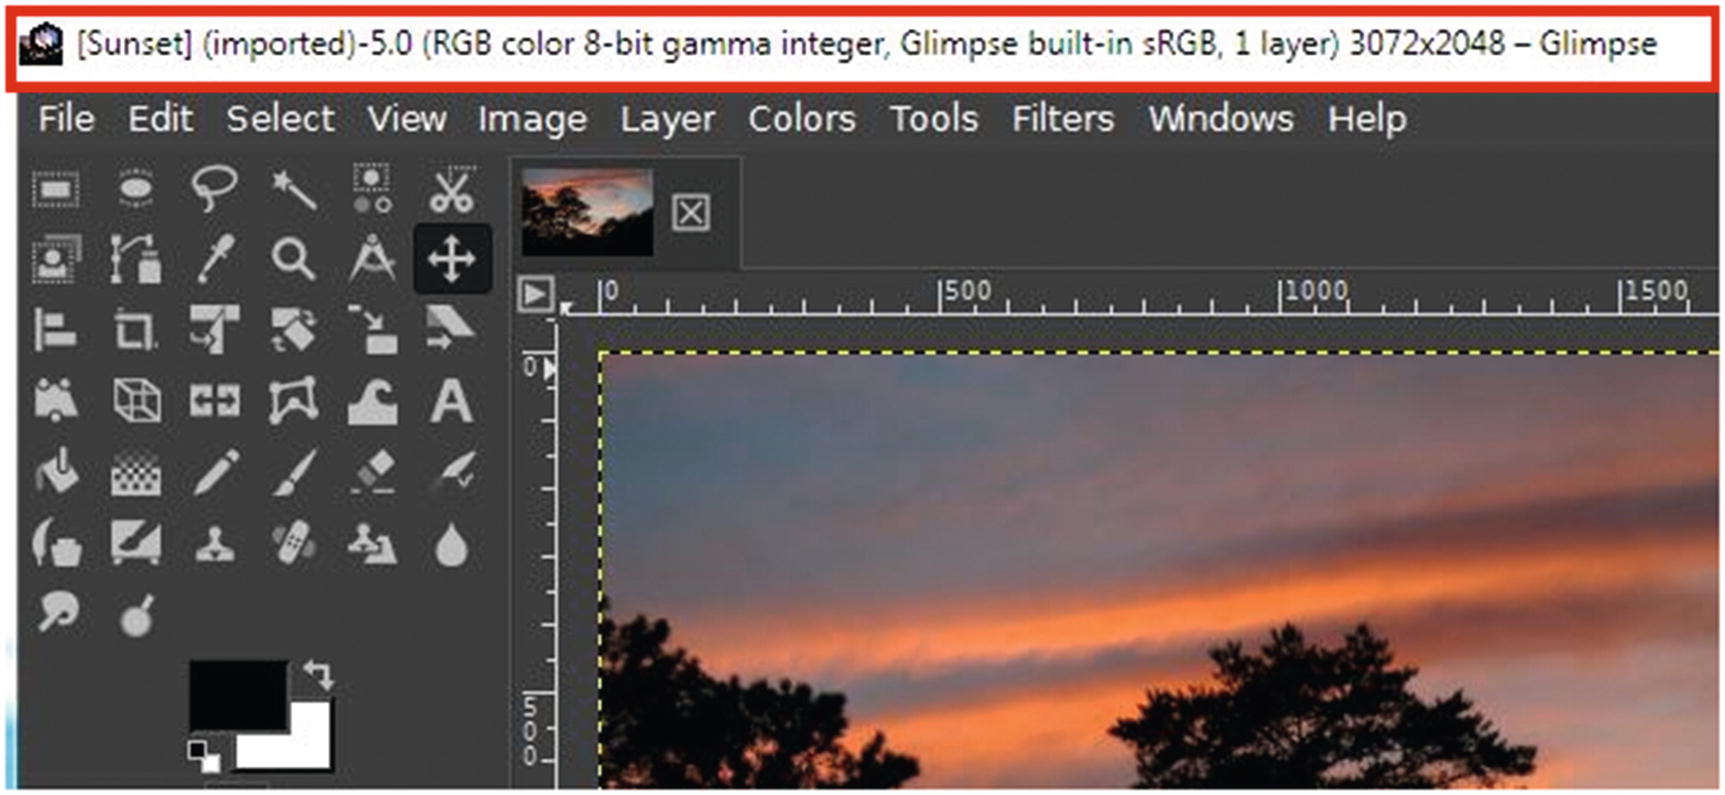
The Image Navigation Bar
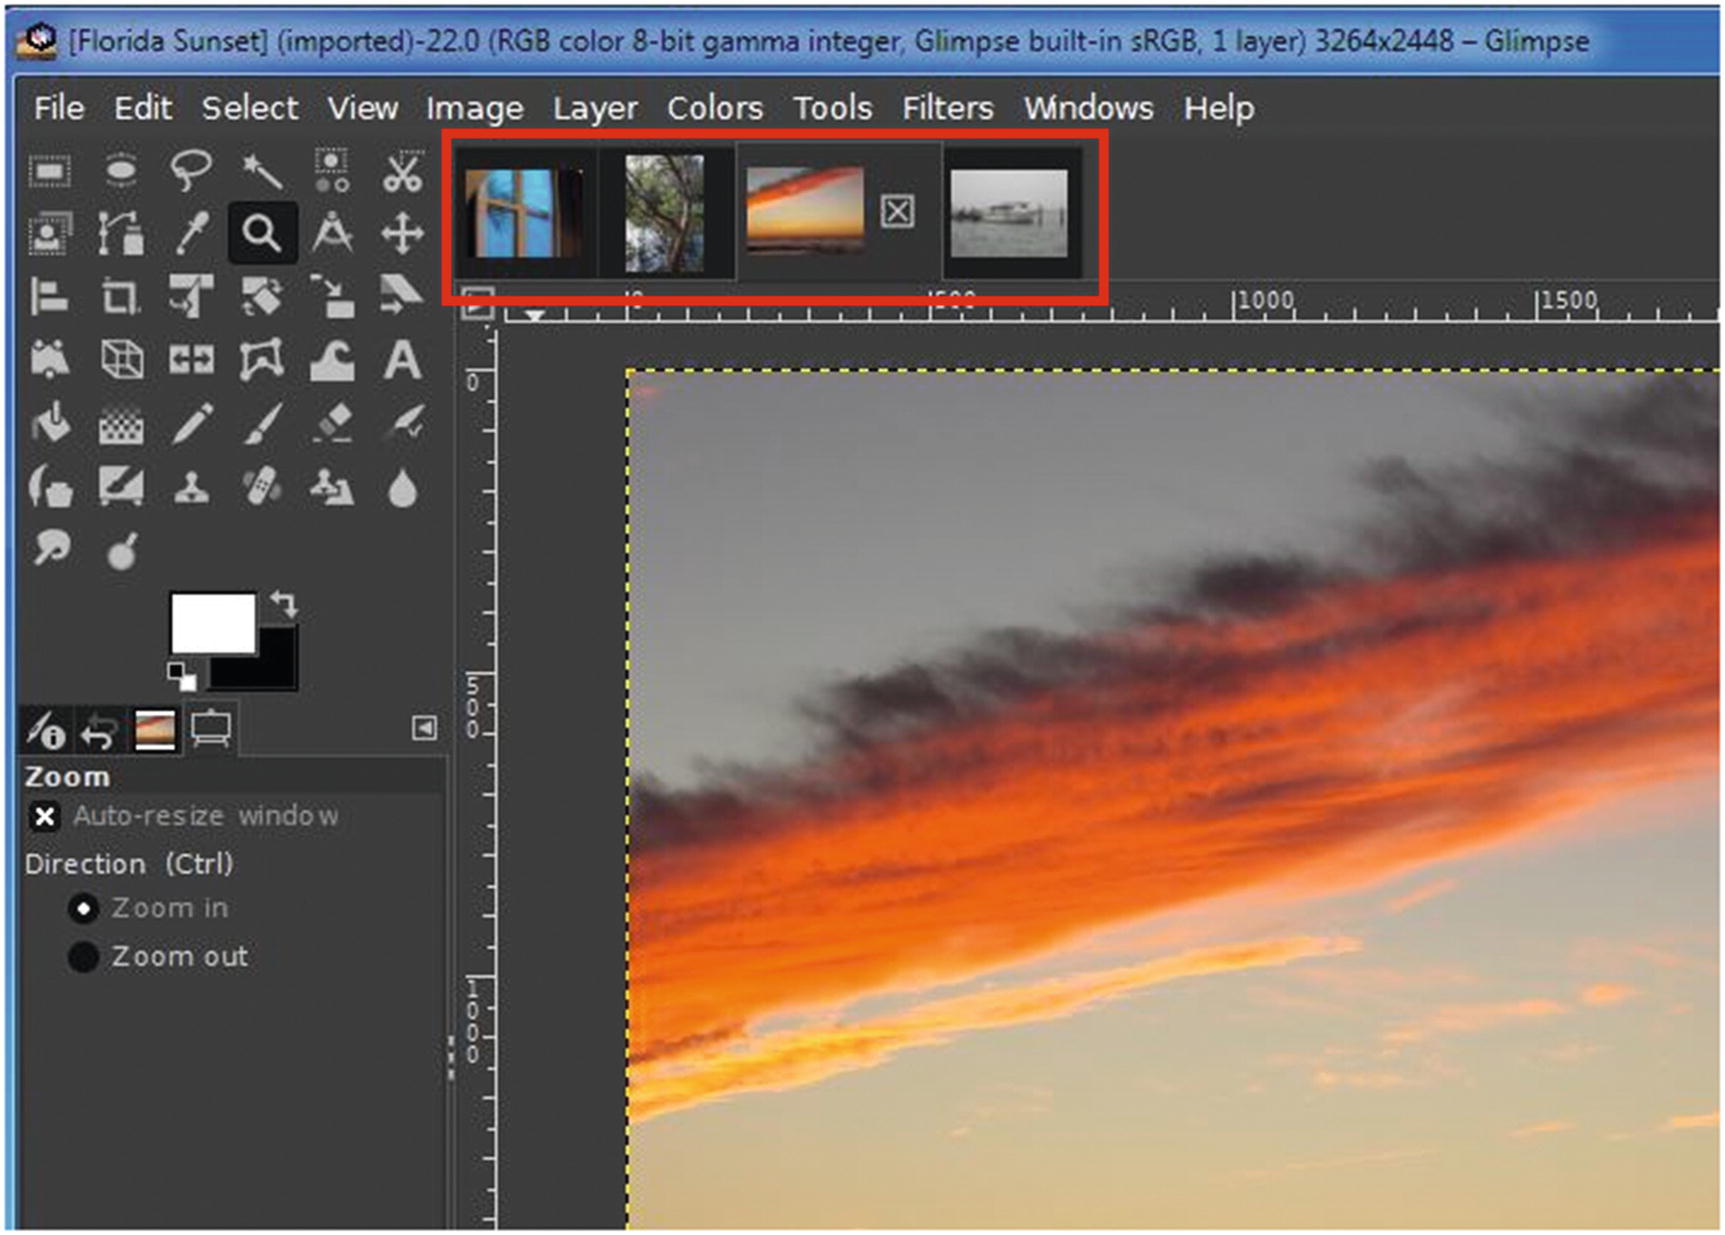
The Image Navigation bar allows the user to navigate the open images
Dialogs, Docks, and Tabs
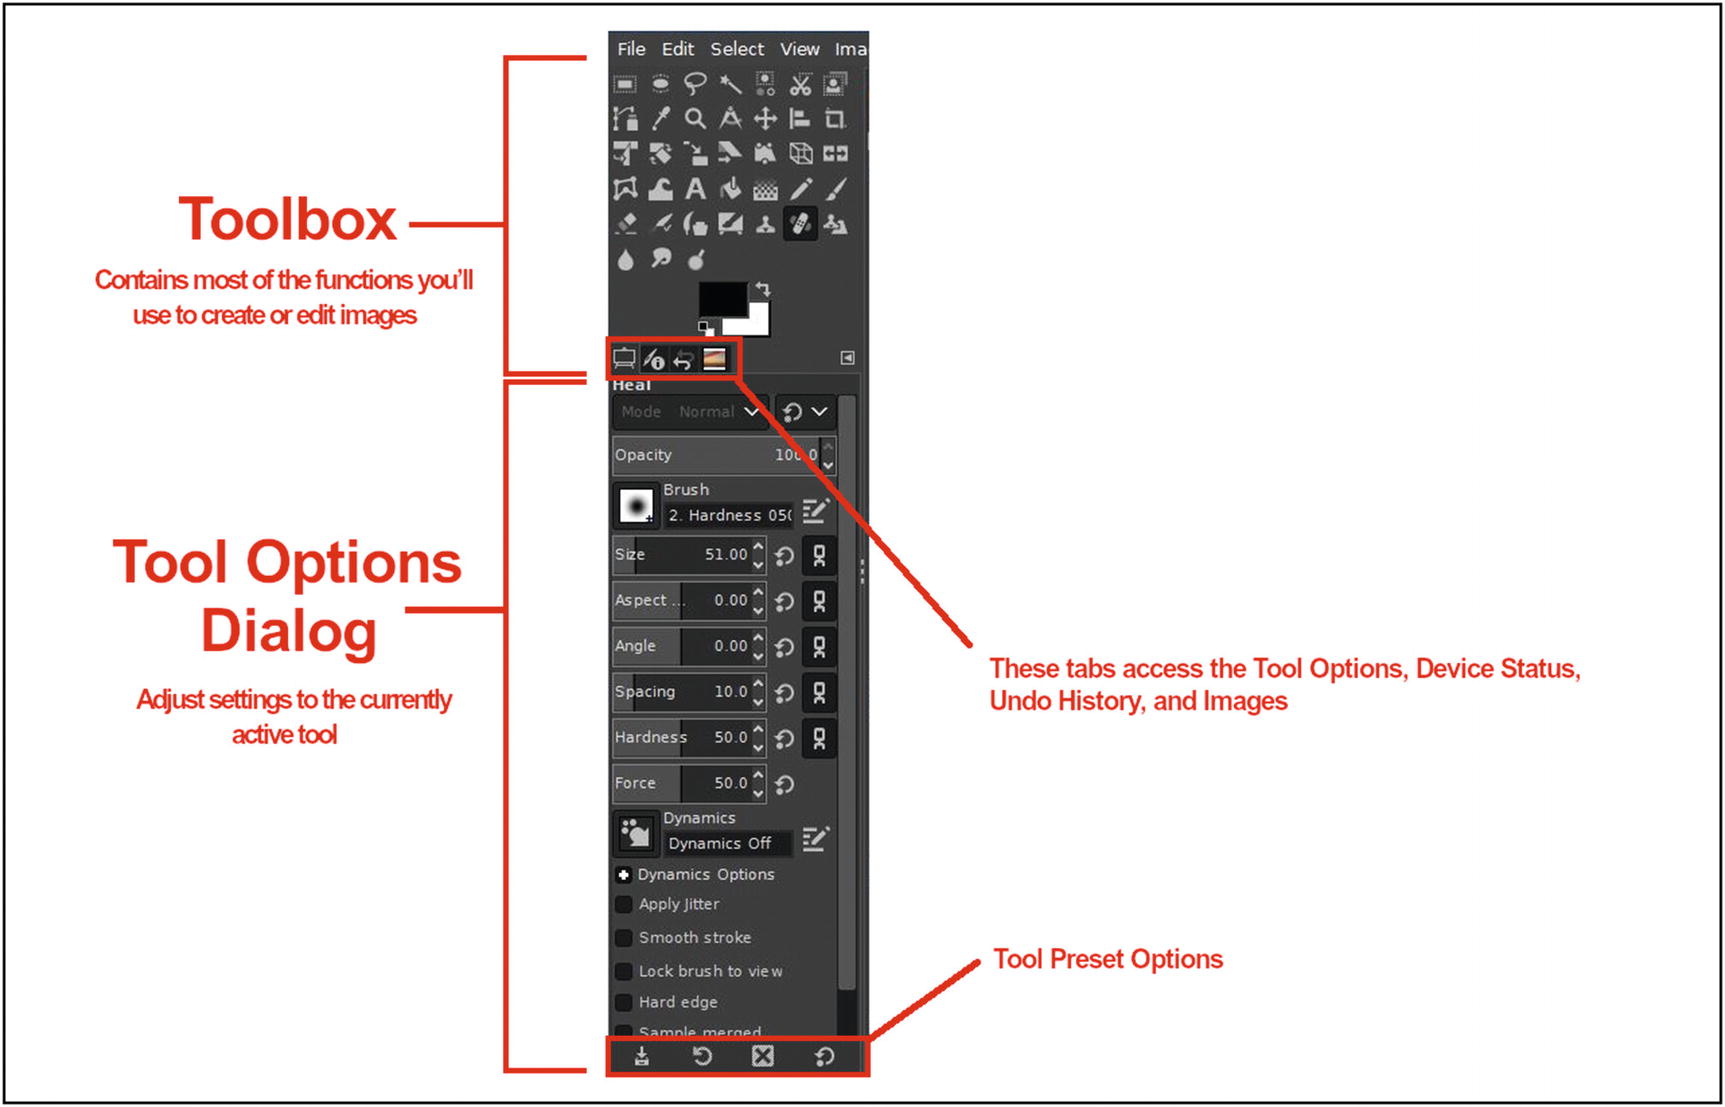
The Toolbox and the Tool Options Dialog
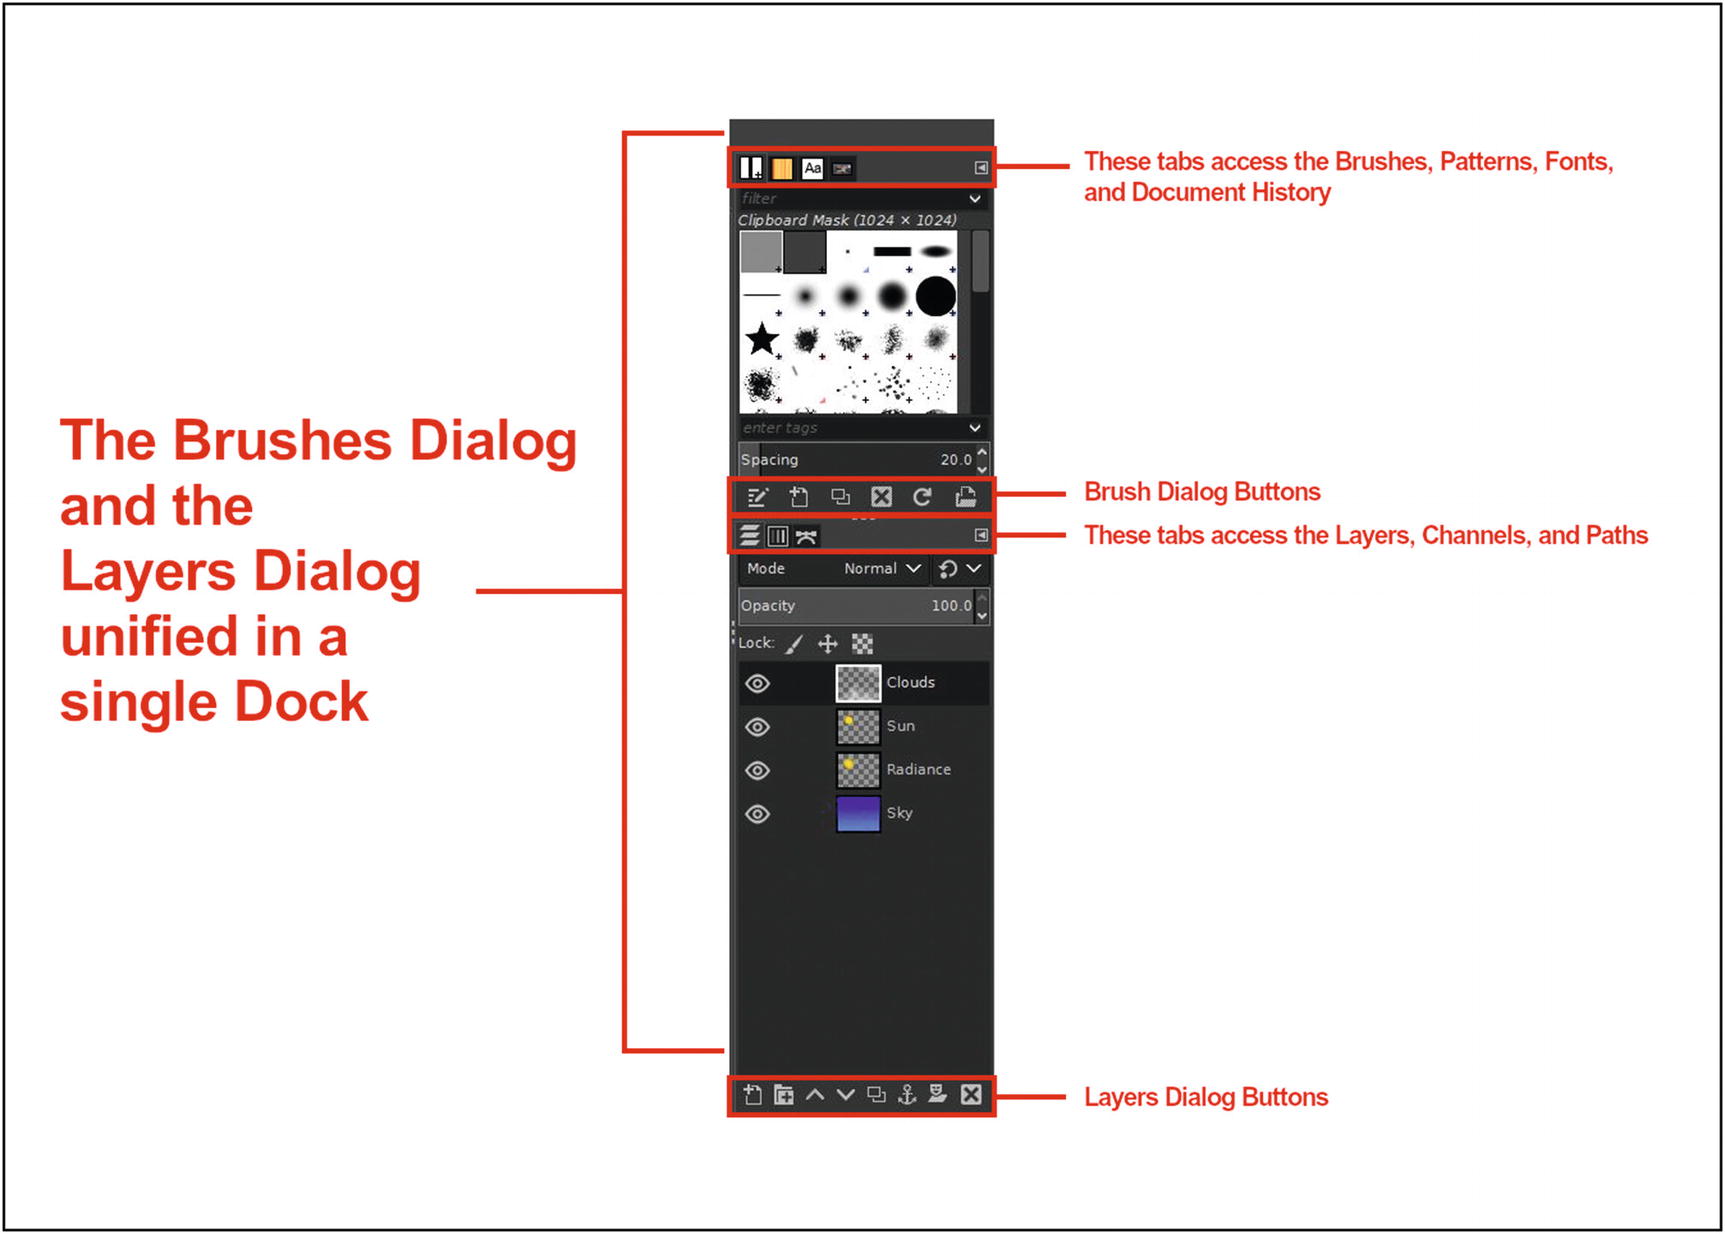
The Brushes Dialog and the Layers Dialog contained in a dock

The Brushes Tab and active dialog
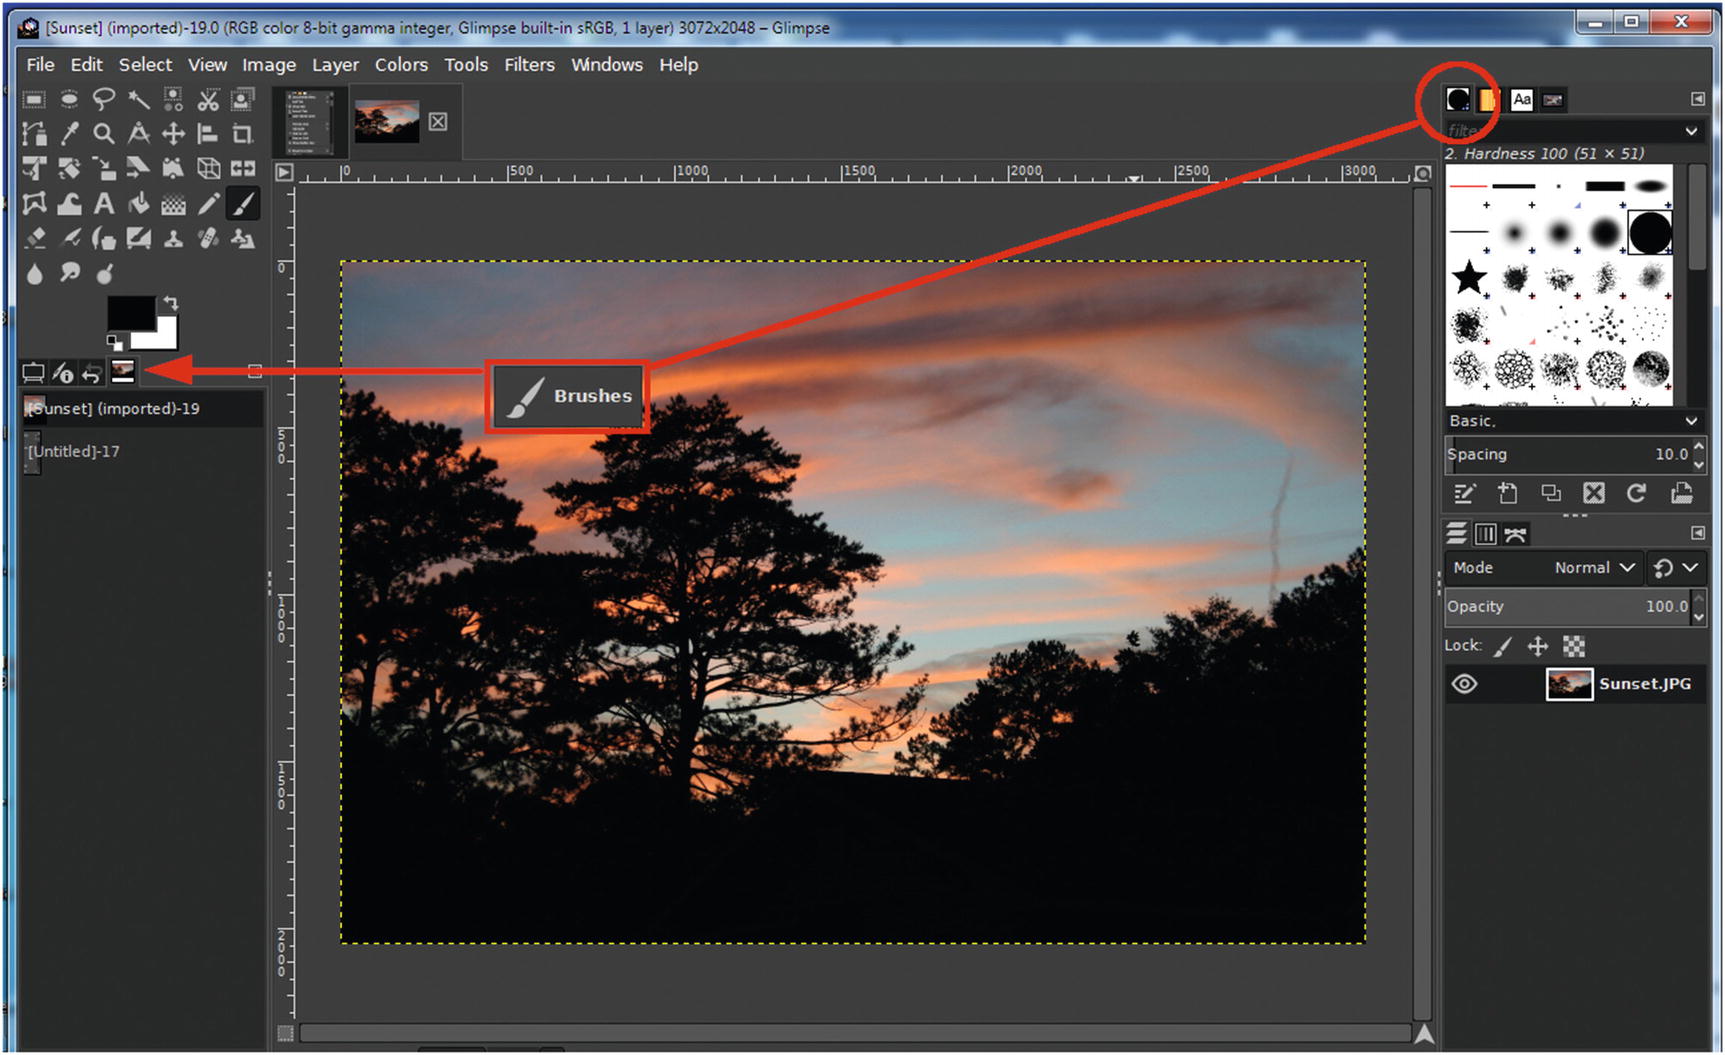
The Brushes Dialog being dragged from its default location to another dock

The Configure Tab button launches a menu displaying numerous options
Opening, Saving, and Exporting Files
Glimpse is capable of working with a wide variety of file types, including common formats such as JPEG, PNG, and TIFF. It even offers partial compatibility with files such as PaintShop Pro (open only) and Photoshop (open and export).
Opening, saving, and exporting files can be done from the File Menu, although some of these actions can be handled using keyboard shortcuts.
Like the GNU Image Manipulation Program, Glimpse handles saving and exporting files a bit differently than other image editing programs. These functions will be briefly covered in this part of the chapter.
Opening Files

Clicking Open launches a dialog allowing the user to navigate to the image stored on the computer
Open (Ctrl+O)—Opens an image file stored on your computer’s hard drive, external hard drive, or other means of storage.
Open as Layers (Ctrl+Alt+O)—Opens an image file and places it atop an active image as a layer.
Open Location—Opens an image file from a web page by entering or copying and pasting the URL in the dialog window.
Open Recent—Displays a submenu listing the most files that have been opened in Glimpse. The Document History dialog can be opened from the bottom of the submenu to find files opened further back in time.
If for some reason Open Location fails to work, a simple work-around is to right-click the image hosted on the web page and save it to your computer; then you’ll be able to open it into Glimpse (be sure to respect copyright laws).
Saving Files
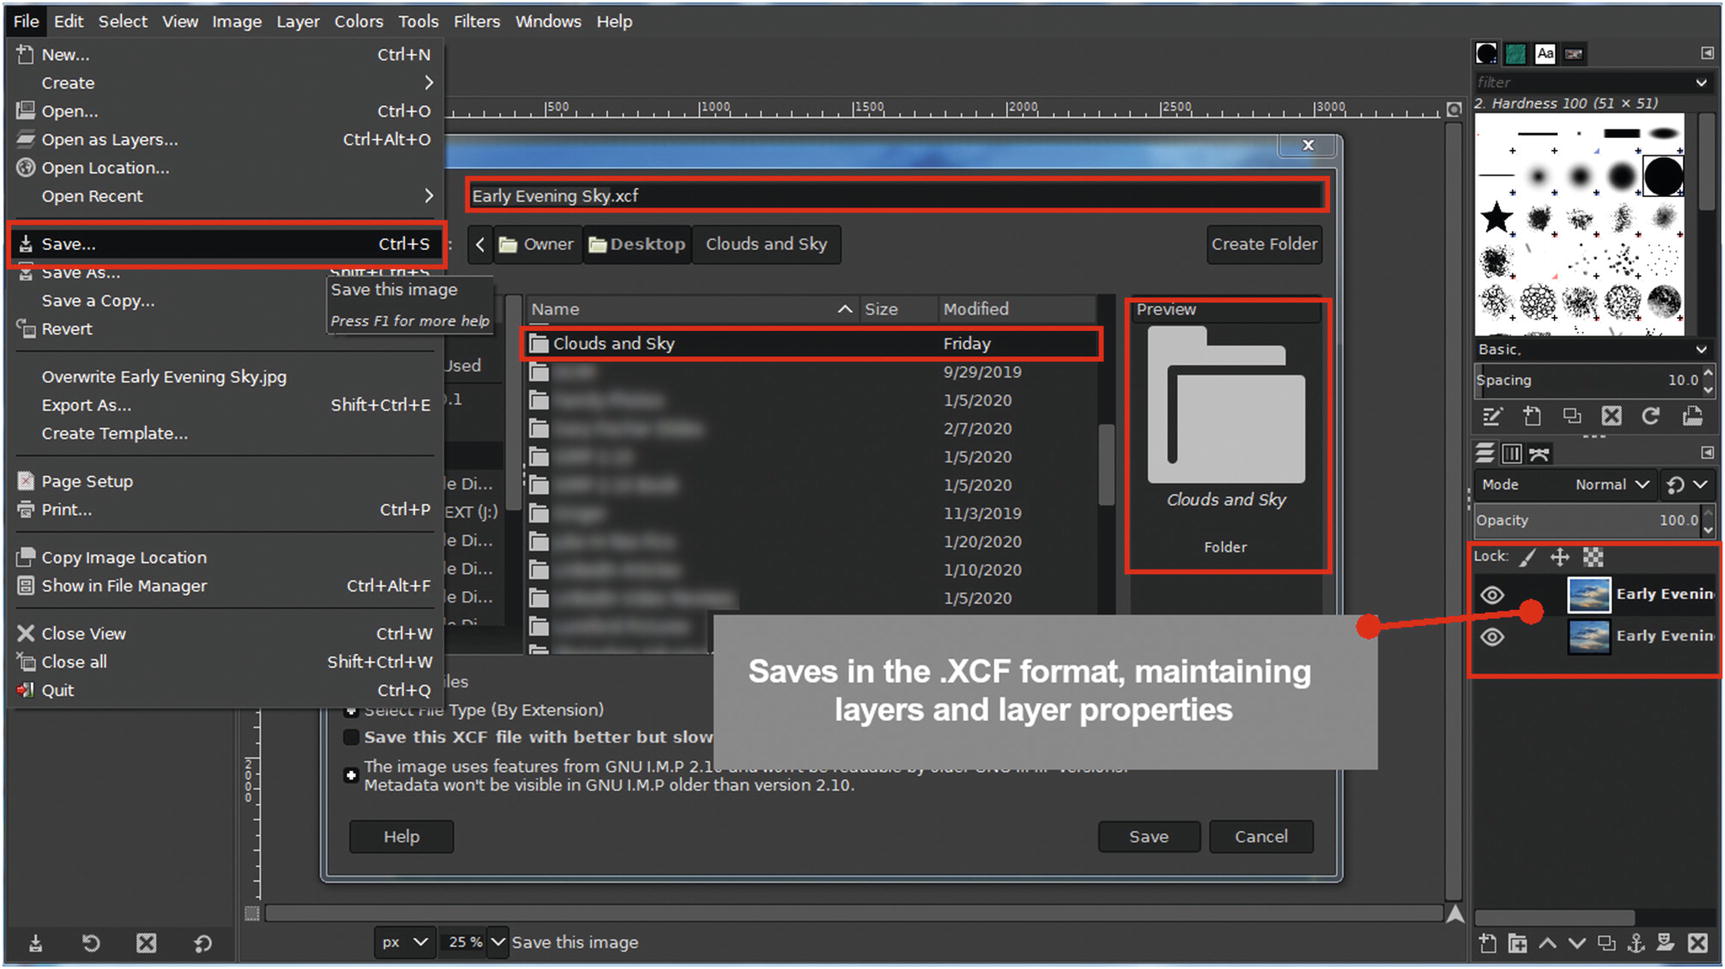
Glimpse saves your work in the .XCF format, preserving layers and layer properties
Save (Ctrl+S)—Saves the currently active image; initially, a dialog will display prompting the user to name the image, and select which folder it should be saved.
Save As (Shift+Ctrl+S)—Saves the image with a different name.
Save a Copy—Saves a copy of the image without affecting the source file or the state of the currently active image.
Revert—Discards all of the changes made and reloads the original file from the disc.
Exporting Files
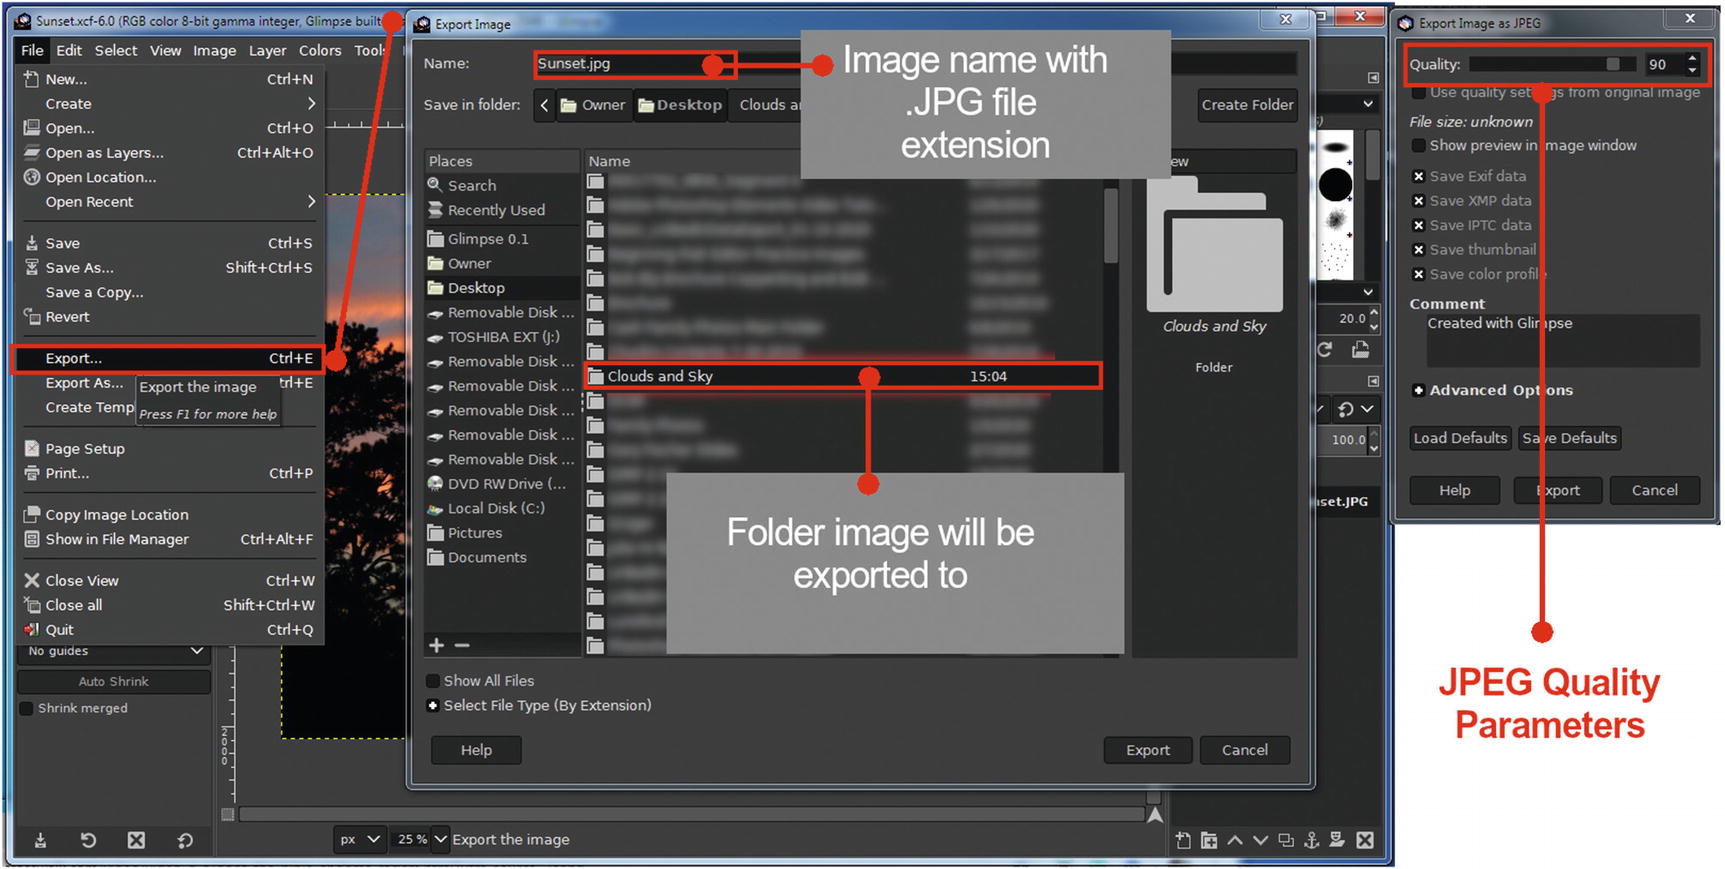
Exporting an image in the .XCF file as a JPEG file
Export/Export To (Ctrl+E)—Saves a file under a different file extension. After an image has been exported and editing continues, the option reads Export to, followed by the image name.
Export As (Shift+Ctrl+E)—Launches the Export Image dialog, allowing the user to select from a list of file extensions.
Chapter Conclusion
This chapter provided an overview of Glimpse—everything from downloading it, installing it, and a look at the interface with its various menus and dialogs.
Downloading and installing Glimpse
Customizing the workspace
Windows and menus
Opening, saving, and exporting files
In the next chapter, we’ll cover Layers, Channels, Paths, and Undo History.