
It is possible to use Sencha Cmd to generate skeleton components. The most useful of these commands are those used to generate basic models.
A model skeleton can be generated very easily using the Sencha Cmd Tool. The syntax is as follows:
sencha generate model ModelName [field1:fieldType,field2:fieldType…]
This command must be executed in the application root (the directory in which the app.js file is found). Note that there must not be any spaces in the comma-separated field listing. The company model skeleton can be generated by executing the following command:
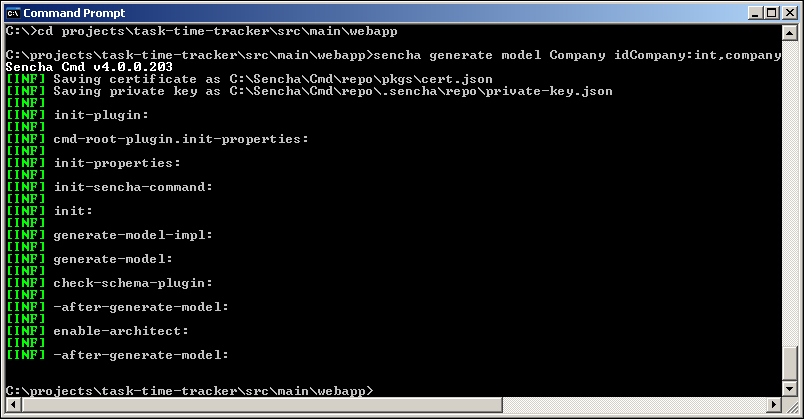
sencha generate model Company idCompany:int,companyName:string
The final string for the companyName field is not strictly required as the default property type is string, if not specified. The output from this command looks as shown in the following screenshot:
The generated Company.js file is written into the app/model directory and has the following content:
Ext.define('TTT.model.Company', {
    extend: 'Ext.data.Model',
    fields: [
        { name: 'idCompany', type: 'int' },
        { name: 'companyName', type: 'string'}
    ]
});
This is a very simple model and has two fields as expected. We can also generate more complex models using different data types:
sencha generate model TaskLog idTaskLog:int,taskDescription:string,taskLogDate:date,taskMinutes:int,hours:float,username:string,userFullName:string,idTask:int,taskName:string,idProject:int,projectName:string,idCompany:int,companyName:string
The preceding command will generate the TaskLog model with fields of types int, string, date, and float.
Ext.define('TTT.model.TaskLog', {
extend: 'Ext.data.Model',
fields: [
{ name: 'idTaskLog', type: 'int' },
{ name: 'taskDescription', type: 'string' },
{ name: 'taskLogDate', type: 'date' },
{ name: 'taskMinutes', type: 'int' },
{ name: 'hours', type: 'float' },
{ name: 'username', type: 'string' },
{ name: 'userFullName', type: 'string' },
{ name: 'idTask', type: 'int' },
{ name: 'taskName', type: 'string' },
{ name: 'idProject', type: 'int' },
{ name: 'projectName', type: 'string' },
{ name: 'idCompany', type: 'int' },
{ name: 'companyName', type: 'string' }
]
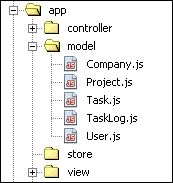
});The model skeletons for the three remaining entities can be created by executing the following commands:
sencha generate model Project idProject:int,projectName:string, idCompany:int,companyName:string
sencha generate model Task idTask:int,taskName:string,idProject:int,projectName:string, idCompany:int,companyName:string
sencha generate model User username:string,firstName:string,lastName:string,fullName:string,email:string,password:string,adminRole:string
Note that each of these models matches the JSON structure generated by the addJson (JsonObjectBuilder) method in the equivalent Java domain classes. You should now have the files shown in the following screenshot in the app/model directory:
Although we have used the Sencha Cmd Tool to generate these model skeletons, it would have been just as easy to create the appropriate files and definitions in the NetBeans IDE.
It is also possible to generate basic view and controller skeletons, but the contents of these files are very limited. The following command will create a view named ManageUsers:
sencha generate view ManageUsers
The ManageUsers.js file will be written to the app/view directory and have the following contents:
Ext.define("TTT.view.ManageUsers", {
    extend: 'Ext.Component',
    html: 'Hello, World!!'
});
In a similar manner, you could create a controller skeleton for UserController:
sencha generate controller UserController
The UserController.js file would be written to the app/controller directory and have the following contents:
Ext.define('TTT.controller.UserController', {
    extend: 'Ext.app.Controller'
});
We believe it is simpler to create views and controllers in the NetBeans IDE and will not be using Sencha Cmd for this purpose.