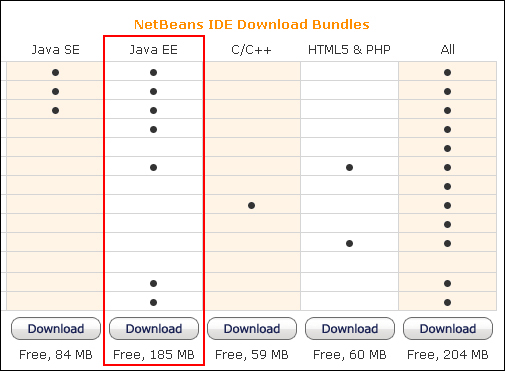
NetBeans can be downloaded from https://netbeans.org/downloads/. The distribution requires a valid JDK to be already installed on your platform. At the time of this writing, I used JDK 7 Update 45, but any JDK 7 (or higher) version would be fine. There are several distribution bundles; you will need to select the Java EE bundle.

The latest version at the time of this writing was NetBeans 7.4, which introduced significant new features, including extended HTML5 and JavaScript support. For the first time, NetBeans also included editing and code completion support for the Ext JS framework.
To install the software, simply download and follow the detailed instructions available from the NetBeans website. This will take you through a sequence of setup screens as follows:
- The GlassFish 4 server is automatically selected. You do not need to install Tomcat.
- Accept the terms in the license agreement.
- Accept the terms of the JUnit license agreement. JUnit is used for testing in Chapter 5, Testing the DAO Layer with Spring and JUnit.
- Note the installation path of the NetBeans IDE for future reference. Select the appropriate JDK that was installed previously (if there is more than one JDK on your system).
- Note the installation path for the GlassFish 4 server for future reference.
- The final screen summarizes the installation. Ensure to Check for Updates before clicking on Install to start the process.
The process may take several minutes depending on your platform and hardware.
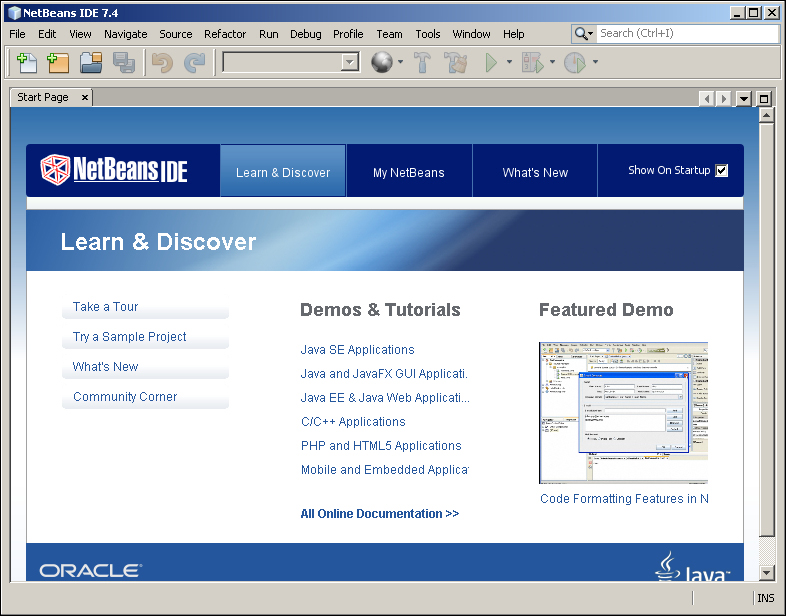
When the installation is complete, you can run NetBeans for the first time. If you had a previous version of NetBeans installed, you may be prompted to Import Settings. The default opening screen will then be displayed as follows:

The most useful panels can now be opened from the menu:
- Projects: This panel is the main entry point to your project sources. It shows a logical view of important project content, grouped into appropriate contexts.
- Files: This panel shows the actual file structure of the project node as it exists on your filesystem.
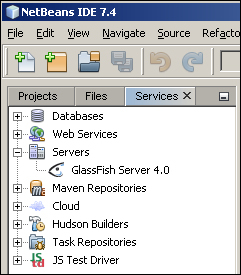
- Services: This panel displays your runtime resources. It shows a logical view of important runtime resources such as the servers and databases that are registered with the IDE.
At this stage, the first two panels will be empty but the Services panel will have several entries. Opening the Servers panel will display the installed GlassFish 4 Server as seen in the following screenshot:

