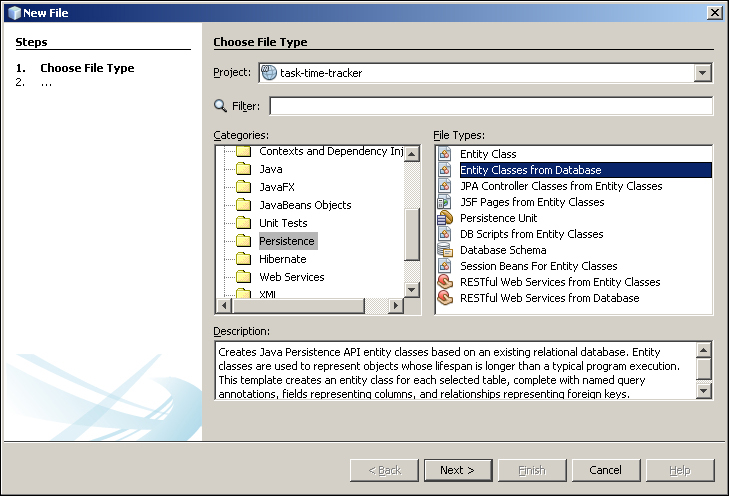
The New Entity Classes from Database wizard is one of the most helpful and time-saving wizards in NetBeans. It generates a set of entity classes from an existing database connection, extracting and annotating all the fields and defining relationships between the classes. To access the wizard, navigate to File | New File. This will open the New File window, where you can then select the Persistence category followed by the Entity Classes From Database file type:
Click on Next to display the Database Tables screen where you can create a New Data Source:
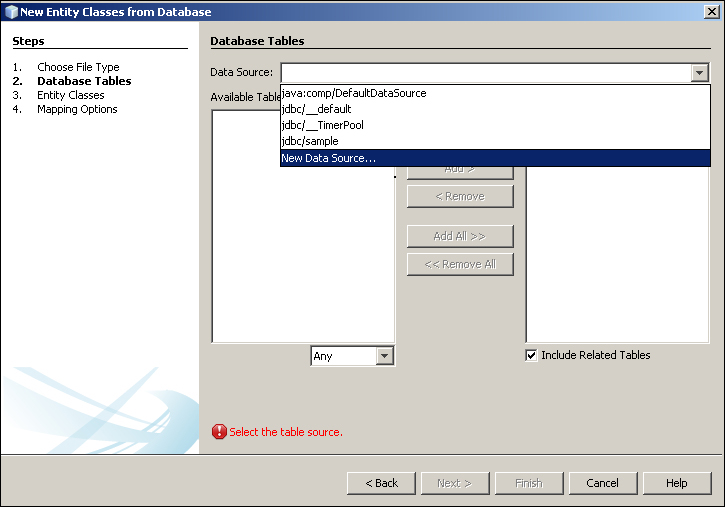
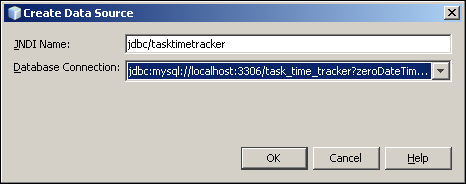
This will allow you to enter the JNDI Name and to select the Database Connection that was created in the previous chapter:
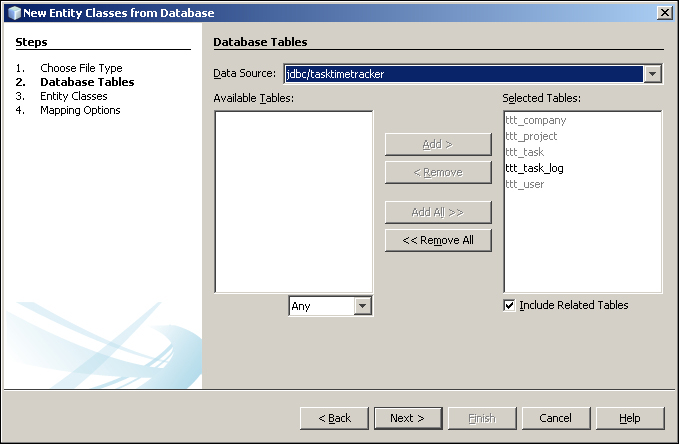
The wizard will now read all the tables and display them in the Available Tables list. Select all the tables and add them to the Selected Tables list as shown:
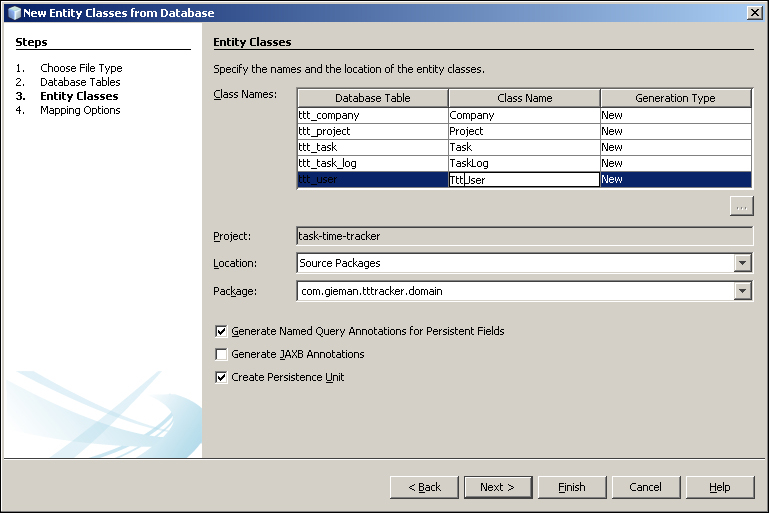
Click on the Next button. This will display the following screen with entity class generation properties. Change the Class Name for each entity to remove the Ttt prefix by double-clicking on each Class Name row to edit this property as shown (the screenshot shows the User entity prior to editing). Why do we remove this Ttt? Simply because the reverse engineering process automatically creates a class name based on the table name and the Ttt prefix does not add anything to our design. The next change has to be done in the package name. Add domain to the package name as shown. This will generate new entity classes in the com.gieman.tttracker.domain package that will represent our business domain objects and the associated helper classes. Keeping our classes in well-defined, separate packages according to usage or purpose enhances our ability to maintain the application easily. For large enterprise applications, a well-defined Java package structure is crucial.
The final step is to uncheck the Generate JAXB Annotations checkbox. We don't need to generate XML via JAXB, so we will not need the additional annotations.
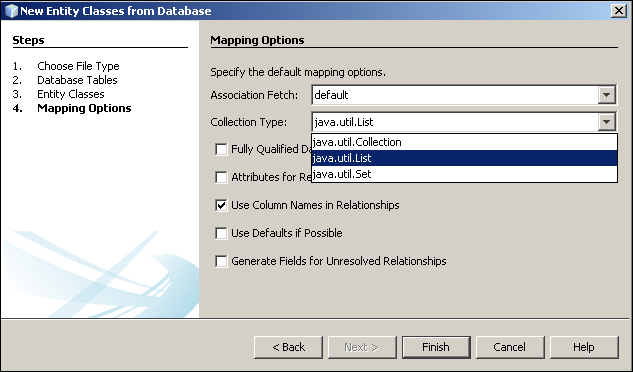
Now click on the Next button, which will show the following screen. The final step involves selecting the appropriate Collection Type. There are three different types of collections that can be used and all can be used with equal success. We will change the default Collection Type to java.util.List as the sort order is often important in an application's business logic and the other types do not allow sorting. On a more personal level, we prefer using the java.util.List API over the java.util.Set and java.util.Collection APIs.
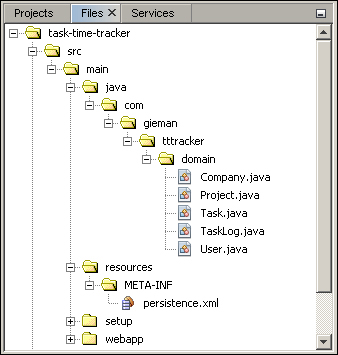
Click on the Finish button to start the reverse engineering process. When the process is complete, you can open the src/java nodes to view the generated files, as shown in the following screenshot: