
Roles are created according to the corporate hierarchy of the system. Roles determine how the data is shared with the user. While profiles determine which objects can be seen by which users, roles determine which records from the object can be seen by the user. The user can be separated on the basis of their work department, territory, or company hierarchy.
The following diagram illustrates a basic sample role hierarchy:
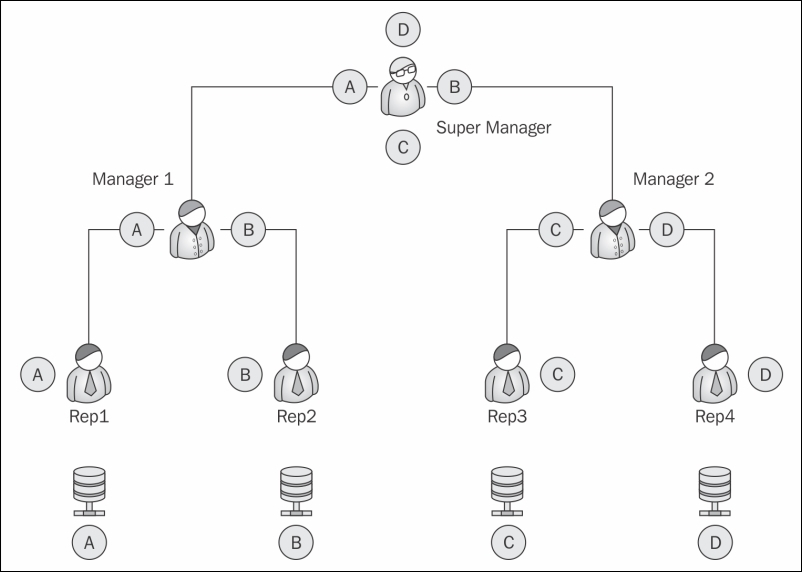
In the preceding diagram, A, B, C, and D, are records of the same objects owned by Rep1, Rep2, Rep3, and Rep4, respectively. While all the four reps have access to the same objects, they do not have access to each other's records. Manager 1 can see the data and reports from Rep1 and Rep2 as they come under his hierarchy. He cannot, however, access the data for Rep3 and Rep4. The Super Manager can see the entire organization's data as he is topmost in the hierarchy.
Role hierarchy prevents the data from being seen by people at the same level in the hierarchy, at the same time it grants full access to the people on top of the hierarchy. In the preceding example, Manager 1 will get all access to the Rep1 data.
To achieve this, we set up a role hierarchy.
Perform the following steps to set up a role hierarchy:
- Go to Username | Setup | Administration setup | Manage Users | Roles.
- If it is your first time, it will show a splash page for roles with the Set Up Roles button. Click on the button to proceed.
- As shown in the following screenshot, the default view is the tree view for the roles. The view can be changed in the top-right hand corner to the normal view or list view:
- As shown in the preceding screenshot, with the Add Roles link, we can create roles at any level in the hierarchy.
- Once we define the role, using the Assign link, we can assign users to the role.
- In the next section, we will deal with the object-based security in Salesforce and understand the significance of role hierarchy in distributing the records.
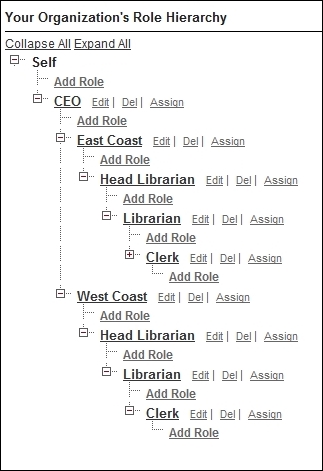
The general library now wishes to install this system across multiple locations. They have branches on the East coast as well as the West coast.
The structure of the organization is as follows:
- They have a separate head librarian for each coast who in turn gets reports from multiple sublibrarians
- Each branch has a clerk who handles the check-in and checkout of books and maintains the customer profiles
A user can have only one profile at a time but can have multiple permission sets. A permission set is a collection of settings and permissions. The permission sets are the same permissions that are found on profiles. The permission set extends the user functions without changing their profiles.
The permissions that are enabled in either the profile or the permission set are enabled for the user who has the right combination. For example, if the profile or the permission set has the API Enabled permission, the user with that combination will get the API Enabled permission.
We can use the permission set to create fuzzy grouping of users irrespective of their job roles. For example, if a few sections of users need to have the edit permission on the Media object, we can create a permission set for it and assign to it those users irrespective of their profiles or roles.
To create a permission set, perform the following steps:
- Go to User Name | Setup | Manage Users | Permission Sets | New.
- Add the Label and API Name to the permission set. Choose the correct license for the Permission set. We can set a specific license to the permission set to assign it to users of that license. If the permission set is for users with different license types, select
–- none --:
- The layout of Permission Set is the same as the layout for profiles.
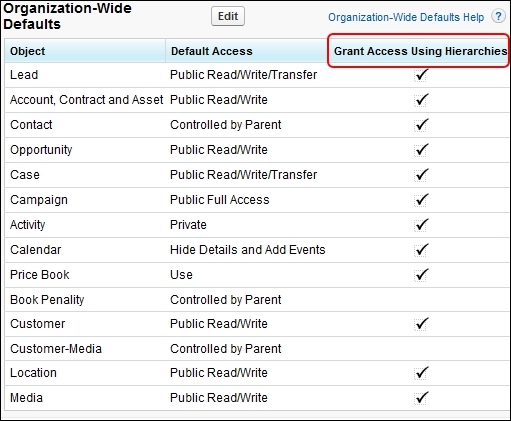
While roles and profiles are used to determine the user-based security, the organization-wide default determines the distribution of data with the user. We use the defaults in the object to determine which people across the role hierarchy can access which objects.
To set up Organization-wide defaults, follow these steps:
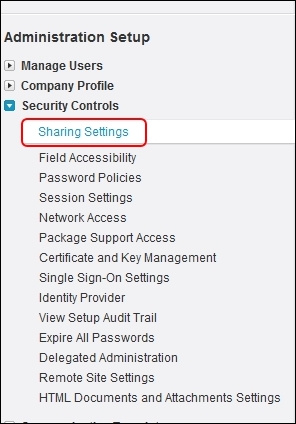
- Go to Username | Setup | Administrative Setup | Security Controls | Sharing Settings, as shown in the following screenshot:
- The general sharing diagram for the organization is shown in the following screenshot:
- Select the object to be configured for the organization-wide tabs. We get three options to choose from, as shown in the following screenshot:

The following options determine the sharing settings of the object:
|
Private |
The role hierarchy is observed and people cannot view their peer records. |
|
Public Read Only |
This is useful if we have master data that the people refer to, for example, the books info in the library. They can be kept as public read only. In this case, everyone across the hierarchy can see the data. |
|
Public Read/Write |
This option does not obey any role hierarchy and anyone can edit/modify or even delete the objects, depending on their profile permissions. |
To set up organization-wide defaults, follow the simple method:
- First find out which user requires the least access to an object. Set the organization-wide default to all the objects based on this user. For example, the library clerk is the person in a library who mostly handles the issuing and the return of the books. They need the least access to the customer object (assuming that only the librarian can handle membership) set the customer object to private read only.
- Most restrictive record access is defined using an organization-wide default. Access to additional records is made available through the role hierarchy, sharing rules, and manual sharing.
- Changing organization wide default settings can delete manual sharing if that sharing is no longer needed.