An application or an app is a logical grouping of tabs used for a common business process. Different tabs are grouped together to form a single business unit for user convenience; however, users can further customize it for themselves, as discussed at the beginning of this chapter.
The following screenshot shows the standard applications provided by the platform by default:
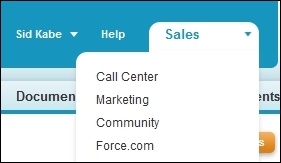
Salesforce provides standard applications, such as Sales, Call Center, Marketing, Community, and Force.com.
We can customize an application by giving it a custom logo, a custom name, a custom description, and a custom landing page. We can give the instructions to use the objects on the custom landing page.
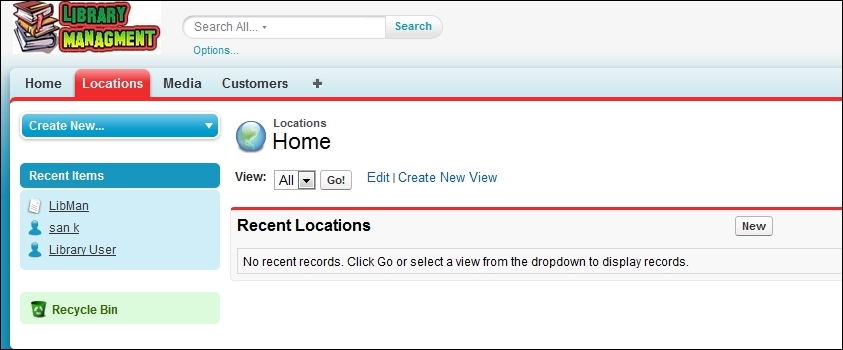
Let's continue building the Library Management System. Build an application for the Library Management System. Design a simple custom logo for it as well.
To build your own application, perform the following steps:
- Go to Setup | Create | Apps.
- Click on the New button to open the tab creation wizard. In the following few sections, we will take a look at multiple steps involved in creating an app.
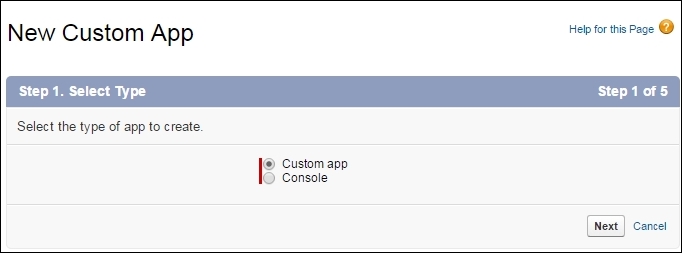
In the first step, select Custom app and click on Next to create it, as shown in the following screenshot:
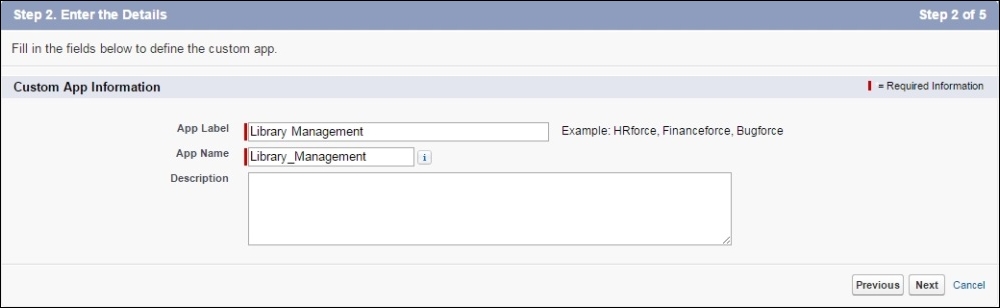
In the second step, give an appropriate name for the application you are building. In our case, we will name it Library Management.
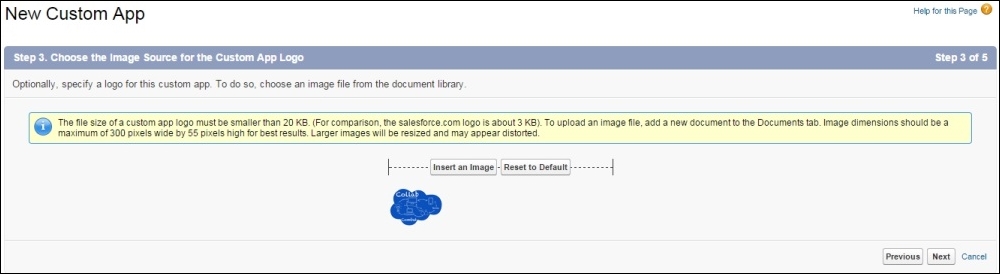
All custom applications display the standard Salesforce logo. The logo can be replaced with a custom logo.
The custom logo can be any GIF and JPG file from the Documents tab.
Select an appropriate logo for the application:
Once we are satisfied that the application name and the logo are correct, we can choose to add tabs to the new application.
On the next page, it will ask for the tabs to be included in this application. Choose the tabs that are created for library management and include them in this application.
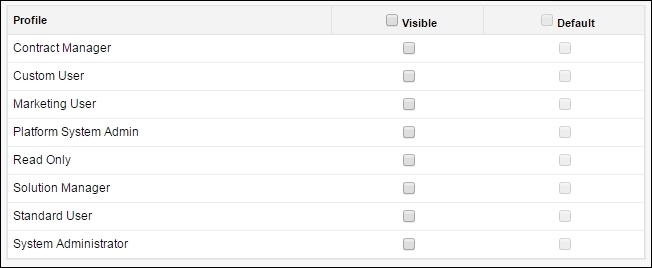
On the next page, the platform will ask you to assign a profile the application to the profile. Whenever we create a new app, we can choose a Profile that can see the application. If we choose to hide the application from the profile, the user won't be able to see the application in the selector's drop-down menu.
However, note that this is not a security measure but a way to prevent the user from accessing the application. If, however, the tab is default on or default off, the user can still access the tab without the app.