Eclipse is one of the most popular open source IDEs. It originated primarily from IBM's VisualAge for Java. It is a platform that allows extensibility by means of plugins (something that Maven does as well). Eclipse can be used to develop not only Java projects, but also a host of other languages by means of plugins.
As of writing this book, Eclipse 4.4.1 (Luna SR1) is the most recent edition. The screenshots in this book are for this version.
Eclipse needs a Java environment to run and hence needs Java to be installed on the system. To do this, refer to the Getting ready sections of the first three recipes of Chapter 1, Getting Started.
Download Eclipse from https://www.eclipse.org/downloads/. Eclipse binaries are available for all popular operating systems. There are also different package solutions of Eclipse targeted at different types of developers (C/C++, Java EE, PHP, and so on). You should choose one of the Eclipse IDEs for Java developers, or the Eclipse IDE for Java EE developers.
The recent versions of Eclipse come preinstalled with Maven support. Let us confirm this by performing the following steps:
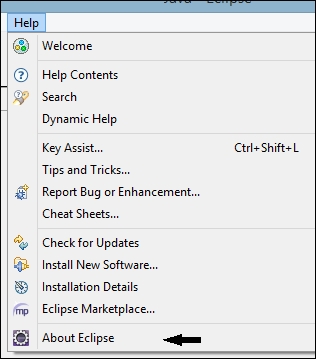
- Launch Eclipse and click on the About Eclipse button in the Help menu, as shown in the following screenshot:
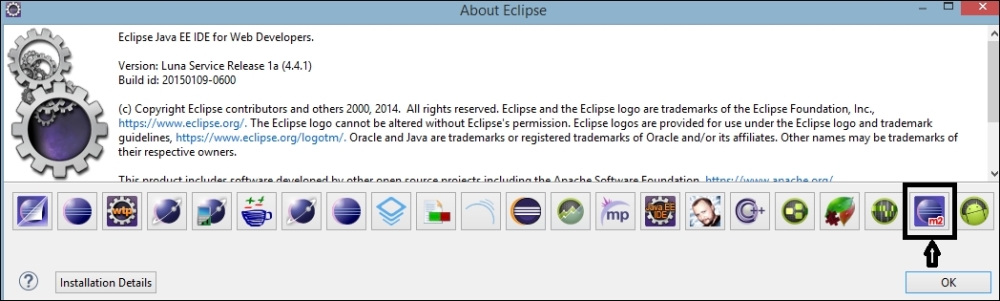
- Click on the m2 icon from the list of icons that you see:
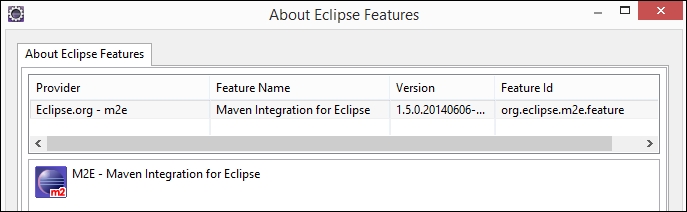
- On clicking the m2 icon, you should see something similar to the following screenshot:
- Click on the Maven link by navigating to Window | Preferences from the Eclipse menu bar.
- Click on Installations. You will see the existing installations available to Eclipse. It uses an EMBEDDED installation of Maven that comes with Eclipse, as shown in the following screenshot:
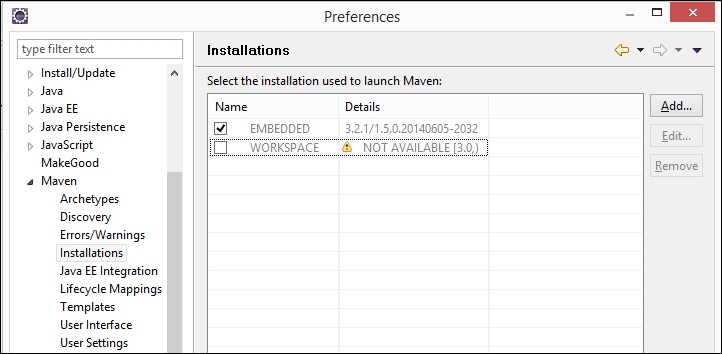
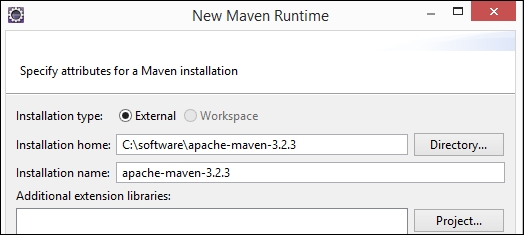
- Add the Maven installation that you set up by clicking on the Add… button.
- You can check this installation so that it is chosen instead of the EMBEDDED installation.
To create a new Maven project, perform the following steps:
- Navigate to File | New | Maven Project. You will see the following screen:

- Check the Create a simple project (skip archetype selection) option to avoid choosing what to create.
- Fill the same values that we specified as parameters in the Creating a simple project with Maven recipe in Chapter 1, Getting Started (Group Id:
com.packt.cookbook, Artifact Id:simple-project) to create a simple Maven project.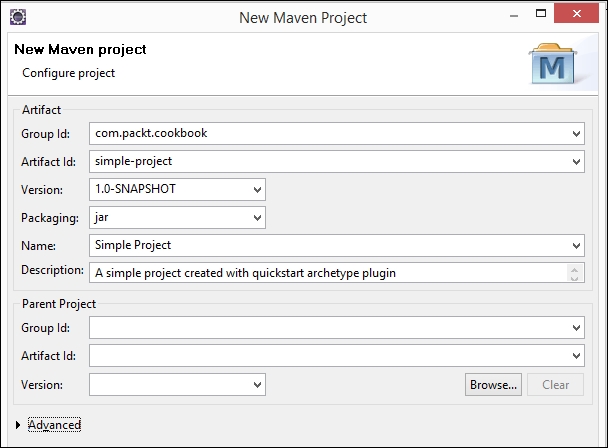
- Click on Finish. Your project is now set up. Click on the
pom.xmlfile. You will see the following screenshot: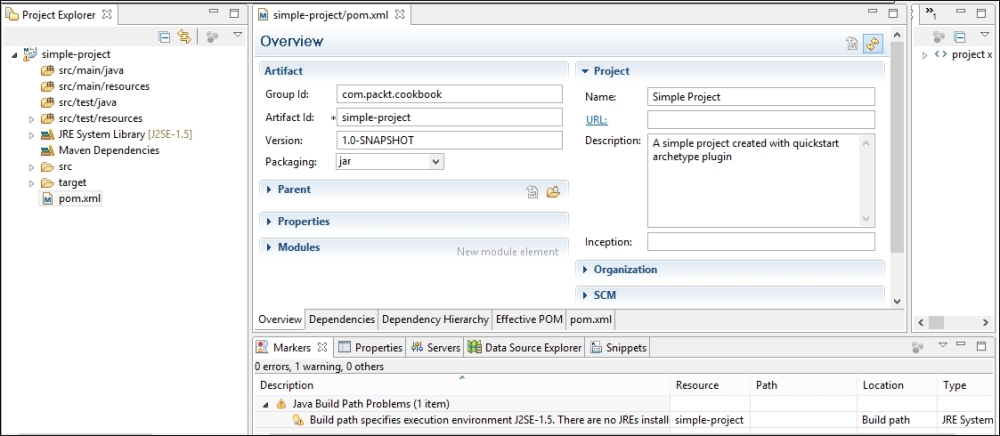
Eclipse has built-in support (using the m2e plugin) for Maven projects. In this recipe, we used Eclipse to create a simple Maven project, skipping the artifact selection. We also specified the groupId, artifactId, and version for the project.
Using this information, Eclipse invokes the Maven archetype plugin to create a quick start project. The Eclipse console shows the steps performed, and the project is created.
The folder structure and contents are identical to the project created from the command-line.