
First, we'll go to https://io.adafruit.com/ and create a free account. Then, you'll be taken to a dashboard:
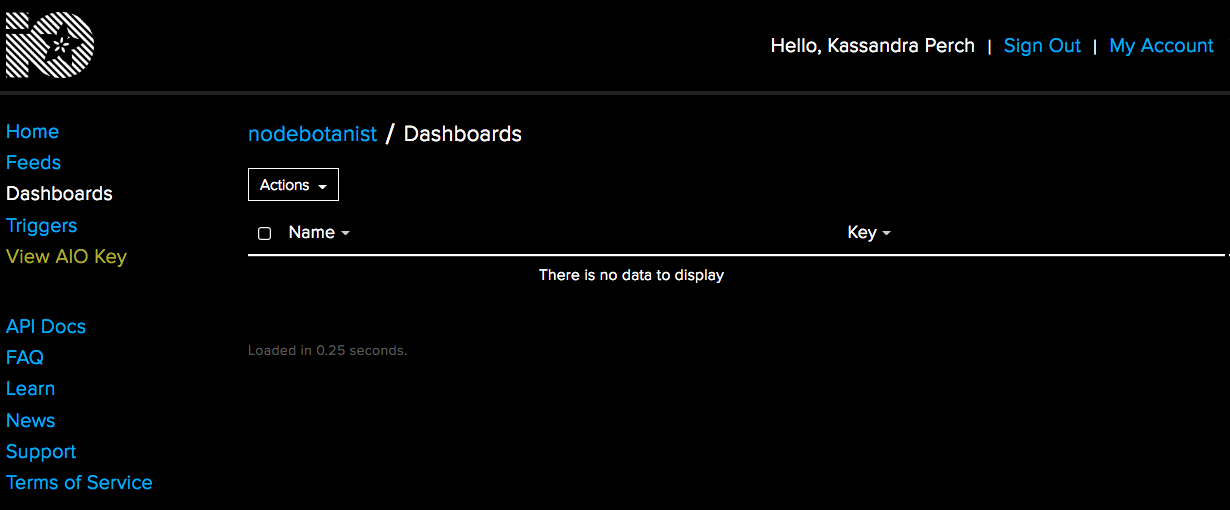
We'll need to set up a feed and get our AIO key in order to get started on the Pi. To set up a feed, select Feeds in the left-hand menu. Then, click the Actions button in the upper left corner:

Next, select Create New Feed from the dropdown. Name your feed (I named mine hands-on-robotics-with-js to make it easy to remember what I created it for). Then, you'll be taken to your new feed's page:

Now that we've created our feed, we can get all the information we need to get the Pi hooked up to it. First, let's get the Feed key to give to the MQTT module. Click Feed Information on the right-hand side and copy the value in MQTT by ID and place it somewhere it's easy to get to. Then, close the Feed Information window.
Next, click View AIO key in the left-hand menu. Copy the value in Active Key and place it somewhere it's easy to get to.
Now, to clear up some terminology before we proceed: the feed MQTT by ID name you took note of is going to be the topic of any messages our client (the Pi) sends to our broker (AdafruitIO), and vice versa.
We now have everything we need to connect our Pi to the AdafruitIO broker.