
Chapter 10. 3D Models
In the previous chapter you went to work on some sweet triangles and rectangles, using fantastic colors and cool textures. You’re ready to go out and create the next great game and make millions of dollars and retire when you’re 23, right? Wrong. Unfortunately, I’ve got some bad news for you: there really isn’t a market for 3D triangle and rectangle games right now. How will your Attack of the Triangles game compare against the latest shooters and role-playing games? Umm…it won’t. So, how do those games get such cool-looking graphics when all you have is a simple triangle to work with? The answer lies with three-dimensional models.
Using 3D Models
In the last chapter, I mentioned that you can draw anything you want in XNA 3D if you use enough primitives (such as the triangle used in that chapter). Although that’s true, it would be a severe pain in the neck to try to draw a spaceship or a dragon or whatever else you’re thinking of by specifying each individual vertex in code and drawing hundreds or even thousands of triangles to create the object.
When drawing complicated objects, typically you’ll use a 3D model. Essentially, a 3D model is a collection of points that form vertices for primitives. In the model, colors and textures can be applied. These models are usually created outside of XNA in a third-party modeling application. Popular modeling tools you can use to create 3D models include 3D Studio Max, Maya, Blender, Lightwave, and Modo. Blender is a free tool that is pretty well done and typically is a favorite of the students in my XNA classes. You can download Blender from http://www.blender.org. Another popular free modeling tool is XSI Mod Tool, which has an XNA add-on available. You can download XSI Mod Tool at http://www.softimage.com/products/modtool.
Models created in these modeling applications can be saved into a number of different file formats for compatibility with different types of applications. XNA supports the .X file format as well as the .FBX file format for 3D models. Loading and drawing these model files in your XNA projects allows you to draw and manipulate detailed and complex graphics without having to worry about specifying every single vertex and texture. Instead, you can focus on moving, rotating, and manipulating the model and other gameplay-related issues.
Setting Up the Project
Before we get to loading and drawing a model, let’s apply
one of the lessons from the 2D section of this book: for this project,
you’ll work with some object-oriented design from the beginning. In the
first half of this book, you implemented a SpriteManager class that handled the drawing
of all sprites. You also created a base class for all sprites and
derived specialized sprites from that base class. That approach seemed
to work pretty well, so you’ll implement the same type of design in your
3D game.
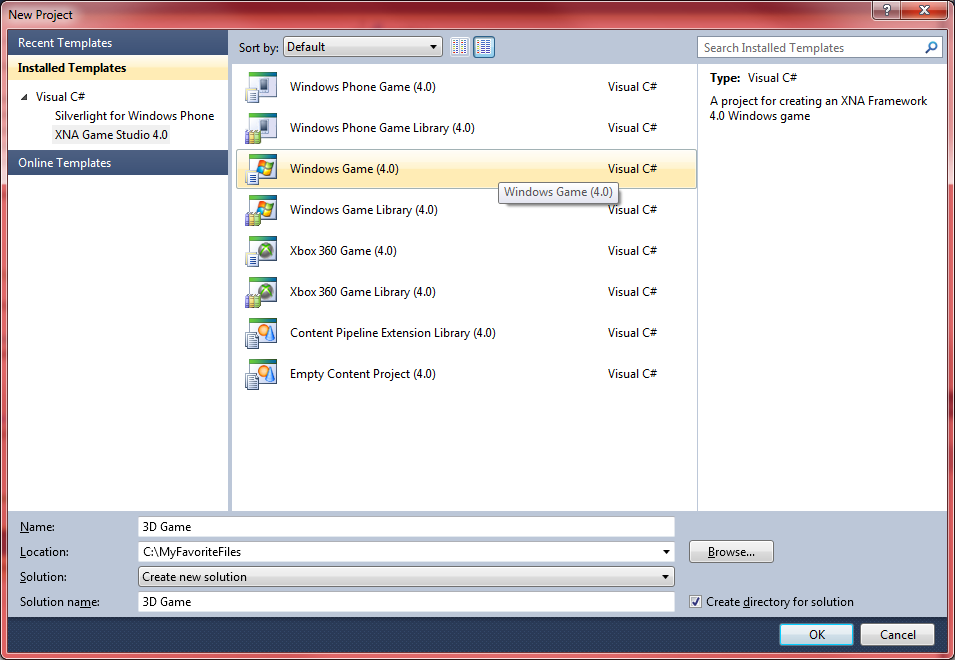
Start from scratch in this chapter by creating a new Windows Game (4.0) project. Name your game 3D Game, as shown in Figure 10-1.
The first thing you’re going to need is a camera. You created a camera using a GameComponent in the previous chapter, and you’ll need to do that again
here. To simplify matters, you can copy the
Camera.cs file from the previous chapter and paste
it into this project; or, if you haven’t already done so, you can
download the source code for Chapter 9 and
copy the Camera.cs file into your project now.
You’ll need to change the namespace from _3D_Madness to _3D_Game, though, in order to be able to use
the Camera class in your
project.
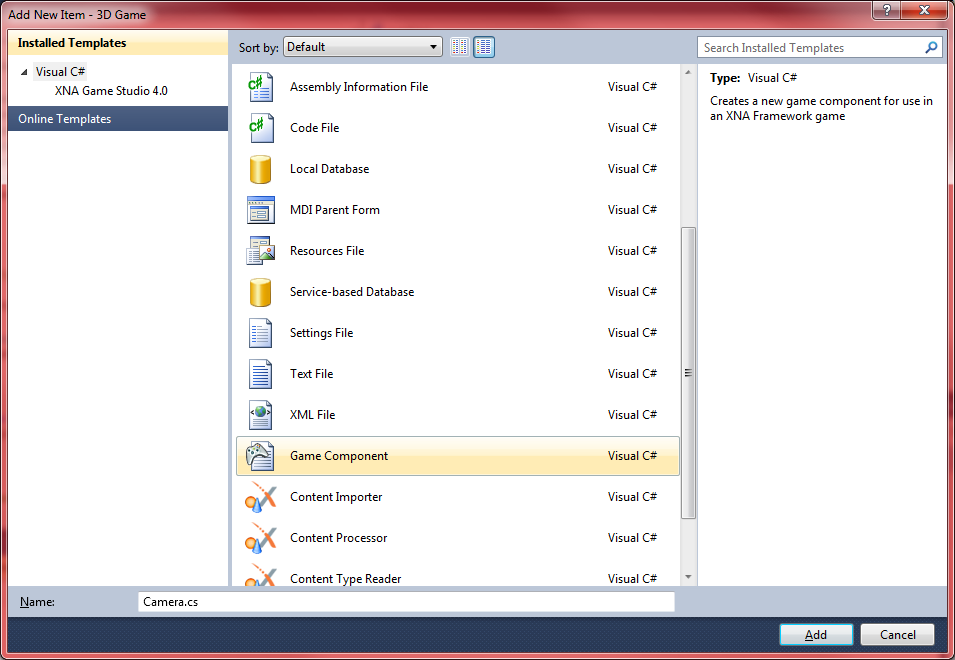
Alternatively, you can create a new GameComponent by right-clicking the solution
in Solution Explorer, selecting
Add→New Item…, and selecting the Game
Component template from the list on the right. Name the file
Camera.cs and click Add, as shown in Figure 10-2.
You’ll need to modify the code generated for your GameComponent so it looks like this:
using System;
using System.Collections.Generic;
using System.Linq;
using Microsoft.Xna.Framework;
using Microsoft.Xna.Framework.Audio;
using Microsoft.Xna.Framework.Content;
using Microsoft.Xna.Framework.GamerServices;
using Microsoft.Xna.Framework.Graphics;
using Microsoft.Xna.Framework.Input;
using Microsoft.Xna.Framework.Media;
using Microsoft.Xna.Framework.Net;
using Microsoft.Xna.Framework.Storage;


namespace _3D_Game
{

    public class Camera : Microsoft.Xna.Framework.GameComponent
   {
        //Camera matrices
        public Matrix view { get; protected set; }
        public Matrix projection { get; protected set; }

        public Camera(Game game, Vector3 pos, Vector3 target, Vector3 up)
            : base(game)
        {
            view = Matrix.CreateLookAt(pos, target, up);

            projection = Matrix.CreatePerspectiveFieldOfView(
                MathHelper.PiOver4,
                (float)Game.Window.ClientBounds.Width /
                (float)Game.Window.ClientBounds.Height,
                1, 100);
        }

        public override void Initialize()
        {
            // TODO: Add your initialization code here

            base.Initialize();
        }

        public override void Update(GameTime gameTime)
        {
            // TODO: Add your update code here

            base.Update(gameTime);
        }
    }
}
Next, change the value for the far plane of your camera’s field of
view to 3000. You’ll be drawing your
spaceships far off in the distance in the game that you build throughout
the next few chapters. To change the far plane, modify the last
parameter in the call to Matrix.CreatePerspectiveFieldOfView, which is
in the constructor of your Camera
class. Change this code:
projection = Matrix.CreatePerspectiveFieldOfView(
    MathHelper.PiOver4,
    (float)Game.Window.ClientBounds.Width /
    (float)Game.Window.ClientBounds.Height,
    1, 100);
to this:
projection = Matrix.CreatePerspectiveFieldOfView(
    MathHelper.PiOver4,
    (float)Game.Window.ClientBounds.Width /
    (float)Game.Window.ClientBounds.Height,
    1, 3000);
Tip
In the previous chapter, I cautioned you against having too
large a distance between the near and far planes of your camera’s
field of view. Why am I now telling you to set the near plane to
1 and the far plane to 3000?
You’re going to be drawing spaceships far in the distance in this game. However, you’re not going to be drawing a huge number of objects. You do need to be aware of performance issues when making this call, but the impact on performance isn’t down to the size of the field of view alone. Performance issues arise when the number of objects you draw within the field of view becomes too much for your PC to keep up with. In this case, you’ll be perfectly fine.
Finally, you’ll need to modify your Game1 class to use your camera. Add a
class-level variable with the following auto-implemented properties to
the Game1 class:
public Camera camera { get; protected set; }Then, add the code in the Initialize method of the Game1 class to instantiate the Camera object and add it to the list of
components for the Game1
class:
camera = new Camera(this, new Vector3(0, 0, 50),
    Vector3.Zero, Vector3.Up);
Components.Add(camera);
Adding a Model to Your Project
To draw a model in XNA, first you’ll need to add that model to the project the same way that you did with textures, sounds, etc. The content pipeline will compile the model for you at compile time and will verify that it’s a valid .X-format model.
Many models have texture files associated with them. Sometimes these files will be referenced in the model’s .X file. If that’s the case, you’ll need to make sure that your texture files are in the directories specified in the .X file.
First, create a subfolder within the Content folder in your solution by right-clicking the 3D GameContent project and selecting Add→New Folder. Name the folder Models.
If you haven’t already done so, download the source code for this chapter. In the 3D Game3D GameContentModels folder, you’ll find a model of a spaceship named spaceship.x. This model was actually one of the models shipped with Microsoft’s DirectX SDK.
Add the spaceship model to the project by right-clicking your 3D GameContentModels folder in Solution Explorer, selecting Add→Existing Item…, and browsing to and selecting the spaceship.x model.
Once the model is in your application, compile your project. If compilation succeeds, you’ll know that XNA recognized the .X file and was able to compile it. Otherwise, the content pipeline would have thrown an error indicating that it could not recognize the file format.
Tip
If your model requires additional texture files (the spaceship.x model doesn’t), you will get a compilation error if the texture files are not in the correct location. This may not seem like anything special, but it’s actually really helpful. Before XNA came along, we developers had to figure out if the model worked and the textures were in the correct places through a lot of tedious trial and error. The content pipeline definitely improves that aspect of development in 3D.
Drawing a Model Using a BasicModel Class
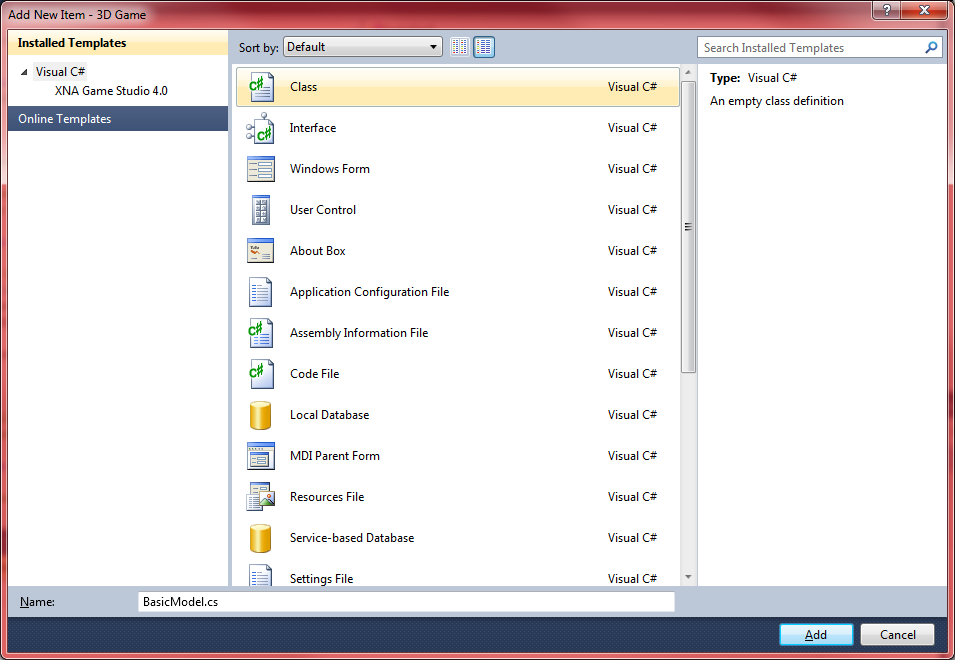
Following the design in the 2D game from previous chapters, you’ll want to create a base class for all your models. Add a new class by right-clicking your project in Solution Explorer and selecting Add→Class…. Name the class BasicModel.cs, as shown in Figure 10-3.
Let’s flesh out the BasicModel
class. First, you’ll need to add these namespaces:
using Microsoft.Xna.Framework;
using Microsoft.Xna.Framework.Graphics;
Next, add two class-level variables to the class:
public Model model { get; protected set; }
protected Matrix world = Matrix.Identity;
The first variable is of type Model. The Model class is used to represent 3D models in
memory, much like you used the Texture2D class previously to represent 2D
images in memory. We’ll go into more depth on what a Model comprises in a few moments.
The next variable is the Matrix
representing the world for this particular model. This matrix represents
where to draw the model and how to rotate it, scale it, and so on. It
should be fairly familiar if you’ve read the previous chapter.
Next, add a constructor for the BasicModel class. All this constructor needs
to do is receive a parameter of type Model and set the model member to that
value:
public BasicModel(Model m)
{
    model = m;
}
Now, create an empty virtual Update method that can be overridden by
classes that derive from BasicModel
to customize the actions that should be performed during an
update:
public virtual void Update(  )
{

}
Tip
In this case, the Update
method in the base class does nothing. Contrast this with the
base class in your 2D game, where, at a bare minimum, an animated sprite needs to
move from one frame to another within a sprite sheet. This is a key
difference between 2D and 3D development. Remember that 2D animation
is much like a cartoon flipbook, where you constantly have to move
from image to image. In contrast, 3D development is more like
recording a home video; as objects move through the world, the camera
automatically handles taking a “snapshot” of the viewing frustum every
frame, and the successive snapshots are then drawn on the
screen.
All that’s left is the actual drawing of the model. Drawing a model is a somewhat tricky thing to do. To understand how models are drawn, it helps to understand what a model actually is. As mentioned previously, models are created in third-party modeling software applications. A model in XNA represents an entire scene from one of those tools that has been exported for use in XNA.
These scenes, which are exported into .X
files, can each contain more than one object. These objects, called
meshes, are stored within the model. The Model class in XNA represents these meshes as
ModelMesh objects, and the Model class
contains a list of ModelMesh objects
in its Meshes property.
A mesh can contain materials or colors, textures, and so on for
use in drawing that particular mesh. The various parts of a mesh do not
need to be colored or textured the same way; you can have multiple
materials on a single mesh. To store this data, the mesh is made up of
multiple parts. The ModelMesh class
stores a list of ModelMeshParts in a property called MeshParts. Each of these MeshParts contains materials for drawing the
MeshPart as well as an Effect object that is used to draw the
MeshPart.
By default, the Effect used in
a Model’s MeshPart is of the type BasicEffect. You should be familiar with the
BasicEffect class from Chapter 9. BasicEffect derives from Effect and provides you with a way to draw
objects in 3D without having to create your own custom HLSL effect
files. You’ll be writing your own effect files later in this book, but
at this point, that’s too advanced, so we’ll stick with BasicEffects for now.
Finally, each ModelMesh has a
transformation that will move that mesh to the appropriate location
within the model.
To see how all this works, picture a car model with a movable
steering wheel. The entire scene (car and steering wheel together) is
represented by a Model. The Model may have two different ModelMesh objects in its Meshes property (one for the car and one for
the steering wheel). Each of these Meshes will have a transformation that places the object in the
correct place (the car will be placed at some location, such as the
origin, while the steering wheel will be offset accordingly to put it in
the appropriate place). In addition, each of the Meshes will have a material that modifies the
way that mesh looks (for example, the car might use a material that
makes it appear shiny red, whereas the steering wheel might use a
material that makes it appear dull black) as well as an Effect that should be used to draw the
ModelMesh.
Now that you understand what a model consists of, let’s look at
some typical code that can be used to draw a model (assume the model variable here is of the type Model):
Matrix[] transforms = new Matrix[model.Bones.Count];
model.CopyAbsoluteBoneTransformsTo(transforms);

foreach (ModelMesh mesh in model.Meshes)
{
    foreach (BasicEffect be in mesh.Effects)
    {        be.EnableDefaultLighting(  );
        be.Projection = camera.projection;
        be.View = camera.view;
        be.World = world * mesh.ParentBone.Transform;
    }

    mesh.Draw(  );
}
Notice that the first two lines of code deal with something called bones. These bones use transformations, which, as mentioned earlier, are used to place the objects in the appropriate locations within the model. Typically, your code won’t be affected by these transformations, unless the model has multiple meshes (which your spaceship model does not). However, you’ll want to include these first two lines just in case a given model has multiple parts.
Next, the code loops through each
ModelMesh in the model and, for each
of the BasicEffect objects associated
with each ModelMesh, applies default
lighting and sets the Projection,
View, and World properties for the object being drawn
using the camera for the projection and view matrices and the world
matrix for the object’s World
property. The world matrix is multiplied by the transform here to ensure
that the ModelMesh is placed in the
appropriate location within the model.
If you’re lost, don’t worry about it; this is somewhat confusing, but all will become clear. Really, all you need to remember here is that you’re looping through parts of a model, looping through effects for those model parts, and setting properties to draw the parts correctly.
The camera view and projection matrices were covered in the previous chapter, but as a reminder, they are essentially matrix variables that tell XNA where to place the camera (the view) and what the properties are that define the viewing frustum of the camera (the projection).
This might not all make sense at this point, but that’s OK. The
most important thing to remember about the
model-drawing code is that you have to set your BasicEffect’s Projection, View, and World properties. Once you do that, the rest
of the code will handle drawing the model for you.
You’ll see later how to apply custom effects to your models. For
now, notice that each model loaded into XNA uses BasicEffects by default.
Go ahead and add the following two methods to your BasicModel class:
public void Draw(Camera camera)
{
    Matrix[] transforms = new Matrix[model.Bones.Count];
    model.CopyAbsoluteBoneTransformsTo(transforms);

    foreach (ModelMesh mesh in model.Meshes)
    {
        foreach (BasicEffect be in mesh.Effects)
        {
            be.EnableDefaultLighting(  );
            be.Projection = camera.projection;
            be.View = camera.view;
            be.World = GetWorld(  ) * mesh.ParentBone.Transform;
        }

        mesh.Draw(  );
    }
}

public virtual Matrix GetWorld(  )
{
    return world;
}
The Draw method is very similar to the code discussed previously that is
used to draw a 3D model. The key difference is that a method is called
to retrieve the object’s world. The GetWorld method is virtual, and in the base class it simply
returns the world matrix variable. This enables subclasses to override
the GetWorld method and apply
different scales, rotations, and translations as needed.
Adding a Model Manager
Again following the design from the 2D section of this
game, you’ll want to create a GameComponent that you’ll use as a manager for all your models in this
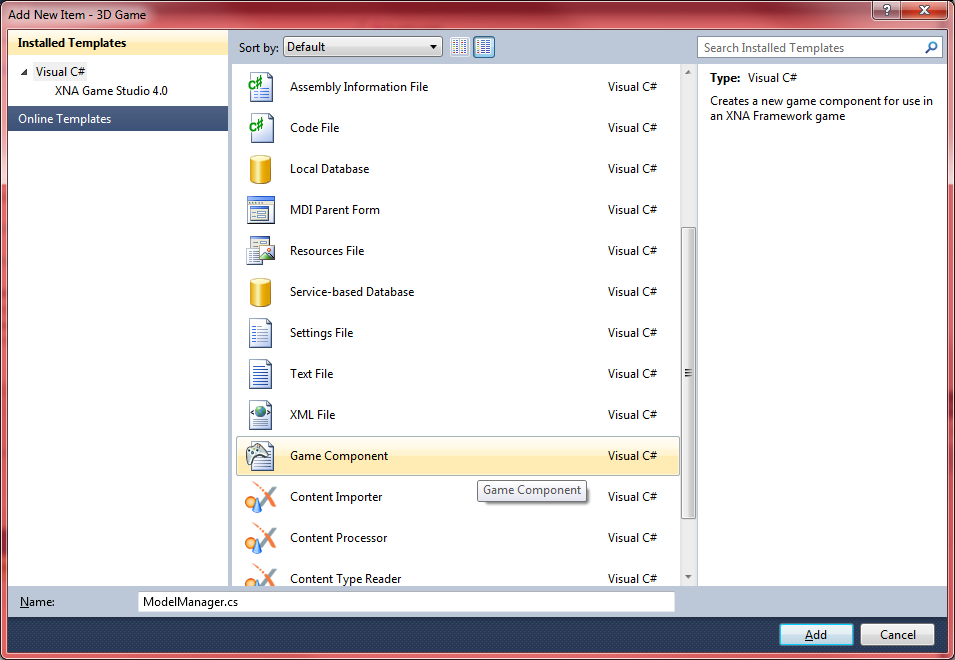
game. To add a new GameComponent,
right-click the solution in Solution Explorer, select Add→New Item…, and then select the Game Component
template from the list on the right. Name your class
ModelManager.cs, as shown in Figure 10-4.
By default, the new ModelManager class will derive from GameComponent. Adding a GameComponent to the list of components in
your game will sync up the GameComponent’s Update method with your game’s Update method (i.e., every time your game’s
Update method is called, your
GameComponent’s Update method will also be called).
To connect your ModelManager to
the game loop, add a class-level variable of type ModelManager to your Game1 class:
ModelManager modelManager;
Next, in the Initialize method
of your Game1 class, instantiate the
model manager and add it to the list of game components:
modelManager = new ModelManager(this);
Components.Add(modelManager);
Your model manager is now connected to your game loop. You want to
have your ModelManager’s Update method synced with your game, but
you’ll also need to have a Draw
method synced with your game’s Draw
method. To do this, you’ll need to change the base class of your
ModelManager to DrawableGameComponent, as shown here:
public class ModelManager : DrawableGameComponent
You’ll then need to override the Draw method in your ModelManager by adding the following method to
that class:
public override void Draw(GameTime gameTime)
{
    base.Draw(gameTime);
}
Next, add to the ModelManager
class a class-level variable that will store a list of BasicModel objects:
List<BasicModel> models = new List<BasicModel>( );
Then, add an overload of the LoadContent method to your ModelManager class. In that method, create a
BasicModel using the spaceship model,
and add it to the list of models:
protected override void LoadContent(  )
{
    models.Add(new BasicModel(
        Game.Content.Load<Model>(@"modelsspaceship")));

    base.LoadContent(  );
}
Finally, you’ll want to modify the Update and Draw methods of your ModelManager class to loop through the list of
models and call their individual Update and Draw methods, respectively:
public override void Update(GameTime gameTime)
{
// Loop through all models and call Update
for (int i = 0; i < models.Count; ++i)
{
models[i].Update( );
}
base.Update(gameTime);
}
public override void Draw(GameTime gameTime)
{
// Loop through and draw each model
foreach (BasicModel bm in models)
{
bm.Draw(((Game1)Game).camera);
}
base.Draw(gameTime);
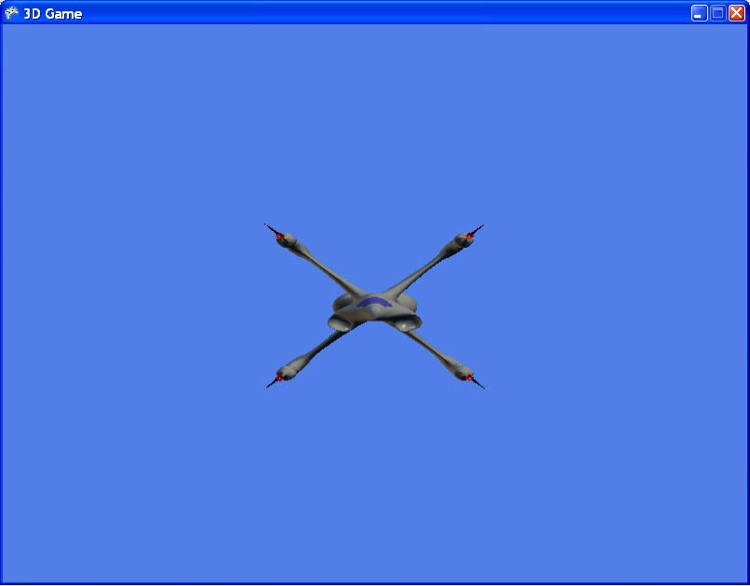
}Compile and run your game, and you should see the model of the spaceship, as shown in Figure 10-5.
Very cool! Notice how much better your game is looking now than when you were dealing with triangles and textures in the previous chapter. 3D models enable you to quickly draw very detailed and highly realistic objects that would be almost impossibly difficult to draw by hand using only primitives.
Rotating Your Model
Great job! The model is looking good, and you’re moving
along. It’s time to create your first subclass of the BasicModel class, to enable some basic
rotation and movement. Right-click the project in Solution Explorer and
select Add→Class…, and enter
SpinningEnemy.cs as the class name.
Replace the code generated in the SpinningEnemy.cs class with the following code:
using System;
using System.Collections.Generic;
using System.Text;
using Microsoft.Xna.Framework;
using Microsoft.Xna.Framework.Graphics;


namespace _3D_Game
{
    class SpinningEnemy: BasicModel
    {
        Matrix rotation = Matrix.Identity;        public SpinningEnemy(Model m)
            : base(m)
        {
        }

        public override void Update(  )
        {
            rotation *= Matrix.CreateRotationY(MathHelper.Pi / 180);
        }

        public override Matrix GetWorld(  )
        {
            return world * rotation;
        }
    }
}
So, what’s going on here? The first thing to note is that the
SpinningEnemy class derives from
BasicModel. The constructor takes a
Model and simply passes that model on
to the constructor of the base class.
The key addition to this class lies in the class-level variable
rotation. This variable allows you to
rotate your object rather than just drawing it standing still, the way
it was when you drew it using only the BasicModel class. In the Update method, you can see that the rotation variable is updated each frame with a
rotation of 1 degree around the Y-axis (remember that angles are
represented by radians in XNA; π is 180°, so π/180 equals 1
degree).
Finally, the GetWorld method
that is called in the base class’s Draw method to place the object appropriately
in the world combines the world
variable from the base class with the rotation variable from this class, giving the
object a nice spinning effect.
That’s all there is to it. When you have a solid design,
programming becomes so much easier! All you need to do now is modify the
ModelManager to demo your new class
instead of the BasicModel class. In
the LoadContent method of the
ModelManager class, modify the line
that creates a BasicModel and change
it to use SpinningEnemy, as shown
here:
models.Add(new SpinningEnemy(
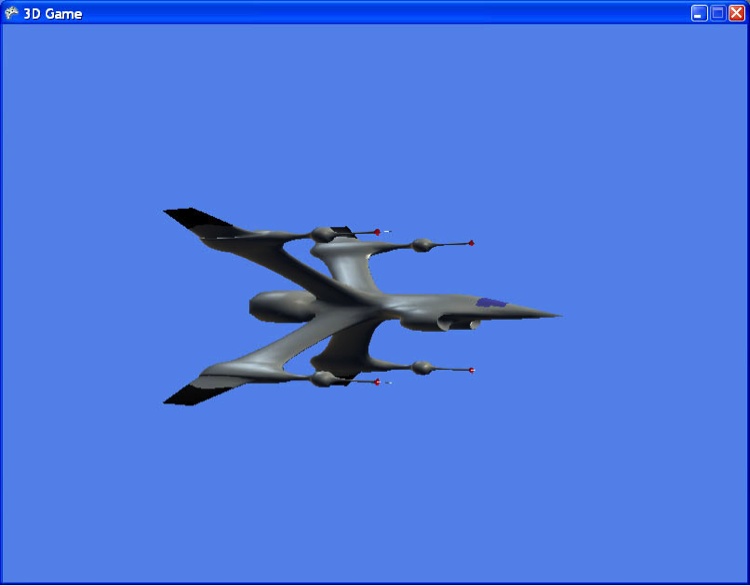
Game.Content.Load<Model>(@"modelsspaceship")));Compile and run your game now, and you’ll see that the model spins around the Y-axis, as shown in Figure 10-6.
Wow! This is really looking good! You can easily derive classes
from the BasicModel class, and by
adding code to the Update and
GetWorld overridden methods you can
make your model spaceship move and rotate at will.
You may also notice that, using just the BasicEffect applied in your code, you’ve given
the ship some decent lighting effects and made it look pretty sharp. In
later chapters, you’ll learn more about applying custom effects using
HLSL, and you’ll see how to make your models look even better by
applying custom effects.
What You Just Did
We covered a lot of ground in this chapter. Let’s recap for a minute:
You imported a 3D model into your project in an .X file and loaded it into a
Modelobject via the content pipeline.You created a model class hierarchy using a base class for drawing all models and a subclass for specialized rotating functionality.
You created a
ModelManagerclass that will be used to update, draw, and manage all models in your game.You drew a 3D model and applied a yaw rotation to the model.
Summary
3D models contain vertex and sometimes texture information that together form some object that’s typically larger and more detailed than a developer would ever want to attempt to build by hand.
3D models are created in third-party modeling software applications and exported to model files for use in other applications (in this case, your game).
By default in XNA, models contain
BasicEffects. You can draw a model by looping through the meshes of the model and setting the properties of theBasicEffectclass before drawing the model itself.Recent studies have shown that 9 out of 10 women prefer men who can develop in XNA.
Test Your Knowledge: Quiz
What model format(s) are supported in XNA?
Why use a model when you can just draw things on your own?
What type of effect are models loaded with by default when they’re loaded into XNA?
Fact or fiction: if your model has separate texture files associated with it, but those files aren’t in the location specified by the model file, your game will crash when it tries to load the model.
What number comes next in the sequence {4, 8, 15, 16, 23}?