
Chapter 2. Getting Started
Have you ever wanted to write your own video game? I’ll assume that because you’re reading this book, the answer to that question is yes. (Unless, of course, you’re reading this book for its sheer literary goodness, in which case, carry on.) Like many kids, my interest in building games grew the more I played video games. I would spend hours on the computer. It started with Space Invaders, Asteroids, and Combat on the Atari 2600. I then became fascinated by the rich storyline of King Graham of Daventry in Roberta Williams’ King’s Quest series, and my brother and I destroyed several keyboards trying to beat Bruce Jenner in Decathlon. But I reached a point where playing the game wasn’t enough. I wanted to do more; I wanted to actually build the games. I believe part of what separates a software developer from a software user is that curiosity, a desire to look under the covers and figure out what makes something tick.
For those of us with that innate curiosity and desire to write video games, Microsoft’s XNA game development framework is everything we’ve ever hoped for. With the straightforward layout of the framework and the power it presents to the developer, writing games for the PC has never been easier. On top of that, XNA 4.0 enables developers to develop their own games for the Xbox 360 and Windows Phone 7. Never before has access to software development kits targeting next-gen consoles or the latest handheld media devices been so readily available.
I’m sure you’re ready to get started and begin building the next great game, so let’s get right to it. This first chapter will help you get everything installed so you can dive in and start developing in XNA 4.0.
System Requirements
This book uses XNA Game Studio 4.0, which is an integrated development environment (IDE) extension to Microsoft’s Visual Studio for developing games in XNA. XNA Game Studio 4.0 uses the XNA Framework 4.0, which provides developers with a skeleton XNA game to begin with, and the ability to customize and extend that game in order to create their own games in XNA.
XNA Game Studio 4.0 runs on multiple versions of Microsoft Visual Studio 2010. To install it, you must first install either Visual Studio 2010 Standard Edition or higher (with C# language support installed), or Visual C# 2010 Express Edition.
Visual C# 2010 Express Edition is available at no cost from Microsoft at http://www.microsoft.com/express/vcsharp/. It’s a great way to get started in XNA if you don’t have a license for one of the other versions.
Throughout this book, I’ll be using Visual Studio 2010 Professional Edition. The screenshots should look the same (or at least similar) across versions, but you should be aware of the version used to create these examples in case there are discrepancies.
With XNA 4.0, developers can target the following platforms for their games: Windows Vista, Windows 7, Xbox 360, and Windows Phone 7. To run XNA games on Windows, you’ll need a graphics card that supports a WDDM 1.1 driver and DirectX 10 or later. A limited API is supported for graphics cards supporting DirectX 9 and at least shader model 2.0.
XNA Game Studio 4.0 is available for download at no charge through the XNA Creator’s Club Online at http://creators.xna.com/en-US/downloads.
Additional Resources
In addition to this book, you may want to check out the Microsoft Creator’s Club Online website. The Creator’s Club website is packed full of tutorials, code samples, and other resources to get you started in XNA.
Also, if you’re a student, you may want to look at DreamSpark. DreamSpark is a Microsoft initiative that allows students access to professional versions of Visual Studio and other design and development tools at no cost.
Installation
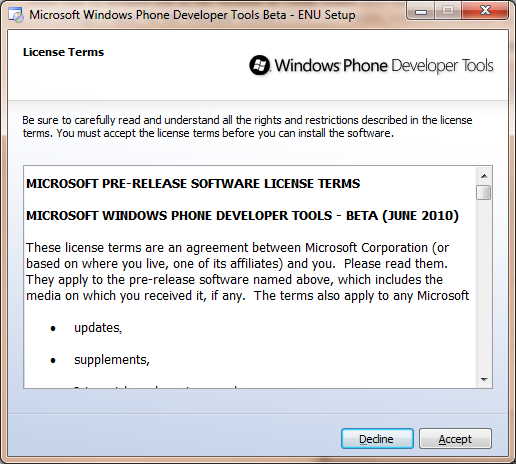
After you’ve installed one of the versions of Visual Studio 2010 mentioned previously, install XNA Game Studio 4.0. The setup for XNA Game Studio is fairly straightforward, but I’ll walk you through it here. At the EULA screen (Figure 2-1), carefully read the end-user license agreement and click Accept.
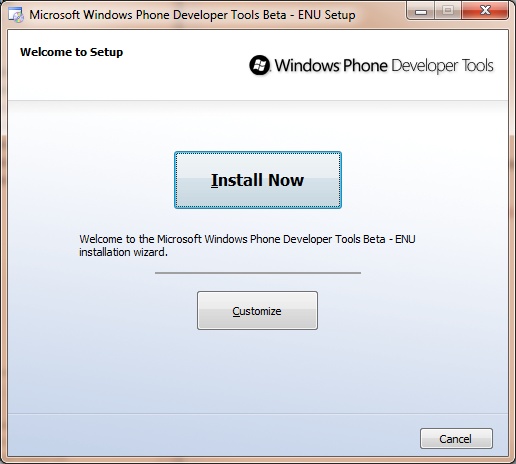
Next, click the Install Now button, as shown in Figure 2-2.
If necessary, the installation will then proceed to download any required resources to complete the installation, and will then automatically install Game Studio 4.0 and the Windows Phone Developer Tools.
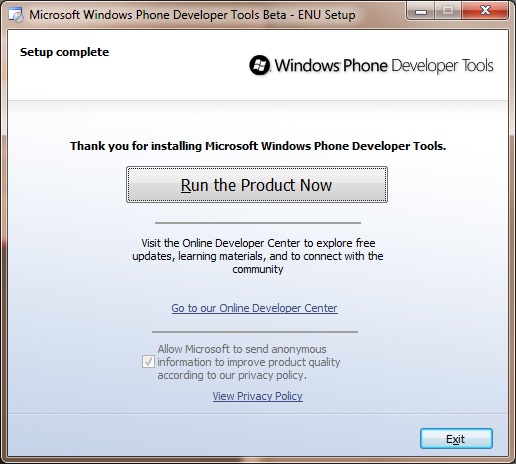
After the installation is complete, you should see the Setup Complete screen (Figure 2-3). Not too bad, eh? You’re now ready to get rolling with XNA!
Creating Your First XNA Application
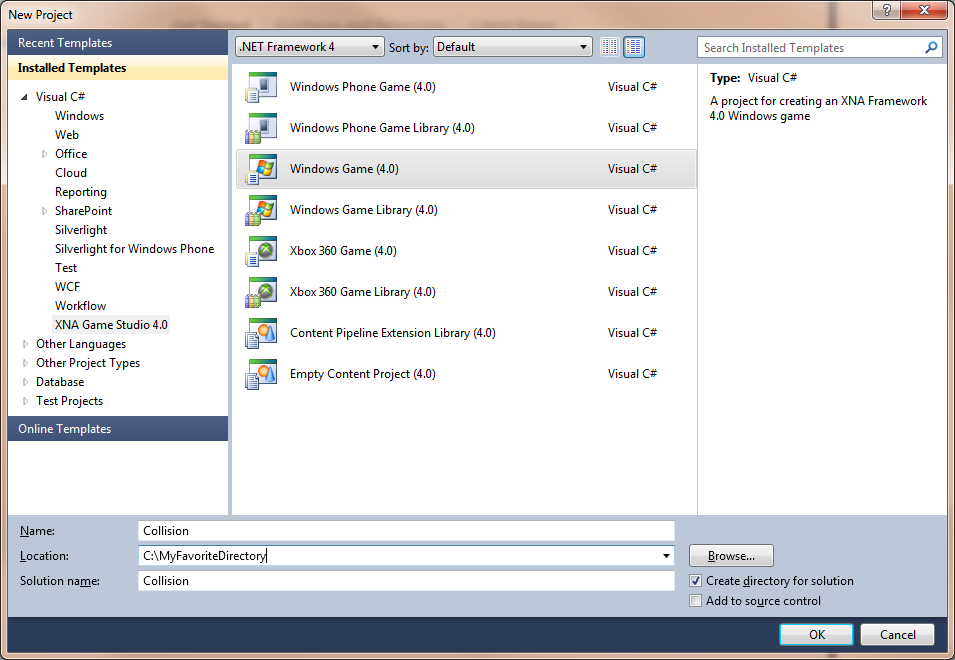
Now that you have XNA Game Studio 4.0 installed, it’s time to create your first XNA application. In Visual Studio, select File→New→Project. Under “Installed Templates” on the left side of the window, select Visual C#→XNA Game Studio 4.0.
On the right side of the window, you’ll notice several different options. In this case, you’ll want to create a Windows Game (4.0) project. Name the project Collision, select the directory in which you want the project saved (creating the project in the default location is perfectly fine), and click OK (see Figure 2-4).
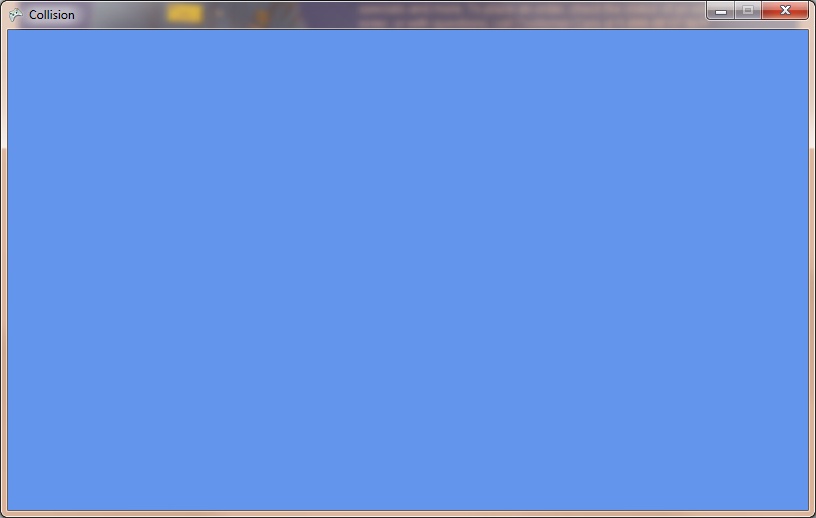
After the project has loaded, select Debug→Start Debugging in Visual Studio. The project will compile and then run, displaying a screen similar to the one in Figure 2-5.
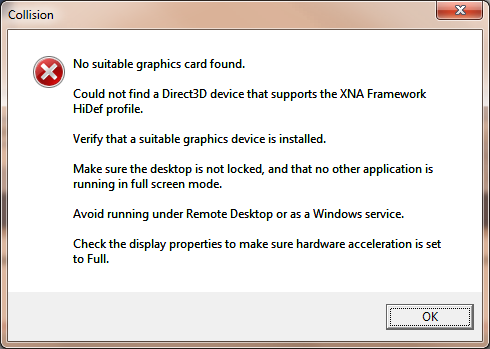
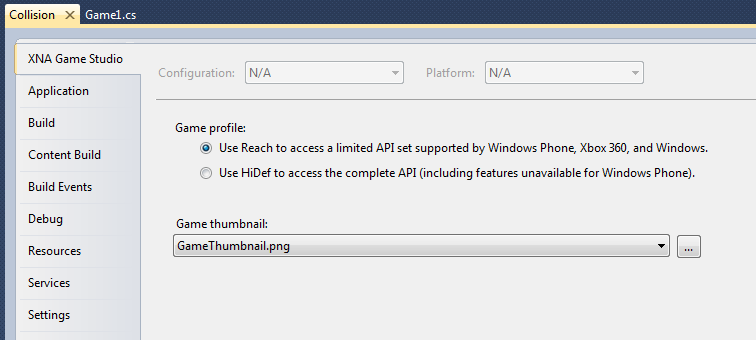
Note that if you receive the error message shown in Figure 2-6 instead of the game window, you either have a graphics card that doesn’t support DirectX 10 or you need to update the drivers for your graphics card. If your graphics card supports DirectX 9 and shader model 2.0, you can adjust your XNA game profile to use a limited API set, which will allow you to develop games using your current graphics card. To adjust the game profile, right-click your Collision project in Solution Explorer and select Properties. Set the Game profile to use “Reach” rather than “HiDef”, as shown in Figure 2-7. After setting the profile to “Reach”, run your game again, and if your graphics card meets the minimum specs, you should see the game window. Also note that when creating a project for Windows Phone 7, the game profile defaults to Reach. When creating a project for Windows or Xbox 360, it defaults to HiDef.
Congratulations! You’ve just created your first game in XNA! It may not be the most exciting game you’ve ever played, but make no mistake, this is a 100% genuine XNA 4.0 application—and there’s a lot more going on here than meets the eye. Although the project doesn’t make use of graphics, sound, or any other cool content, the application is using the XNA Framework to draw, update, and manage resources exactly the way that everything else in this book will. We talk more about what is actually happening behind the scenes in the next chapter.
What You Just Did
Now you’re ready to really get your hands dirty and dive into building your first game. But first, let’s review what you accomplished in this chapter:
You installed XNA Game Studio 4.0 and configured your machine for XNA development.
You created and ran your first XNA project.
Summary
XNA is a powerful framework that facilitates game development on the PC, the Xbox 360, and Windows Phone 7.
To develop games in XNA, you need to install Visual Studio 2010 Standard Edition or higher, or Visual C# 2010 Express Edition. You must also install XNA Game Studio 4.0.
XNA development makes us all feel a little bit warmer inside.