
Linux comes in numerous flavors, but as the TensorFlow documentation mostly mentions Ubuntu, we'll be working with Ubuntu Linux. You are welcome to use any flavor of Linux, but you should be aware that there are subtle differences across flavors and versions of each flavor. Most differences are benign, but some may trip up the installation or even usage of TensorFlow.
Even after choosing Ubuntu, there are many versions and configurations; you can see some at http://cdimage.ubuntu.com/ubuntu-gnome/releases/14.04/release/.
We will install the most popular version, which is Ubuntu 14.04.4 LTS (make sure to download a version appropriate for your computer). Versions marked x86 are designed to run on 32-bit machines, while those marked with some variation of 64 are designed to run on 64-bit machines. Most modern machines are 64-bit, so if you are unsure, go with the latter.
Installations happen via an ISO file, which is, essentially, a file equivalent of an installation CD. The ISO for Ubuntu 14.04.4 LTS is ubuntu-gnome-14.04-desktop-amd64.iso.
Once you have downloaded the installation ISO, we will set up a VM and use the ISO file to install Ubuntu Linux on the VM.
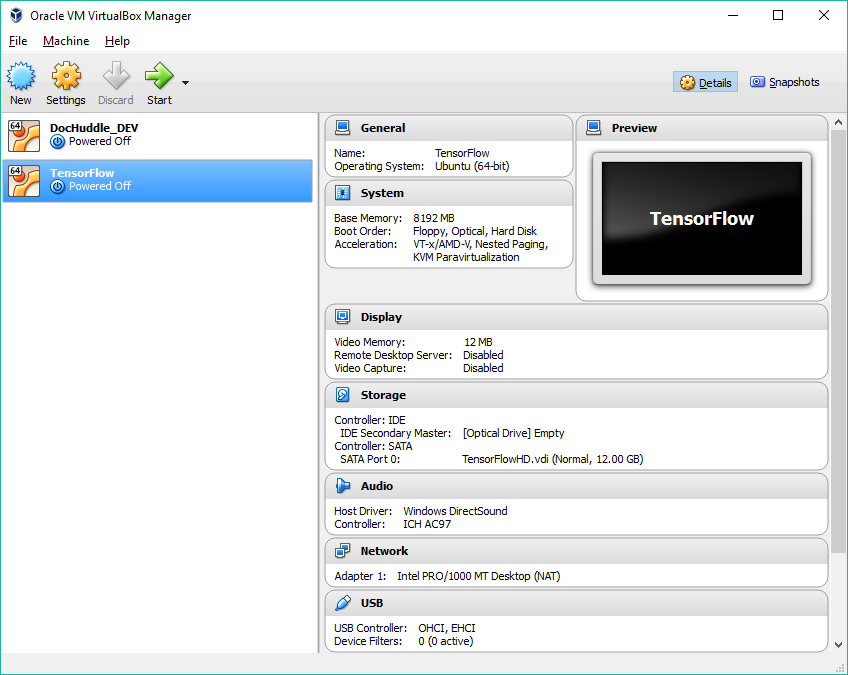
Setting up the VM on Oracle VM VirtualBox Manager is relatively simple, but pay close attention as the default options are not sufficient for TensorFlow. You will go through the following seven screens, and at the end, it will prompt you for the installation file, which was just downloaded.
We will first set up the type of operating system and configure the random access memory (RAM) allocated to the VM:
- Note that we selected a 64-bit installation as that is the image we're using; you can choose to use a 32-bit image if you need:

- How much RAM you allocate depends on how much your machine has. In the following screenshot, we will allocate half our RAM(8 GB) to our VM. Remember that this is consumed only while we are running the VM, so we can be liberal with our allocations. We can allocate at least 4 GB:

- Our VM will need a hard disk. We'll create a Virtual Hard Disk (VHD), as shown in the following screenshot:

- Then, we will choose the type of hard drive for the VM, that is, VDI (VirtualBox Disk Image), as shown in the following screenshot:

- Next, we will choose how much space to allocate for the VHD. This is important to understand as we will soon work with extremely large datasets:

- We will allocate 12 GB because TensorFlow and typical TensorFlow applications have an array of dependencies, such as NumPy, SciPy, and Pandas. Our exercises will also be downloading large datasets, which are to be used for training:

- After setting up the VM, it will appear on the left side VM listing. Select it and click on Start. This is the equivalent of booting up the machine:
- As the machine boots for the first time, provide it the installation CD (in our case, the Ubuntu ISO we downloaded earlier):

Follow the installation instructions and you'll have a full Ubuntu Linux installation ready to use! After that, you can follow the Ubuntu installation at the beginning of this chapter.