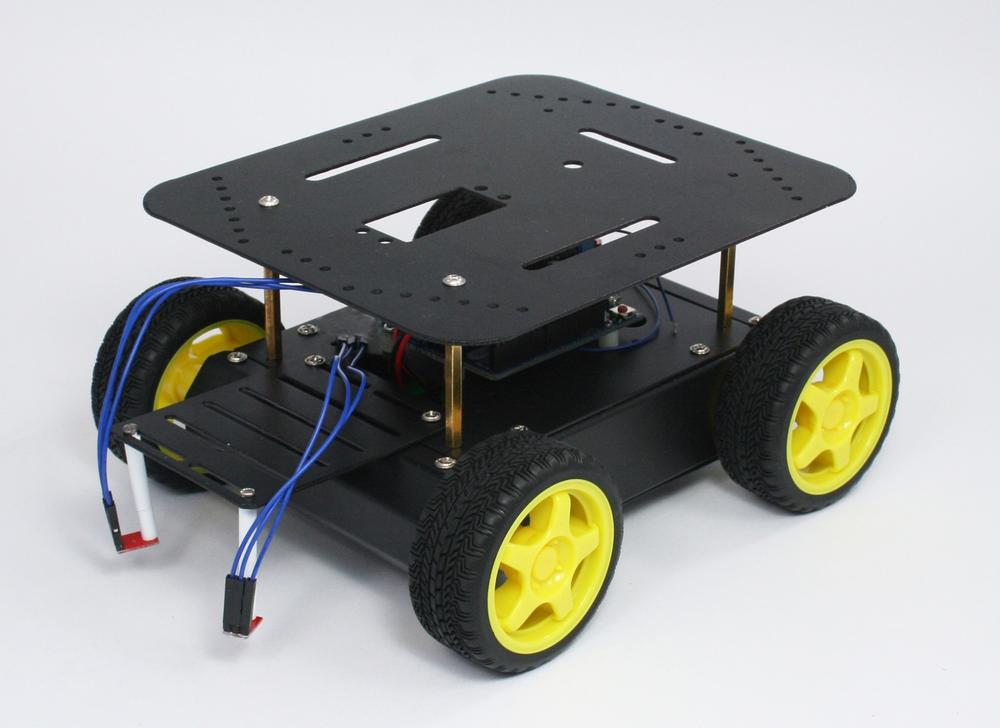
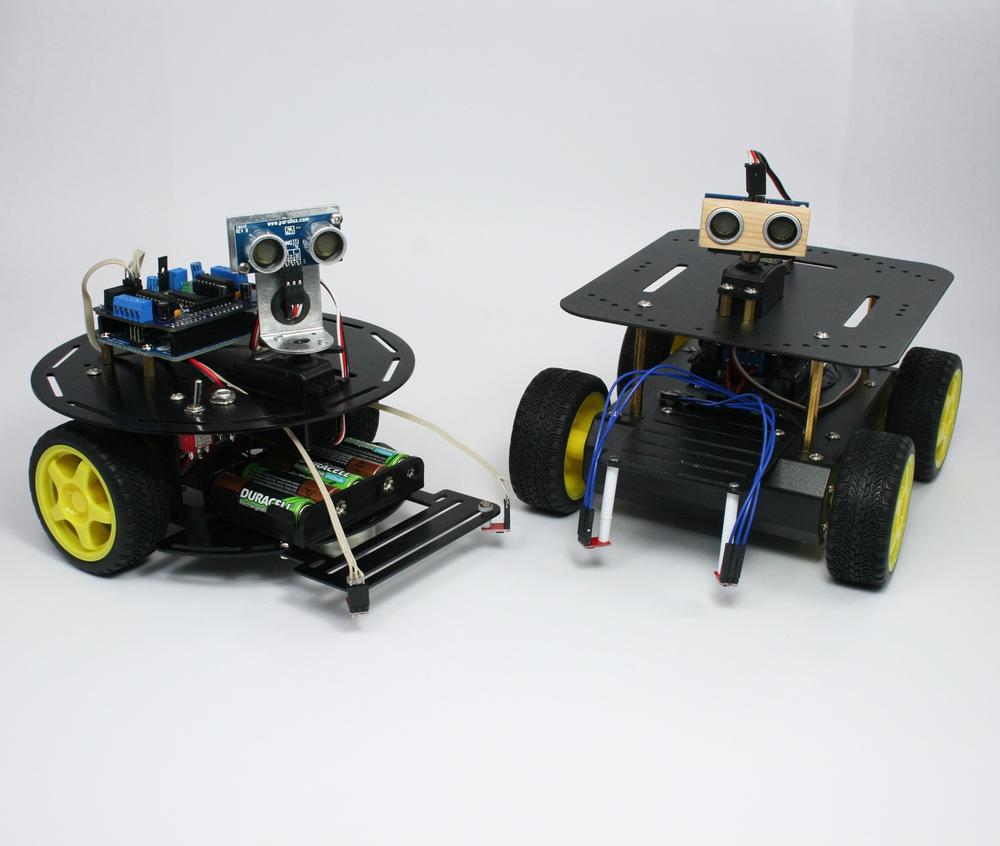
This book takes you through the steps needed to build a robot capable of autonomous movement and remote control. Build instructions are provided for 2WD (two wheel drive) and 4WD (four wheel drive) platforms. The platforms shown in Figure 1-1 and Figure 1-2 will make the construction a snap, but you can build your own robot chassis if you prefer. The connection and use of the control electronics and sensors are fully explained and the source code is included in the book and available for download online (see How to Contact Us for more information on downloading the sample code).

Here is a preview of the projects you can build:
Controlling speed and direction by adding high level movement capability.
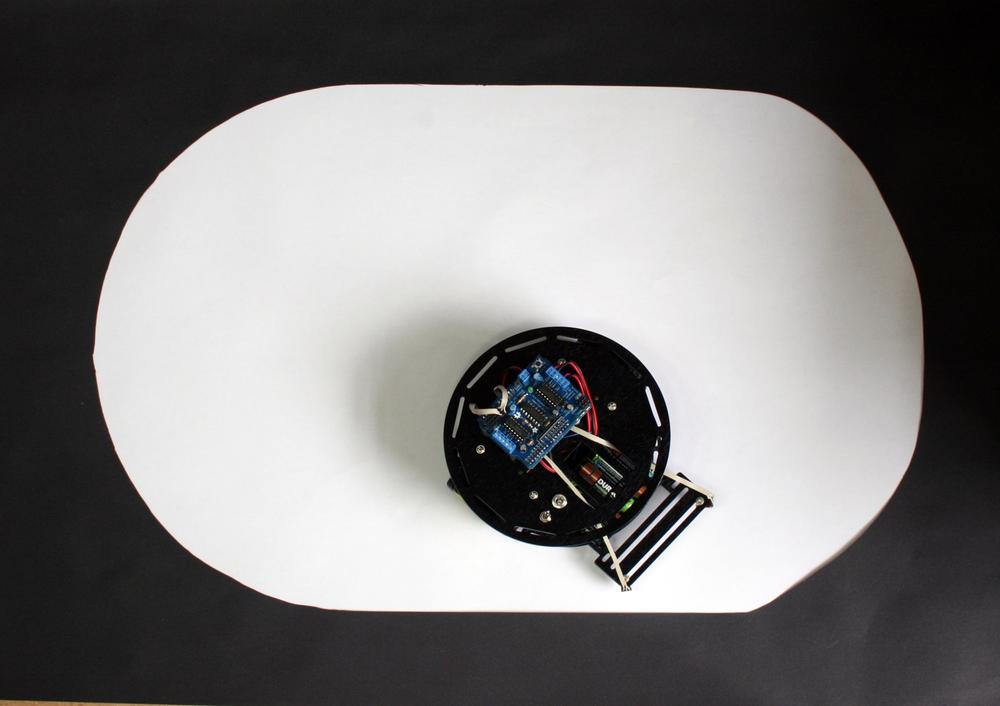
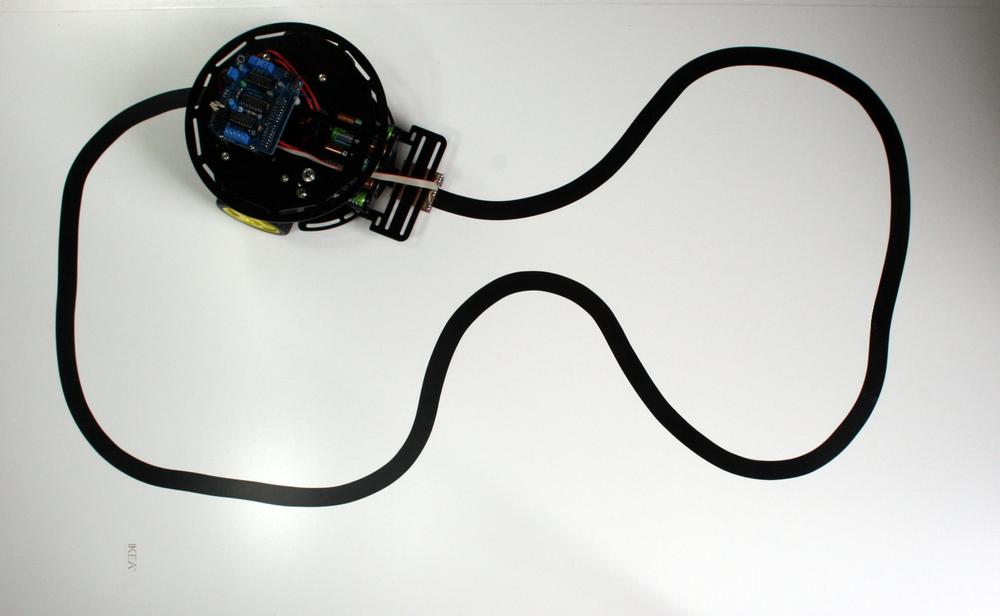
Enabling the robot to see the ground—using IR sensors for line and edge detection (see Figure 1-3 and Figure 1-4).
Enabling the robot to look around—scanning using a servo so the robot can choose the best direction to move, as shown in Figure 1-5.
Adding remote control using a TV remote control or a wired or wireless serial connection.
Building a robot is different from any other project you can make with a microcontroller. A robot can move and respond to its environment and exhibit behaviors that mimic living creatures. Even though these behaviors may be simple, they convey a sense that your creation has a will and intent of its own. Building a machine that appears to have some spark of life has fascinated people throughout the ages. The robots built over 60 years ago by neurophysiologist W. Grey Walter (see http://www.extremenxt.com/walter.htm) explored ways that the rich connections between a small number of brain cells give rise to complex behaviors.
There are many different kinds of robots, some can crawl, or walk, or slither. The robots described in this book are the easiest and most popular; they use two or four wheels driven by motors.
sidebyside:
The robots covered in this book move forward, back, left and right much like a conventional car. Figure 1-6 shows the wheel motion to move the robot forward.
sidebyside:
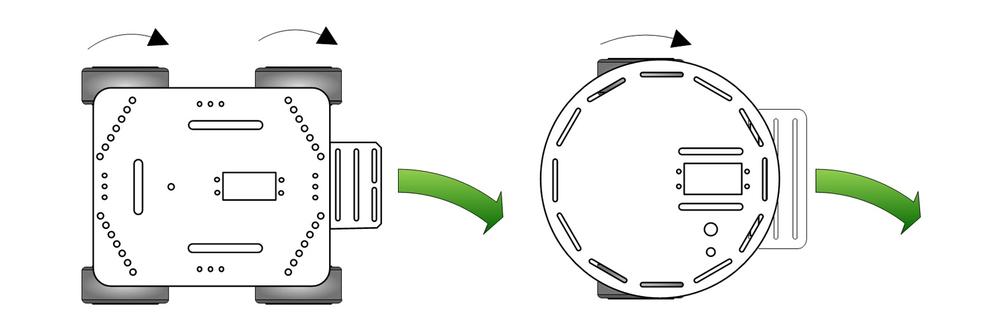
If the wheels on one side are not driven (or are driven more slowly than the other side) the robot will turn, as in Figure 1-7.

sidebyside:
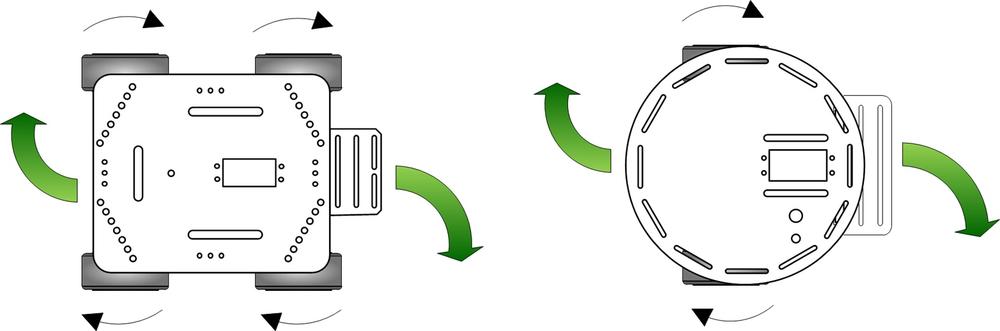
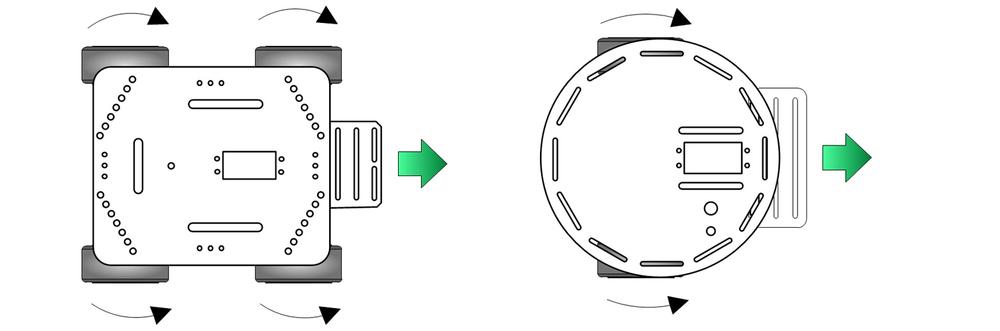
Unlike a car (but a little like a tank), these robots can also rotate in place by driving the wheels on each side in different directions. If the wheels on each side are spinning in opposite directions, the robot will rotate. Figure 1-9 shows clockwise rotation.
These are the tools you need to assemble the robot chassis.
- Phillips Screwdriver
A small Phillips screwdriver from your local hardware store.
- Small long-nose or needle-nose pliers
For example, Radio Shack 4.5-inch mini long-nose pliers, part number 64-062 (see Figure 1-10) or Xcelite 4-inch mini long-nose pliers, model L4G.
- Small wire cutters
For example, Radio Shack 5" cutters, part number 64-064 (Figure 1-11) or Jameco 161411
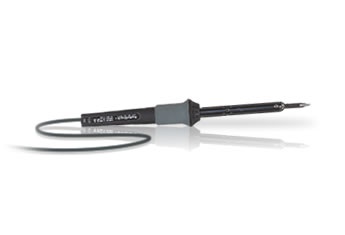
- Soldering iron
For example, Radio Shack 640-2070 (Figure 1-12) or Jameco 2094143 are low cost irons suitable for beginners. But if you are serious about electronics, a good temperature controlled iron is worth the investment, such as Radio Shack 55027897 or Jameco 146595.
- Solder 22 AWG (.6mm) or thinner
For example, Radio Shack 640-0013 or Jameco 73605.