
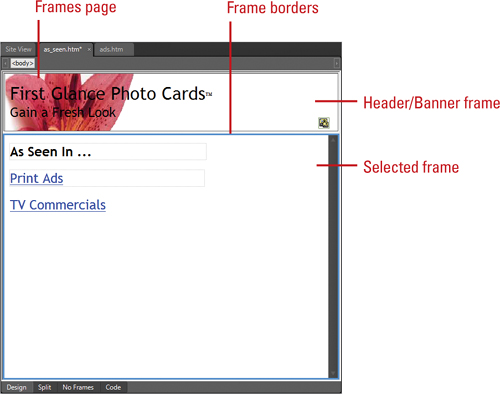
A frames page is a type of HTML page that breaks up the browser display into different areas, known as frames. Each frame can display a different page. Pages are shown in frames by creating a hyperlink to the page and indicating the frame as a portion of the link. Frames are useful to Web masters because the user interface is stable and the frames contain built-in navigation. Frames pages are used for many different types of Web sites and pages, such as catalogs or sites containing a collection of articles.
Frames pages don’t actually contain content; they are holders that indicate which content pages to display within the boundaries the frames page defines. It is much like a picture frame without a picture. For example, you can click a hyperlink within a frame, and have the linked page open in a different frame, called a target frame because it is the target of the link. Frames can also be split (vertically or horizontally), resized, or deleted by dragging frame borders. Frame borders can be seen or hidden by the user. You, as the Webmaster, can determine the size of the margins inside each frame, the amount of space between frames, and whether a frame can be resized within a browser or if scroll bars should be included.
If you continually use the same frame page to create Web pages for your site, you can save time by creating a template. You can modify an existing frames page template to create a customized one, or you can create one from scratch. Expression Web comes with a variety of frames page templates—Banner and Contents, Vertical Split, Header, Footer, and Footnotes—from which you can create a customized template.

When you first work with borders you should use a frames page template, because templates are pre-configured so that you can easily move between frames. The New dialog box comes with a set of built-in templates—Banner and Contents, Contents, Footer, Footnotes, Header, and Vertical Split to name a few—from which you can create a frames page. With a template, you decide what occupies the initial page (the page that is visible in each frame when you first visit a frames page), which can either be a new page or one you’ve previously created.

If you continually use the same frames page to create Web pages for your site, you can save time by creating a template. You can modify an existing frames page template to create a customized one, or you can create one from scratch. Expression Web comes with a variety of frames page templates—Banner and Contents, Vertical Split, Header, Footer, and Footnotes—from which you can create a customized template.
 Open a frames page template that you want to use as the basis for a new frames page template.
 Right-click in any frame, and then click Frame Properties.
 Make any modifications to the size of the frame, margins, name and so forth that you desire, and then click OK.
 Click the File menu, and then click Save As.
 Click the Save as type list arrow, and then click Page Template.
 Navigate to the frames_t folder (which is already in the Expression Web Pages folder) to store the template along with the other frame templates.
 Type the file name for your custom template.
 Click Save.
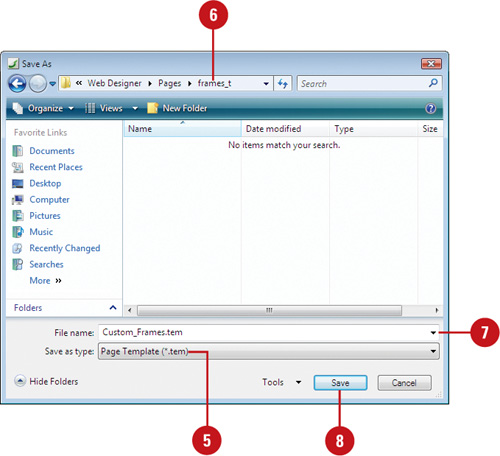
 Type the name you want to use as a title for the template. This is the title that will appear in the list of templates under Frames Pages in the New dialog box.
 Type the text describing what the template does. This text is displayed in the Description area in the list of templates.
 Click OK.
Inline frames resemble normal frames pages except an inline frame and its contents are embedded in an existing Web page. So you don’t have to create a separate frames page to introduce embedded content. An inline frame can also create a frame within a frame. And anything you can do with a regular page can be done with an inline frame. Just as with any other frame, inline frames are customizable. Using the Inline Frame command on the Insert menu, you can add multiple inline frames to your Web page quickly.
- Open and display the Web page you want to use.
- Click to place the insertion point where you want to insert an inline frame.
- In the Toolbox panel, click the plus sign (+) to expand Tags.
- In the Toolbox panel, double-click Inline Frame.
An inline frame appears on your page.
- Click Set Initial Page.

- Browse and locate the page you want to embed in the selected frame, and then click the page to be imported. The URL for the page appears in the Address box.
- Click OK.

The selected page is now imported into the frame.
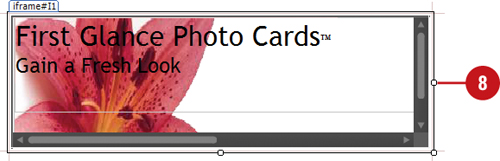
- Click the outside edge of the frame to select it, and then drag a resize handle to the desired size.
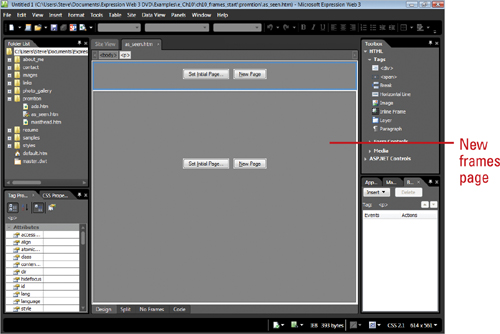
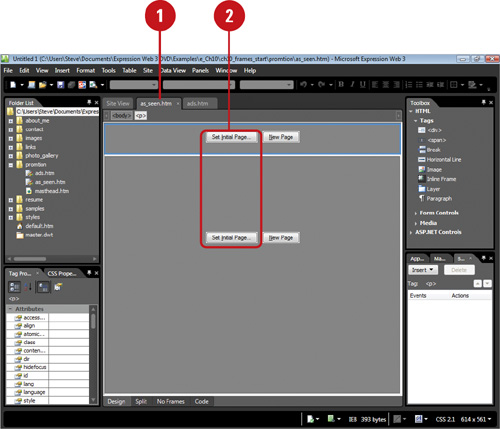
After you create a frames page using a template or insert an inline frame, you can add content to the frames. Each frame offers two option buttons: Set Initial Page or New Page. Using Set Initial Page, you can insert an existing page. Using New Page, you can create the contents of the frame from scratch.


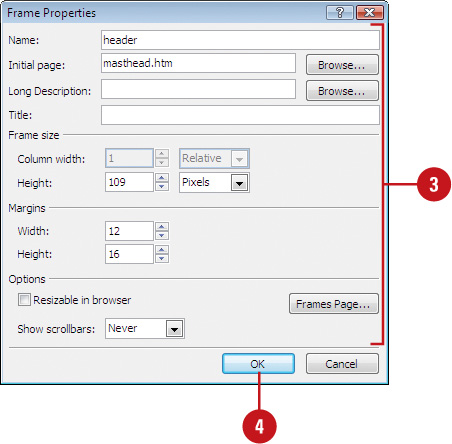
You can edit the properties of a normal or inline frame at any time. The Frame Properties dialog box allows you to change all aspects of working with a frame in one place. You can specify or change the frame name, the initial page, long description, title, frame size, margins, and other browser related options. These options allow you to customize the overall appearance of your frames page.
- Open and display the frames page you want to change.
- Right-click the frame, and then click Frame Properties.

- Change the frame properties you want.
Name. The name that hyperlinks specify to load their contents in the frame.
Initial Page. The page that is first displayed in a frame when a visitor browses the site.
Long Description. The URL that contains more information about the current frame.
Title. The description of the frame.
Frame Size. The width and height of the frame in pixels, percentages, or units that create proportional spacing.
Margins. The margins of the frame in pixels.
Resizeable In Browser. Select to allow visitors to resize frames in a browser.
Show Scrollbars. When the scrollbars appear on screen. Set to Never Appear, Always Appear, or Appear If Needed.
- Click OK.
- Right-click the frame, and then click Inline Frame Properties.

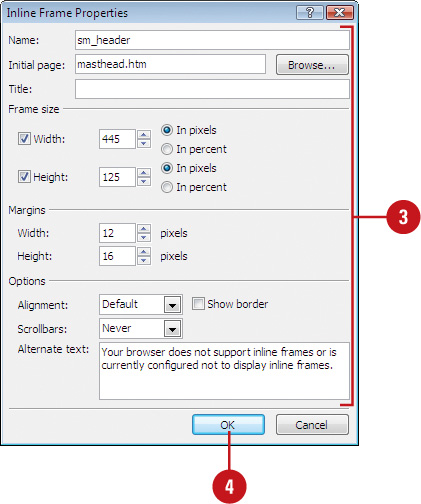
- Change the inline frame properties you want.
Name. The name that hyperlinks specify to load their contents in the frame.
Initial Page. The page that is first displayed in a frame when a visitor browses the site.
Title. The description of the frame.
Frame Size. The width and height of the frame in pixels or percentages.
Margins. The margins of the frame in pixels.
Alignment. The position for the inline frame on the page (left, right, or center).
Scrollbars. When the scrollbars appear on screen. Set to Never Appear, Always Appear, or Appear If Needed.
Alternate Text. The text that you want the browser to display if the browser doesn’t support frames.
- Click OK.
After you’ve prepared your frames page, you need to save it. Saving pages in a frames page involves a few more steps than simply a normal Web page. You need to save each page in a frame as well as the entire frames page itself. When you save a frames page, or the frameset, you’re also saving instructions for the placement and sizing of individual frames on the page.
- Open and display the frames page you want to save.
- Click the frame displaying the page you want to save.
- Click the Format menu, point to Frames, and then click Save Page As.
- Enter (or click) the file name for the page displayed in the thumbnail’s selected frame.
- To edit the page title, click Change title, type a title for the page, and then click OK.
- Select the type of Web page you want saved.
- Specify a location where you want the page saved.
- Click Save.

- Click the File menu, and then click Save As.
The Save As dialog box opens, complete with a thumbnail showing the layout of the page with the affected elements highlighted with a dark blue box.
- Type a file name for the highlighted frames page.
- To edit the page title, click Change title, type a title for the page, and then click OK.
- Specify a location where you want to save the frameset.
- Click Save.

If any pages in a frame have not been saved, the Save As dialog box opens, asking you to save the page.
- If necessary, click Save for each additional page in a frame.
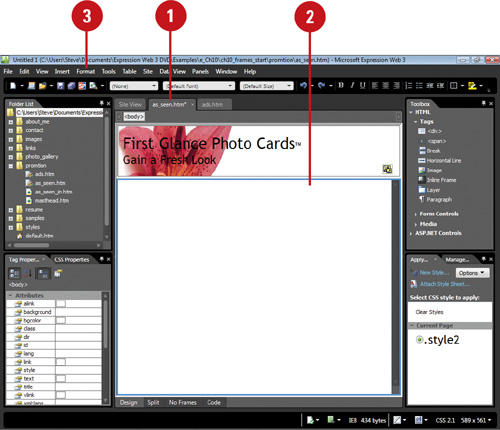
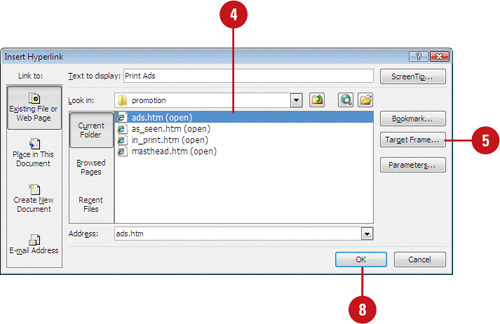
Sometimes you want a link in one frame to display content in another frame. This type of link is called a target frame. When you link a target page to a frame, you need to know the name of the frame you want to target, and the name of the Web page file you want to link to the frame.
- Open and display the frames page you want to use.
- Select the normal (create) or hyperlinked (edit) text or graphic.
- Click the Insert Hyperlink button on the Common toolbar.
- Enter or verify the file name for the targeted frame.
- Click the Target Frame button.
- Select the option you want.
In the Current frames page area (a map of your frames page), click the frame you want to designate as the target frame.
In the Common targets box, click the target frame you want to designate as the target.
- Click OK.
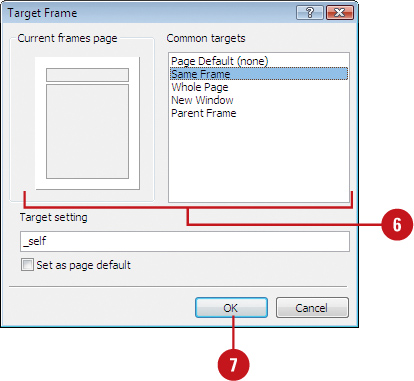
- Click OK.
Editing the content of a frame is another key in developing a solid site. When working in Page view, select the frame you want to edit by clicking it. The frame might be too small for you to work in easily. If this is the case, you’ll want to open it in a larger window. Frame margins set the distance between the frame content and the border.
- Open and display the frames page you want to change.
- Click in the frame you want to open in a new window. A dark blue border appears around the frame you’re editing and a shortcut menu opens.
- Click the Format menu, point to Frames, and then click Open Page in New Window.
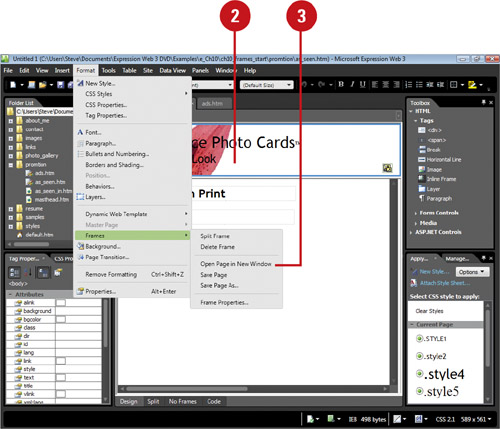
The frame is now large enough to work in easily.
- Click the File menu, and then click Close to return the page to its original size.

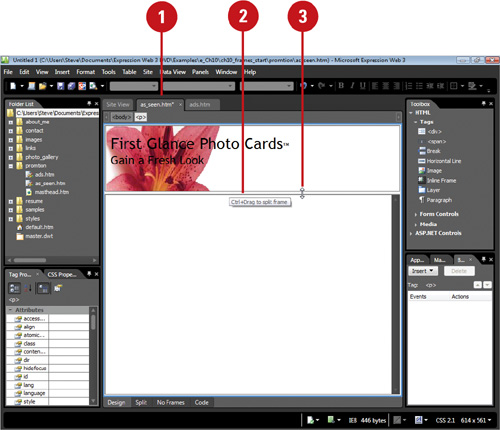
There are two ways to split a frame: by dragging its border, or by using the Split Frame command on the Frames menu. When you split a frame, Expression Web creates a new frame and the content in the original frame remains intact.

- Open and display the frames page you want to change.
- Click the frame you want to split to select it.
- Click the Format menu, point to Frames, and then click Split Frame.
- Click the Split into columns option to split the frame vertically, or click the Split into rows option to divide the frame horizontally.
- Click OK.

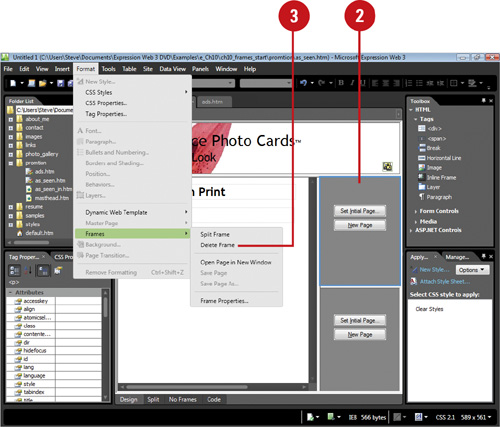
When you no longer need a frame, you can delete it from a frames page. When the frame is deleted, the Web page in the frame is deleted, but the page is still available in your Web site folders. After you delete a frame, the remaining frames on the Web page expand to fill the space left by the frame you deleted. If the frames page contains only one frame, you cannot delete that frame.
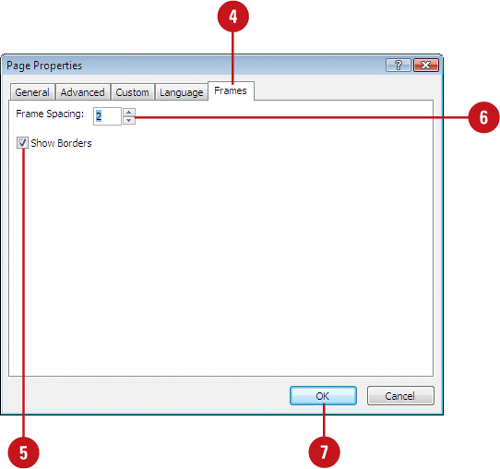
You can display or hide borders around frames. When you display a border, you can also set the spacing between borders to achieve the look you want. If you hide borders, you can still see them when you work on the page in Design view. The hidden frame borders appear as a thin gray line.
- Open and display the frames page you want to change.
- Right-click anywhere on the frames page, and then click Frame Properties.
- Click Frames Page.
- If necessary, click the Frames tab.
- Select or clear the Show Borders check box to display or hide border frames.
- If you select the Show Borders check box, enter the amount of space, in pixels, you want between borders.
- Click OK.
- Click OK.
