
It is now time to start building the solution. The first step is to create the top-level site collection. Once the site is created, the primary calendar list will be created and customized and the subsites created and modified. Finally, we will configure permissions across all sites and discuss additional options.
The team activity site collection will be created from Central Administration. It will use the settings listed in the following table and be based on the Group Work Site template. If you don’t have access to your farm’s Central Administration pages, you should request a site be created using the information listed.
You can also create this solution by using the Team Site template, which contains some of the same out-of-the-box web parts, depending on your future plans to add to the template. While the default calendar view might look different in these two templates, the functionality is the same.
Create your team activity site with the following parameters:
Field | Value |
|---|---|
Web Application | |
Title | ActivitySite |
Description | Centralized activity site for remote teams |
URL | .../sites/activitysite |
Template Selection | Group Work Site or Team Site |
Primary Site Collection Owner | Wallace, Anne |
Secondary Site Collection Owner | Duncan, Bart |
Quota Template | Application_40GB |
The activity site will probably be considered part of the corporate intranet and should be named appropriately to remain consistent with company branding and navigation standards.
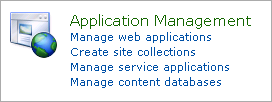
On the Central Admin home page, select Create Site Collections in the Application Management group.
Select the Group Work Site template, and enter the information as provided in the preceding table. Click OK to provision the site collection.
After the site is provisioned, follow the link provided to open the new site collection and bookmark the location in your browser for easy reference while building out the solution.


Once you have established your top-level team activity site, you can create subsites for each individual team within the organization. Only approved team members will have the ability to publish content and calendar items within their team’s subsite, which will help enforce document security and also ensure that only authorized team members are able to modify team calendar activities that roll up to the broader organization through the top-level team activity site.
From the top-level team activity site, you will create a new site based on the Team Site template and then add the appropriate web parts and content.
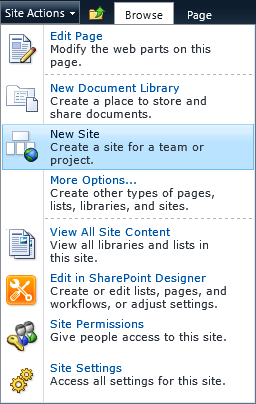
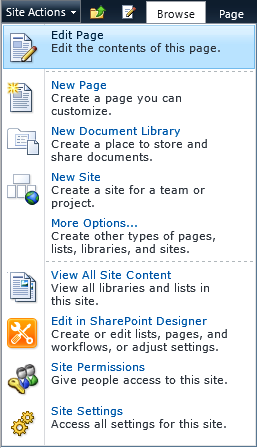
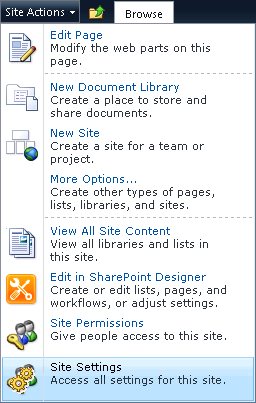
Go to Site Actions, New Site.
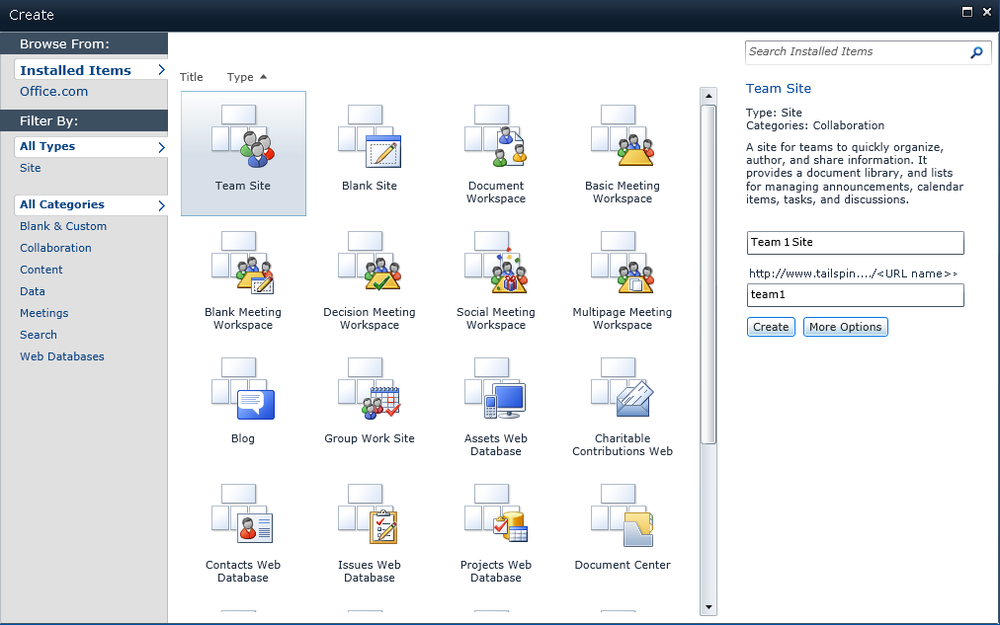
In the Create dialog box, select the Team Site template. On the right, enter the following parameters:
Field
Value
Team Site Name
Team 1 Site
Team Site URL
Team1
Click Create.
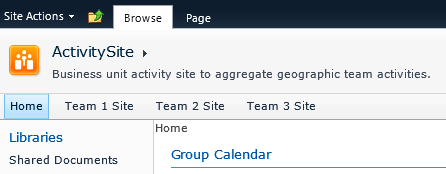
Navigate back to the top-level team activity site, and then repeat the process two more times, adding Team 2 Site and Team 3 Site. You should have one top-level team activity site, with subsites for Team 1, Team 2, and Team 3.
After the subsites are completed, navigate back to the top-level team activity site.

With the default settings configured when you add these subsites, your top-level navigation should appear as follows, which allows individual team members to quickly navigate to their appropriate team sites.
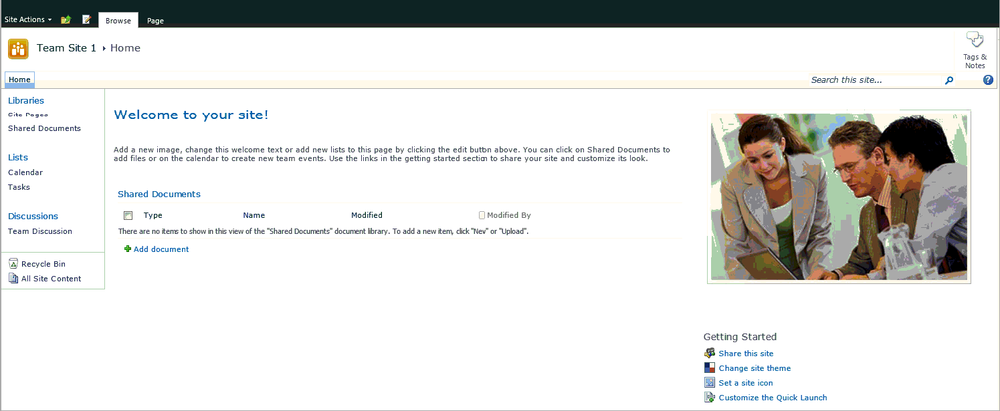
When building out your individual team site pages, you need to deploy the Calendar web part to your team site and change the default view. The calendar is part of the template, but it does not, by default, appear on the front page. To add the calendar to your team site, do the following:
On Team 1 Site, go to Site Actions, and then select Edit Page.
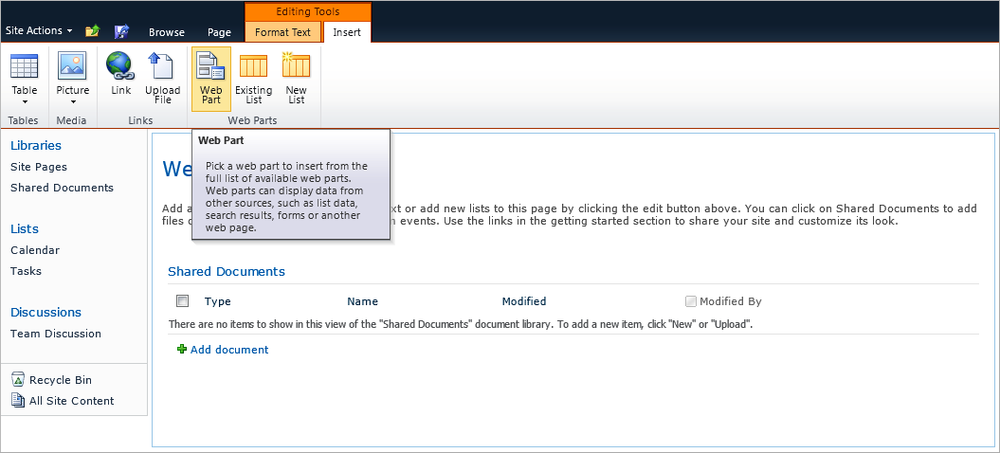
Click the center web part zone on the page, and then on the Editing Tools Insert tab, click Web Part.
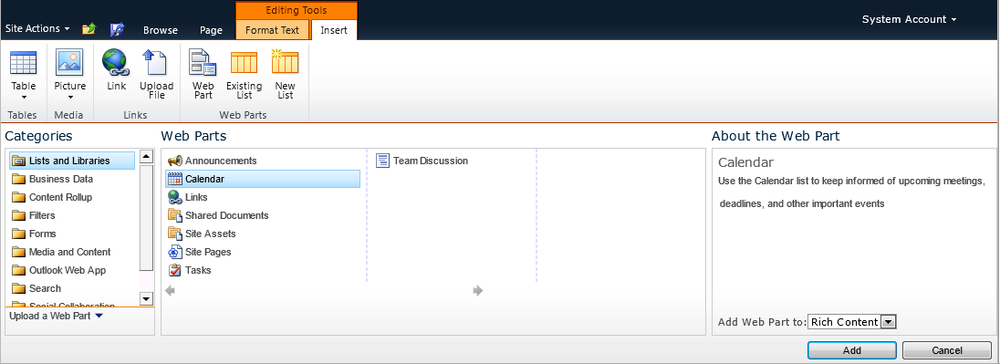
In the Lists And Libraries category, select Calendar, and then click Add.
The calendar should be added to the center zone and is now ready for adding events.

For the purpose of this solution, we are going to remove most components from the standard Team Site template. Each individual team might have its own standards for look and feel and will decide which components it wants to leave in place. This solution will focus on the Calendar web part, with suggestions for managing the Shared Documents library and the Links and Tasks lists at the team level.
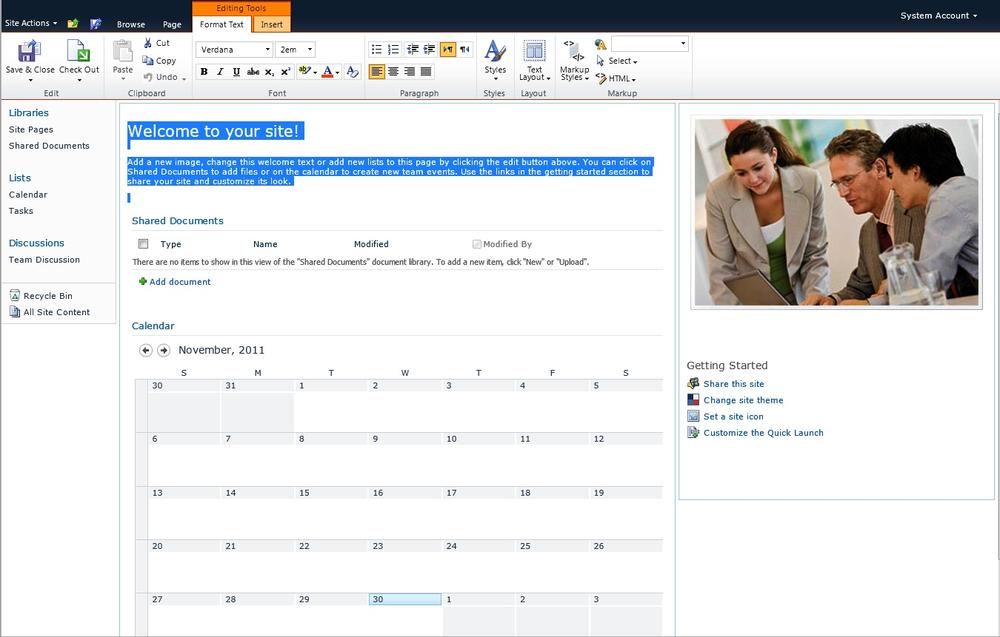
To remove unwanted web parts and text, continue using edit mode by going to Site Actions, Edit Page. Then follow these steps:
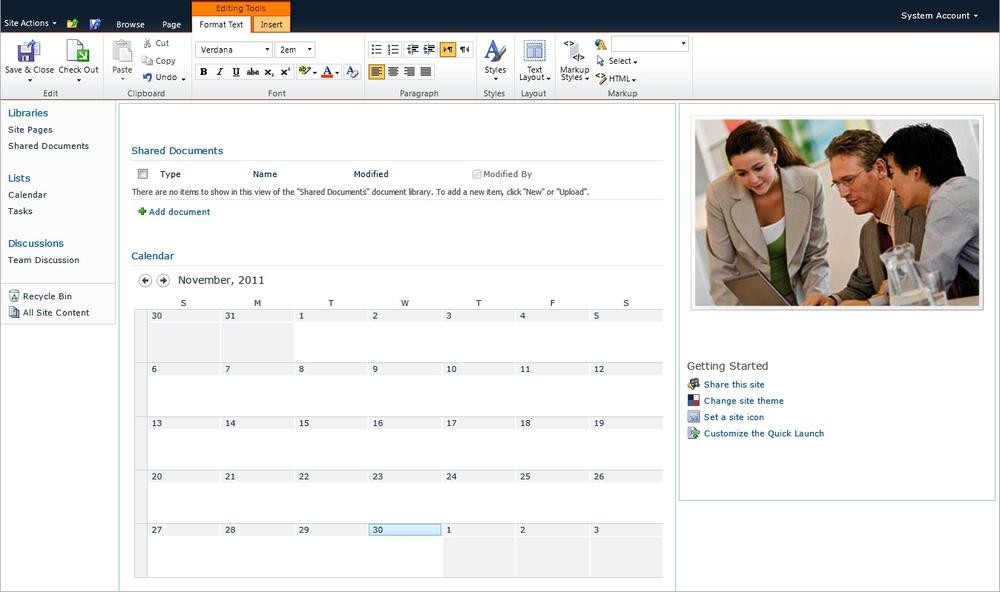
Highlight unwanted text and delete.
Repeat this step to remove any unwanted images or any other items within the rich text workspace, such as the Getting Started section.
To move a web part to another section, simply drag it to the appropriate location. In this example, drag the Shared Documents web part to the right column. Also, add a new Tasks web part to the center column underneath your team calendar. When you’re done modifying the look and feel of your page, exit out of edit mode.
Because it can be difficult to test some functionality without data, at this stage you should add some temporary events to each team calendar. Add two or three events per calendar, with one event occurring at the same time as one of the events on each of the other sites. This will allow you to see the overlapping schedules and ensure that everything is working as designed.
As you create each event, provide the necessary data from the following table.
Field | Value |
|---|---|
Title | Meeting Name |
Location | Room/Building |
Start Time | Select start time |
End Time | Select end time |
Description | Enter a brief meeting description |
Category | Meeting |
All Day Event | No |
Recurrence | No |
Workspace | No |
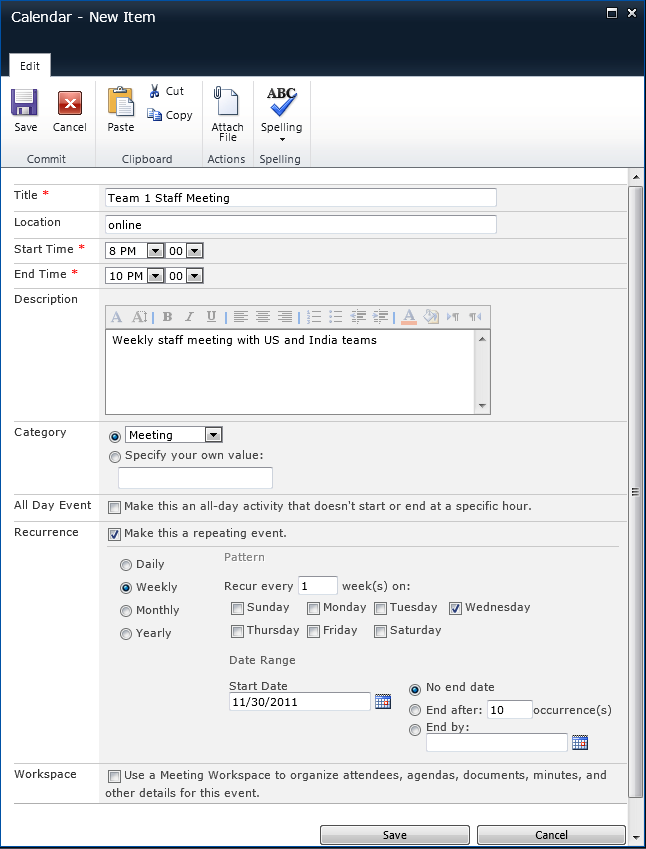
For this exercise, keep the temporary events simple. To create your test events, go to Team 1 Site, select the Calendar web part, and follow these steps:
On the Calendar Tools Events tab, click New Event.
Complete the new event form using the information from the preceding table.
After the form is complete, click Save. Your new event should now appear in the calendar view.
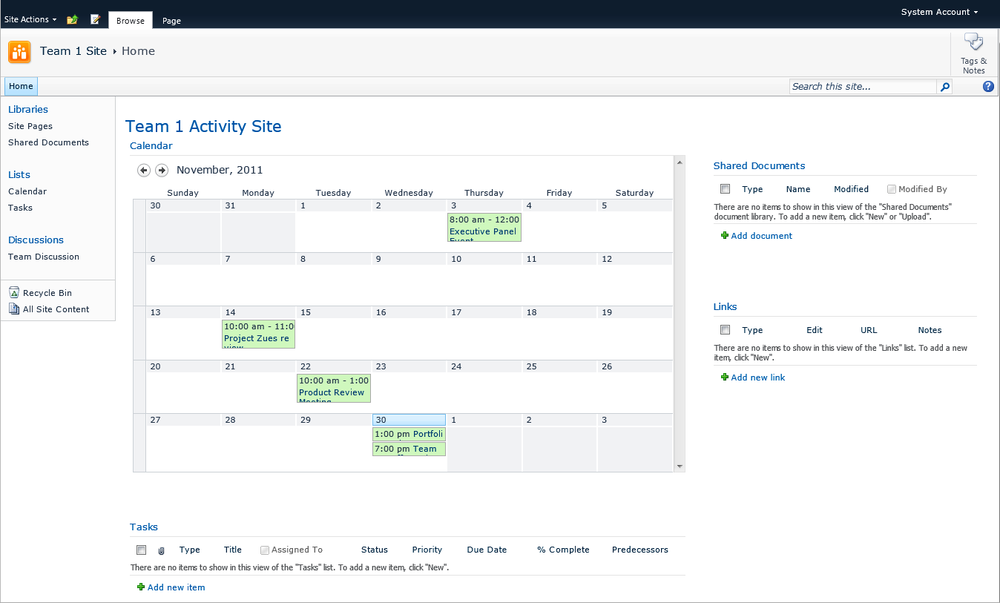
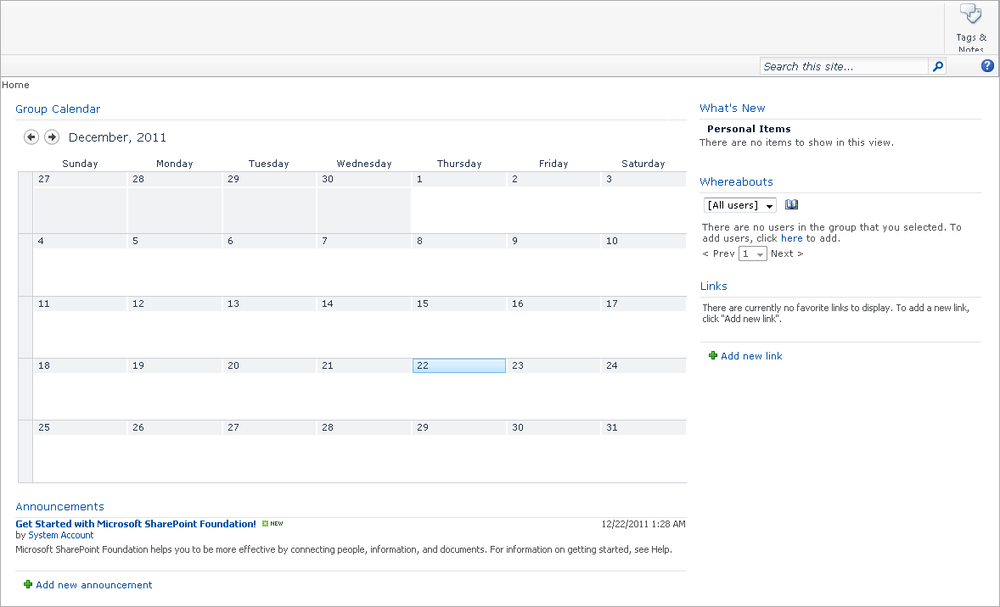
Repeat the process, adding several calendar items for testing purposes. Once the events are added, your calendar should appear something like the following:


The default calendar view for the top-level activity site template is the weekly view. To give site visitors a more comprehensive view of the shared calendar, we will change the view to the monthly view.
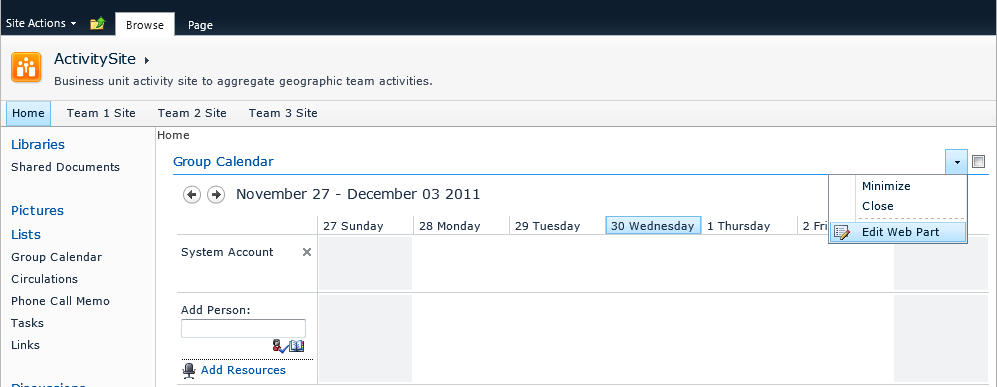
Open the context menu on the far right of the Calendar web part, and select Edit Web Part.
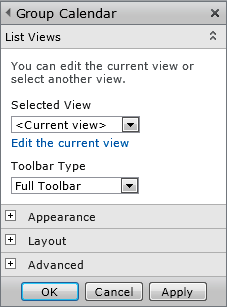
The Group Calendar configuration menu will appear on the far right. Select Edit The Current View.
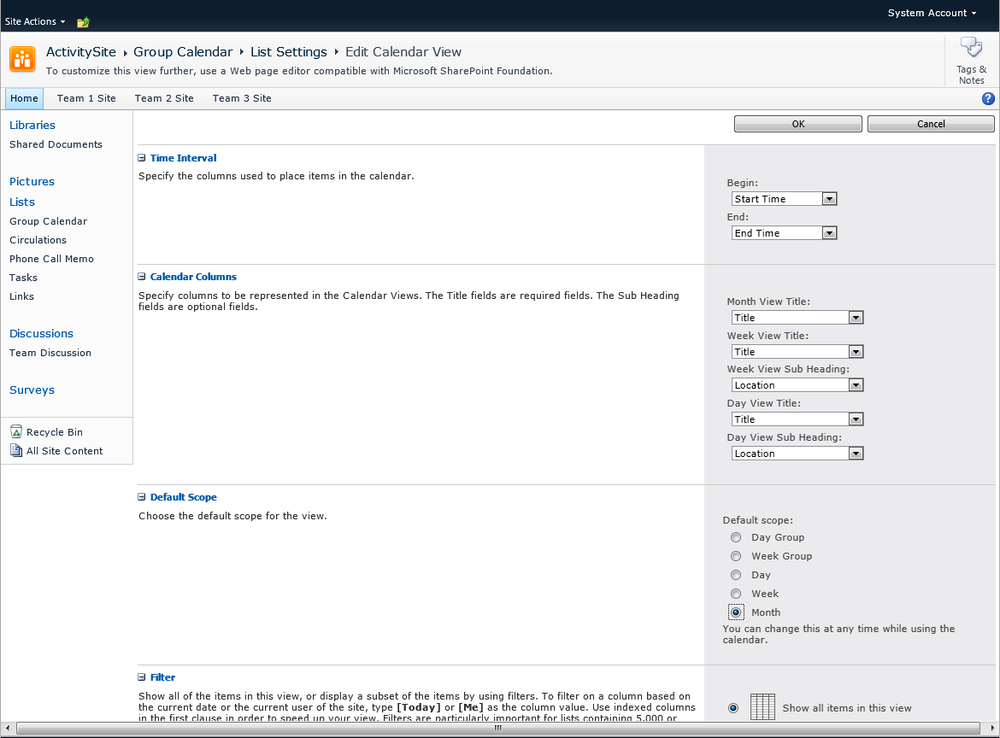
The Edit Calendar View page will open. In the Default Scope section, change from the Week Group option to the Month option, and then click OK.
You could repeat these steps to modify the calendar view on the group calendar page as well, to keep your views consistent across all calendars.
Now that you have set your default view, you can clean up (remove) any content or web parts on the team activity site that will not be part of your final design. We will add the Shared Documents and Links web parts to the right column and the Tasks web part beneath the calendar (even though these components are not relevant to the overall solution).
Note
To move the Tasks list below the Calendar web part, edit the page, and then edit the web part. In the Tasks edit controls on the right, go to Layout, Zone Index, then type 2, and then apply your change. This will move the web part to the correct position.
Once your functional layout is done, you are ready to add calendar overlays to link the three team site calendars to your top-level team activity site.
Calendar overlays are an out-of-the-box feature in SharePoint 2010 and are fairly simple to set up. The major limitation is that only 10 overlays can be performed on a calendar. Each calendar overlay can be color-coded, making identification of overlapping team activities easier to decipher.
Note
You must go through the steps of creating calendar overlays for each page on which you wish to see these overlays. In other words, the overlays will only be viewable on the page (the calendar) in which you create them. If you were to add a view into your calendar on a separate page, you would need to recreate the overlays for that view.
To add calendar overlays, do the following:
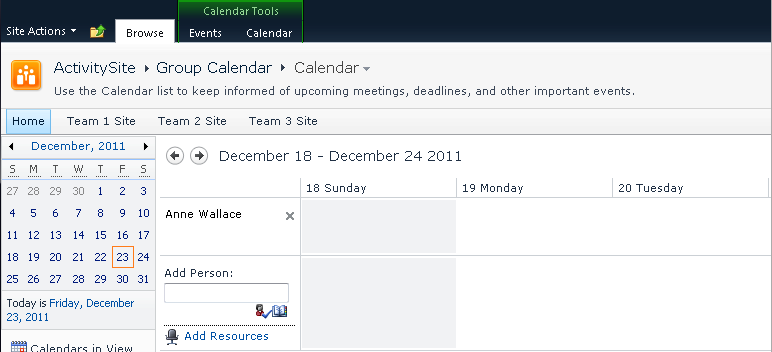
On your top-level team activity site, click the Group Calendar title to go to the calendar page.
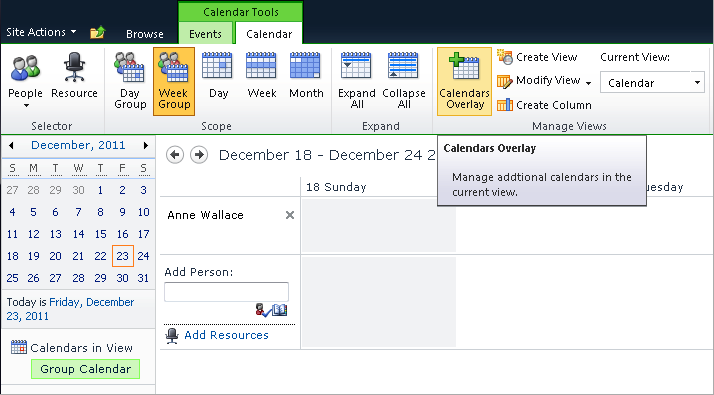
On the Calendar Tools Calendar tab, click Calendars Overlay.
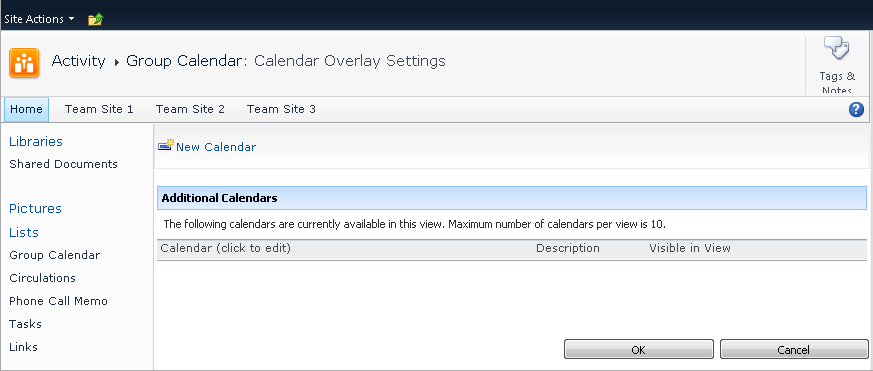
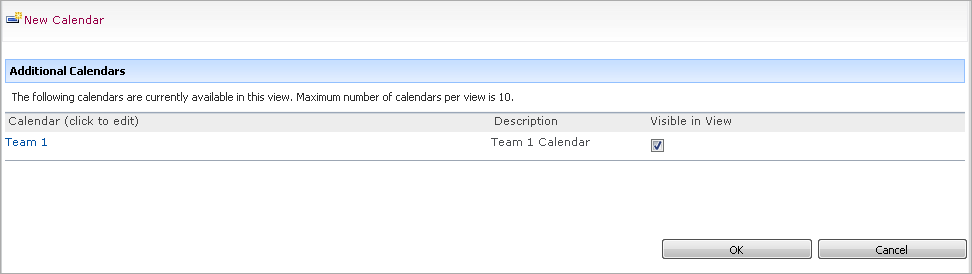
The Calendar Overlay Settings window opens. Select New Calendar.
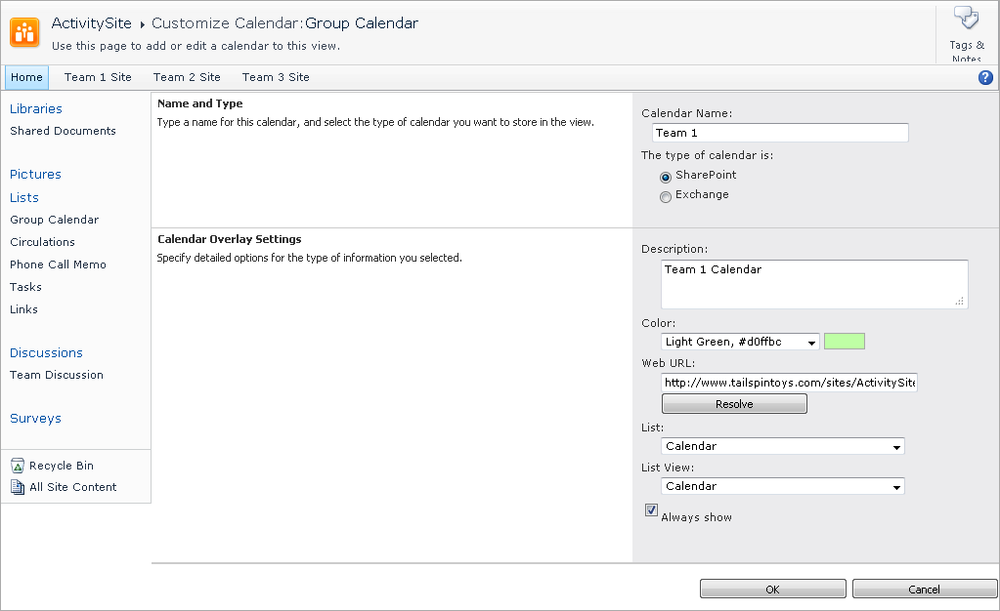
The New Calendar dialog box opens. Create and point to the new calendar overlay by adding the following information.
Field
Value
Calendar Name
Team 1
Type
SharePoint
Description
Team 1 Calendar
Color
Select color from drop-down menu
Web URL
List
Calendar
List View
Calendar
Always Show
Selected
As you complete the form, the web URL should point to the team site and not include the calendar itself. SharePoint will locate the calendar on its own. Click Resolve to confirm that the URL has been entered correctly, which will automatically populate the List and List View options.
Select a unique color for each team site, select Always Show, and then click OK to complete the calendar overlay.
Once added, the Team 1 calendar will appear in the calendar overlays list.
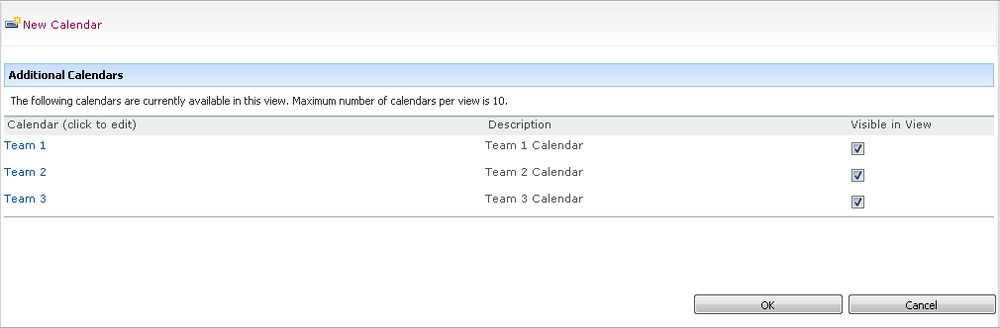
Add the calendars for Team 2 and Team 3 following the same steps. Use a unique color to identify each. Once you complete the steps, the calendar overlays list should appear as follows:
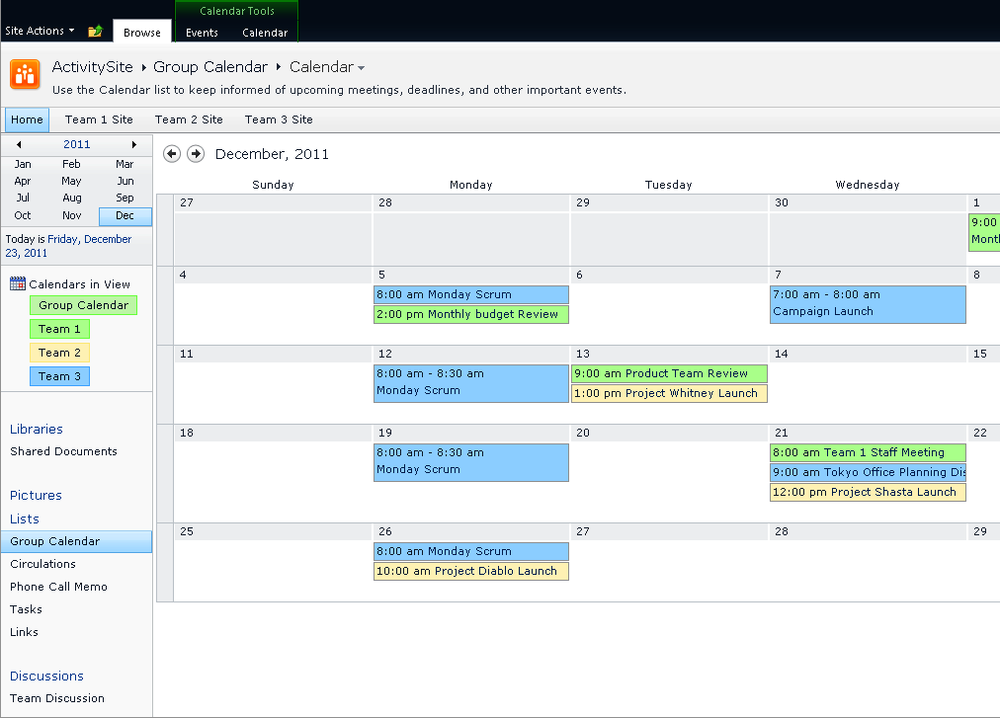
Go back to the group calendar. All three team site calendar overlays should now appear on the site.
There are a number of ways that you can protect your content and calendars, including automating workflow and using document-level permissions. Additionally, you can manage permissions using either Active Directory groups or SharePoint groups. Active Directory groups should be more static and are generally less flexible for the proactive changes necessary inside SharePoint, so for this solution we will focus on creating SharePoint groups and assigning their permissions within our scope.
By default, permissions for the team activity sites will be inherited from the parent site unless they are created with custom permissions. Because we will be specifying unique permissions for the top-level team activity site and its underlying team sites, you need to break the permissions inheritance from the parent site and change the permissions settings. When you break inheritance, you are simply creating a copy of the existing permissions, which allows you to customize them to meet your specific needs.
Select Users And Permissions, and click Site Permissions. This displays the Permission Tools tab and a list of all individuals and groups with current permissions.
If the site is inheriting permissions, select Stop Inheriting Permissions on the ribbon, and then click OK to continue.
Now that you have established unique permissions for your top-level team activity site, you can set up permissions for the team members within each of your team sites. The standard templates used come with several groups already in place, which you can modify or remove. Because the differences between the various standard groups can be confusing, for this solution we will walk through the creation of five new groups with distinct functions and permissions.
To set up your new groups, follow these steps:
Go to Site Actions, Site Permissions to see a list of all current SharePoint groups and individuals that were part of the previously inherited site permissions.
Select Create Group on the ribbon.
The Create Group page opens.
Create the Team 1 group, completing the form with the following information, and then click Create. The purpose of this group is to give all members of Team 1 write access for their site. You may also decide to restrict access to the site for all other users, or possibly give other users read-only access. If this is the case, it may be easier to create an Active Directory group for each team site and manage these user subsets in Active Directory instead of through SharePoint groups.
Value
Name
Team 1
Description
All Team 1 Members
Owner
Your name and the names of other group owners
Group Settings
Group members should be able to view membership of the group.
Group owners should be able to edit membership to the group.
Membership Requests
Allow requests to join or leave this group.
By default, auto-accept requests are not allowed, and no e-mail is required for membership requests.
Add email for join and leave requests.
Give Group Permission to This Site
Contribute access
The new group is created, and the group membership page is displayed.
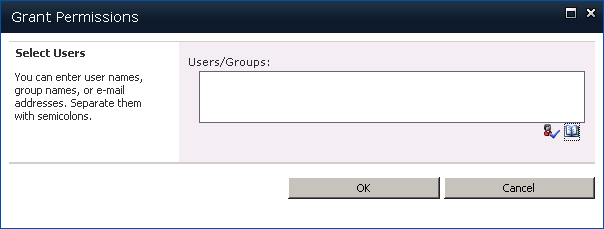
Add users to this group by selecting New, Add Users.
The Grant Permissions dialog box opens, in which you can enter individual names or select from the directory. Search for the appropriate corporate or NT Authorized (authorized corporate users) group to allow all authorized employees to view the activity site.
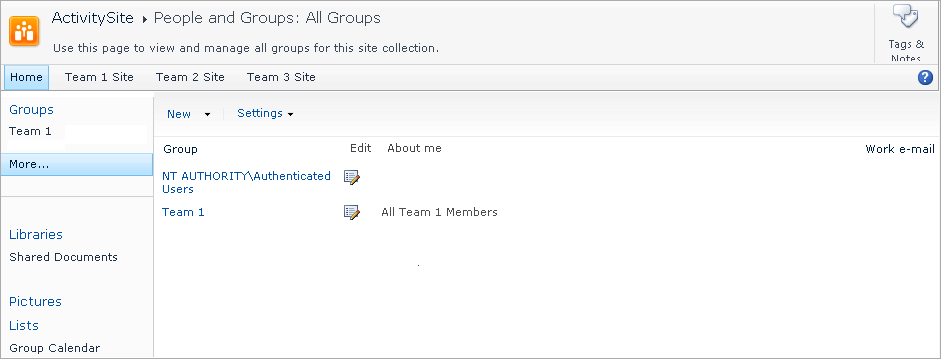
The new Team 1 group now appears on the page shown here:
Repeat this step to create the Team 2 and Team 3 groups.
Once you complete these steps, navigate up to the top-level team activity site, and repeat this process to create a permissions group for content authors. This role is for adding content and tasks to the top-level activity site. These may be leaders, project managers, or trusted content authors. They will be able to assign tasks across all three teams and add content that will be visible to all authorized users.
Field
Value
Name
Content Authors
Description
Content Authors from Tailspin Toys
Owner
Your name and the names of other group owners
Group Settings
Group members should be able to view membership of the group.
Group owners should be able to edit membership to the group.
Membership Requests
Allow requests to join or leave this group.
Do not allow auto-accept requests to join this group.
Provide an e-mail to receive membership requests.
Give Group Permission to This Site
Contribute access
When adding content authors to this new group, select those individuals who will regularly and consistently post content to the site.
Finally, follow the same steps as described previously and create one more permissions group at the top-level activity site, giving view-only access to all NT Authorized users. This will give all authorized users the ability to view but not to modify the calendar, content, and tasks published on the team activity site.
Value
Name
All Users
Description
Authorized Employees of Tailspin Toys
Owner
Your name and the names of other group owners
Group Settings
Group members should be able to view membership of the group.
Group owners should be able to edit membership to the group.
Membership Requests
Allow requests to join or leave this group.
Do not allow auto-accept requests to join this group.
Provide an e-mail to receive membership requests.
Give Group Permission to This Site
View-only


Note
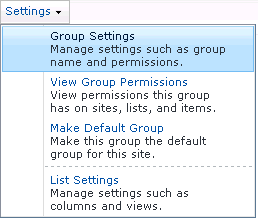
Name your groups appropriately. At any time, you can use the Group Settings dialog box to delete a group if it is no longer relevant. You can access this dialog box by going to Site Actions, Site Permissions, and clicking on the relevant group name to gain access to the group profile. Then, under Settings, select Group Settings.
From here, you can delete a group by clicking Delete at the bottom of the dialog box.