
There is an important thing that you have to know about Unity: you can customize it in many different ways and even expand its interface with your own custom windows and panels. We are not going to discuss this just yet, as the user interface is examined in more detail in Chapter 2, Unity's and Playmaker's User Interface, but you should know that there is nothing to be surprised about if the user interface changes when you install a new extension, such as Playmaker. You can also drag different tabs around and see which layout fits your screen size/configuration and project best. Now we are going to set up the interface in a way that will simplify the explanations in the next couple of chapters. Once you are comfortable with the interface, you can feel free to customize it however you want.
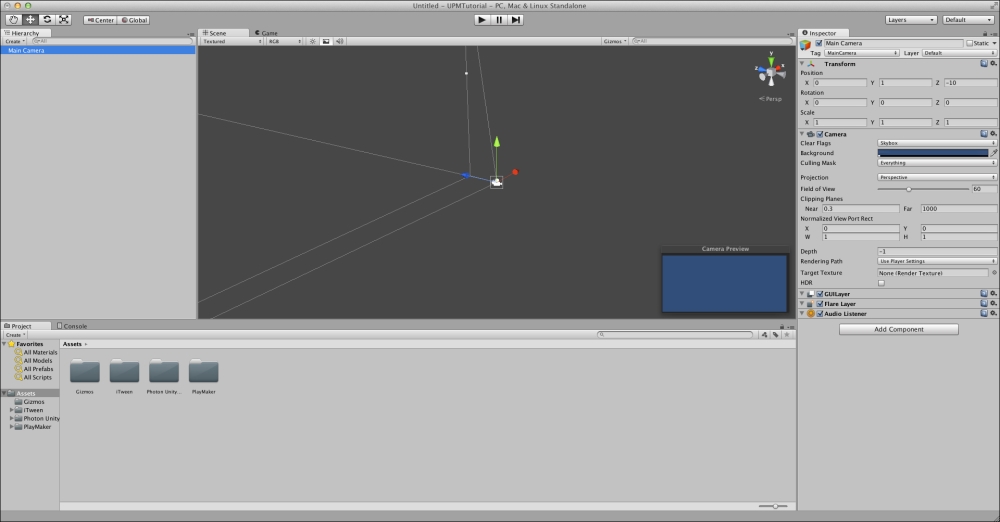
If you haven't dragged anything around, you should be seeing the default Unity layout. If you have, go to Window | Layouts in the main menu and click on Default in order to reset to the default window layout. You will see a tab called Hierarchy on the left, Scene and Game in the middle, Inspector on the right, and Project and Console on the bottom. We will talk more about these tabs and their functions in Chapter 2, Unity's and Playmaker's User Interface. Right now, in order to save screen space, we will drag some of them around and change their appearance.
The following screenshot shows the default interface layout in Unity.
Let us start with the Project tab that you can see on the bottom of the screen. If it is not highlighted, click on the word Project. Right now both Project and Console tabs are pinned to the bottom of the screen, so you can switch between them in order to select one or the other. Unfortunately, this layout is not ideal, as in most cases you will need direct access to both Project and Console tabs at the same time. Click and drag the Project tab to the right of the Scene and Game tabs, until it snaps into place next to the Inspector tab. It will become tall and narrow.
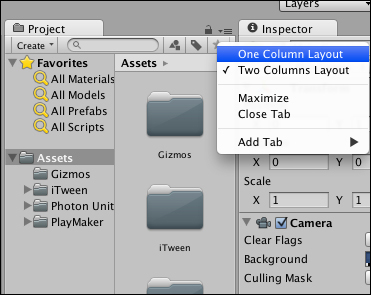
Unfortunately, now there's very little space in the Project panel with those large icons. Luckily, Unity allows us to solve this problem easily by clicking on the small options icon (![]() ) in the top-right corner of the Project panel and selecting One Column Layout from the list.
) in the top-right corner of the Project panel and selecting One Column Layout from the list.
Now your Project panel will need much less space, and you will be able to see all of your project's file structure without getting frustrated over icons and sub-panels getting in your way.
Tip
It is important to note here that some developers do prefer the Two Column Layout for its Favorites section and file manager-like subfolder representation; however, you will most likely want to have as much free work space as you can get, especially when working with plugins like Playmaker that add additional tabs that you need to have constant access to. You should consider the Two Column Layout only if you have a relatively big screen.
Now that the Project panel is set up and in place, let us free some more space for the Hierarchy panel by moving the Console panel under Scene and Game. To do this, click and drag the Console tab as you did with the Project tab, and move it to the bottom of the Scene and Game panels until it snaps into place directly under them.
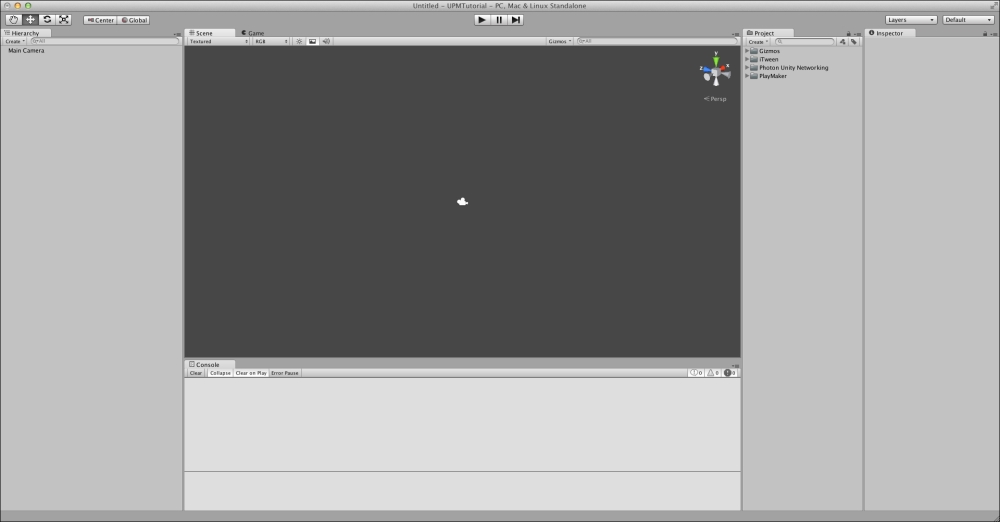
The following screenshot shows what your editor window should look like if you followed all of the instructions in this chapter correctly.
Finally, your work space is all set! Now it is time to change the project settings. It is a good idea to do this before you start working in order to get this out of the way, so let us get to it. We will not go into much detail about why certain project settings are set in a certain way, and most of them are quite self-explanatory.
First, select Edit | Project Settings | Player from the main menu. A new menu should appear in the Inspector panel on the right. You can put your name or the name of your company in the Company Name field near the top of the menu, and Product Name (just below it) by default should be the same as the name of your project folder that you specified while creating the project. Changing the project name will not rename your project folder. In fact, everything you change in the Player settings only affects the output game or application. We are going to be building a Unity WebPlayer project for this book's examples, so click on the tab with a little planet icon (![]() ).
).
There are only two things here that we are interested in right now: screen resolution and WebPlayer template. Make sure that the Default Screen Width and Height are set to 960 and 600, respectively, and the active template is No Context Menu. There are more options here, but we are going to leave them at their default values for now.
Next, we will change the build settings to match our target platform. Go to File | Build Settings… and select WebPlayer from the list of available platforms (it should be the topmost item on the list). Then click on the Switch Platform button (as shown in the following screenshot). This will allow you to test the game directly with the output resolution. Once Unity finishes reimporting files, you can close the Build Settings window.
