In this chapter we’ll take a tour of TinkerOS, the Debian Linux distribution from ASUS for the Tinker Board.
Note
In the upcoming chapters it will be assumed that you are familiar with the concepts of commands and practices with the Linux terminal, such as sudo, apt-get, cmake, cd, and so on.
Finally, after a lot of preparation, you have everything you need to start using the Tinker Board with an operating system installed. The first OS we’re going to tour is TinkerOS. Based on Debian Linux, it’s maintained by ASUS and has a traditional desktop environment.
First Boot
If you have followed the disk imaging steps from the previous chapter, you may have already booted into the TinkerOS desktop by powering on the board with your chosen storage solution. Again, the first boot will take a bit longer than you might expect because of the file structures being installed.

The TinkerOS desktop
What Is TinkerOS?
First, some background on TinkerOS. It is based on Debian Linux, and at the time this book is written utilizes Debian Stretch, which is Debian 9. Linux distributions also number their releases, similar to Windows and macOS. TinkerOS uses the LXDE desktop environment for Debian Stretch. There are a few different desktop environments available for Debian, and which one is best often comes down to personal preference. LXDE stands for lightweight desktop environment, and it definitely lives up to its name as it does not use a lot of resources and is fairly lightweight in its hardware utilization. Because of this, it makes a great choice for a single-board computer to run, leaving valuable hardware resources available for tasks.
The LXDE desktop environment is made-up of panels, which appear at the bottom of the desktop, in the area that would be called the task bar in Windows and macOS. These panels, controlled by the LXPanel utility, are completely customizable. As you become more comfortable with TinkerOS, you may want to change the default panel setup. We will go over how to do that shortly, but first let’s take a quick tour of the default panel configuration for TinkerOS.
Getting Your Bearings
Starting at the bottom-left corner on the panel, you’ll see the LXDE logo. When you click the icon, a menu will open, which resembles the Start menu in Windows and shows the preinstalled programs for TinkerOS. Don’t worry; these programs are not bloatware. They’re standard Linux programs, and in fact TinkerOS has fewer preinstalled programs than many other popular SBC Linux distributions, which may or may not be a good thing depending on your preferences.

The menu with categories for pre-installed programs
Next is the Education category, where you’ll find the programming language Scratch. If you aren’t familiar with Scratch, it is a graphical programming language aimed at kids. But, if you’re new to programming, you may find it helpful to understand how coding works. More experienced programmers may also find it to be a fun and quick way to test out a simple idea for a project. It can also offer a nice change of pace.
After Education is the Internet category. Here you’ll find the default browser, which is Chromium, and the VNC Viewer. In case VNC (virtual network computing) Viewer is new to you, it’s a standard program that allows you to connect remotely to a computer and control its GUI in a window on your desktop.
Following the Internet category is the Programming category. We’ll be spending a lot of time here once we begin exploring the GPIO and working on projects. Here you’ll find a few iterations of IDLE, which is a Python IDE we will try out later in the chapter, and again you’ll find Scratch.
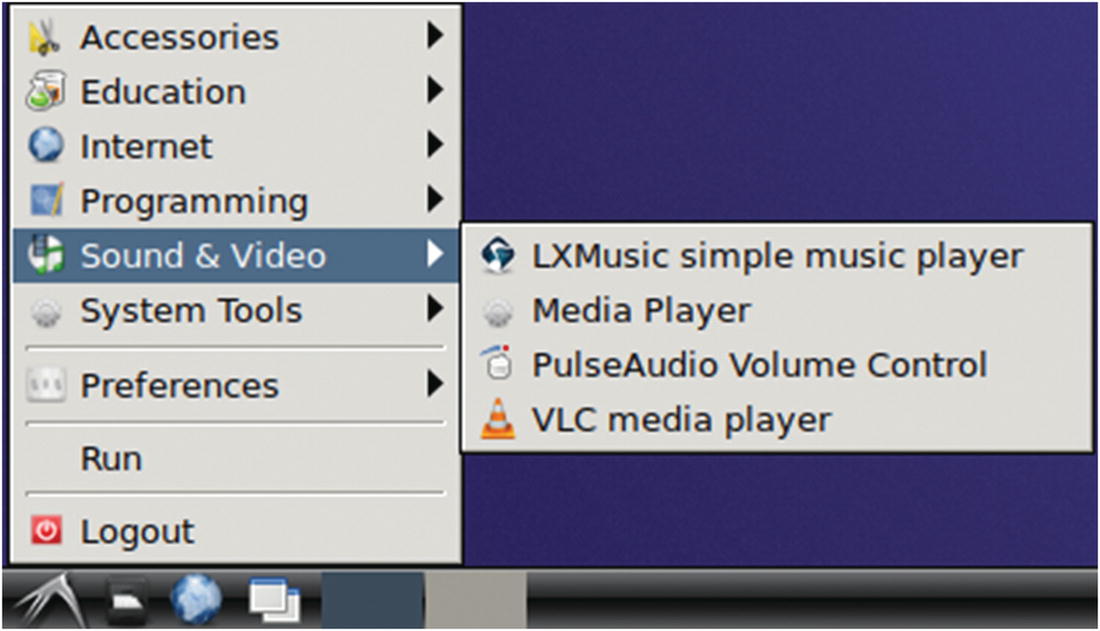
Up next is the Sound and Video category. Here is where you can adjust system settings for sound and utilize various media players for video and audio playback. We’ll run some quick tests to make sure audio and video playback are working properly a bit later in this chapter.
After Sound and Video is the System Tools category. This category has some of your most valuable tools that you’ll use in your day-to-day TinkerOS operations. These include the file manager, task manager, and most importantly the terminal. If you’re new to Linux, the terminal will more than likely be your most-used program, since most tasks are completed with it by using commands.
The terminal is also what makes Linux such a useful operating system, since you can quickly accomplish complicated tasks with a little bit of text compared to a lot of clicking and attempting to navigate thru a GUI. It can seem intimidating at first, but after using it for a bit you’ll find yourself automatically going to the terminal for tasks that you may have previously clicked around for.
The final category is Preferences, and it is quite large. As the name implies, here you’ll find controls for many system settings, including but not limited to Bluetooth, monitor, keyboard and mouse, and power settings. If there’s a setting you want to change for peripherals or how your board is operating, chances are you can come here and take care of it.

The window for Run is helpful for quick command execution
Other Panels

The left-side panels
If you aren’t aware of Chromium, it is an open source browser developed and maintained by Google. You may have never used Linux before, but you more than likely have used the Google Chrome browser; and Chrome utilizes the source code of Chromium. Chromium as a result has a very similar feel to Chrome, but with fewer bells and whistles as it’s designed to feel minimalistic. There are also features in Chrome, such as licensed media codecs and auto updates, that are not available in Chromium. Despite this, Chromium still provides a modern browser experience.
The next item is a shortcut to LXPanel, which as mentioned previously allows you to customize the panel options. We’ll revisit this module shortly.
The final panel item on the left side of the desktop is the icon that lets you switch between desktops. The default setting is to be on desktop 1, but you can toggle between desktop 1 and 2 by clicking here. This allows you to have different setups for different tasks or to keep things from getting too cluttered when multitasking.

The right- side panel
Following the CPU Usage Monitor is the volume control. Left-clicking on the panel allows you to quickly adjust your system’s overall volume or mute it. Right-clicking gives you a shortcut to volume control settings and a shortcut to get into the Mixer application for TinkerOS. Some of these items are also available under the Sound and Video category that we just looked at.
Next is your network information. Here you can see whether you have a network signal that is either wired via the Ethernet port on the Tinker Board or a Wi-Fi signal. You can also change your Wi-Fi information here and manage your VPN connections. We’ll work on getting connected to Wi-Fi shortly.
After networking is a shortcut to Bluetooth settings, followed by the settings for date and time. Finally, you’ll see shortcuts to lock the screen and log out.
Customizing Panels
As you can tell from our tour, the default panel configuration for TinkerOS is quite extensive and has a variety of shortcuts that will come in handy as you adjust to TinkerOS. It also has a similar aesthetic to a traditional Windows desktop, which you’ve more than likely used before. But what if you want a different look to your TinkerOS desktop? Or you have different programs that you’d prefer to have shortcuts for? Changes like these can all be made by customizing the panels.
Entering the Add/Remove Panel Items utility. Once it’s opened, you can edit the way your TinkerOS desktop looks, from icons to desktop background.

The Panel Applets tab . Here you can choose the programs that you want to have panels and their location.
For this walkthrough, we’ll be utilizing the default layout for TinkerOS. However, feel free to experiment with your personal layout as you find your preferences or if you are an experienced Linux user.
Changing the Default Password
The first item that we should take care of with your fresh installation of TinkerOS is to change the default password, especially if you plan to connect your board to the Internet. The default username and password for the Tinker Board are “linaro” and “linaro”, respectively. Of course, it isn’t very secure to use the same word for both the username and password.
To change the password, navigate to Preferences ➤ Tinker Board Configuration. On the first tab, there’s a button to Change Password as shown in Figure 4-8. Click it and then enter your new password. After saving, your new password is active.
Note
Make sure you write the password down in a safe spot. It would be a shame to get locked out of your TinkerOS installation.

Changing your password from the Tinker Board Configuration window. Make sure you write it down somewhere safe!
Changing the Default Username
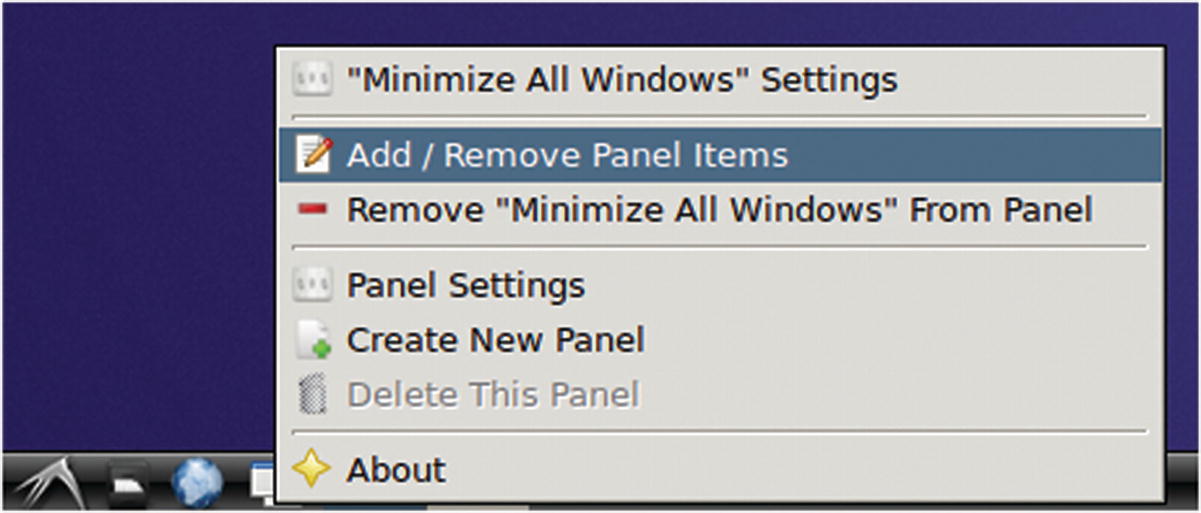
The User Settings window
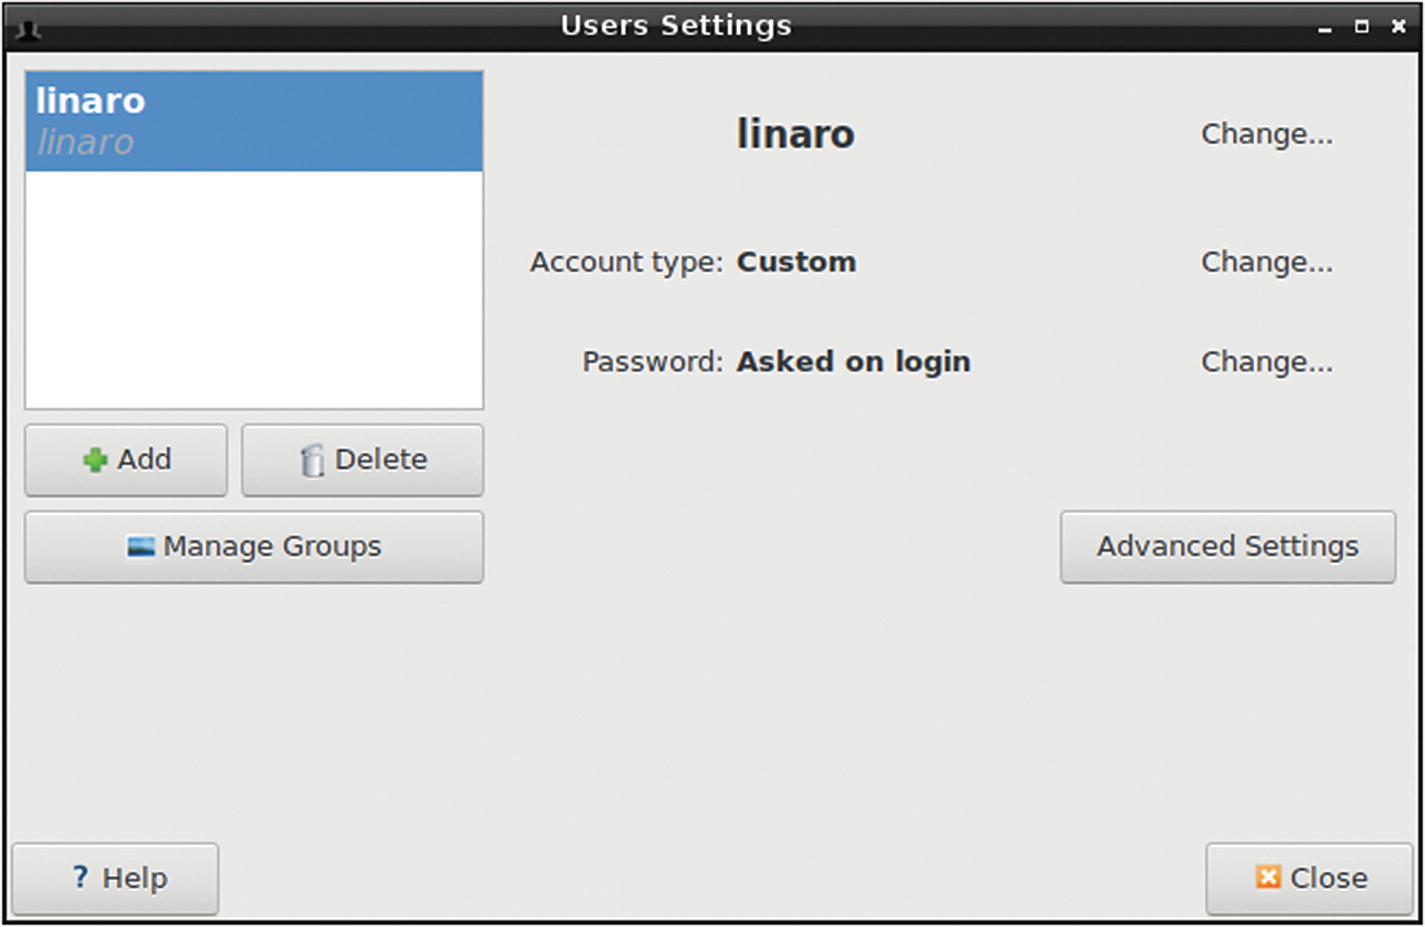
You can change the default username to anything you want
You may have noticed that in the Tinker Board Configuration window where we changed the password, there was a box that had “auto login as linaro” checked off. You may be wondering if changing your username will mess with that setting. And no, luckily it does not. If you look at the Users Settings window (Figure 4-9), you’ll see that “linaro” also appears in grayscale italic text underneath the username. This denotes the user group and is also the reason for a “custom” account type for the default user.
The option “auto login as linaro” refers to the user group linaro; not the username. So changing the default username does not mess up the login process or other things within the system. This has been an issue with previous SBCs, whose Linux systems and file hierarchies were set up to be dependent on a default system-defined username.
To test, you can try changing your username and doing a quick reboot. You should see that you aren’t prompted to enter your password to get to the desktop. Of course, if you want to be prompted to enter your password to access the desktop, you can simply uncheck that auto login box.
Note
It isn’t a necessity to change the default username, as that is more of an aesthetic or preferential change; but you should change your default password for security reasons, especially if you are connecting your board to the Internet.
And speaking of the Internet, let’s get this board onto your Wi-Fi network.
Wi-Fi
After you’ve changed your password, let’s connect to a Wi-Fi network . Although a wired connection is available via the Tinker Board’s Ethernet jack, most will probably want to take advantage of the built-in wireless capability.
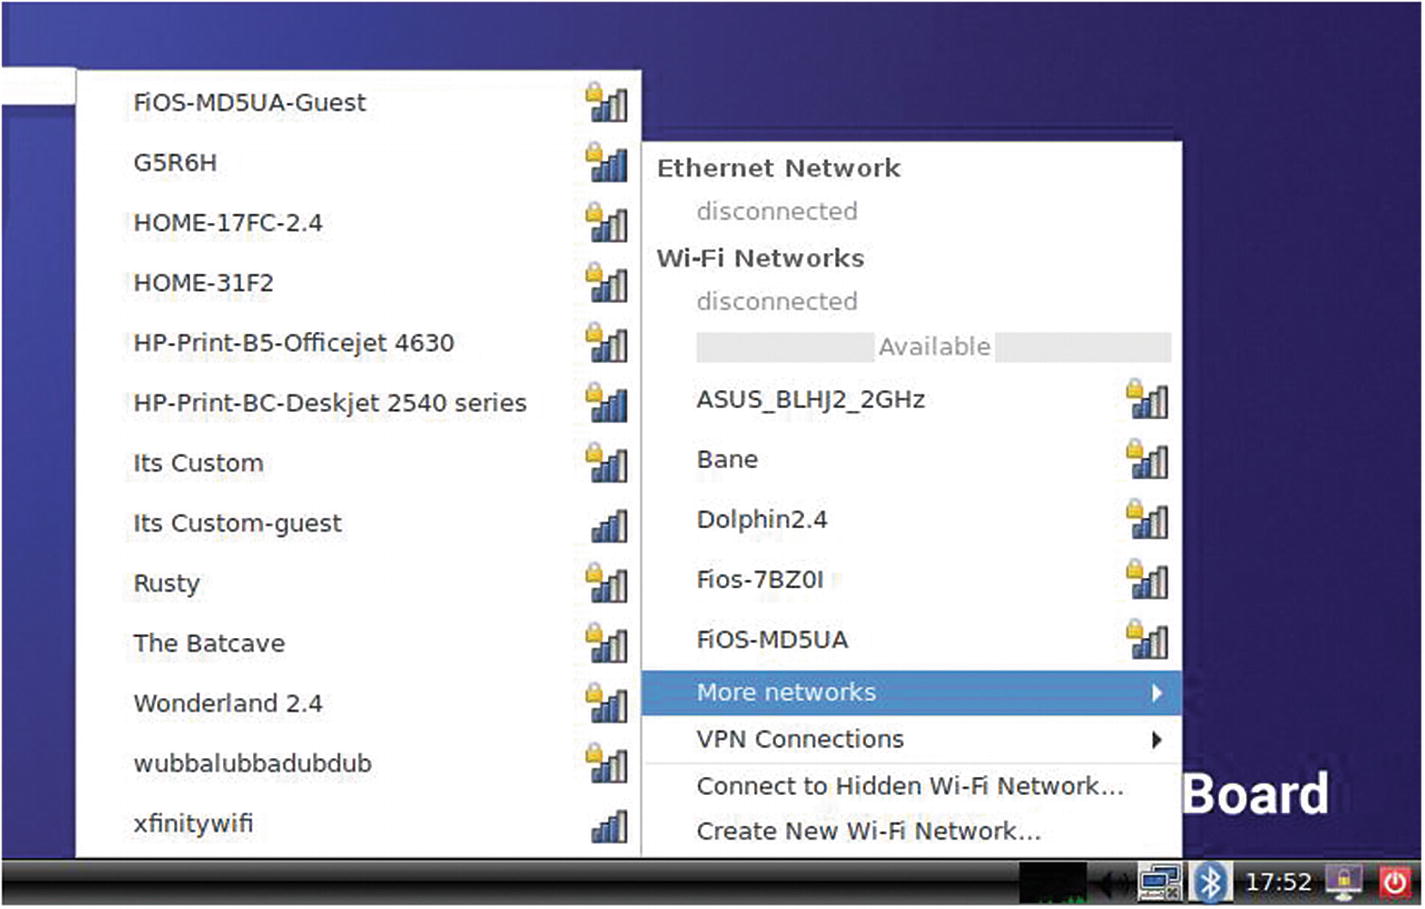
How Wi-Fi networks appear in TinkerOS
Note
If you have your network set up to be hidden, it obviously won’t show up in the listing. Utilize the Connect to Hidden Wi-Fi Network option instead and enter your information as prompted.
After selecting your network, you’ll be prompted to enter your network’s password. Type it in and then click Connect. Shortly afterward, you should see the network panel icon change to a Wi-Fi signal strength icon. A message should pop-up in the top-right corner of the desktop stating that the connection was successfully established. You should test the connection by going online with the Chromium browser. The default homepage is the Google search engine, so you should see that day’s Google doodle, if applicable, and be able to perform a search .
Updating TinkerOS
Now that you’re online, it’s good practice to check for any updates for TinkerOS. These could include updated plug-ins, applications, or even security patches. This can be done easily thru the terminal. Navigate to System Tools and select LXTerminal.
Note
As previously stated, we’ll be using the terminal quite a bit going forward, so you may want to add it as a panel at the bottom of the desktop by using the Add/Remove Panel Items feature discussed earlier in this chapter.
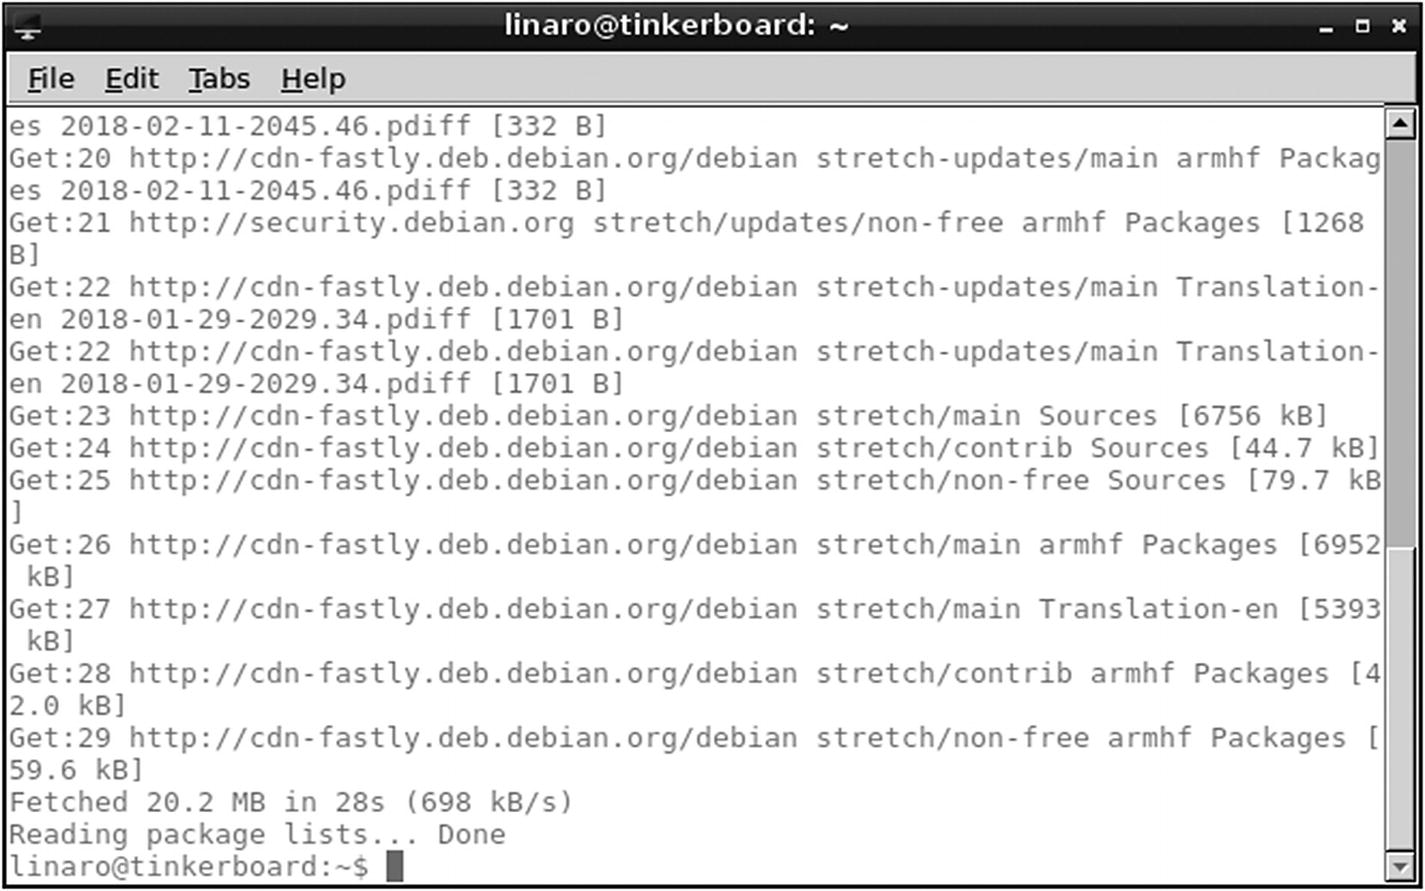
Your terminal window should look similar to this as your first updates finish downloading. Notice that it says “Done” when it’s finished.
The next command we’ll use is sudo apt-get upgrade . This begins the installation process for the updates that were fetched by the previous command, sudo apt-get update.
After that process finishes, enter sudo reboot to reboot the system and ensure that everything has installed properly. This should bring you quickly back into the desktop environment with everything up to date.
Video Playback
One of the great things about TinkerOS and the Tinker Board’s hardware is their ability to function as a low-powered desktop computer in a tiny package. Let’s start exploring some of this functionality, first with video playback.
YouTube
To start our video test, navigate to Chromium and go to YouTube to select a video to watch. When your video starts playing, try to change the quality to 1080p. Even with a reliable Internet connection, you’ll more than likely notice that the video is very choppy. If you look at the CPU usage in the bottom panel, you’ll also notice that it’s maxed at 100%. If you lower the video to 720p, you’ll also experience less than smooth playback.
Why is this happening on a board that advertises 4K/30FPS playback? Well, it needs a driver to be installed for video rendering that will be recognized by Chromium and other programs so that the GPU can take on some of the load from the CPU. The driver we’ll be using is the Mesa 3D graphics library, which will be installed via the terminal. The Mesa library is open source and, in this case, we’re going to be installing the OpenGL branch of the library, which will work well with the Mali-T760 GPU on the Tinker Board.
Mesa Driver Installation
Let the installation process run its course and then, since the Mesa driver is an important change for TinkerOS, we’re going to check for any dependency updates, install those updates, and then reboot.
This is a good practice to follow any time you install a new program or driver package that marks a major change for your OS. To do this, we’ll use the three terminal commands that we’ve used already to update the system: sudo apt-get update, sudo apt-get upgrade, and sudo reboot.
After rebooting, try going back to YouTube to watch the same video you just tried. You should be able to watch in perfect 1080p now. You’ll also notice that the CPU usage monitor panel is no longer displaying a bottlenecked CPU. Instead, it should be hovering around 50%, a huge difference.
If for some reason your video of choice is still having problems but other videos are playing properly, you may need to install a Chromium extension that forces YouTube to play videos back in the H.264 video codec, which is ideal for Mesa drivers. This should be installed and enabled by default; however, for troubleshooting purposes it’s good to keep in mind.
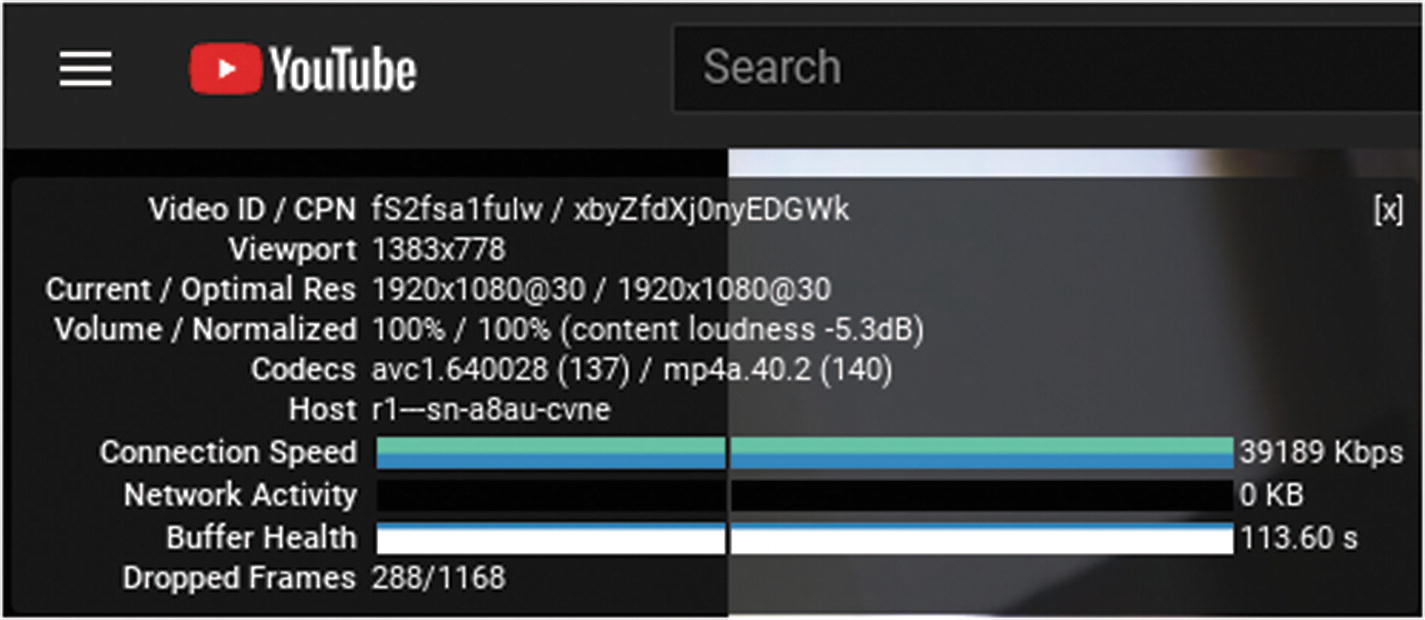
The “stats for nerds” view on YouTube
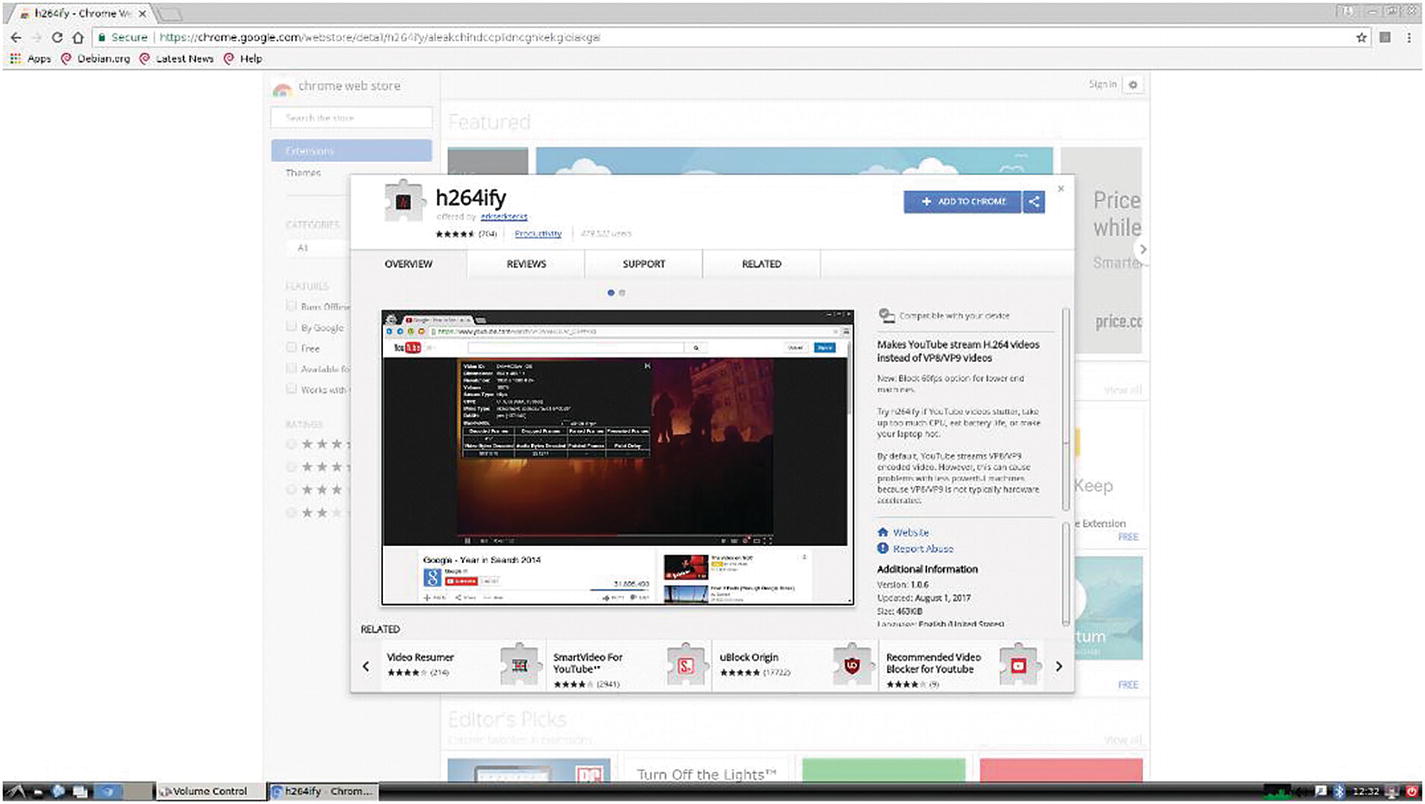
The Google Play download page for h264ify
Note
The resolution at which you can play back video will also be determined by your monitor or TV’s resolution capabilities.
VLC Media Player
Of course, you can also play your own video files on the Tinker Board. Simply load your video files onto a USB storage device and you’ll be able to access and play them. There is a built-in media player that is pre-installed on TinkerOS, with the self-explanatory title of Media Player. It works well, but we’re going to install a third-party media player to supplement it and use, called VLC.
VLC (Video LAN Codec) is an open source media player that you may have used on Windows or macOS as well. It has support for a wide variety of video codecs and has a lot of specialized features. It is also one of the standard media players used for Linux operating systems.
following the current directions from VLC’s web site. You may have noticed that we’ve entered two programs to install at once, the VLC player and a VLC browser plug-in. If you’re new to Linux, this is allowed; when installing multiple programs, you just need to leave a space in between each program. Of course, the more programs you list, the greater chance there is of a typo, so be sure to check your command before hitting Enter.
The VLC media player has been automatically added to the Sound & Video category
Audio
You may have just tested audio while playing videos on YouTube or with your own video files in VLC. But in case you didn’t, or you had issues with audio coming thru, let’s make sure that your audio preferences are set up correctly and then look at the built-in music player LXMusic .
First, choose how you’re going to listen to audio. The most popular options are the 3.5mm audio jack or thru HDMI if you’re using a TV or a monitor with built-in speakers as a display. Navigate to the Sound and Video panel again and select Pulse Audio Volume Control. Despite the name, this control is much more powerful than simply adjusting volume. It’s here that you can select audio inputs and outputs and control settings for each device.
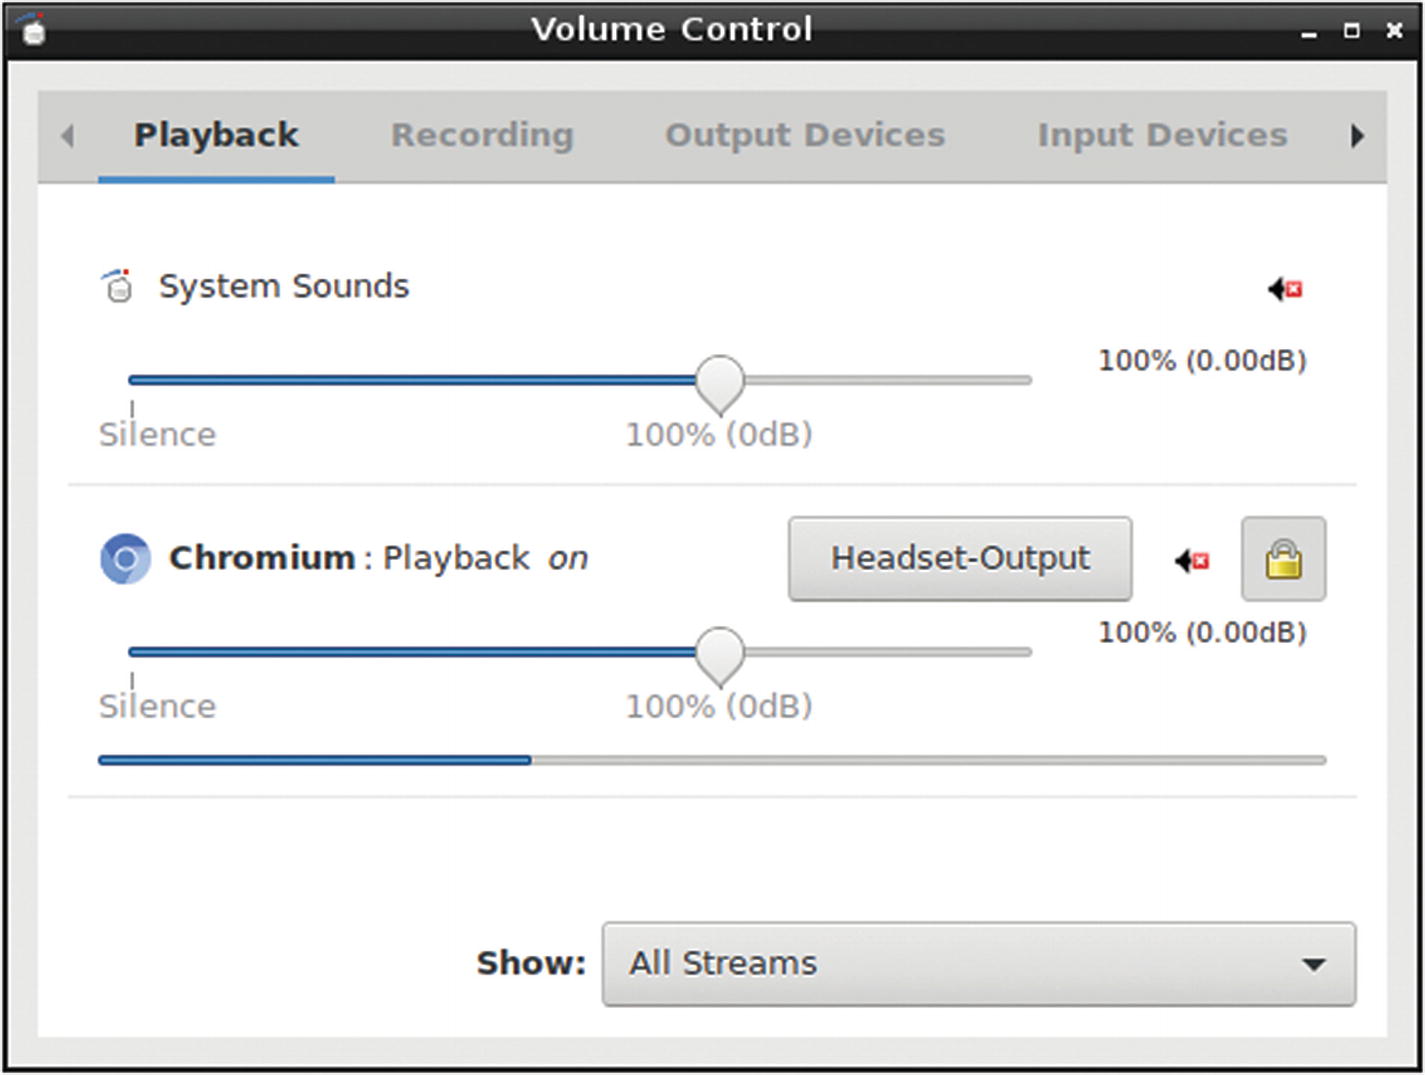
The Playback tab in the Volume Control utility is where you can see which playback device is active and its volume level
Once you’ve selected your device, you can go to the Input Devices tab to control volume. What’s nice about the Pulse Audio Volume Control utility is that the 100% setting is equivalent to 0 dB, which from an audio technology perspective is quite helpful in making sure that your audio levels will be optimized for media playback. Most professionally produced audio is normalized to 0 dB, so you will be hearing sound at its intended volume if left at 100%.

The LXMusic interface with the included song “Cellule” by Silence
As you can with your video files, you can also load your personal audio files onto the Tinker Board via USB and play them thru LXMusic. VLC also has audio-only support, but the GUI for LXMusic shares a lot of qualities and features with traditional desktop music players that are also found on Windows and macOS.
LibreOffice
With the availability of video and audio playback, you can start to see that the Tinker Board could be used as a desktop computer replacement for low-powered tasks. But what if you want to get some work done? Of course, we can’t install Microsoft software, such as Word, or Apple software, such as Keynote. But we can install the open source Linux equivalent: LibreOffice.
LibreOffice is a suite of office productivity software that is open source and available on Linux operating systems. It’s also incredibly easy to install. Simply open a new terminal window and enter sudo apt-get install libreoffice. After the installation finishes, enter the commands sudo apt-get update, sudo apt-get upgrade and sudo reboot to ensure a successful and complete installation.
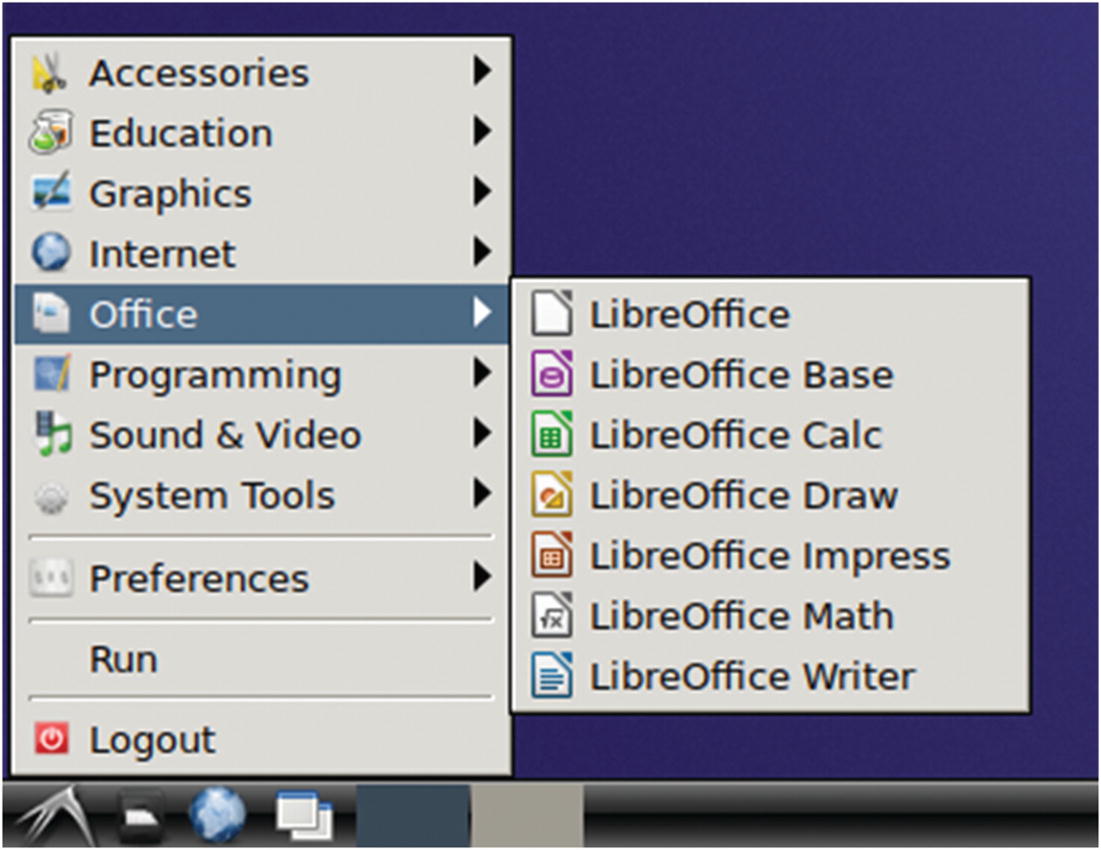
The new Office category with all of the LibreOffice programs
A Quick Tour
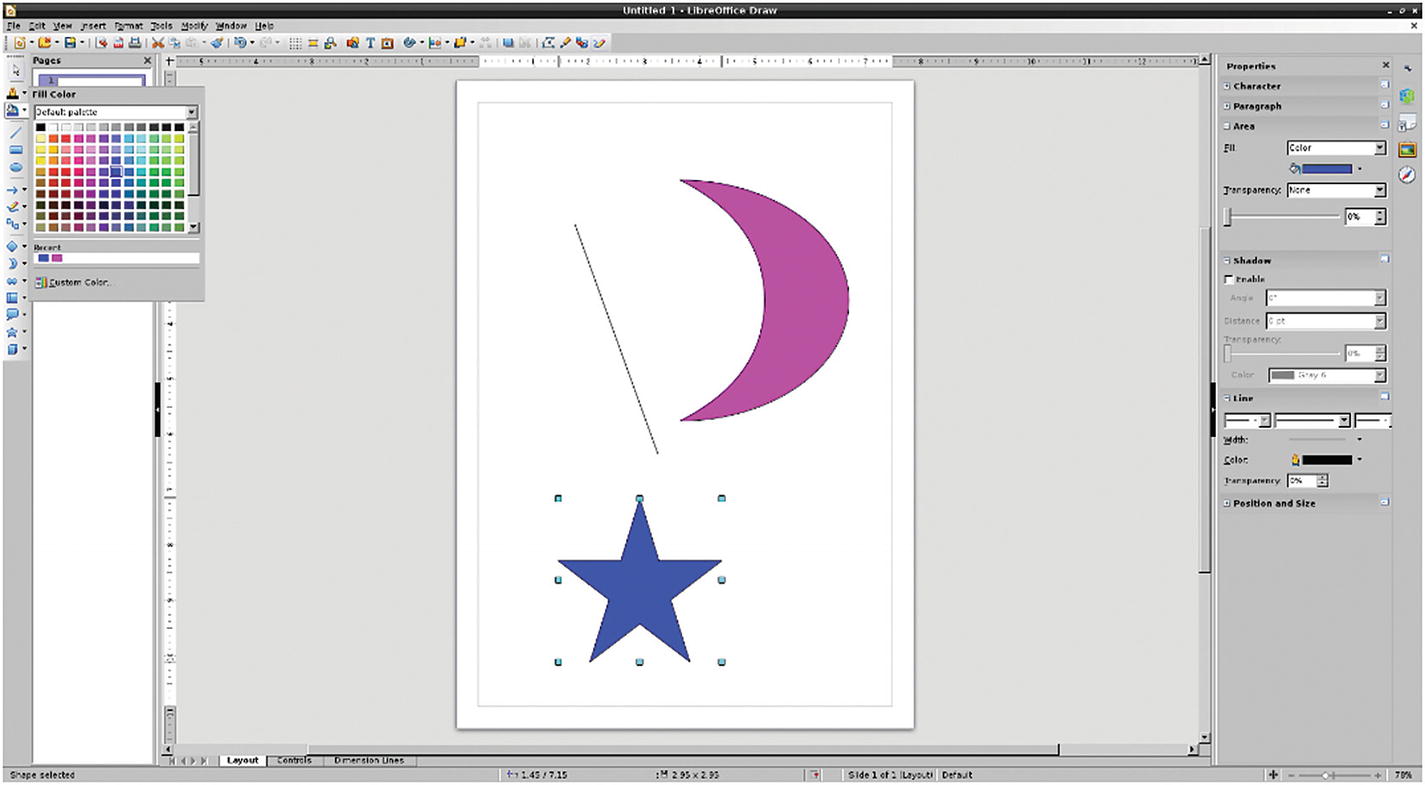
LibreOffice Draw
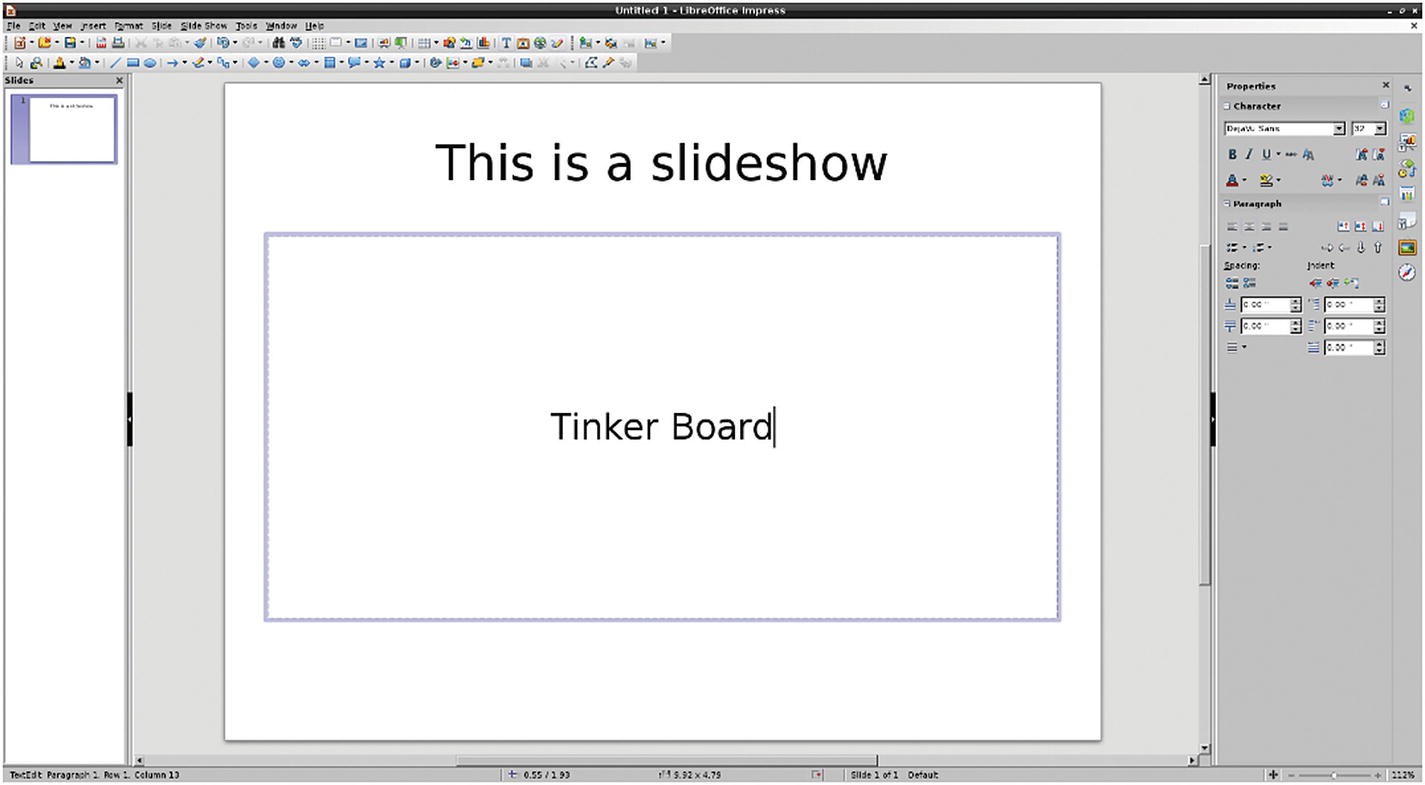
LibreOffice Impress

LibreOffice Writer
As you can probably tell, the LibreOffice suite is quite extensive and doesn’t hold back in features. These aren’t “bad actor” pieces of software; you can get real work done with them.1 With this suite of software installed, we’re on our way to having a fully decked out tiny Linux computer.
Fun and Games
To act as a desktop replacement, though, we need to make sure that you can have fun and relax with TinkerOS. After all, what is a computer without games; especially classics like Solitaire and Minesweeper? We’re going to install a gaming suite called Ace of Penguins, which has open source versions of classic old school stock computer games, such as Penguin Freecell and the previously mentioned Solitaire and Minesweeper; now referred to as Penguin Solitaire and Penguin Minesweeper. All the games feature a penguin mascot, a nod to the Linux mascot Tux.
Note
If you don’t want to have any games installed on TinkerOS because you see the Tinker Board as serious business or you’re afraid of the temptation, don’t worry. This installation isn’t integral to following any of the upcoming tutorials; it’s just a little Easter egg.
It would be a shame if installing something fun was difficult; and luckily, like the other installations we’ve looked at so far, Ace of Penguins is also very simple. As usual, open a new terminal window and then enter sudo apt-get install ace-of-penguins. Note the dashes in the program name. After the installation runs its course you can do the usual sudo apt-get update , sudo apt-get upgrade and sudo reboot , but it isn’t entirely necessary for this package.
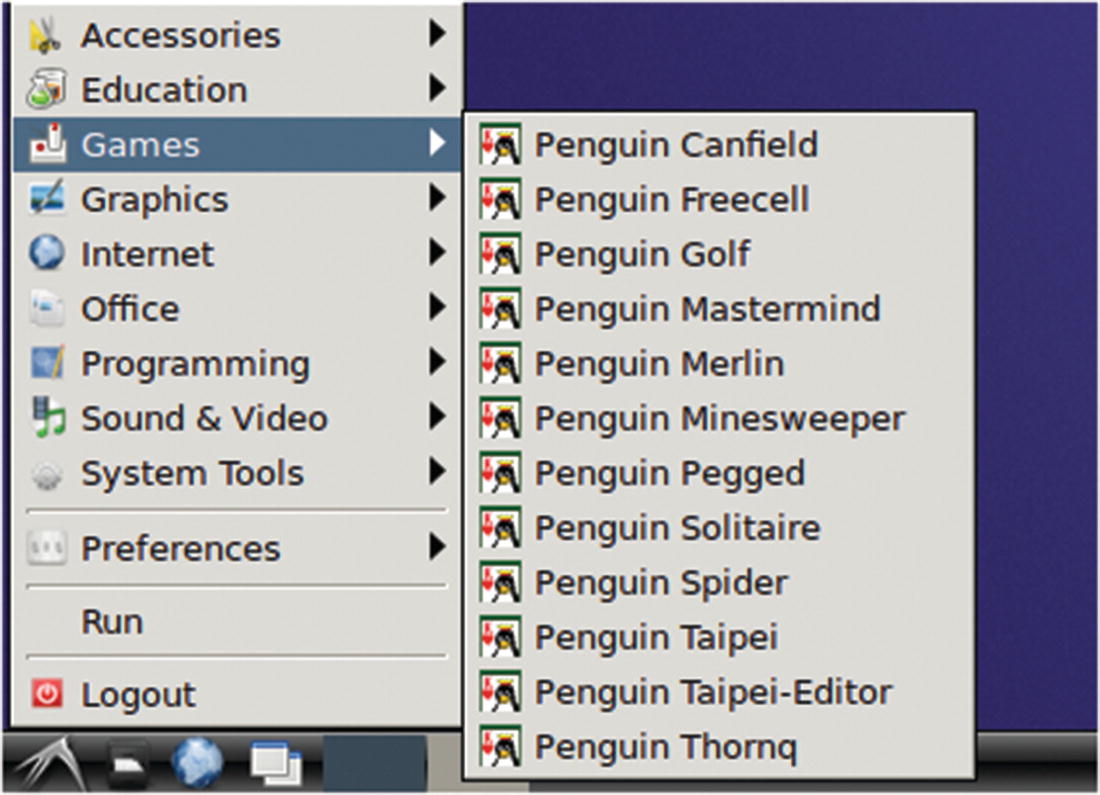
The new Games category
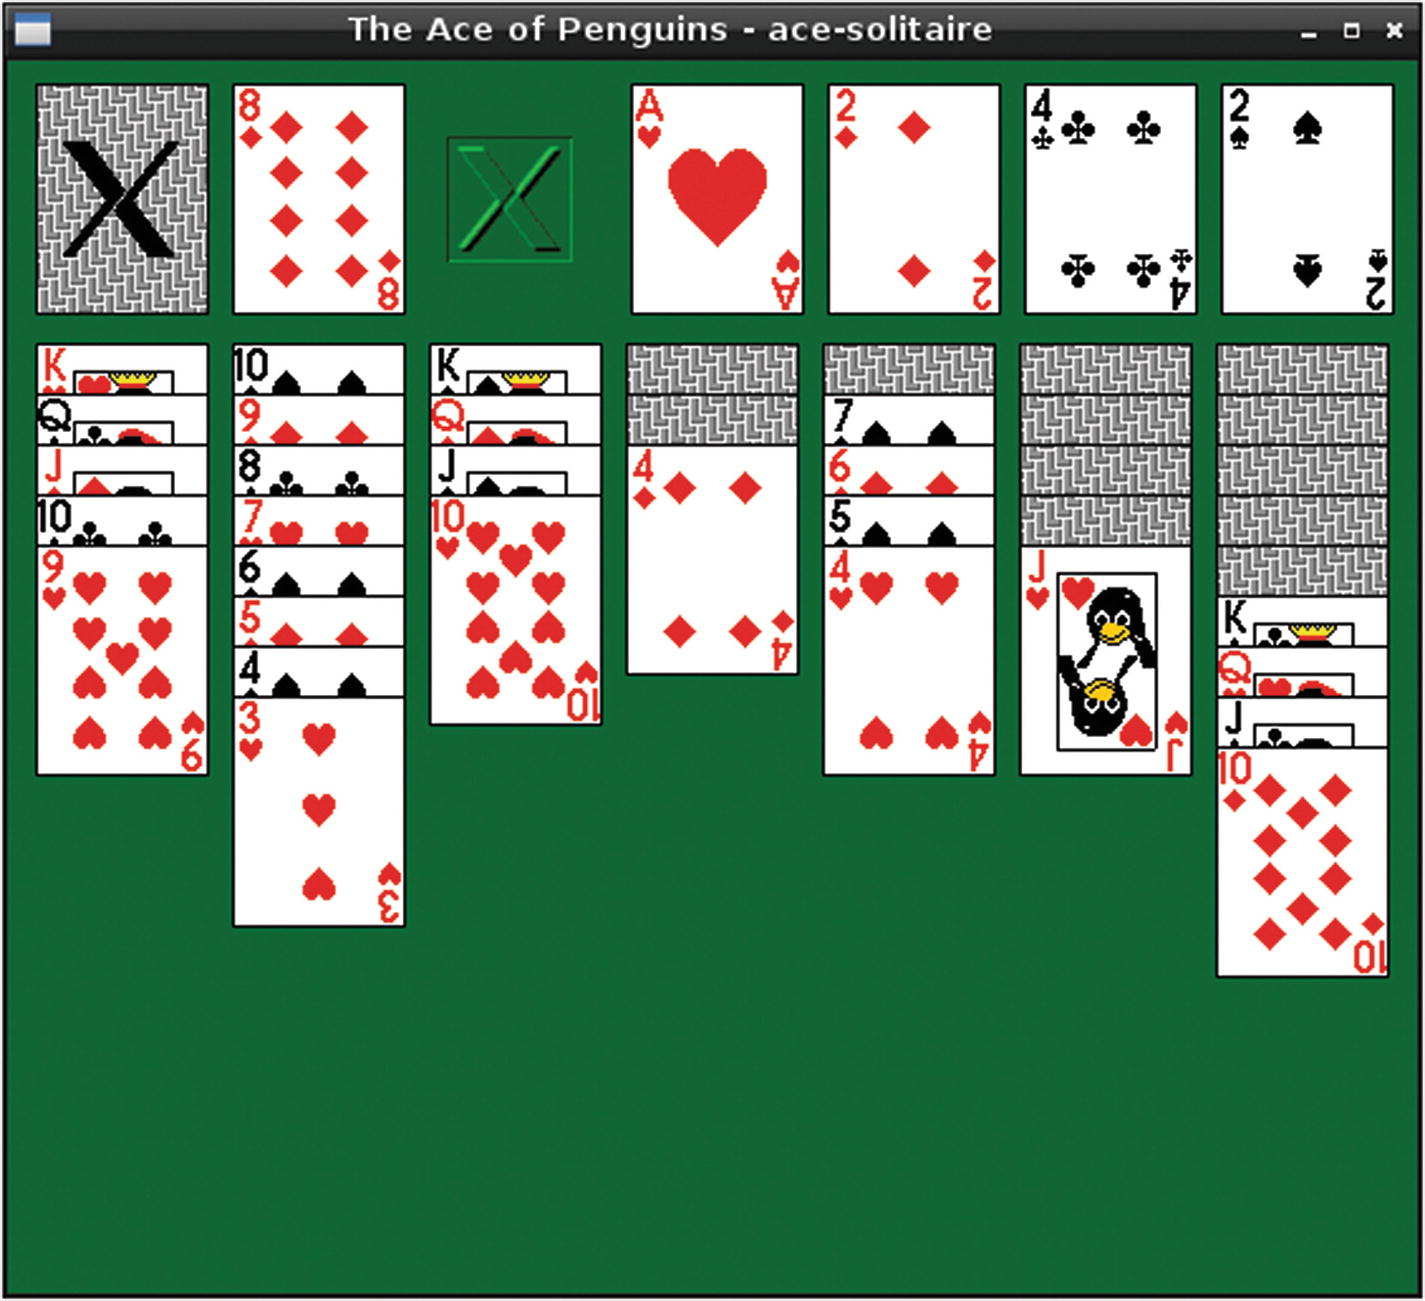
Penguin Solitaire
Hello World, Let’s Get Back to Work
They say to keep a healthy mind it’s important to incorporate play and breaks into your routine, so after a quick game of Penguin Solitaire you should feel refreshed and ready to tackle our final task for this chapter: programming!
The Tinker Board can support any programming language for development, just like any other Linux computer; however, we’re going to focus mainly on Python and a little bit on C. These languages will be especially useful with the Tinker Board because there are libraries for both C and Python to use and interact with the GPIO pins, which we’ll be experimenting with in the next chapter.
Note
This book does not include a coding tutorial for either language. It is assumed that you have some basic coding experience and can recognize things like functions, arrays, if statements, and so on. If you are new to coding, though, don’t worry. There are many open source resources available to help you with coding in either C or Python, and the code used for projects in this book will not be too advanced for a beginner to understand.
Installing an IDE for C
There are some preinstalled IDEs for coding in TinkerOS, but there isn’t one for C. For our purposes we’re going to install Geany. There are many different IDEs to choose from, and everyone is going to have different preferences; so if there is an IDE that you prefer, feel free to install and use it. Geany is a fairly basic IDE and will be great for beginners.

As you can see, Geany has been added to the Programming category
Open Geany and you’ll see that it has all the features you’d expect a standard IDE to have. Feel free to explore to get a feel for it if you aren’t familiar with IDEs. We’re going to use it to run some example code with the GPIO pins in the next chapter.
Python Test
Although we had to install an IDE in order to use C, we don’t have to do that for Python, because multiple instances of IDLE, a Python-specific IDE, are installed. Each version is denoted by a number, which corresponds to a generation of Python; all of which have slightly different features and conventions. There are strong preferences among the Python community for the different versions, but for our purposes we’ll use the newest version, Python 3. If you are an experienced Python user and prefer an earlier version you can certainly use it, but you may need to adjust certain lines of code going forward.
To open IDLE, navigate to the Programming category in the menu panel to select it. This will open a Python terminal, which is different from the IDE where we’ll be writing programs later. For now, we’re going to test the terminal. It has a lot in common with the LXTerminal that we’ve used to install programs in that it allows you to send single lines of Python code and get instant feedback within the terminal.
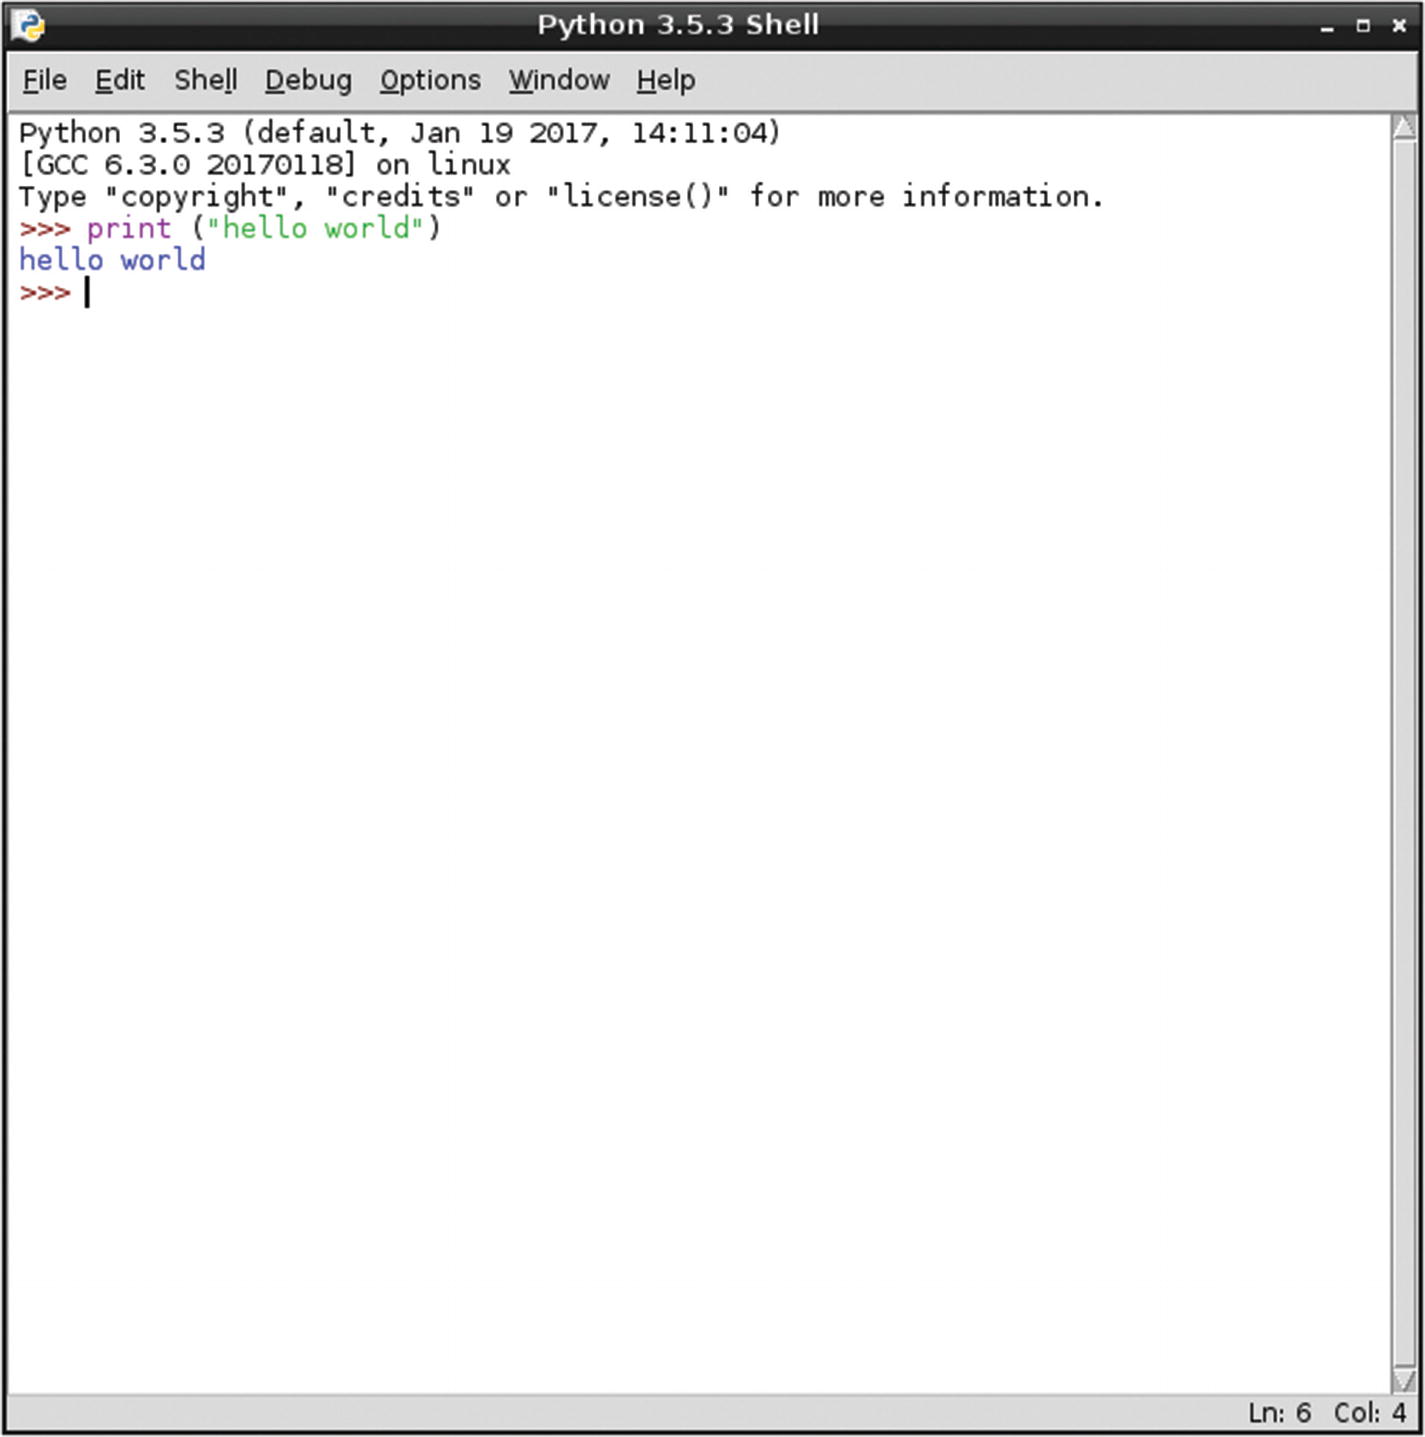
Hello world in the Python IDLE terminal
Later we’ll write more advanced programs, and in the next chapter we’ll experiment with simple GPIO controls with Python and C scripts. This is where the fun begins, and you’ll get to experience the true potential of the Tinker Board as a fully programmable tool for projects.
Conclusion
After a lot of preparation, we’ve finally started using the Tinker Board. By now you should be feeling at least a little bit comfortable navigating around TinkerOS. There are, of course, countless other programs you can install and use to have the Tinker Board act as a desktop computer. As we go forward we’ll be concentrating more on projects, which will involve coding and the GPIO pins, which we’ll be discussing next.
These exercises and projects will be more involved and technical tasks. As a result, they will probably be more fun and exciting for you than many of the items we discussed in this chapter. However, to think that a board of this size can run a full desktop operating system with all of these features and functionality is quite the technological feat when you think about it. I hope seeing it in action has spurred your curiosity, and you’re ready to see what else it can do.