
Adjusting Margins and Printing Conventional Reports
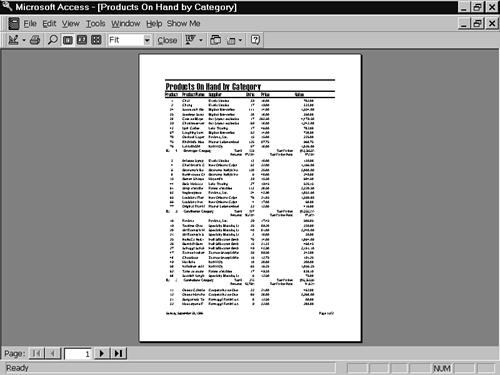
The full-page Report view of the report shows the report as it would print using Access's default printing margins of one inch on the top, bottom, and sides of the report (see Figure 14.31). In the Print Setup dialog, you can adjust the printed version of the report. The procedure for printing a report also applies to printing the data contained in tables and queries as well as single-record or continuous forms.
To change the printing margins for a report, follow these steps:
1. | |
2. |
The Page Setup dialog is similar to the Print and Page Setup dialogs of other Windows applications, with a section for printing margins included. To increase the amount of information on a page, decrease the top and bottom margins. By selecting the Print Data Only check box, you can print only the data in the report; the Report and Page Headers and Footers do not print. |
3. |
In the Left text box, type 2.0 to specify a two-inch left margin. In the Right, Top, and Bottom text boxes, type 0.75 inches. Click OK. The full-page view of the report with the revised margins appears (see Figure 14.33). Figure 14.31. The completed report in full-page view.
Tip The printing margins that you establish for a report in the Page Setup dialog apply to the active report only; each report has a unique set of margins. When you save the report, Access saves the margin settings. |
4. | Figure 14.32. The Page Setup dialog for printing data sheets, forms, and reports.
Figure 14.33. The full-page preview of the report with new printing margins applied.
|
5. |
You can choose to print all or part of a report, to print the report to a file for later printing, and select the number of copies to print. By choosing the Properties button, you can change the parameters that apply to the printer you are using. Click OK to print the report. |


The Page Setup dialog includes a Page tab that allows you to select the paper size and orientation. The dialog also includes a Columns tab that allows you to establish specifications for printing mailing labels and other multiple-column reports. The next section describes these specifications and how you set them.
Figure 14.34. The Print dialog controls printing of datasheets, forms, and reports.
