SCENARIO 21
In Harsh Sunlight
Solutions that don’t leave you running for shade.
GEAR NEEDED:
- Camera + Trigger
- Lens of any focal length
- Off-camera flash
- Soft, directional light modifier, like a beauty dish or softbox with a grid (optional)
- Light stand (optional)
- Translucent reflector (optional)
GOAL IMAGE
We’ve all been there. Not a cloud in the sky. You’re literally and figuratively sweating, and there is nowhere to run for cover from harsh lighting. Figure 21.1 is actually the very first time I used a strobe for a wedding. It was the Profoto B1, and I had no. Freaking. Clue. What I was doing. Naturally, quite a bit of Photoshop work has been done on this image (it was also 2014 and I didn’t know the meaning of the word “subtle”). I also didn’t know what I was doing and made up for it in post. However, the concept, which I executed by the skin of my teeth, is the same.
For this concept to work, you’ll need to figure out which direction your subject needs to face to get the most shade on their face, even if it’s a very little bit of shade. Ideally the light is hitting them in the back as much as possible. The sun ends up becoming your rim light, and you fill in your subject’s face as much as possible with a flash.
This is a great example of why flash is more useful than continuous light, or why sometimes you need a strobe instead of a speedlight. The flash or strobe will emit a much more powerful burst of light, allowing you to overpower the sun in situations like this. You could not do this with a continuous light source—unless you’ve got crazy bright one attached to a generator.
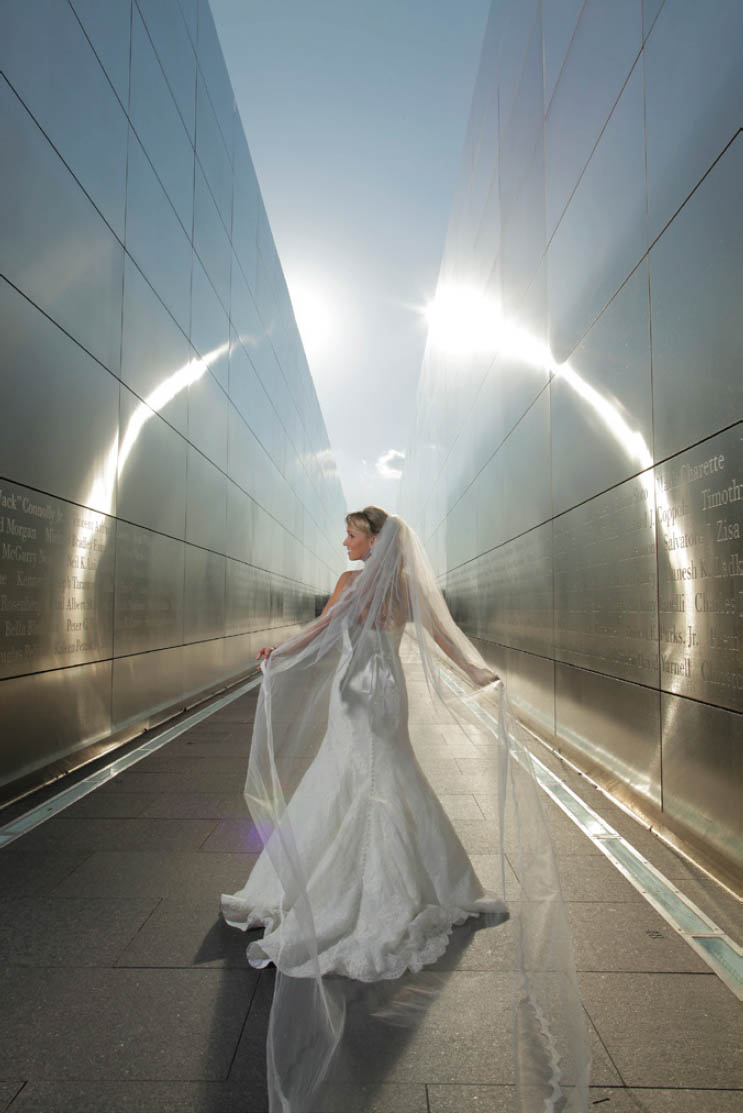
FIGURE 21.1
GOAL IMAGE. FLASH SET ON TTL +2; SATURATION BROUGHT UP AND BACKGROUND DARKENED IN LIGHTROOM AND PHOTOSHOP. SEE THE STRAIGHT-OUT-OF-CAMERA IMAGE IN FIGURE 21.4.
CANON 1D MARKIV, CANON 24MM 1.4, ISO 100, APERTURE 14, SHUTTER 1/200
Step by Step
- Position your light: Because you’re fighting the sun, and especially if you’re using a light modifier, you’ll need the light to be fairly close to your subject. Find a spot that’s only a few feet away to get as much power from your light as possible.
- Set the camera exposure: Get an exposure for the natural light behind your subject, taking into consideration both the background of the photo and any light that is hitting them. You don’t want any highlights on shoulders created by the sun.
- Set the white balance: Because the flash is affecting the light on your subject, set your white balance for flash or 5600K depending on the flash you’re using.
- Set the flash power: I usually set my light using TTL in this scenario, and then adjust it from there. If you’re using a manual flash, start in the middle-high power range or use a light meter and adjust up or down to your liking. Take a test shot and adjust your light to be more or less powerful. If you need more light but are at max power on your flash, move closer, add a grid to concentrate the light, or take off a layer of diffusion from your modifier.
- Balance the light: If you’re noticing hot spots on your subject’s face or shoulders, you need to darken down your exposure and brighten your flash.
OPTIONAL: Put a gel on your flash and change your white balance or color tint to balance the skin tone, but change the color of the background. You can do some pretty fun things with this technique!
OPTIONAL: If you’re having trouble with hot spots on your subject (as mentioned in step 5), use a translucent reflector to shade them from the harsh sun coming from behind.
Shot by Shot

FIGURE 21.2
EXPOSING FOR THE SUBJECT’S FACE IN NATURAL LIGHT. NIGHTMARE!
CANON 1D MARK IV, CANON 50MM 1.2, ISO 200, APERTURE 2.8, SHUTTER 1/1000

FIGURE 21.3
EXPOSING FOR THE BACKGROUND. THIS VERSION OF THE B1 DID NOT HAVE HIGH SPEED SYNC, SO I HAD TO KEEP IT BELOW SYNC SPEED.
CANON 1D MARK IV, CANON 24MM 1.4, ISO 100, APERTURE 14, SHUTTER 1/200

FIGURE 21.4
SHOT WITH A PROFOTO B1 ON CAMERA LEFT WITH NO MODIFIER. FLASH WAS SET TO TTL +2 (IT WAS DEFINITELY MAXED OUT AT 10).
CANON 1D MARK IV, CANON 24MM 1.4, ISO 100, APERTURE 14, SHUTTER 1/200

FIGURE 21.5
BOTH OF THESE SHOTS USE THE LIGHTING SETUP IN THIS DIAGRAM.
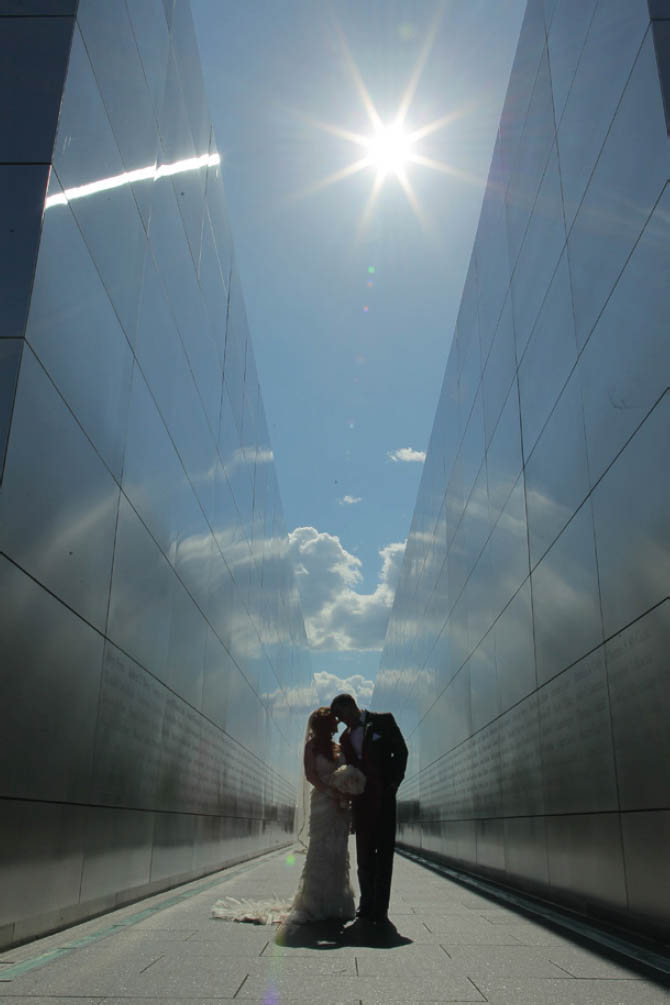
FIGURE 21.6
EXPOSING FOR THE BACKGROUND.
CANON 5D MARK II, CANON 24MM 1.2, ISO 100, APERTURE 14, SHUTTER 1/200

FIGURE 21.7
SHOT WITH A PROFOTO B1 ON CAMERA LEFT WITH NO MODIFIER.
CANON 5D MARK II, CANON 24MM 1.2, ISO 100, APERTURE 14, SHUTTER 1/200
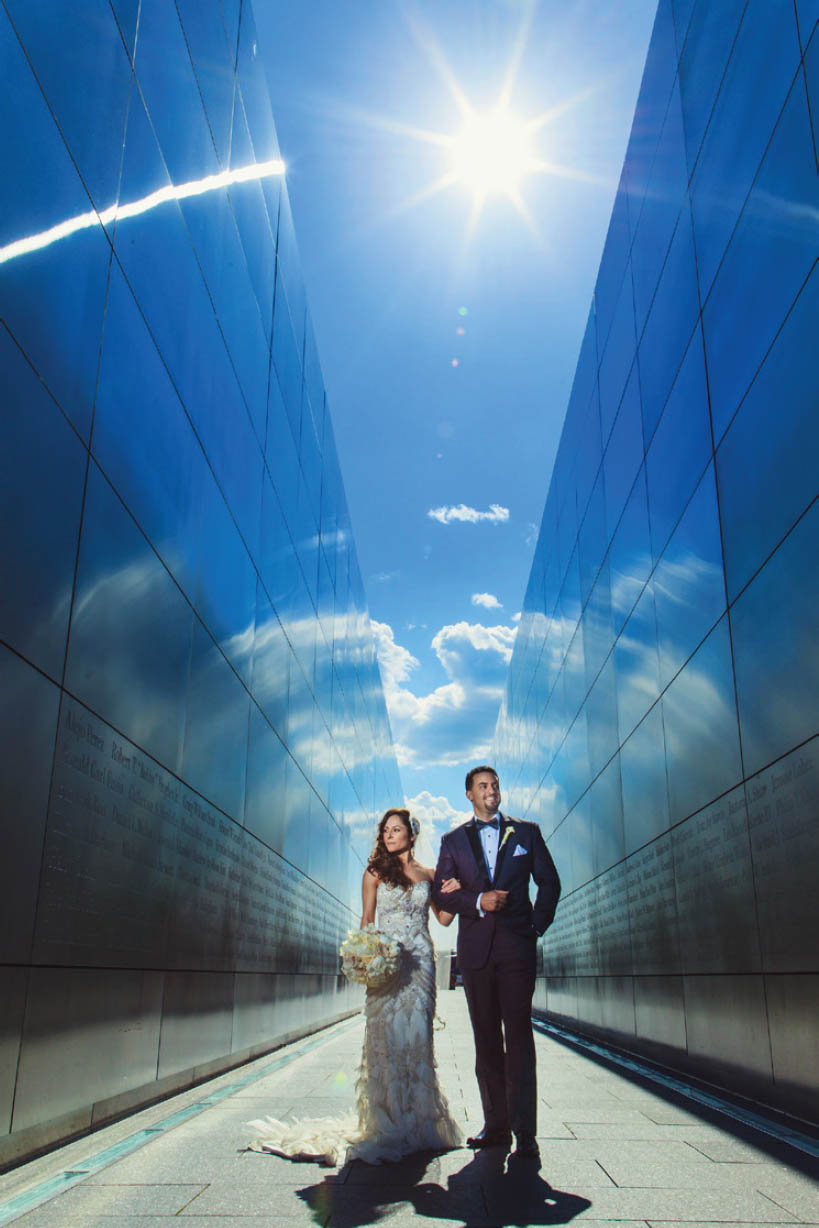
FIGURE 21.8
THIS IMAGE WAS PHOTOSHOPPED TO DARKEN AND SATURATE THE BACKGROUND. IT WAS 2014, I HAD NO HIGH SPEED SYNC, NO ND FILTER, AND I WAS MAXED OUT ON LIGHT POWER. OH, AND THIS WAS ONLY THE SECOND TIME I USED THE LIGHT. SEE? IF I CAN DO IT, SO CAN YOU!
Potential Problems
This chapter focused on how to overcome harsh sunlight for individuals or couples. I didn’t address how to do so for groups, but the concept is still the same. The problem with groups is that you’ll need a lot more light and a large light spread in order to fight the sun. If you have a group of, for example, ten people, you may want to use umbrellas to spread the light more extensively. Place one light on either side of the group pointing towards the opposite end of the frame or group of people. See Scenario 6, “Group Shots with One Light,” for more about balancing the light evenly across a group of people. In harsh sunlight, you’ll likely need two lights, probably strobes, to light across the group to balance your flash with the sun.
You may encounter the problem of the background getting blown out. I solve this problem by searching for a darker background to shoot into, as well as using a longer lens so it compresses and makes the background a bit softer. A shallow depth of field helps with this as well. Be careful not to go too shallow if you’re working with a group of people.
Other Techniques
Since my first example is a “flashy” looking image, I wanted to show you a more natural headshot as well. The key, like always, is making your light source larger. I used a Profoto B10 with an OCF beauty dish for this image.
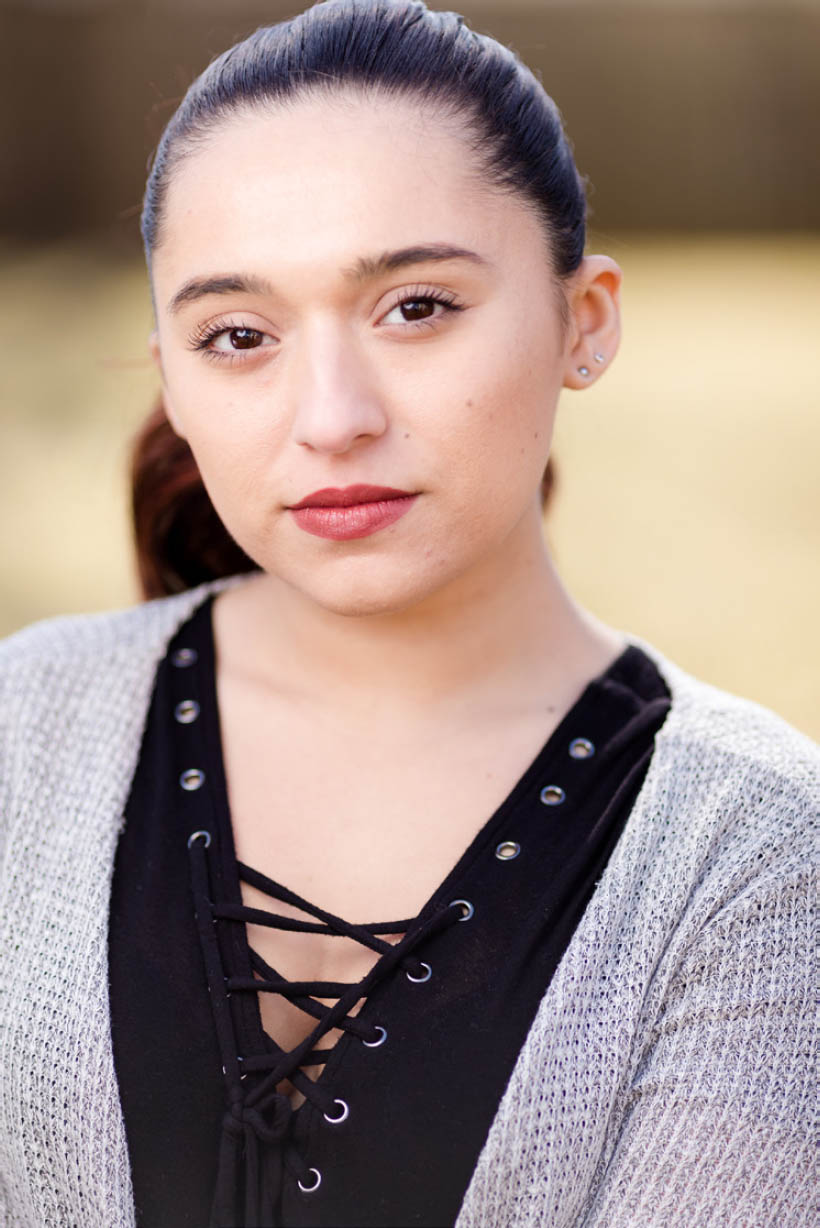
FIGURE 21.9
SHOT WITH A PROFOTO B10 WITH OCF BEAUTY DISH TO CAMERA LEFT.
CANON 1DX II, CANON 135MM 2.0, ISO 125, APERTURE 2, SHUTTER 1/640

FIGURE 21.10
NOTE HOW SHE’S PLACED WITH THE SUN HITTING HER BACK, AND THE LIGHT IS NICE AND CLOSE, ILLUMINATING HER FACE.