Chapter 6. Base services implementation 169
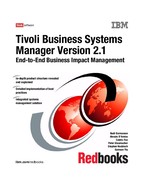
18.In the licensing dialog shown in Figure 6-16, select Processor License to
enter the number of processors your license allows. Click Continue to
proceed with the installation.
Figure 6-16 Choose Licensing Mode dialog
19.Various pop-up windows will appear at this stage of the installation showing
its progress. Eventually, the Setup Complete dialog will appear. Click Finish
to complete the installation.
Changing SQL Server authentication password
1. Start the SQL Enterprise Manager by selecting Programs -> Microsoft SQL
Server -> Enterprise Manager. The SQL server Enterprise Manager window
is shown in Figure 6-17 on page 170.
Note: It is not necessary to reboot the server after the installation. It is,
however, good to do so because after the reboot you can see that all SQL
services will be started automatically if the installation was successful.

170 Tivoli Business Systems Manager Version 2.1: End-to-End Business Impact Management
Figure 6-17 SQL Server Enterprise Manager view
2. Expand the tree display of the Microsoft SQL Servers and find the following
path: Console Root -> Microsoft SQL Servers -> SQL Server Group ->
IBMTIV5 -> Security -> Logins as shown in Figure 6-18.
Figure 6-18 SQL Server Security options
Chapter 6. Base services implementation 171
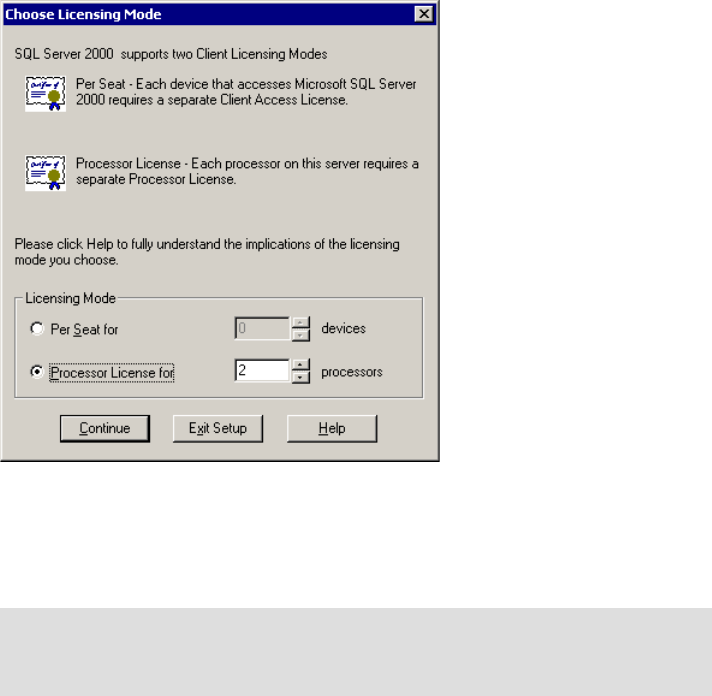
3. Right-click the sa account in the right panel to open Properties. Type over the
entry in the Password field with the new password for the General folder, as
shown in Figure 6-19.
Figure 6-19 Change password
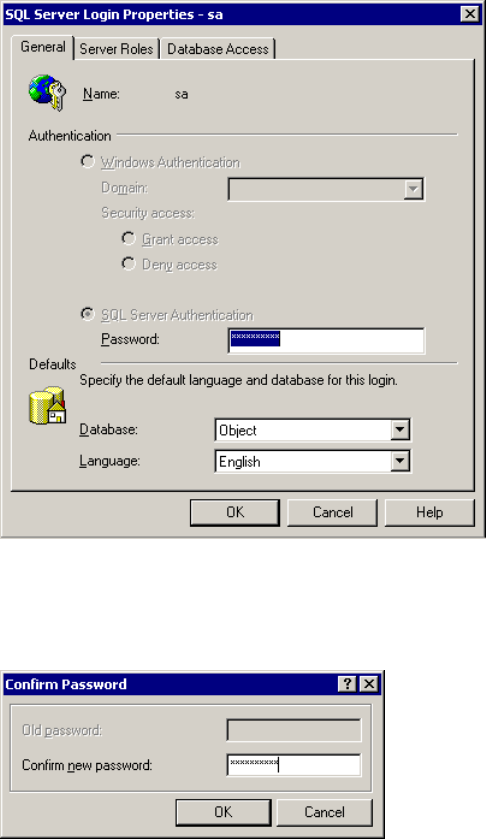
4. You will be asked to confirm the password as shown in Figure 6-20. Enter the
new password and click OK to complete the password update.
Figure 6-20 Password confirmation
5. Close the SQL Enterprise Manager to complete the password update.

172 Tivoli Business Systems Manager Version 2.1: End-to-End Business Impact Management
Applying Microsoft SQL 2000 Server Service Pack 2
The following procedure upgrades Microsoft SQL Server to Service Pack 2 level.
1. Log on to SQL Database Server as Administrator.
2. Run setupsql.exe from the Service Pack 2 directory, usually in
<mssql>x86setup
3. The Microsoft SQL Server Service Pack 2 setup dialog starts with the
InstallShield Welcome dialog.
4. Follow the instructions in the dialog boxes. Accept the default settings and
values throughout the installation.
5. Click OK on the message You should now backup your master and msdb
databases since this installation has updated their content.
6. When the Setup Complete dialog opens, select Yes, I want to restart my
computer now. Click Finish to conclude the upgrade.
7. The server will reboot now automatically.
Updating SQL Server Client-Side Options
To function correctly, IBM Tivoli Business Systems Manager requires changes to
certain SQL Server client-side options, such as the ANSI NULL, paddings, and
warnings. The following steps disable these options:
1. Open the SQL Query Analyzer from the Windows Start menu by selecting
Programs -> Microsoft SQL Server -> Query Analyzer. This opens the
Connect to SQL Server dialog as shown in Figure 6-21 on page 173.
Attention: Refer to pages 58 and 59 of the
IBM Tivoli Business Systems
Manager: Installation and Configuration Guide
, GC32-0800 document
regarding a potential problem with sp2_serv_uni.sql file. This modification, if
applicable, must be made before Service Pack 2 can be applied.
Chapter 6. Base services implementation 173
Figure 6-21 Log on to SQL Query Analyzer
2. Type in your SQL server name or its IP address in the SQL Server box. Leave
Start SQL Server if it is stopped clear. Select SQL Server Authentication
and enter sa as the Login name and its password in the Password box. Click
OK to log in.
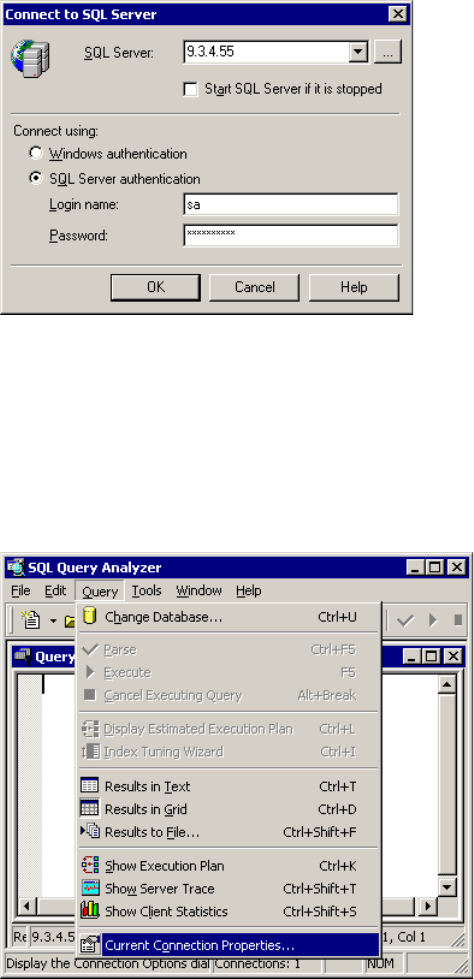
3. From the SQL Query Analyzer window, select Query -> Current Connection
Properties as shown in Figure 6-22.
Figure 6-22 Current Connection Properties
..................Content has been hidden....................
You can't read the all page of ebook, please click here login for view all page.