194 Tivoli Business Systems Manager Version 2.1: End-to-End Business Impact Management
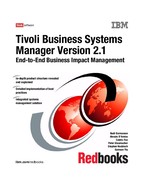
Figure 6-47 Services list for console and propagation server
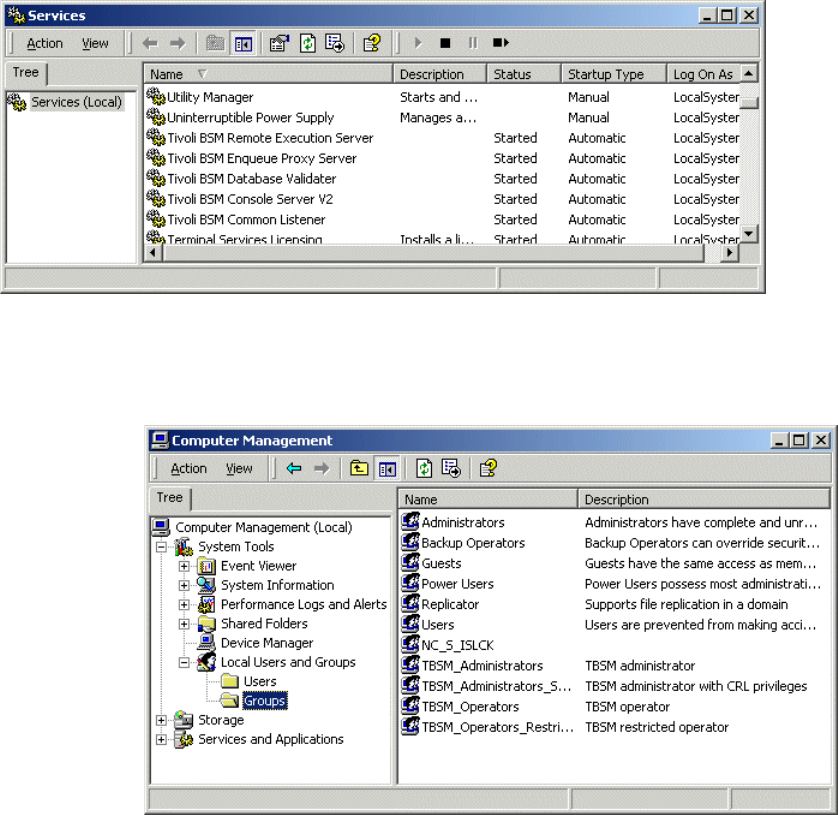
The IBM Tivoli Business Systems Manager–related groups are shown in the
Computer Management display in Figure 6-48.
Figure 6-48 TBSM operators groups
6.5 History server installation
The installation of the history server is similar to the database server installation
described in 6.3, “Database server installation” on page 176. Perform step 1 on
page 177 through step 8 on page 182. When the Select Component dialog
appears, select History Server as shown in Figure 6-49 on page 195.
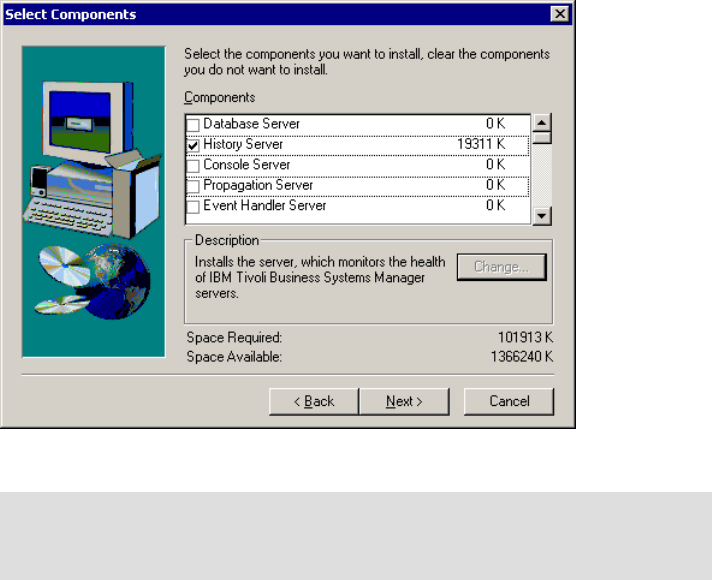
Chapter 6. Base services implementation 195
Figure 6-49 History Server component selection dialog
Customize the BCP transfer settings and history server configuration as follows:
1. From the SQL Query Analyzer, run
TivoliManagersqldetachhistorydatabases.sql.
2. Copy the Object, Meta, RODM, and WebServer databases, either from the
live server or from the file DBDevicesDBDevices_V2.1.exe. If you are copying
from the live server, you may want to stop the Microsoft SQL Server service
first, before copying it.
3. From the SQL Query Analyzer, run
TivoliManagersqlattachhistorydatabases.sql.
4. Open and run the following query files in the SQL Query Analyzer against the
specified databases (after changing the database pull-down menu to the
specified database name):
MasterDBChanges master
SchemaTypes master, tempdb, model
SchemaMessages master
Tip: There are two options for installing the history server. The BCP path is
recommended over the Linked Server. The following procedure implements
the BCP-based history server.
Chapter 6. Base services implementation 197
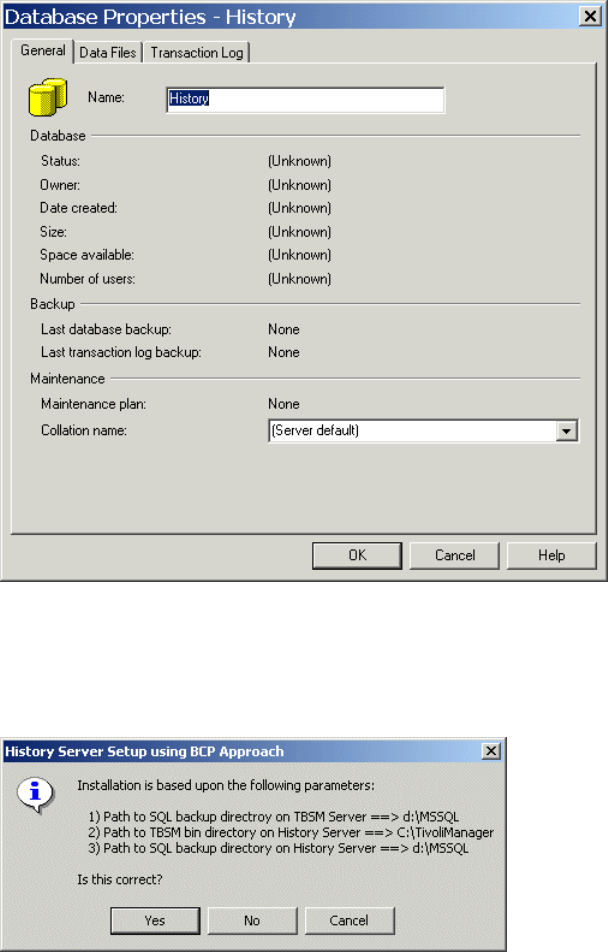
6. The Database Properties dialog opens. Enter the database name History as
shown in Figure 6-51. Click OK to create the database.
Figure 6-51 History database properties
7. From the SQL database server, run the HistoryServerSetup.ksh command.
While the script is running, you will srr two popup messages that confirm the
execution, as shown in Figure 6-52.
Figure 6-52 Pop-up message for historyserversetup.ksh

198 Tivoli Business Systems Manager Version 2.1: End-to-End Business Impact Management
The running of the program in our environment is shown in Example 6-1.
Example 6-1 Running HistoryServerSetup.ksh
C:> sh
$ HistoryServerSetup.ksh -N ibmtiv6 -R sa -W sa_ibmtiv6
Setting up BCP managed History Server database on REMOTE IBMTIV6
**********************************************************************************
******************* S E T U P H I S T O R Y S E R V E R **********************
**********************************************************************************
Done!
Done!
**********************************************************************************
******************* S E T U P P R I M A R Y S E R V E R **********************
**********************************************************************************
Could not find table eventbcpOLD. Will try to resolve this table name later.
Could not find table event_lastbcpOLD. Will try to resolve this table name later.
Creating bcp version of view event_V
Done!
History Server Setup Done!
8. To complete and enable the reporting system, be sure the new jobs Copy
Backups from Live DB Server and Restore Databases for Reporting System
are on the history server.
9. Delete any old reporting system jobs, such as Copy Backups to History
Server and Update Object and Meta Databases.
You can search for these jobs on the history server by using SQL Enterprise
Manager. Click Management -> SQL Server Agent -> Jobs.
10.Run a SQL database backup job on the live database server if one has not
been run recently. Be sure that the user ID associated with the
SQLServerAgent on both the live and history servers has
TBSM_Administrator authority. This is to ensure that the Move events to
History Database job on the live database server will run successfully.
11.Run the Copy Backups from Live DB Server job on the history server. Verify
that the database backups have arrived on the history server. Currently these
are the backup files of the Meta, Object, and RODM databases.
12.Run the Restore Databases for Reporting System job on the history server.
13.Setting up the reporting system:
Use the Reporting System Database Configuration program found in the
Tivoli Manager programs folder to set up the DefaultData and PrimaryData
databases with the parameters shown in Table 6-4 on page 199.
..................Content has been hidden....................
You can't read the all page of ebook, please click here login for view all page.