
In this chapter, you will learn how to use the Dynamic DNS (DDNS) service to obtain and use a domain name for your site; for example, you can use webtoolsonline.servehttp.com instead of an IP address in the URL.
With a proper URL for your site, you can set up PHP to interface with the Linux shell and use an online service like WHOIS. Also, you will further improve your site’s appearance by creating a favicon icon, which is an icon that represents your site in clients’ browser tabs and in the list of bookmarks.
DNS and DDNS
The Domain Name System (DNS) service translates the domain name of a computer to the corresponding static IP address. Purchasing a static IP address from your ISP is usually more expensive than having a dynamic IP address that often changes, for instance every time your router reboots. Correlating a domain name to a dynamic IP address is still possible with DDNS. There are two ways to update the DDNS service provider data with your changed IP address. The method discussed in this chapter is to use a DDNS service in your router. Today most routers support DDNS services. The only drawback is that some router models support DDNS for only certain DDNS service providers. If your router does not support your DDNS provider, you can use a DDNS client program that runs in the background of your web server as a daemon process. This is the method implemented in Chapter 10, where you’ll use the program ddclient. The program ddclient checks in constant time intervals to see whether the public IP address of your router has changed. If it has, an update message is sent to your DDNS service provider.
Registering with a DDNS Service Provider
With this specific DDNS server provider, you can choose three hostnames and also implement web redirect for free.
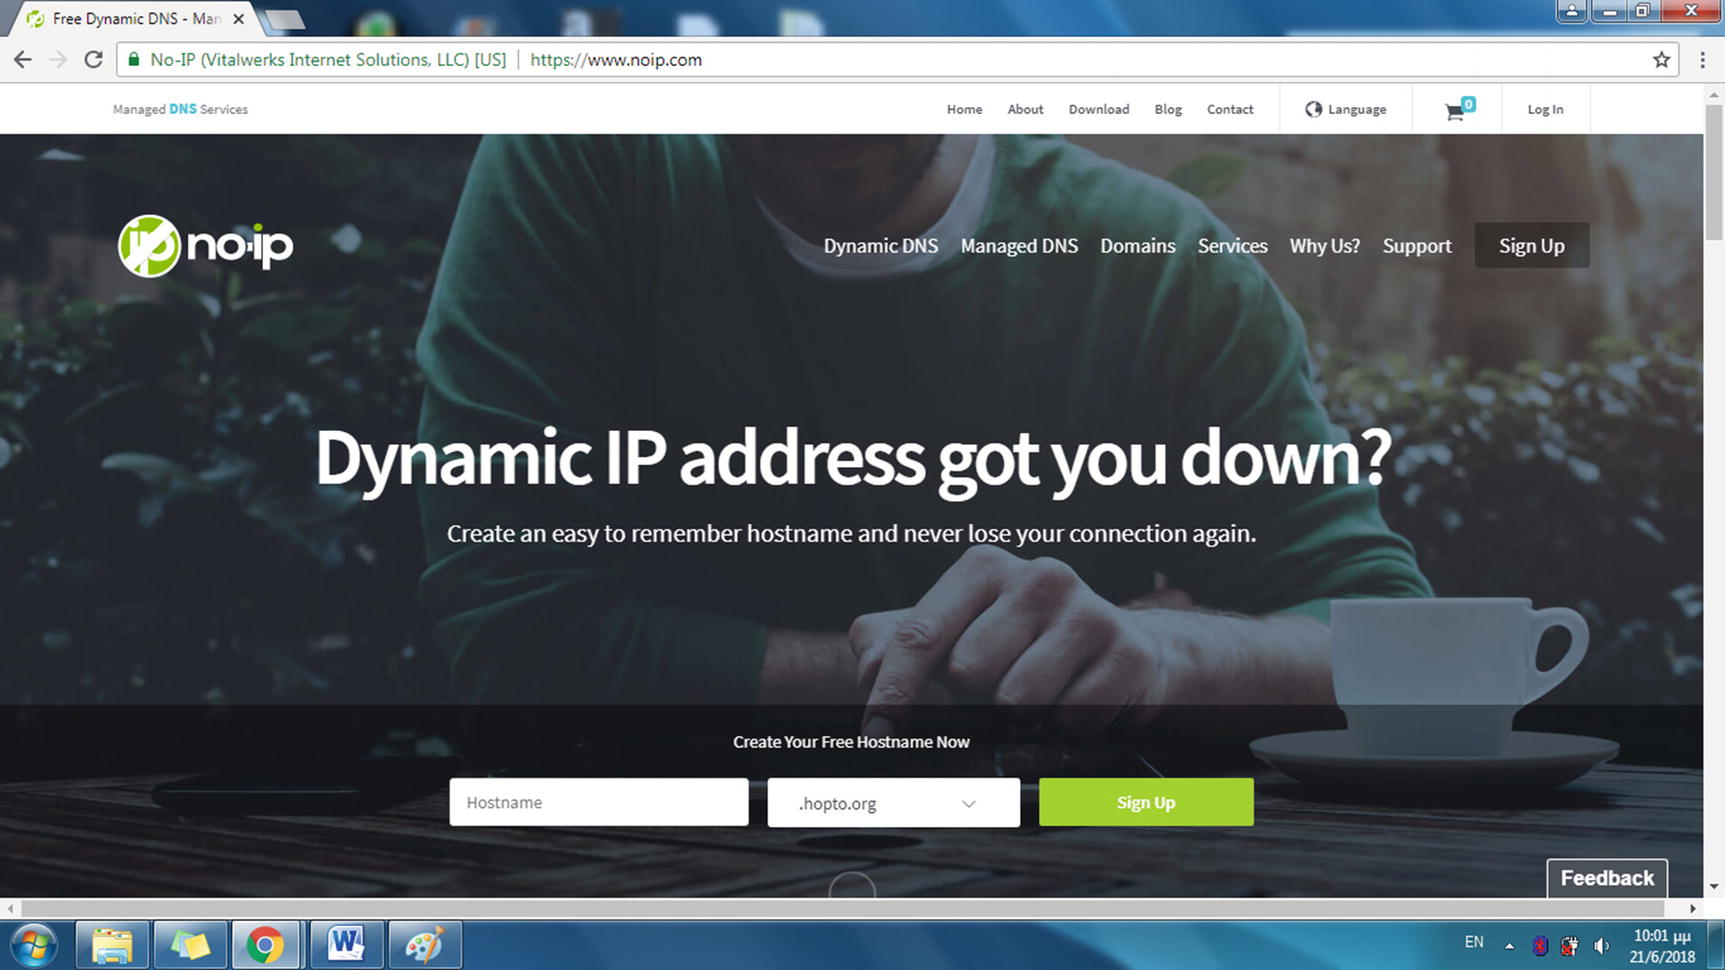
The Sign Up button of the no-IP home page

Setting your preferences for your hostname with no IP

The web page requiring e-mail account confirmation
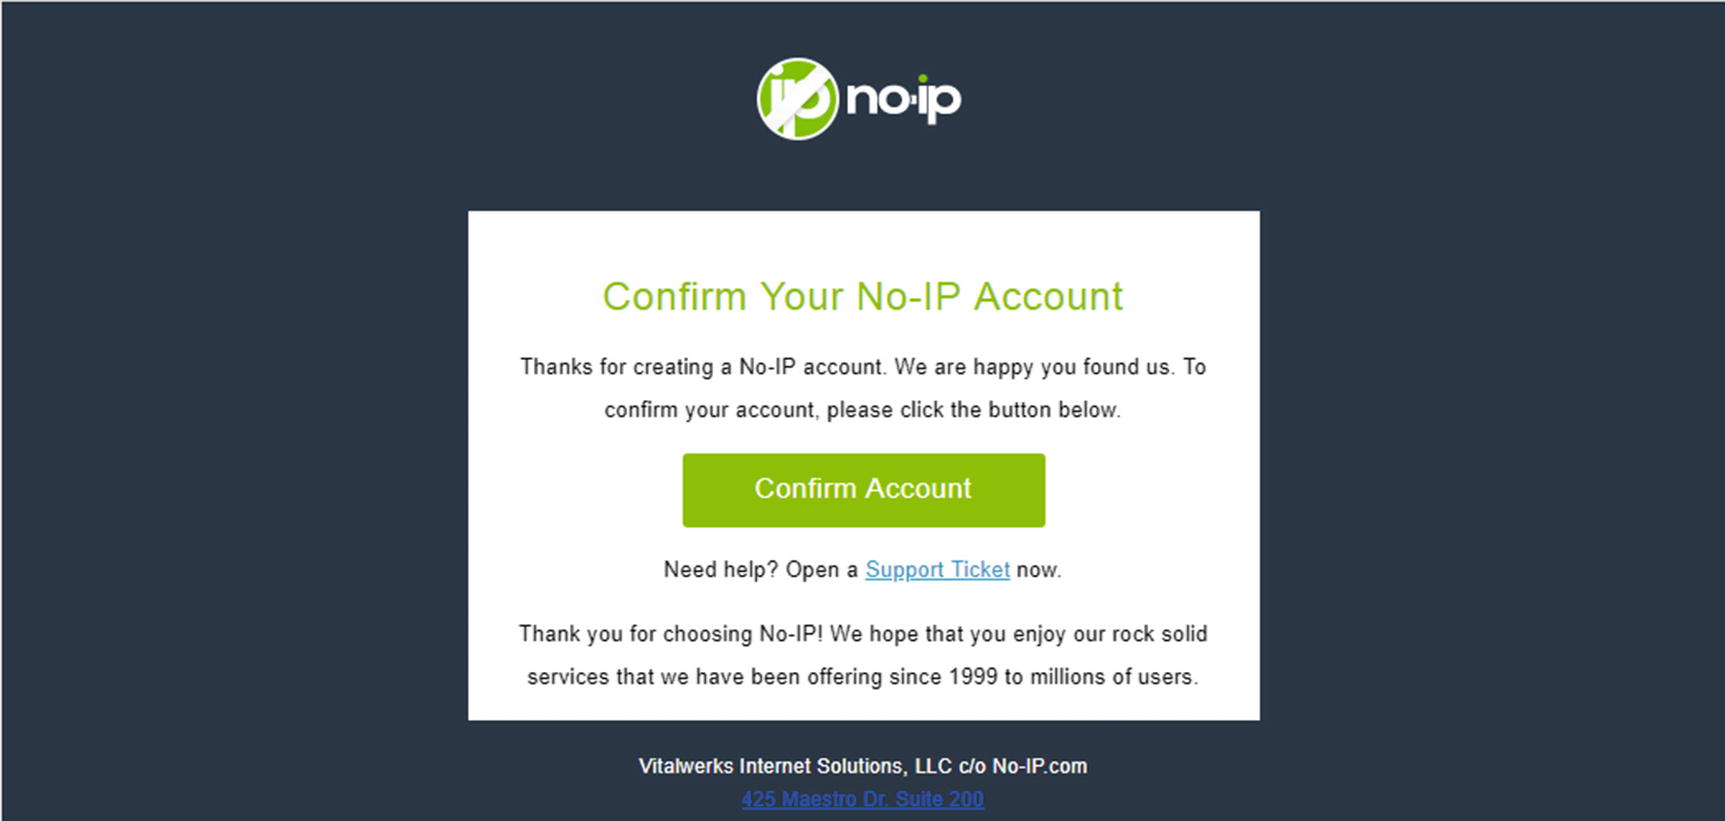
The e-mail, including a Confirm Account button for validating the no-IP account
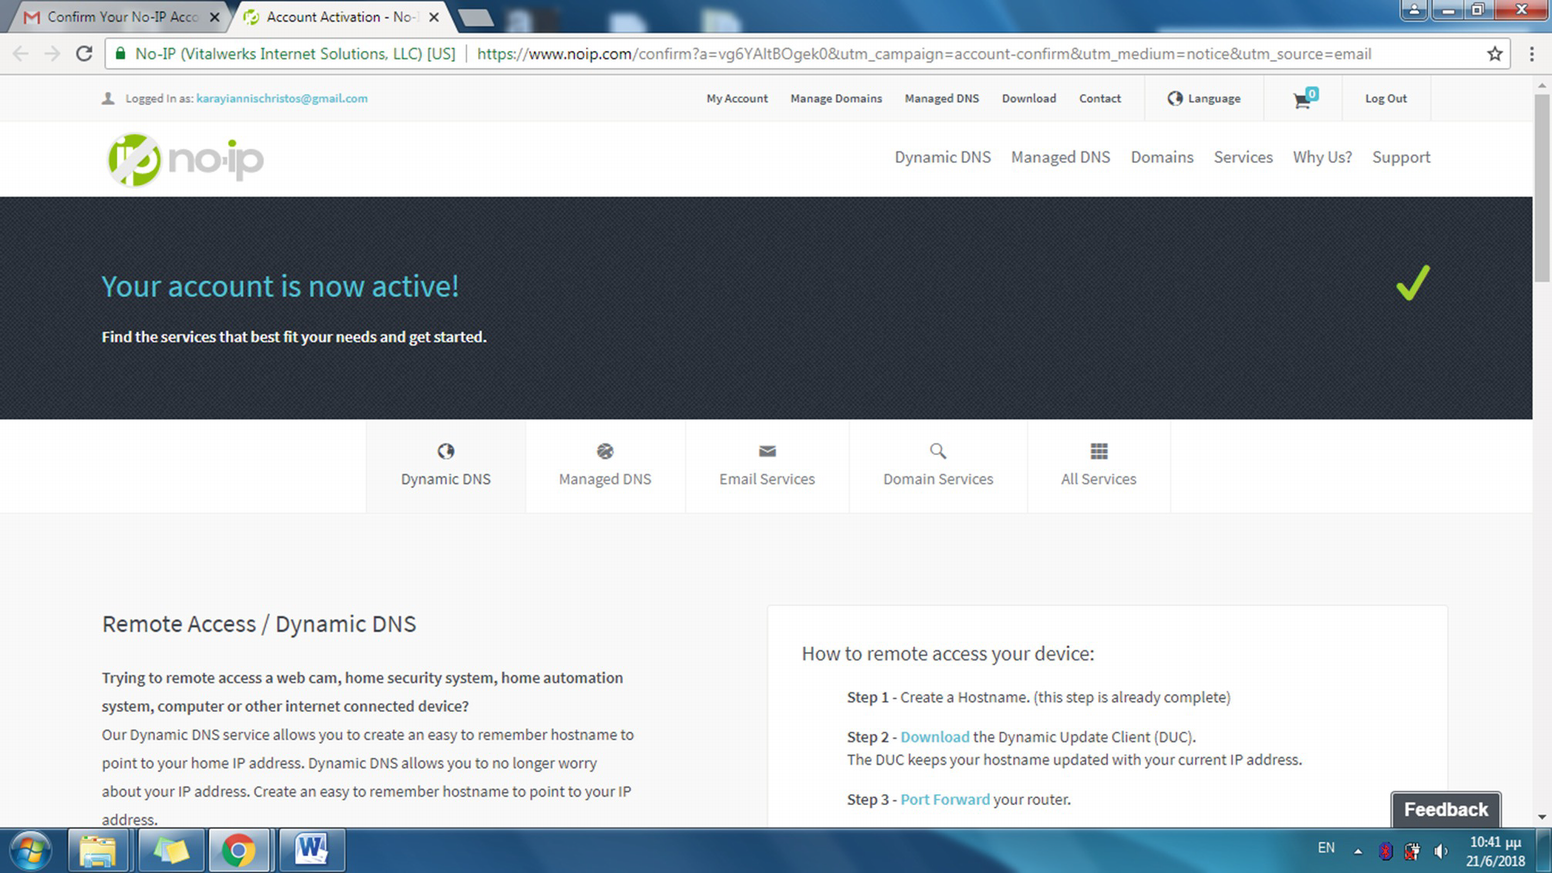
The web page informing you that the account is activated

The dialog for proceeding to the final step of creating a DDNS account
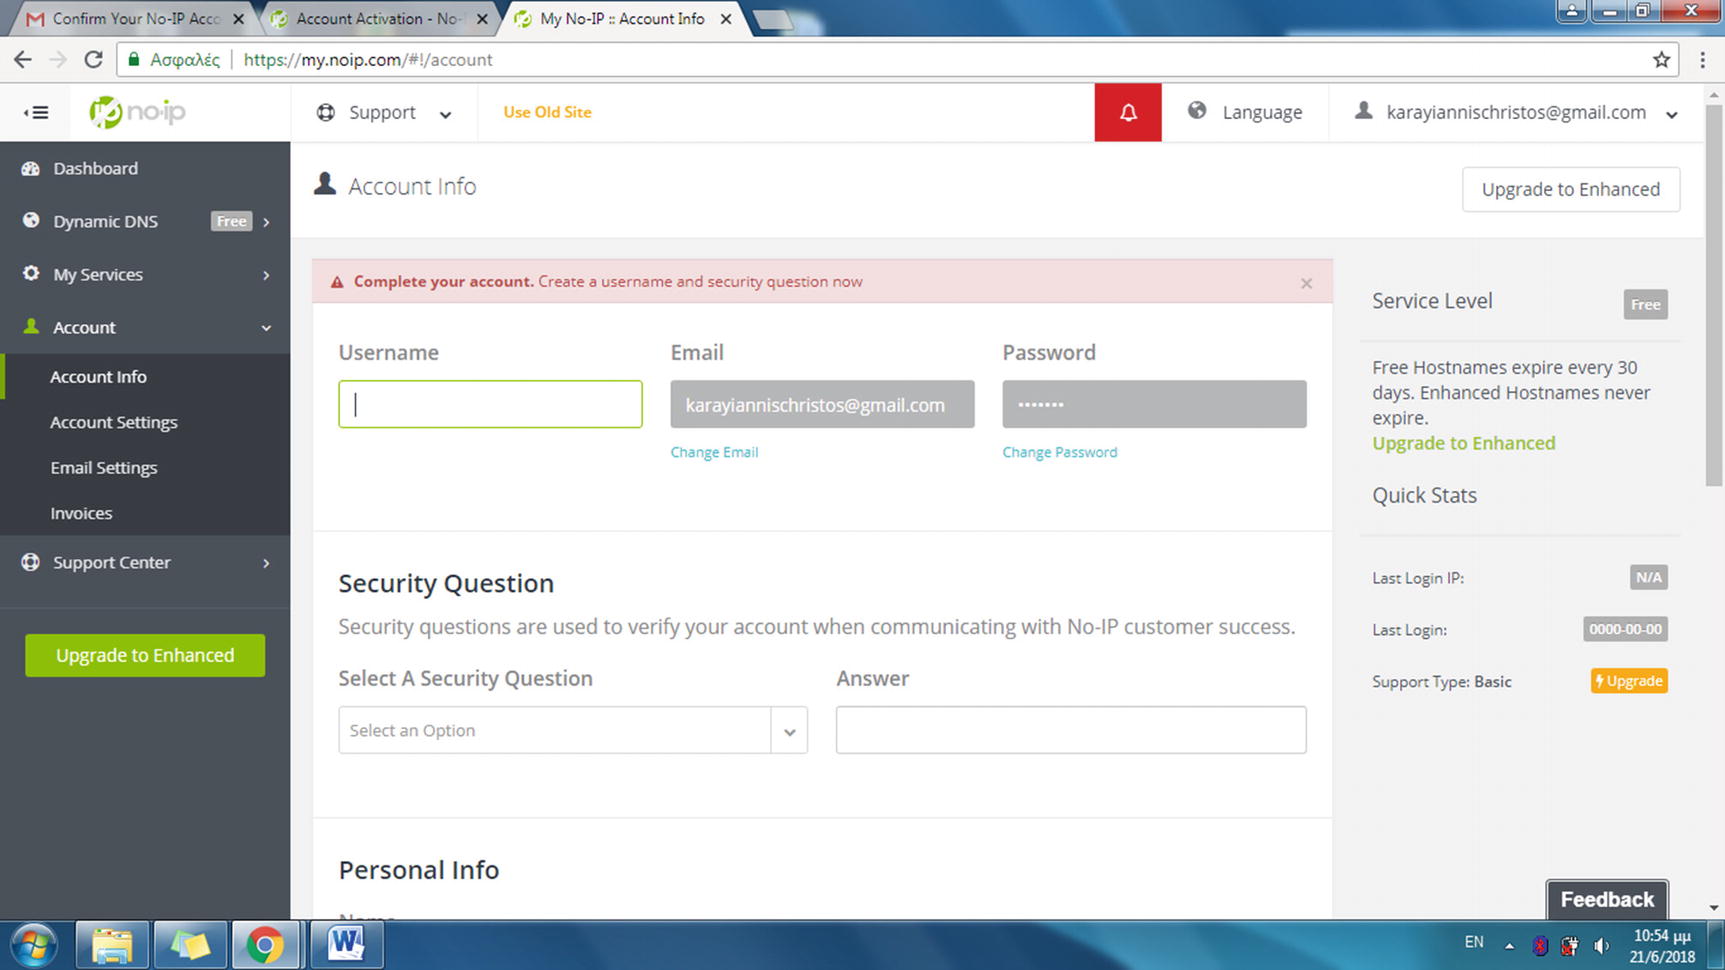
The final web page of the DDNS account setup process
Click the Save button to save the information entered and thus complete the account setup process. You can use the hostname obtained here to configure the router of your LAN to implement the DDNS service.
Configuring the Router’s DDNS
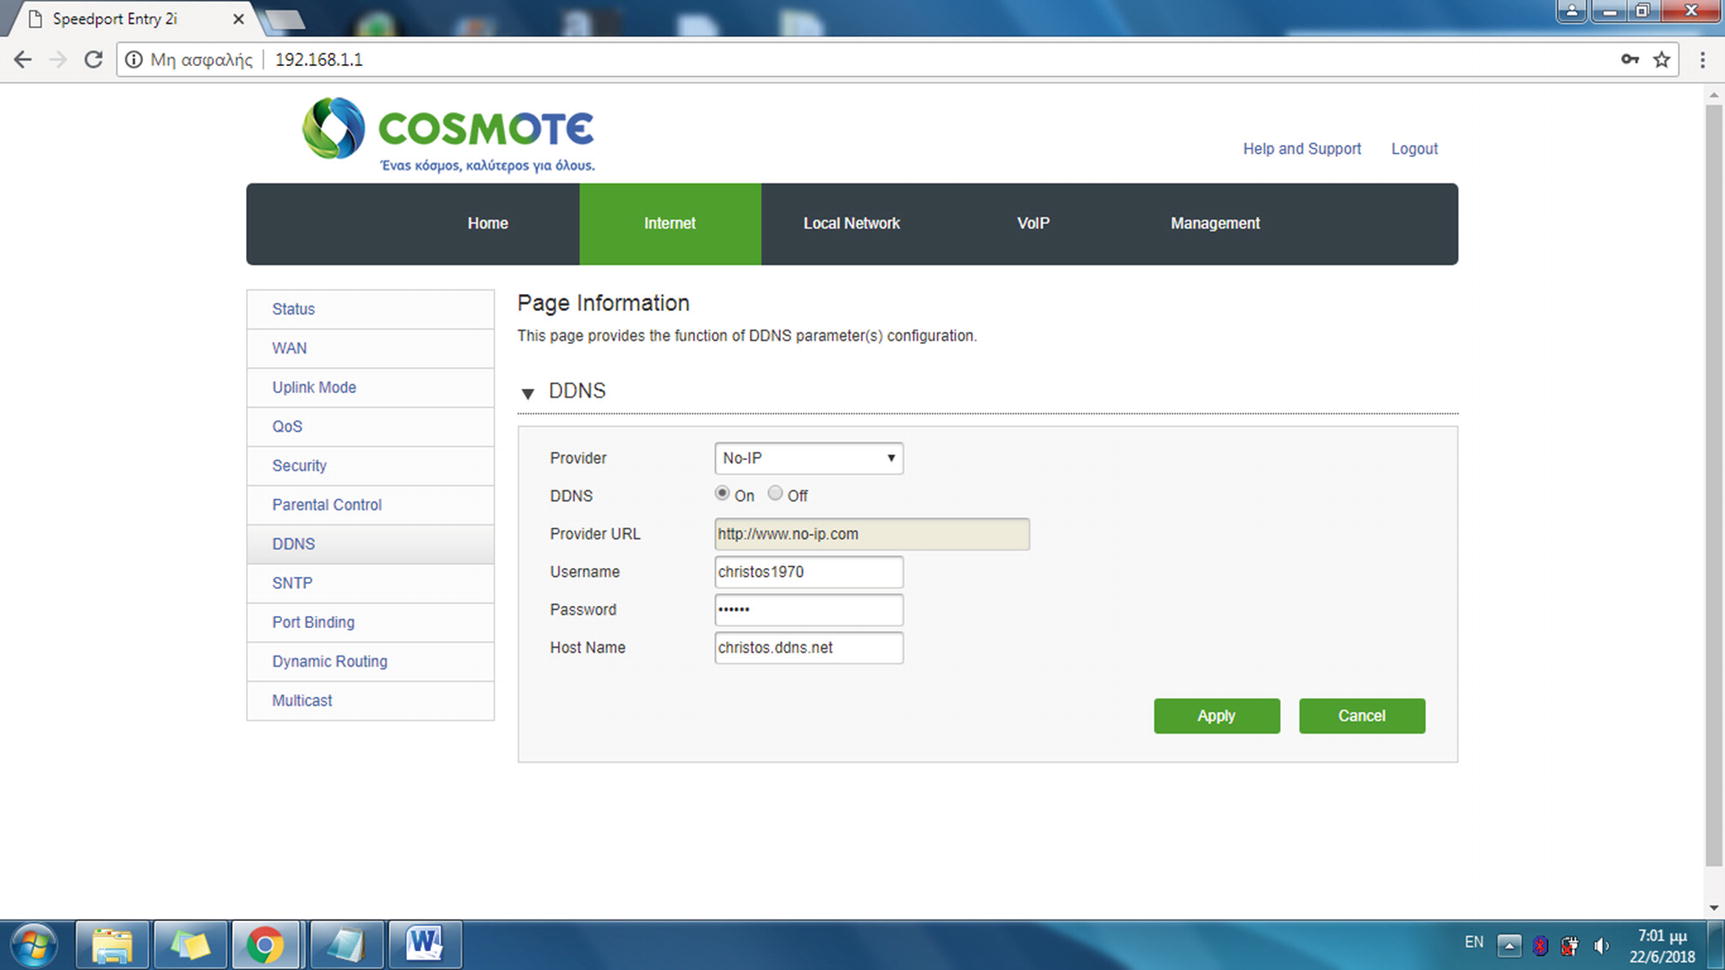
The DDNS configuration section for the router used in the examples
Select the DDNS provider from the Provider drop-down list, which has all the DDNS providers that the router supports. Enter the details required: your username, your password, and the hostname you chose at the DDNS registration process. Complete also the Provider URL field, and select the On DDNS radio button. Click the Apply button to confirm the new settings.

Testing the web page geo5.php with the new domain name
The web page geo5.php loads with the URL that includes the previously acquired domain name. In the following section, you will implement web redirect so that if you do not utilize the default HTTP port number, but another one such as 8080, this number is hidden from the URL.
Implementing Web Redirect
If your ISP blocks the default HTTP port for incoming connections to your LAN, you can still use URLs that do not append a colon and the port number after the domain name, although behind the scenes the specific port number is actually used. To include this feature, you need to configure the web redirect service offered by DDNS providers.
By setting a specific port number, such as port 8080 in the web redirect option, you are enabling clients to use a port-free URL. The DDNS provider redirects visitors to another domain name, where the port number is already appended with a colon. To test the web redirect feature, another domain name is required, so this is a good chance to utilize the second of the three domain names offered from the DDNS provider.

The Hostnames web page displays the hostnames created so far
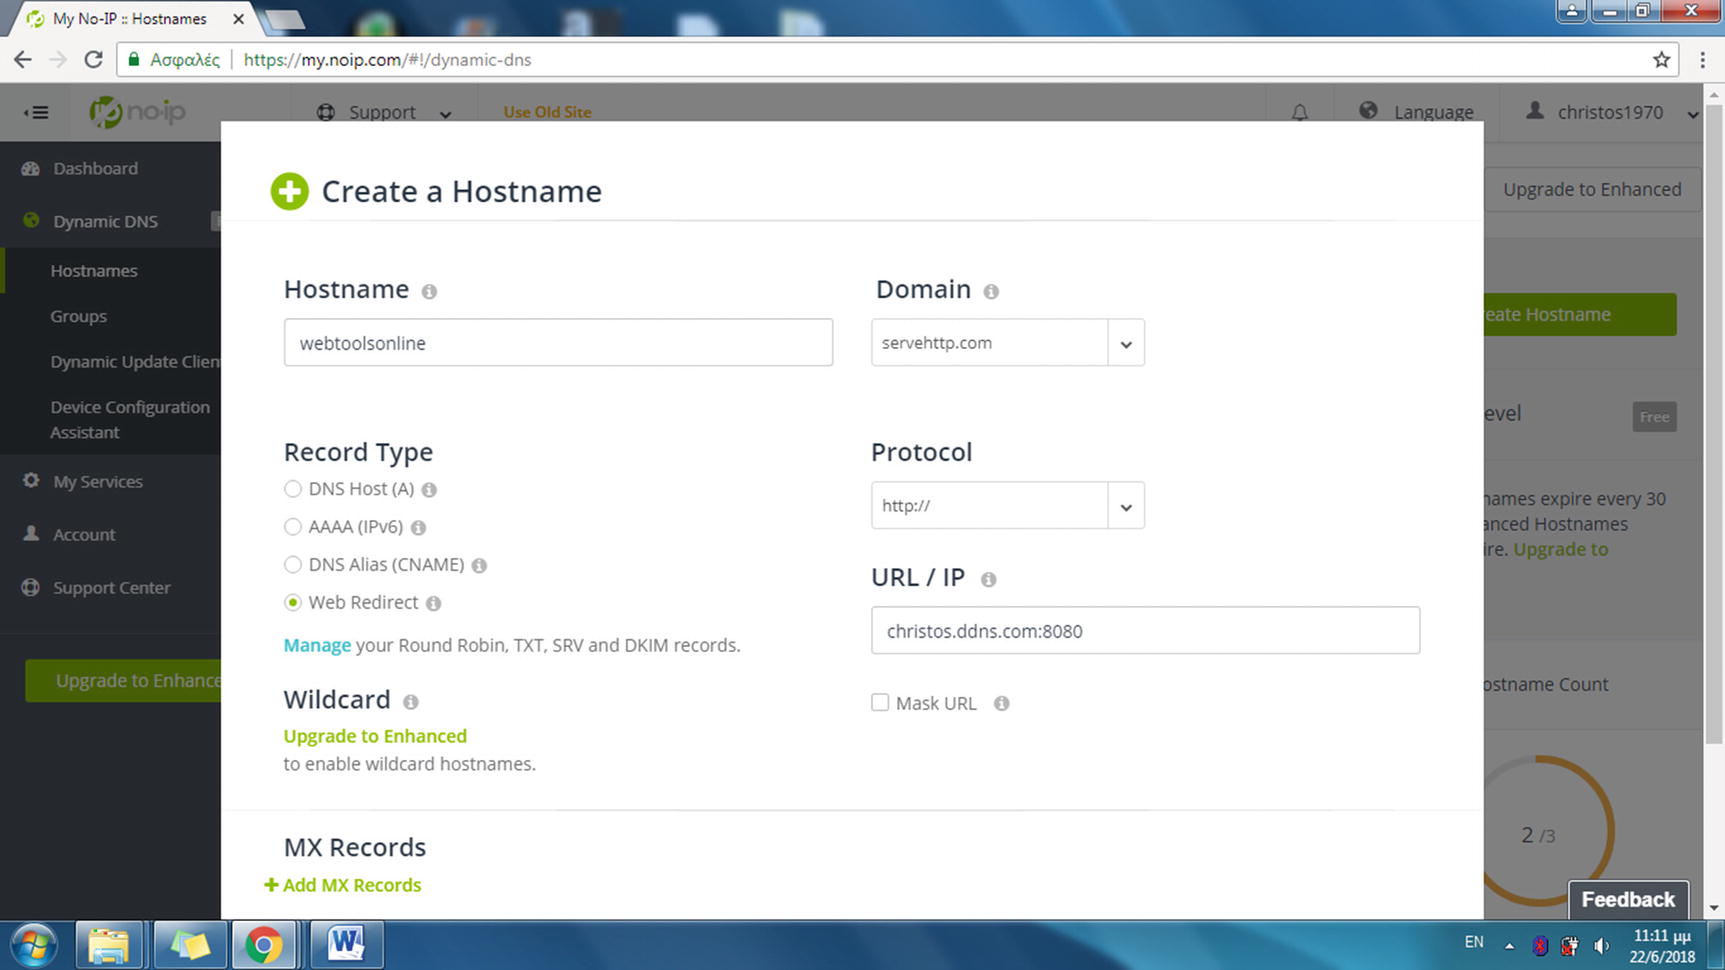
Creating the second hostname with the Web Redirect option set
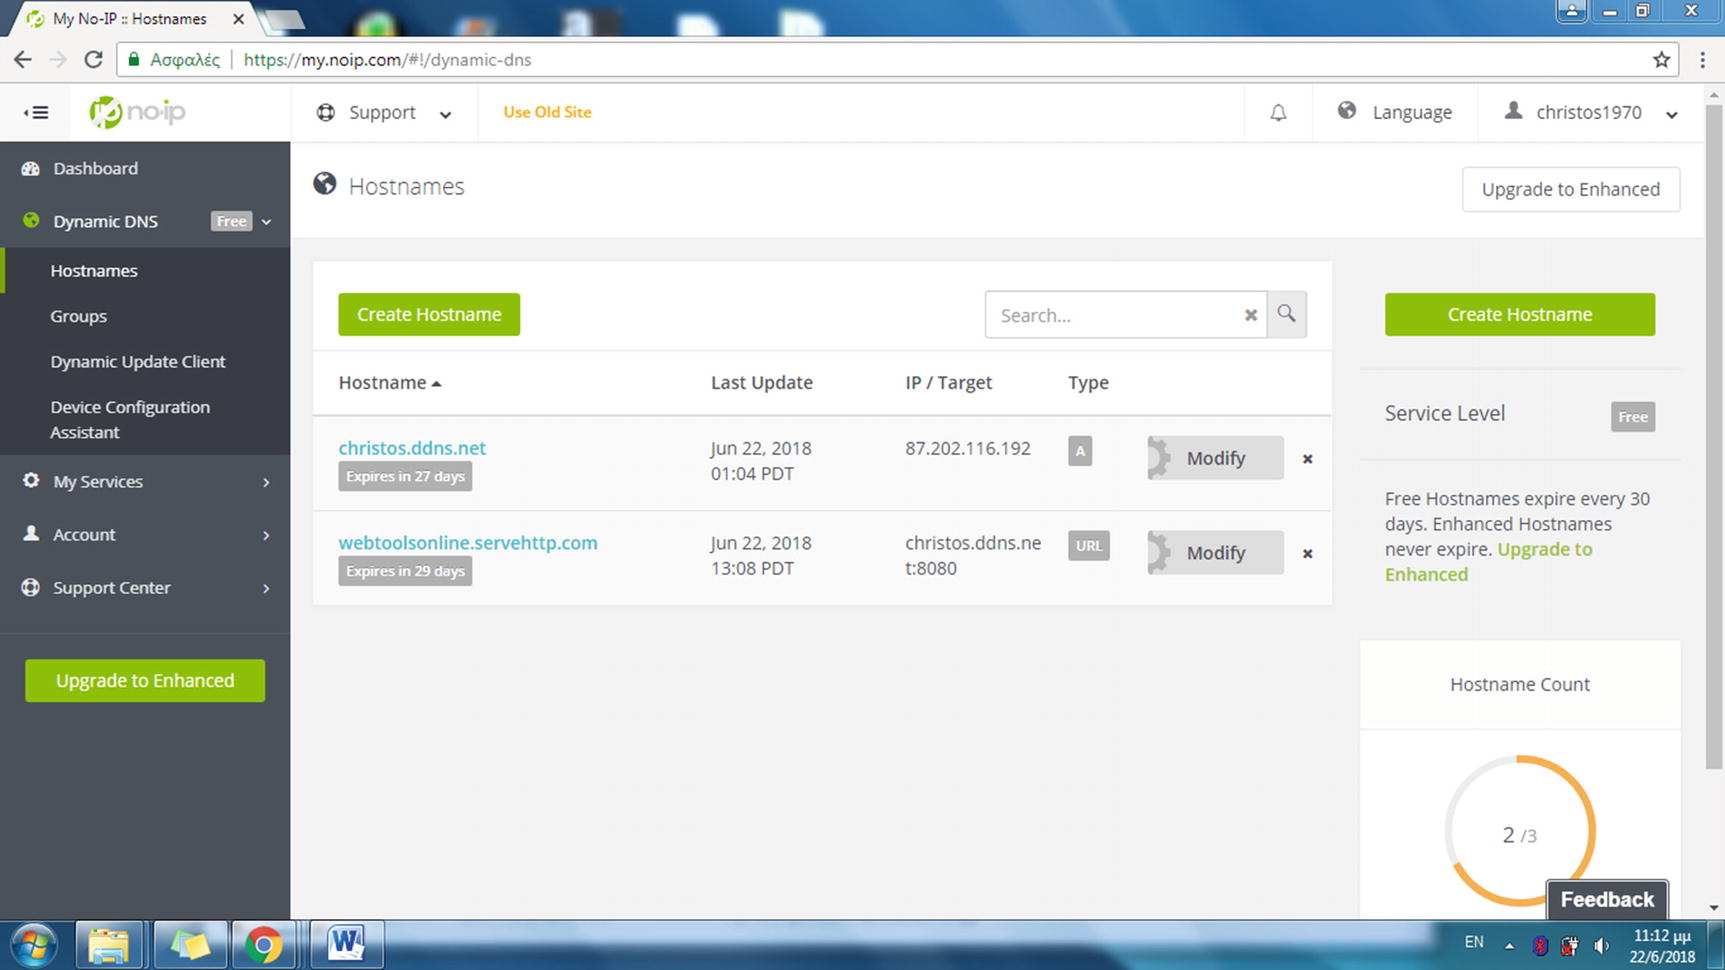
The Hostnames web page displays the hostnames created so far
The URL webtoolsonline.servehttp.com redirects to christos.ddns.net:8080
To visibly retain the original URL, you have to implement the Mask URL feature by configuring the DDNS provider. Edit the hostname on the Hostnames web page of the DDNS provider’s site and select the Mask URL box. Click the Update Hostname button to apply the configuration.

Using the URL mask option to modify the URL displayed in the client browser
Hint!
To view the frame created with the Mask URL option, right-click the web page and select View Page Source for Chrome or the corresponding option for other browsers. In this case, the URL of the address bar is altered with JavaScript code.
You have so far created and used two hostnames for your registered DDNS account. You will use the third hostname, e.g., secureserver.ddns.net , in Chapter 8. In Chapter 9, you will find the steps to obtain and use your own second-level domain name, e.g., httpsserver.eu, required for running a secure site. In the following section, you will put the hostnames created so far to use to create your next project.
Implementing an Online Web Service

The web page of the ping.eu WHOIS service
Ping.eu, along with other similar sites, offers online web services, for instance DNS lookup, ping, traceroute, and port check. You will implement port checking in Chapter 10.
To create a site that offers WHOIS as an online service, you can use a web page with a form; the form will include a textbox to submit an IP address to the PHP program on the web server that interfaces with the Linux shell and returns information about the corresponding domain name.
The first step to implement the online service is to change the default web page that Apache sends in response to using port 8080. As explained in the previous sections of this chapter, the domain name webtoolsonline.servehttp.com resolves to christos.ddns.net:8080 and to the router’s public IP address through port 8080. The Apache vhost configuration file for serving port 8080 for any domain name was set up in Chapter 1 to example2.conf. The directory index used in this file for port 8080 is index3.html, which is actually the web page shown in the previous section with the URL http://webtoolsonline.servehttp.com . As a second step, edit example2.conf and replace index3.html with another HTML file, for instance onlineservice.html.
Create a new web page called onlineservice.html that includes a form similar to the one on the ping.eu page. This form will be used to submit the user’s data to the web server, and as viewed from ping.eu, two form elements are required at a minimum: the textbox that will receive the IP address or the hostname and a submit button. The form’s action attribute will refer to a PHP file that receives the user’s data, interfaces with the whois command-line program, and then passes the user’s data as arguments. Finally, the whois output is included on the web page generated by PHP and sent back to the user. With similar steps, you can implement any other online service such as the ones offered by ping.eu .
Editing the Apache Configuration File
In this section, you’ll edit the configuration file example2.conf used in Chapter 1 to implement two sites with two vhosts, one listening on port 8080 and one listening on port 8181. In this example, only the vhost listening to port 8080 is required; therefore, for this vhost the Apache DirectoryIndex directive is edited to set the file onlineservice.html as the new directory index of the site.
Hint!
In this example, an existing configuration file was used. Consider the case that you implement the site with a new configuration file for a vhost that listens to the default HTTP port, which is 80. You can create the configuration with the following commands:
$ cd /etc/apache2/sites-available
$ sudo gedit onlineservice.conf
Enter the following directives and save the file:
Listen 80
<VirtualHost *:80>
ServerAdmin webmaster@localhost
DocumentRoot /var/www/html
DirectoryIndex onlineservice.html
ErrorLog ${APACHE_LOG_DIR}/error.log
CustomLog ${APACHE_LOG_DIR}/access.log combined
</VirtualHost>
Then use the following:
$ sudo a2ensite onlineservice
$ sudo service apache2 force-reload
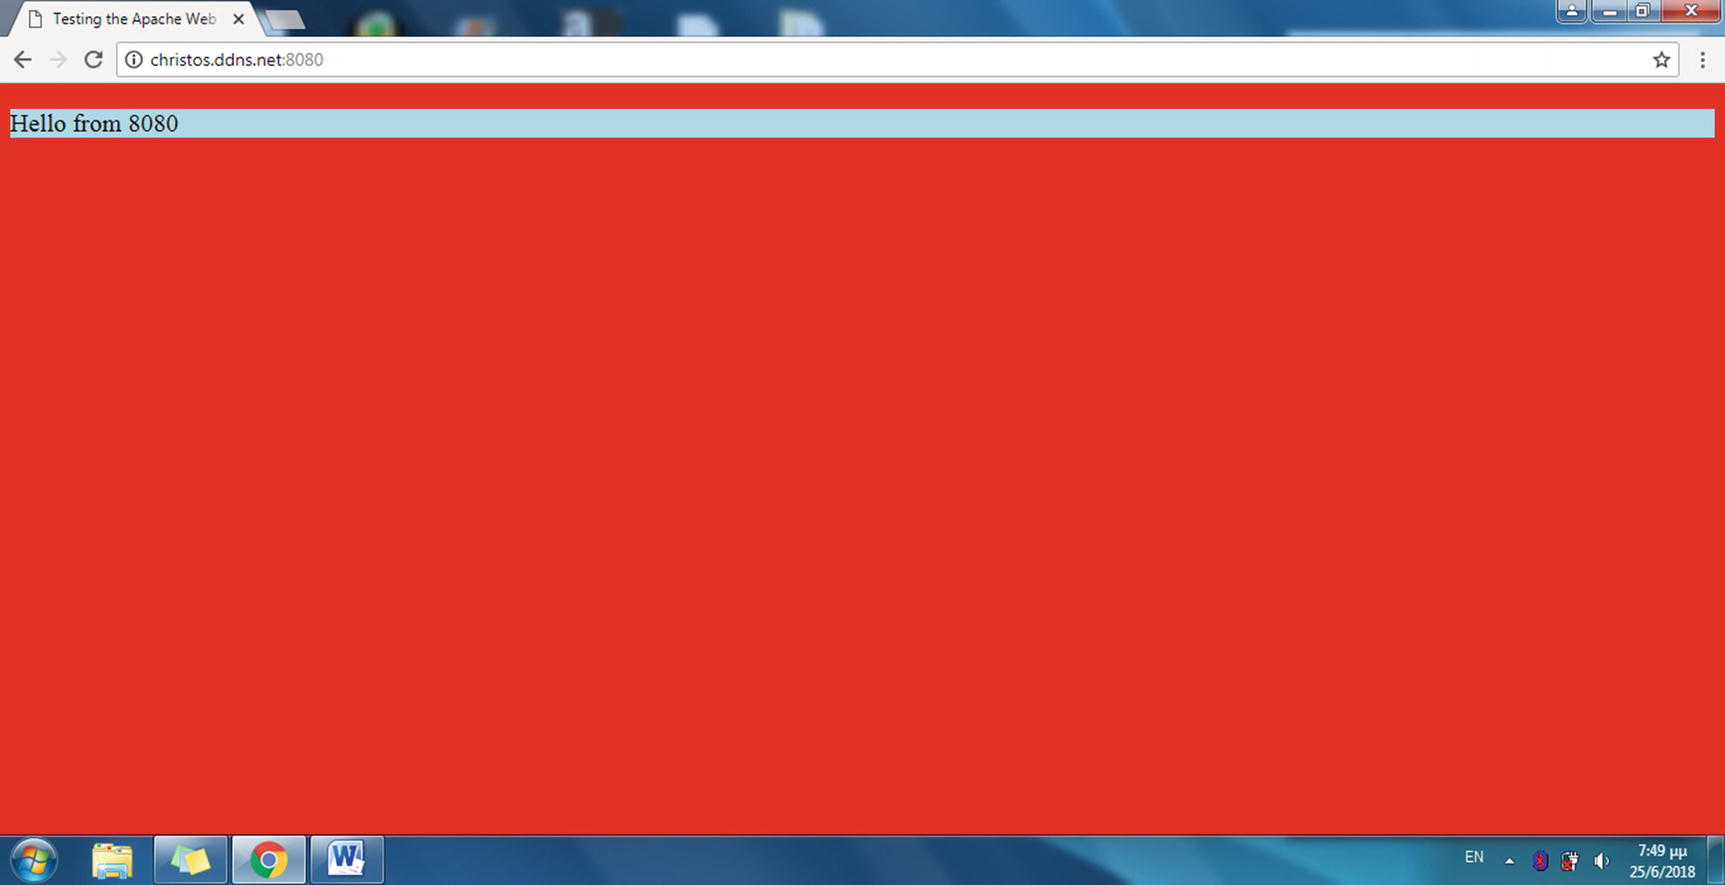
To test the site, you create the first file called onlineservice.html as described in the following section, and you enter the first hostname, christos.ddns.net , in the address bar of the browser. The second one, webtoolsonline.servehttp.com , redirects to christos.ddns.net:8080 , which listens to port 8080 instead of the default port.
The next step is to create the directory index used from the vhost. This is called onlineservice.html and is the web page that contains the form for submitting an IP address.
Editing the Web Page for Submitting the User’s Data

The browser displays onlineservice.html, the directory index of the site
The HTML source code includes a form that implements the method POST for submitting the data and sets the value of the action attribute to result.php. This is the program on the server side that will accept and process the data submitted.
There are two more attributes in the form element, both required for the form validation, which is implemented locally by JavaScript. The name attribute is used by the JavaScript function validate() , which validates the form, to refer to this form. The return value of validate() is set as the value of the fourth attribute of the form, the onsubmit event. Events are actions applied to the web page that JavaScript responds to. The onsubmit event defines the form submission as the exact instant in time that the source code bound to this event will run.
The name attribute of the form is used next to refer to the specific form in the HTML file and then return the value of the user_data textbox to variable f. For the variable f, which is an object of class string, the trim() method removes whitespace from both sides of the string. If the user accidentally enters spaces in the user_data textbox with the IP address, trim() is used so that validate() won’t reject the IP address.
The ipformat regular expression (regex) is used next to check whether the value of variable f matches the pattern of a valid IP address according to ipformat. The details of this regex are explained in the following section.
If a match is not met, the IP address is considered invalid, and validate() returns false. In that case, the form is not submitted, and the user is asked to enter a valid IP address with a pop-up window message, created by alert().
Working with Regular Expressions
A regex usually uses two slash characters, e.g., /abc/, to delimit the search pattern. The caret (^) and the dollar sign ($) anchors match the start and the end, respectively, of the string the regex pattern is applied to.
25[0-5] matches text numbers (in text form) from 250 up to 255.
2[0-4][0-9] matches numbers (in text form) from 200 up to 249.
1[0-9][0-9] matches numbers (in text form) from 100 up to 199.
[1-9][0-9] matches numbers (in text form) from 10 up to 99.
[0-9] matches numbers (in text form) from 0 to 9.
Testing the JavaScript Form Validation
Click the Go button, which submits the IP address to the web server. A web server program to receive the data is not defined yet, but you can still view the warning message the JavaScript creates for an invalid IP address.

Testing the web page using an invalid IP address
Next you will create the action program for the form, result.php, which receives that IP address and uses it with the whois command-line program. But first you can try to run whois from the command line to find out how it outputs data and comments. The latter will be excluded from the output of the PHP program for the WHOIS service.
Running whois from the Command Line
The IP address entered by the user in the textbox of form f1 will be submitted to program result.php on the web server. The PHP engine that processes result.php will run the whois shell utility with this specific IP address as an argument. The output of whois will be entered in the web page the user receives from the echo PHP command.
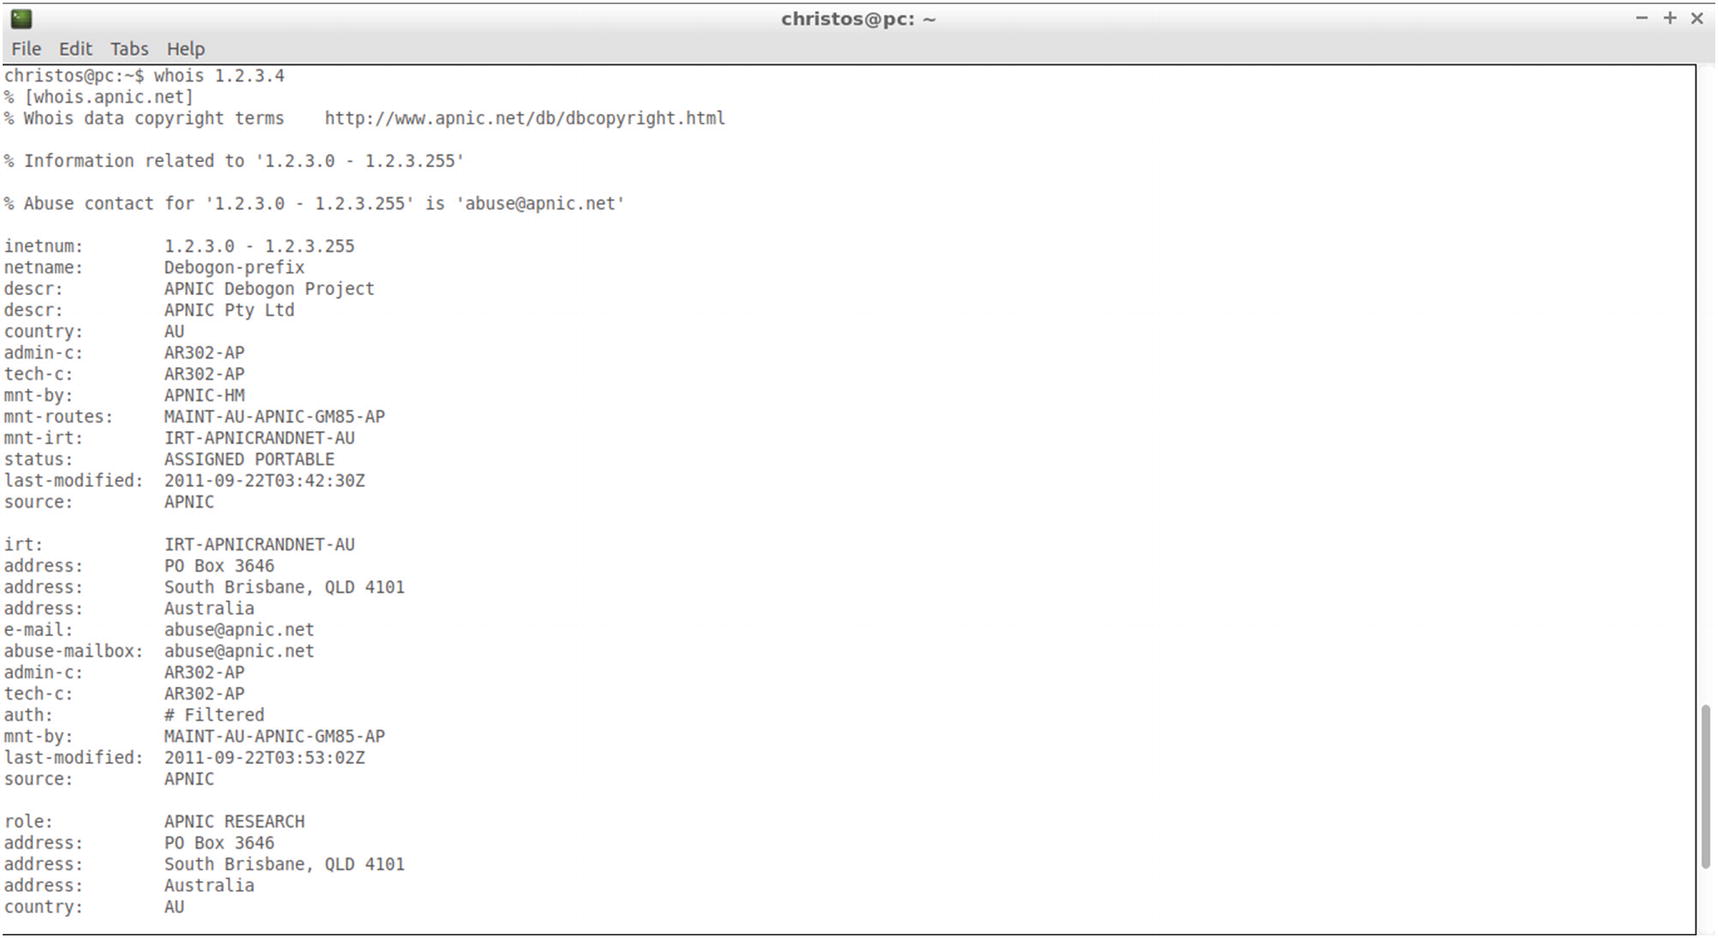
The whois output with percent symbols indicating comments
Notice that some lines include comments starting with the percent (%) symbol. In the evaluated result.php, it is probably a good idea to remove those comments and make the output appear more professional.
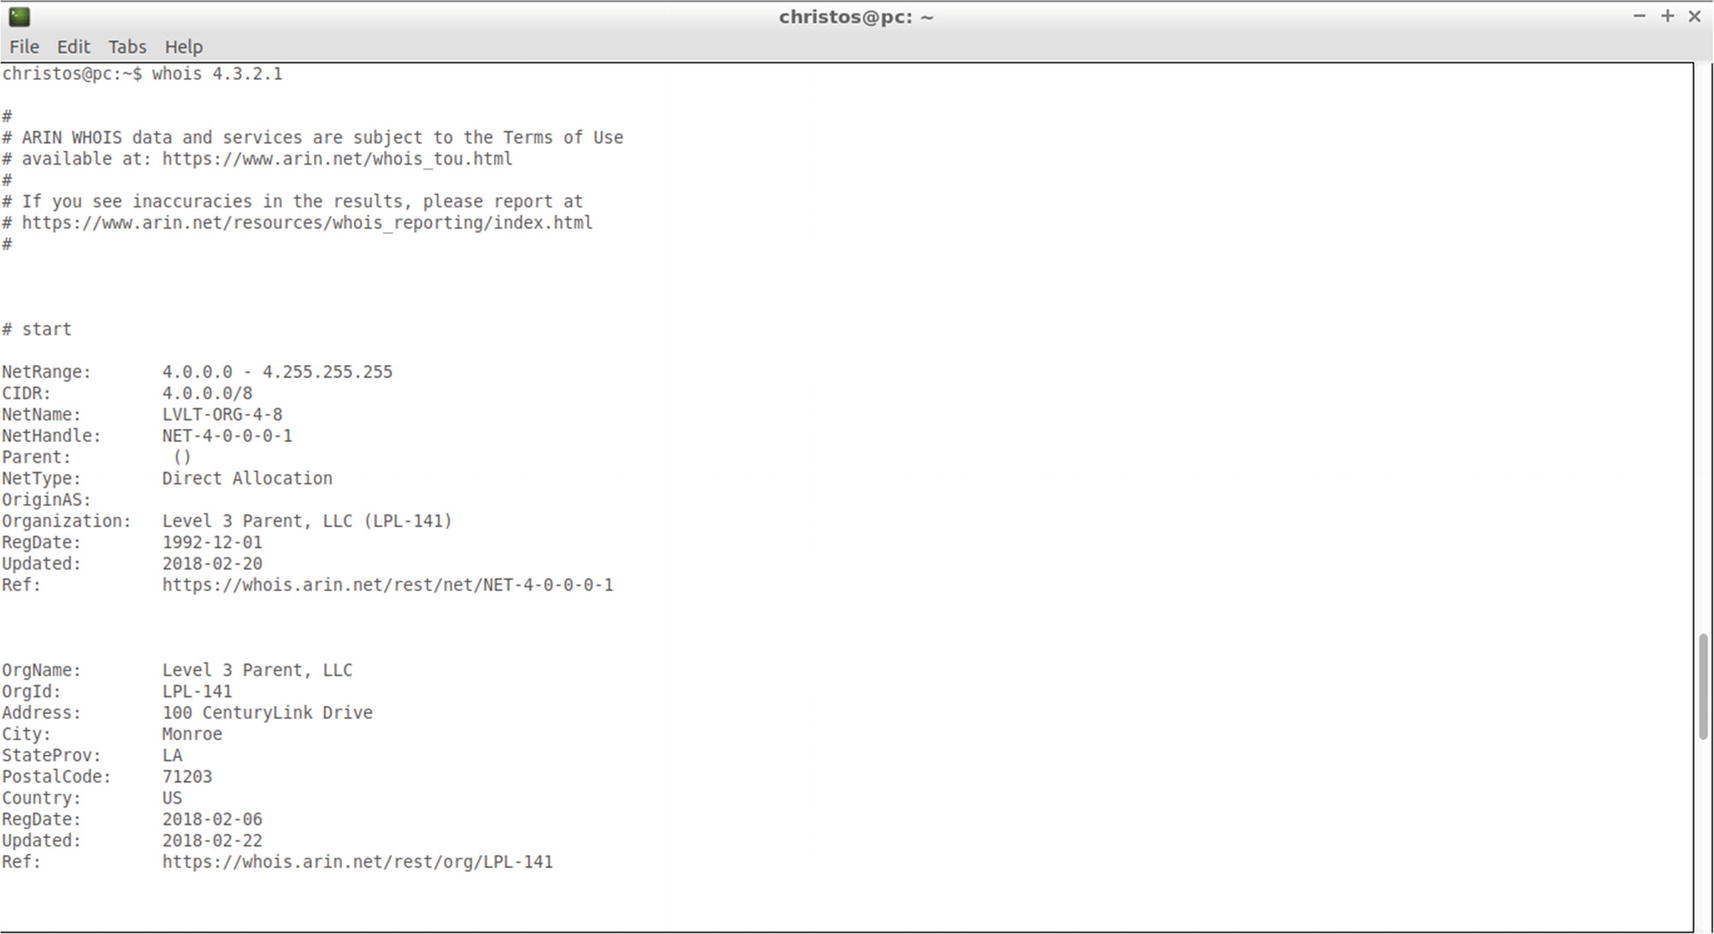
The whois output with hash symbols indicating comments
Notice in this case that the hash symbol is also used to indicate the start of the comments. Now it’s time to create result.php, the program that receives the IP address entered by the user, processes it with the whois command, and returns to the user the output with the comments excluded.
Editing the File That Processes the User Data
You create next result.php in the document root (/var/www/html) of the vhost used.
In the result.php source code, the global PHP variable $_SERVER, set by the PHP engine, includes the element $_SERVER['REMOTE_ADDR'], which holds the visitor’s IP address. This information is not required by the WHOIS service but could be used as additional info for users who view your site.
The variable $exec_string is set to the string that represents the command that will be executed from the terminal at the web server. It is set to whois $user_data. This evaluates to whois <IP address>, where <IP address> is the specific value provided by the user, e.g., 87.202.116.192.
Hint!
To implement a different service, you could change the command assigned as a value to $exec_string. For instance, for the ping service, you could use the following:
$exec_string = "ping –c 3 $user_data";
This sends three ICMP echo messages to the destination IP address and receives the reply. ICMP stands for Internet Control Message Protocol. It is part of the TCP/IP protocol suite and is used for diagnostic purposes.
For this stream, the data wrapper specifies the stream type, and the text/plain target specifies the stream format.
The function trim() is used to remove the characters specified in its second argument. Since in this example no second argument exists, it returns a string stripped of any space, tab, or newline characters at the start and the end of the string. This is the corresponding PHP function to the JavaScript trim() method used previously in file onlineservice.html.
The two strpos() functions receive the returned string and check whether the character at position 0 (first position) is either the percent or the hash character. If this is the case, the command continue executes, and as a result, the while loop proceeds without executing the last two while commands in the current iteration. If the current line starts with the percent or hash character, this line is therefore ignored.
Hint!
To check the result of the functions trim() and strpos() and of other string functions of PHP, use the PHP CLI utility. CLI stands for command-line interface, and if this program is not installed on your system, install it now by using this:
$ sudo apt-get install php7.0-cli
In the current directory, create a PHP file, for instance test.php.
$ gedit test.php
Enter the following code snippet and save the file:
<?php$str = " Hello World!";echo $str;echo " Position of character H: ";echo strpos($str, 'H');echo " ";$str2 = trim($str);echo "$str2";echo " Position of character H: ";echo strpos($str2, 'H');?>
The value of variable $str is prepended with two newline characters ( ), which have the effect of pressing the Enter key of the keyboard, and two tab characters ( ), which have the effect of pressing the Tab key. The first strpos() call returns the position of character H in the string. The return value is 5 because character H is in the sixth position, which is position 5 starting counting from 0. Next, trim() is used to strip the tab and newline characters at the start of the string. The second strpos() therefore returns 0 because now H is the first character.
To run the program, use the following:
$ php test.php
The output in the Linux terminal is as follows:
christos@pc:~$ php test.php Hello World!Position of character H: 5Hello World!Position of character H: 0
All not-commented lines are thus included in the output generated by the PHP engine and returned to the user from the web server.
Testing the WHOIS Online Service
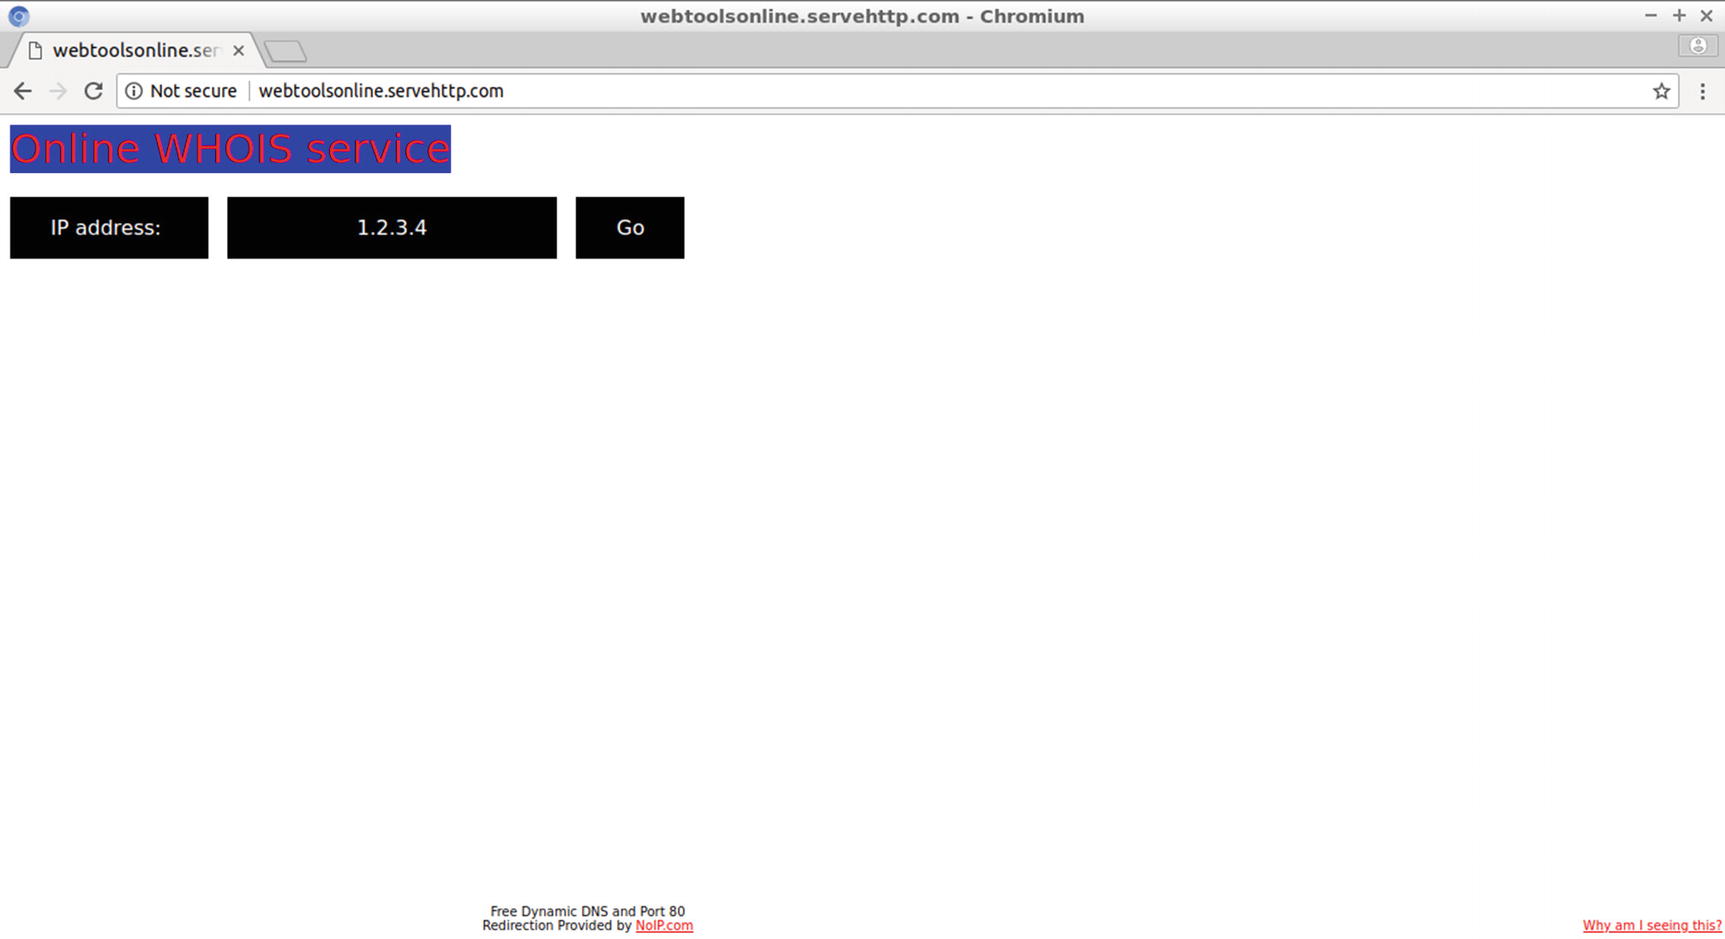
Testing a valid IP address with the online service
Click the Go button to submit the IP address to the web server.
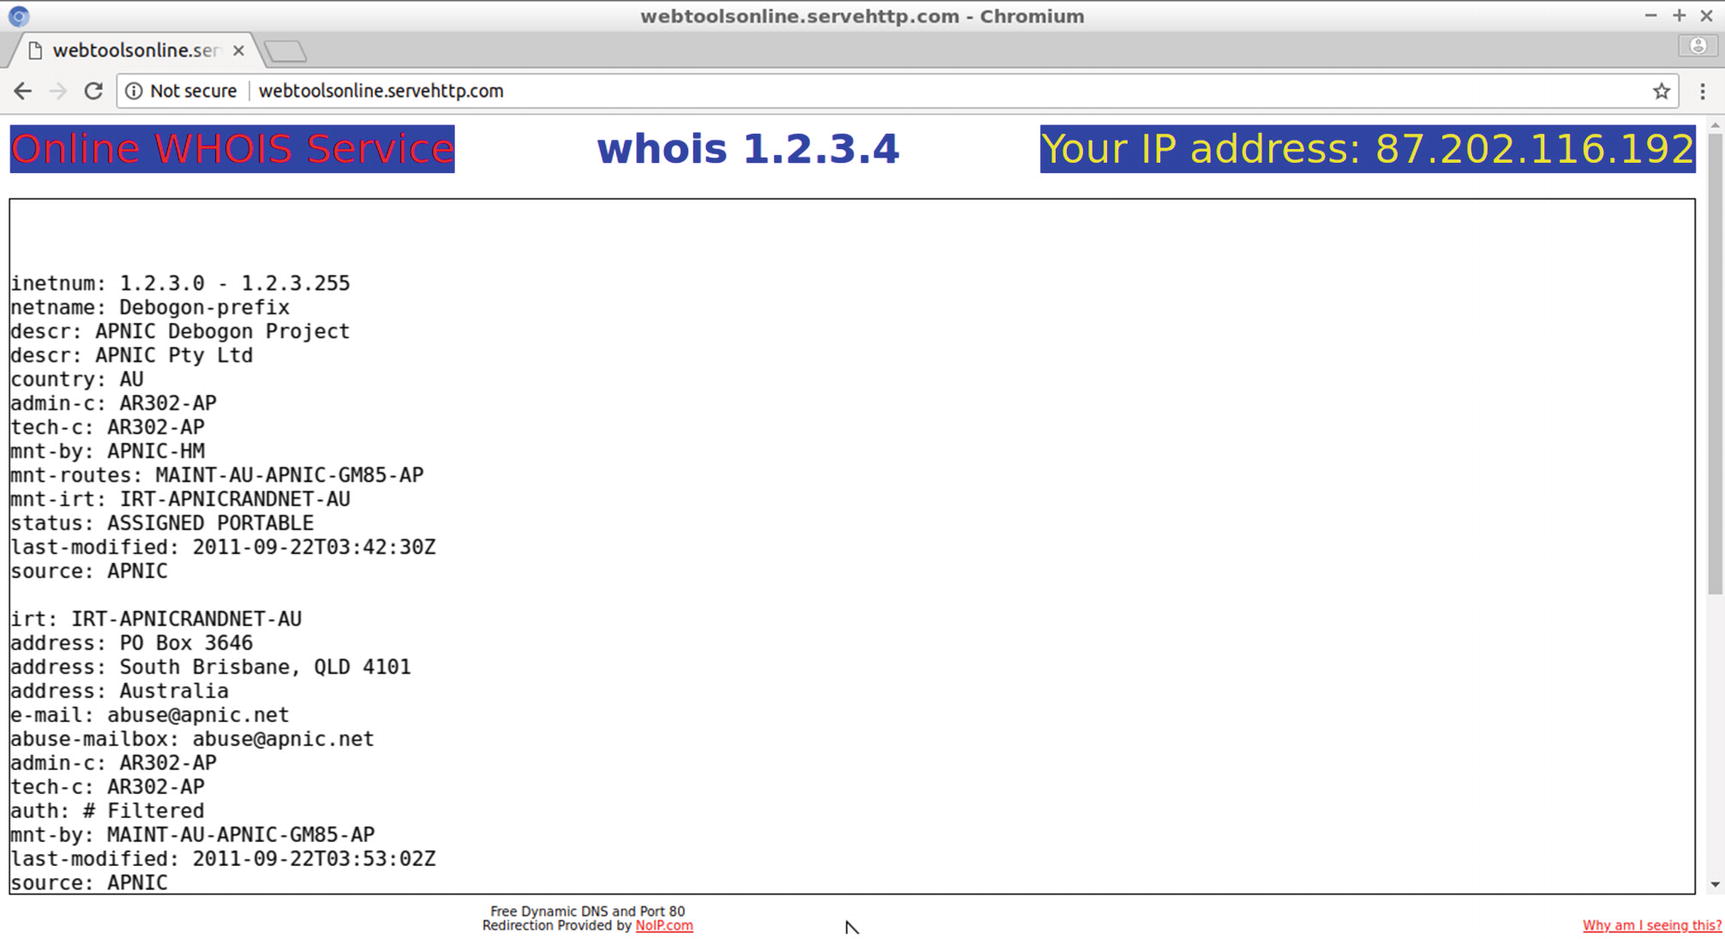
The online WHOIS service output
You will notice that the style of this web page resembles the Linux terminal. At the top of the web page, the message whois 1.2.3.4 appears in the center, and the public IP address of the client is displayed on the right. The output differs from the whois terminal command because it lacks comment lines.
In the next section, you can add a favicon image to the web site to make the site instantly recognizable.
Adding a Favorite Icon to the Site
A favorite icon, referred as a favicon in its filename, is the tiny icon you see on the left of your browser tab when a web page loads. It makes a site recognizable because you can easily locate it when lots of tabs are open in the browser. Even before the web page loads, the favicon icon appears in the address bar of the browser, next to the address, which is completed with the autofill feature. This ensures that the address you are about to enter is the correct one. Favicons appear also in the bookmark list, where the URLs of your favorite sites are saved.

Setting the dimensions of the favicon icon to 16x16 pixels
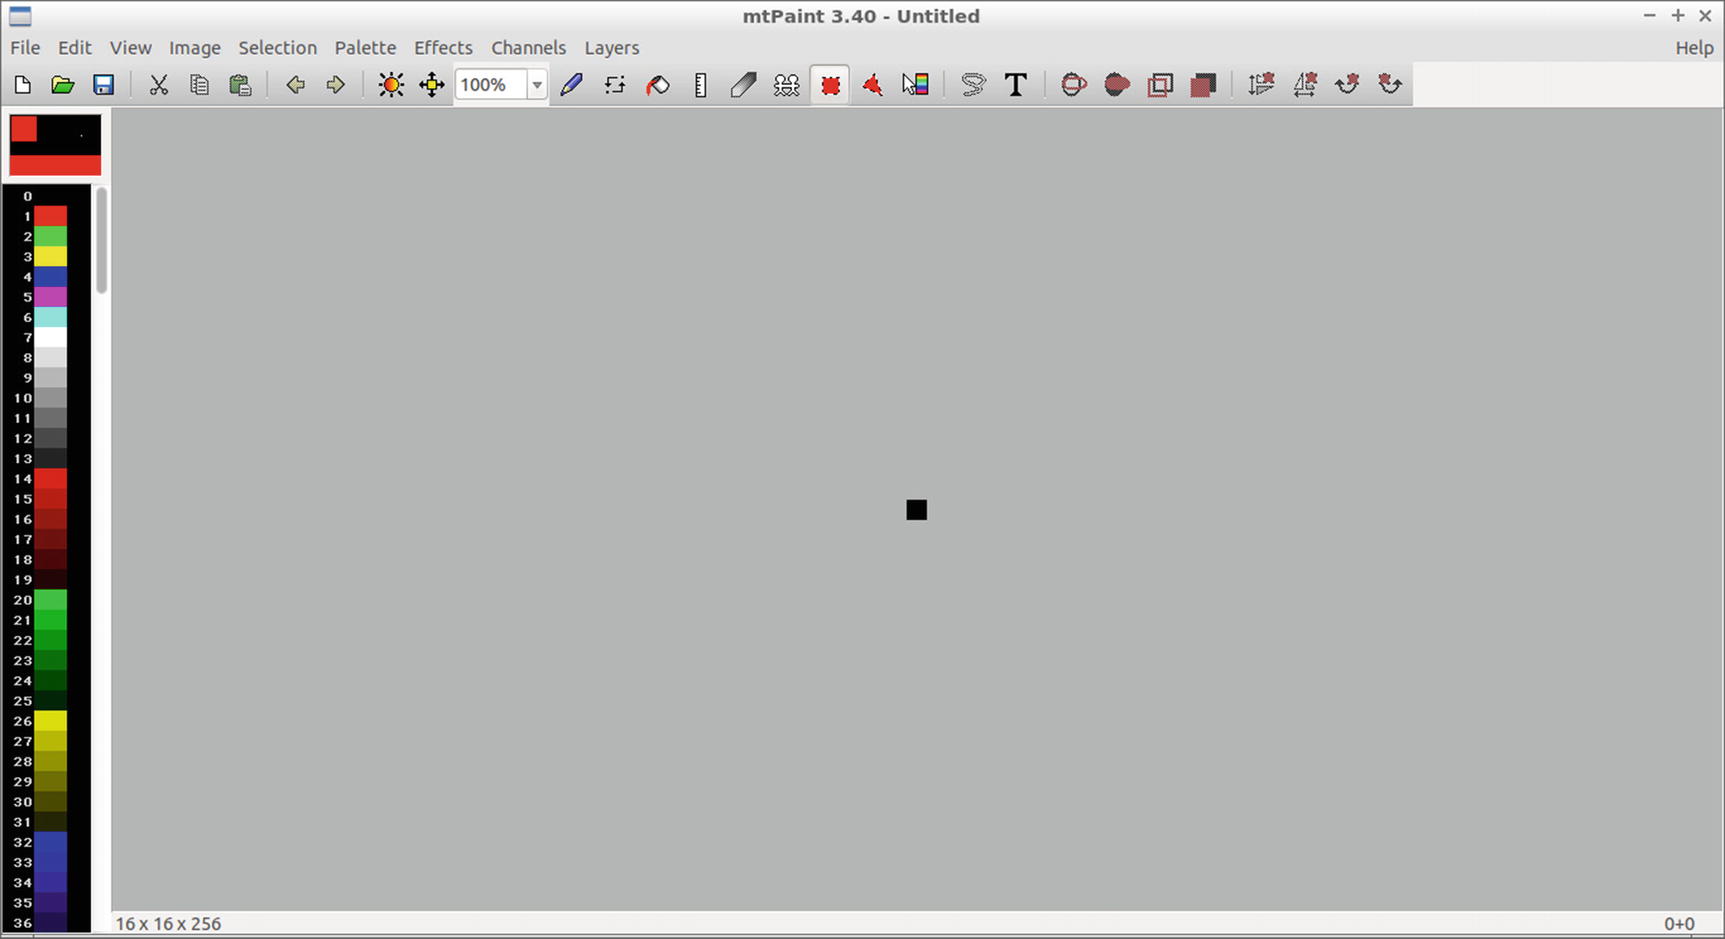
The tiny favicon image with a 16×16 pixel size
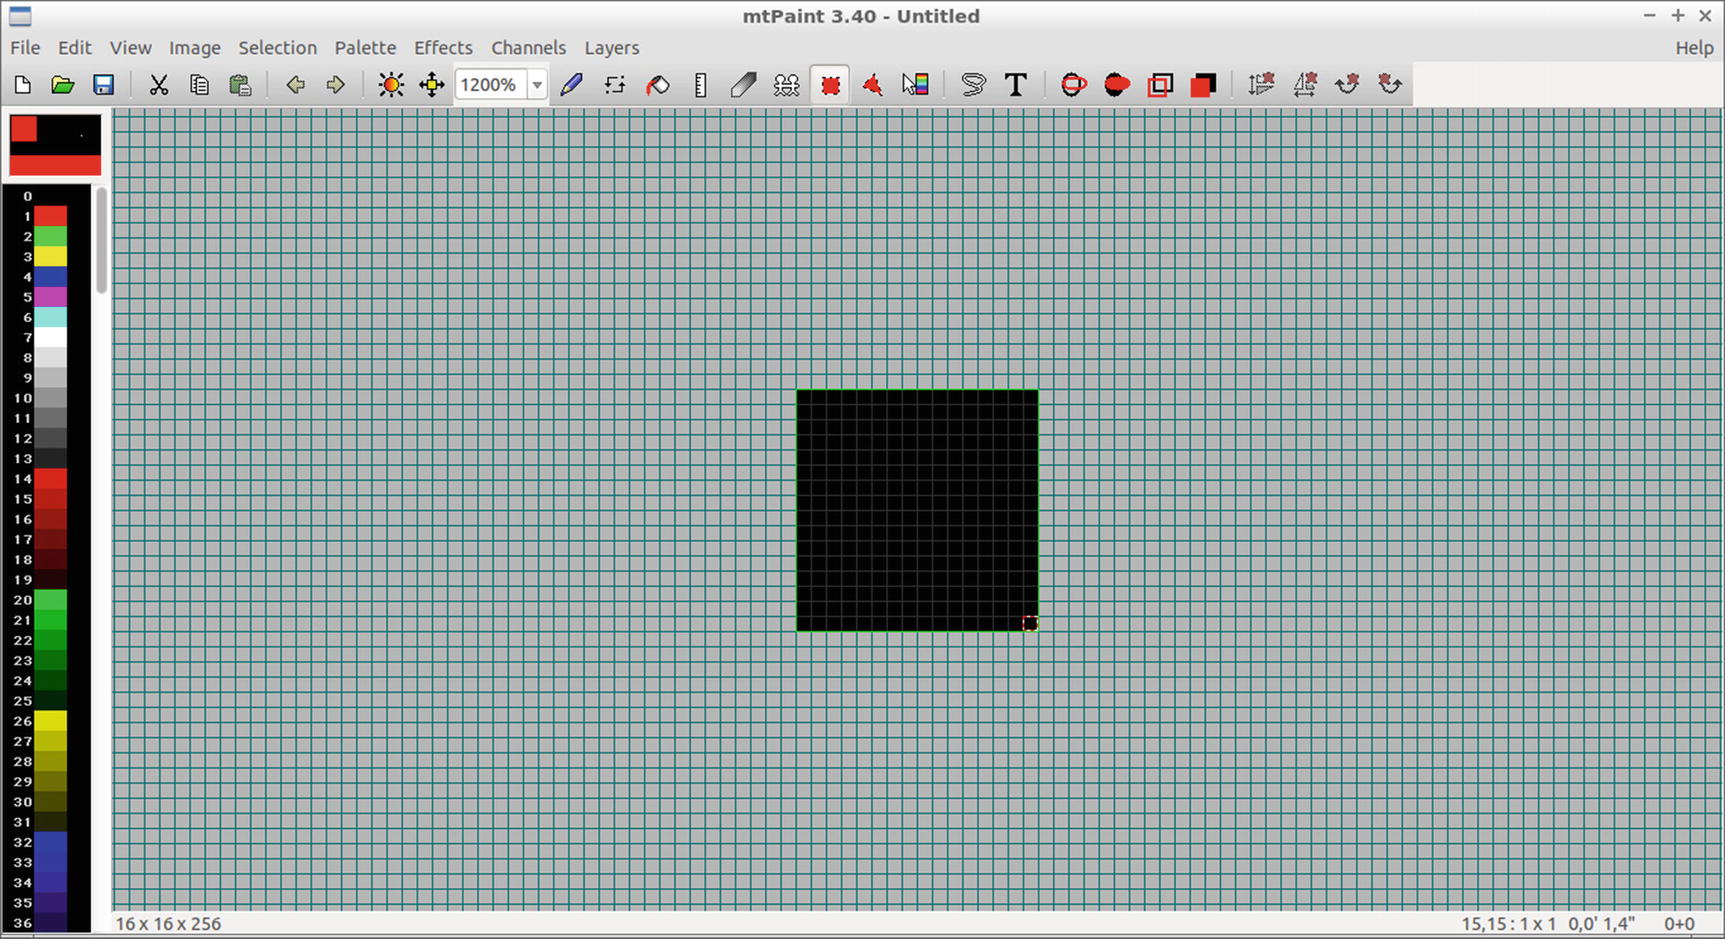
Zooming in on the image for detailed drawing

The favicon image completed
From the File menu, choose Save As to save the image to one of your directories, e.g., Pictures, and in the dialog that appears, provide the Pictures file path and favicon file name. Select also PNG as the image format in the File Format list and click the OK button .

The site’s home page includes a favicon image on the browser’s tab

The home page of the site loads with the default favicon image

The web page result.php uses a different favicon image
You can create a favicon icon in a few steps to provide an image that personalizes your site and even become the motivation for an inspired logo for the web content of the site .
Summary
You used the DDNS service to provide a user-friendly domain name to your site.
You created a web project with an online web service, specifically WHOIS.
You created a favicon.ico image for your site.
In the next chapter, the source code of another web service is displayed, which creates a site that allows web server administrators and web designers find how their site looks from a remote location. But first you are introduced to another popular open source web server, the Lighttpd server.