Most of the web browsers used today have the same common features; therefore, it’s easy for users to make the transition from using one browser to another. This is an advantage that it is not found on the server side. Web servers are specialized programs, not expected to be used by the average user. Therefore, the graphical user interface (GUI), if the web server is supplied with one, or the commands used at the terminal for configuring and running the server may be completely different from one server to another. In this chapter, you will have the chance to use another open source web server, Lighttpd (called “Lighty”). You will run the server and identify characteristics that you used previously in Apache, like the document root and the virtual servers. Experimenting with a second server will make it easier for you to transition to a third one.
You will then use Lighttpd with PHP to create your next online web service, which will simulate a web service like webpagetest.org that tests the appearance of your site remotely; you used webpagetest.org in Chapter 3.
Installing Lighttpd
Running two web servers at the same time is possible but not recommended because if the servers are not carefully configured (for instance, bound to different port numbers), this might lead to conflicts and unpredictable results. To stop the apache2 process and leave the field free for Lighttpd, use the following:
$ sudo service apache2 stop
This stops Apache until you shut down and reboot your computer. To avoid restarting the Apache process the next time your computer starts, use the following:
$ sudo systemctl disable apache2
You don’t have to worry about your saved work so far—all the files saved in the document root directory (e.g., /var/www/html) remain there.
To install Lighttpd from the terminal, use the following commands:
$ sudo apt-get update
$ sudo apt-get install lighttpd
Testing Lighttpd
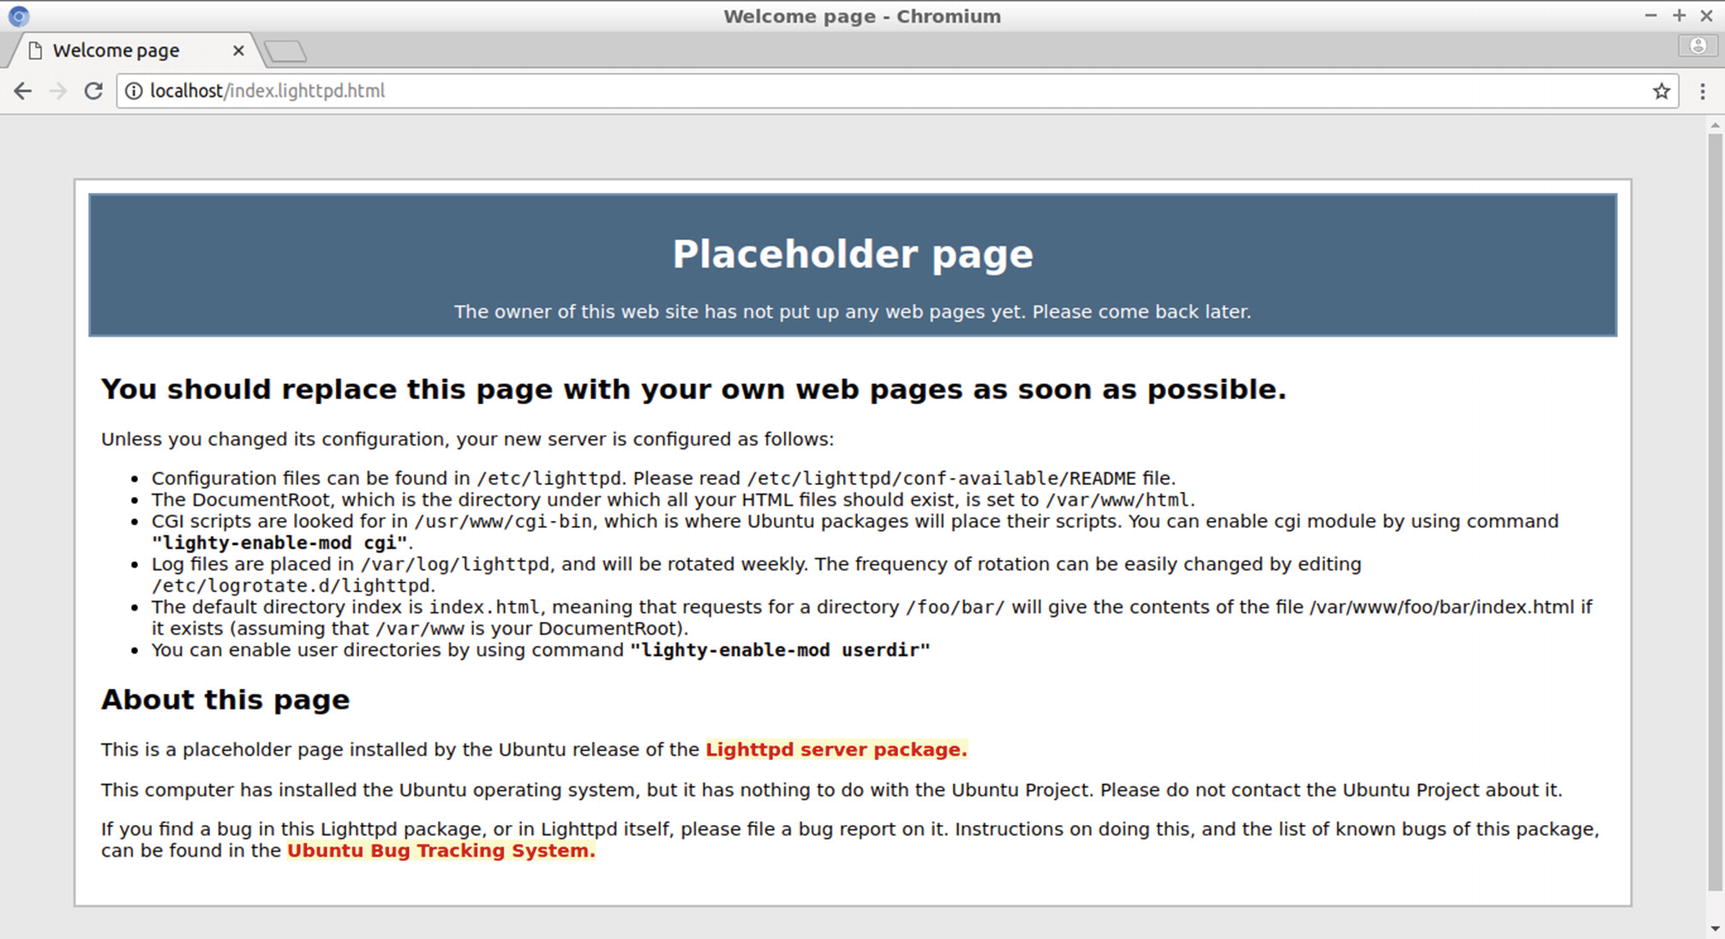
The default document root for Lighttpd is /var/www/html, which is the same directory as with Apache’s document root. Notice that for some Ubuntu distributions the default document root is /var/www. You can change the default document root from the Lighttpd configuration file, as discussed in the following section. A directory index with the name index.lighttpd.html was already created in the document root. Enter this file in your browser’s address bar using the default loopback address, 127.0.0.1, or the corresponding hostname localhost, as shown here:
localhost/index.lighttpd.html
Although index.lighttpd.html is a directory index, including the file name in the URL path is required because this is the third directory index name included in the configuration file, discussed in the following section. The files index.php and index.html, included first in the list, take precedence and are displayed instead.
The web page index.lighttpd.html is the test page for the Lighttpd web server. As shown in Figure 5-1, it provides information about the basic Lighttpd configuration.
Figure 5-1
The test page of the Lighttpd web server
If you see a file with the name index.html, created when using Apache, in the document root, rename it as follows:
$ sudo mv index.html index.htmlOLD
Create a new directory index for the Lighttpd server in the document root index.html.
$ cd /var/www/html
$ sudo gedit index.html
Enter a simple HTML source code, like the following, and save the file:
<!DOCTYPE html>
<html>
<head>
</head>
<body>
Hello World!
</body>
</html>
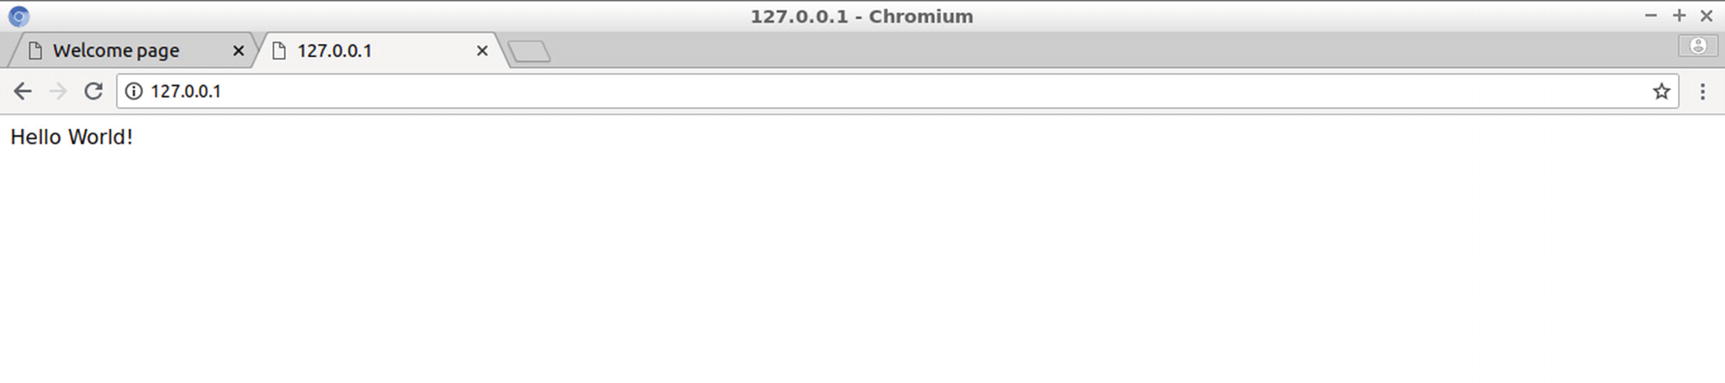
Then test your new directory index using the localhost hostname or the IP address 127.0.0.1 in the browser’s address bar. Figure 5-2 displays the directory index dispatched by Lighttpd.
Figure 5-2
The directory index viewed from a browser locally
Try also to use in the URL the private IP address of the web server, which is 192.168.1.100 for the examples used in this text.
Figure 5-3 displays the directory index viewed from another computer in the same LAN with the web server.
Figure 5-3
The directory index viewed from a browser on another computer in the web server LAN
To view the web page from outside the local LAN, you have to use either the public IP address of the router or one of the fully qualified domain names obtained in Chapter 4. In the following section, you will make the required changes to the Lighttpd configuration file to test your web server externally from your LAN.
Working in the Lighttpd Configuration File
The Lighttpd configuration file is lighttpd.conf, located in the directory /etc/lighttpd.
Before starting to modify the configuration file, make a copy of the original one with the following commands:
$ cd /etc/lighttpd/
$ sudo cp lighttpd.conf lighttpd.conf.bak
Edit lighttpd.conf with a text editor, for instance gedit.
The Lighttpd directives follow object-oriented programming principles. The first part is the object that is referred to, and then after a dot the specific attribute of this object is indicated. The attribute is then assigned a value using the equal (=) sign.
At the start of the configuration file, you will see the server.modules directive, which is a list with the modules of the web server to be loaded. Other directives follow. Here are some examples:
server.errorlog, the location of the error log file.
server.pid-file, the file that stores the process ID (PID) of the Lighttpd server. This is the PID that you can find using the command ps xa | grep lighttpd.
server.username, the username of the user the Lighttpd server assumes.
server-groupname, the group the Lighttpd user belongs to.
server.document-root, which defines the document root.
Applying a Basic Configuration
If in your Lighttpd version the document root directive (server.document-root) is set to /var/www, you can change this to /var/www/html so you can test the book’s sites from both Lighttpd and Apache without modification.
If you use the default HTTP port number (80) for your server, you can use the server’s configuration file as is. If, on the other hand, your ISP blocks the inbound port 80 and you utilize another port, e.g., 8080, or if you plan to implement the HTTPS protocol (more about this in Chapter 8) that uses port 443, you can change the default server.port value.
server.port = 80
In the previous section, you viewed the directory index index.lighttpd.html. This is included third in the directory’s indexes list, indicated by the index-file.names directive.
This directive assigns the list of files used as directory indexes for the web server. From this directive, you can change the order of the filenames used. To enable any changes in the configuration file, click the Save button in the gedit window and reload the web server as follows:
$ sudo service lighttpd force-reload
With the configuration file updated and the Linux firewall already set from Chapter 1, you can connect to the web server from any location on the Internet. Use the public IP address of your router in your browser’s address bar. This time retrieve your external IP address by using the following command:
$ curl ifconfig.co
The output in this example is:
87.202.116.97
You can also use a fully qualified domain name, like the ones created in Chapter 4, in the URL of your site. Here’s an example:
webtoolsonline.servehttp.com
Hint!
To ensure that your site runs as expected from any Internet-connected computer, you have to test the web server externally from your LAN, by using your mobile Internet connection or an online web service like webpagetest.org. Actually, the web project you will develop in this chapter creates a similar web service.
Binding to a Specific IP Address or Hostname
With the bind directive, you can restrict the server to a specific IP address or hostname, where the web server listens for client requests, for instance:
server.bind = "87.202.116.97"
87.202.116.97 is the public IP address of the router used in this example. To implement this directive, insert the previous directive in the configuration file, save the file, and reload the server using the following:
$ sudo service lighttpd force-reload
In the following example, it is assumed that the server listens on port 8080. Use the following IP address and port number combination in the browser’s address bar:
87.202.116.97:8080
The web page is loaded as usual. Use the following IP address and port number combination:
127.0.0.1:8080
The web page does not load anymore. Comment out the previous directive in the configuration file by prepending it with the hash symbol.
#server.bind = "87.202.116.97"
Next enable the new configuration.
$ sudo service lighttpd force-reload
Use the IP address and port number combination one more time in the browser’s address bar.
127.0.0.1:8080
The web page loads again normally.
You can also test the server.bind directive with domain names. One of the two domain names created in Chapter 4 is the following:
christos.ddns.net
To bind the web server to this domain name, uncomment the server.bind directive and replace the IP address in its value with the FQDN christos.ddns.net.
server.bind = "christos.ddns.net"
Save the configuration file and reload the server using this command:
$ sudo service lighttpd force-reload
Test the domain name from the browser. Using christos.ddns.net, it loads as usual. If you try the public IP address of the router, e.g., 87.202.116.97, in the address bar, you’ll see it does not load anymore. Comment out the server.bind directive and reload the server to bring its configuration to the previous state.
Changing the Document Root
The default document root as set in the configuration file is /var/www/html. Try to set another one, for instance /var/www/html2. First you have to create the new html2 directory in www.
$ sudo mkdir /var/www/html2
Create a new directory index called index.html in html2.
$ sudo gedit /var/www/html2/index.html
Enter the following source code and save the file:
<!DOCTYPE html>
<html>
<head>
</head>
<body>
This is file /var/www/html2/index.html
</body>
</html>
Next edit the configuration file.
$ sudo gedit /etc/lighttpd/lighttpd.conf
Change the value of the server.document-root directive from /var/www/html to /var/www/html2. Save the file and reload the server.
$ sudo service lighttpd force-reload
Test locally the new document root using the port the server listens on, either the following:
localhost
or the following:
localhost:8080
The new web page is loaded.
Restore the document root to /var/www/html to set the web server to the previous state.
Enabling and Disabling the Directory Listing
To allow the user to view the contents of a directory, when no directory index is present in this directory, you can set the dir-listing.activate directive. By default the directory listing is disabled. To test this, create directory dir1 under the document root, and inside dir1 create two files, for instance file1 and file2, using the following commands at the terminal:
$ sudo gedit mkdir /var/www/html/dir1
$ cd /var/www/html/dir1
$ sudo touch file1 file2
Enter the following URL in your browser address bar:
localhost/dir1
or if you utilize port 8080:
localhost:8080/dir1
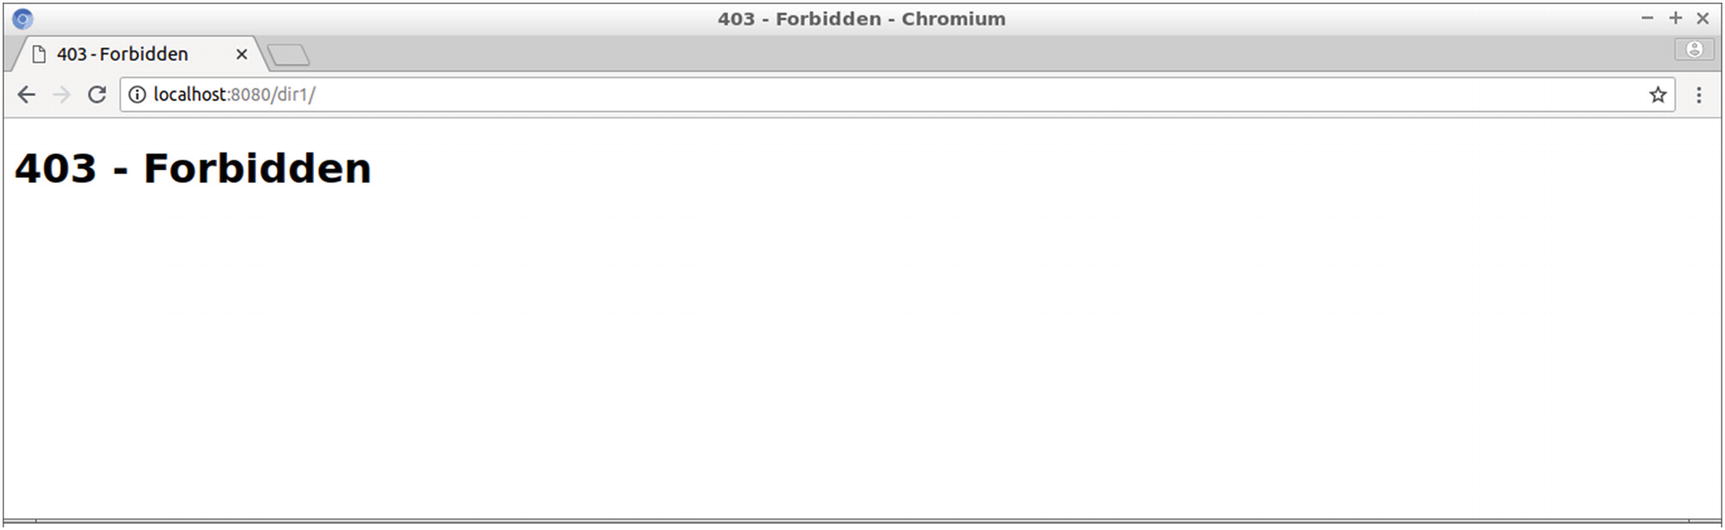
A web page with the HTTP error message 403 appears, as displayed in Figure 5-4.
Figure 5-4
The HTTP 403 error status code displayed using the URL of a directory with no directory index and the directory listing disabled
Open the configuration file for editing.
$ sudo gedit /etc/lighttpd/lighttpd.conf
Enter the following line:
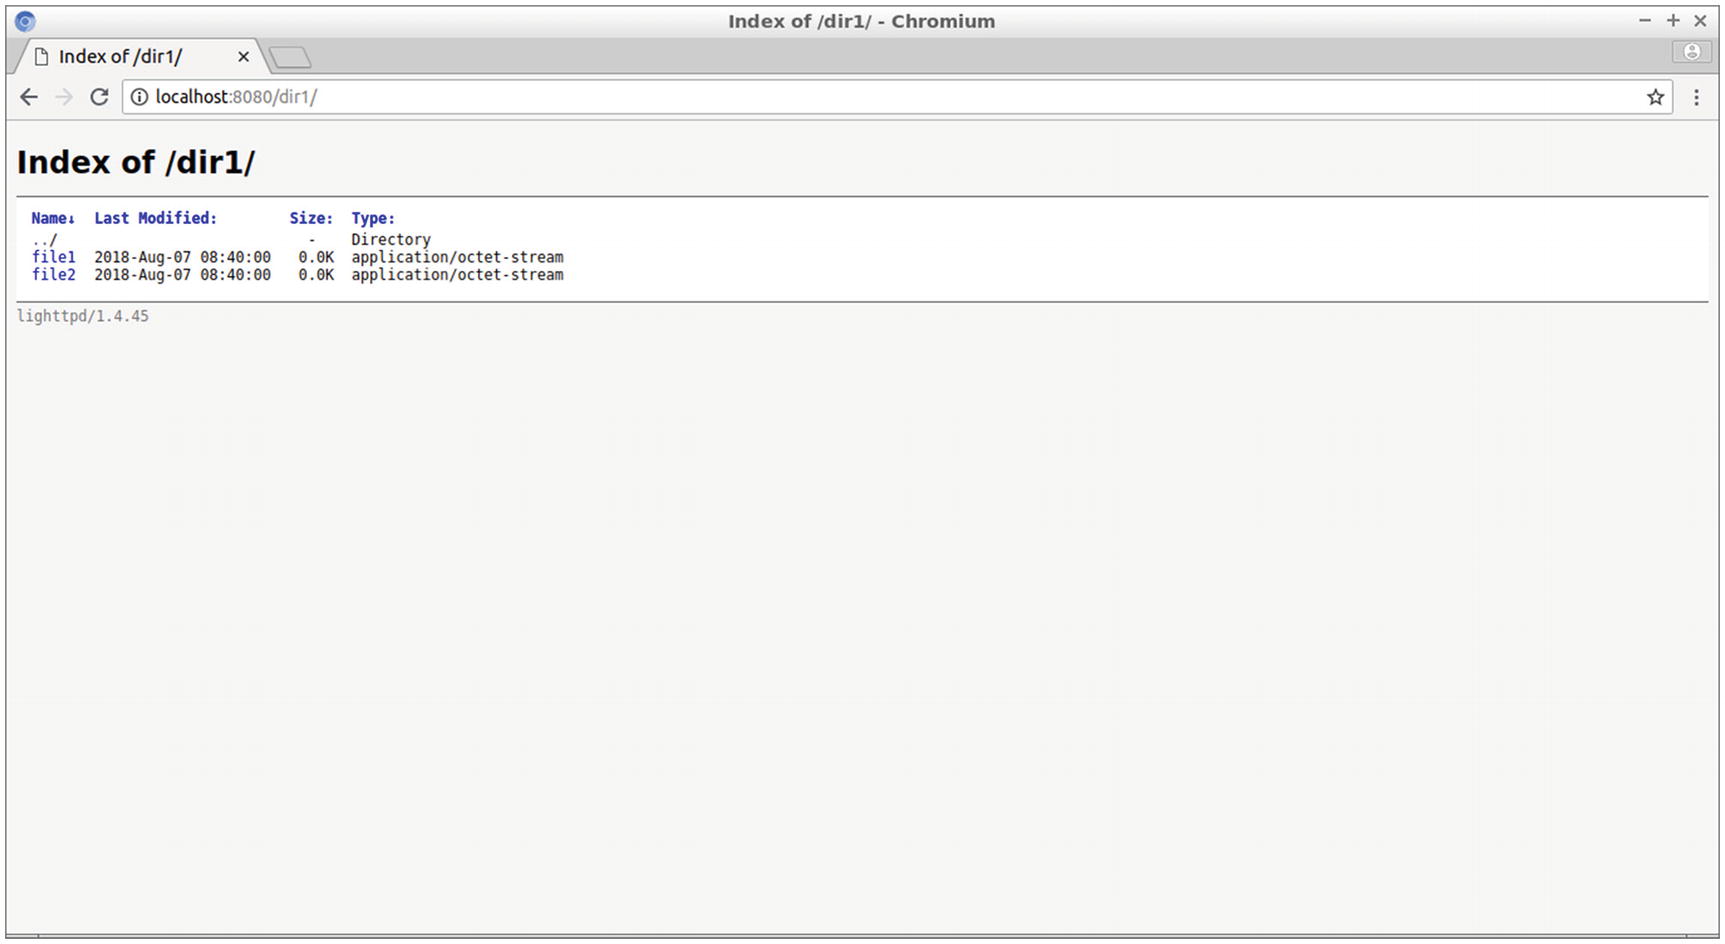
dir-listing.activate = "enable"
Save the configuration file and reload the server.
$ sudo service lighttpd force-reload
Figure 5-5 shows the directory contents, and the users can download the files included in this directory by clicking the file names.
Figure 5-5
The directory contents listed using the URL of a directory lacking a directory index when the directory listing is enabled
To restore the dir-listing.activate directive, switch its value in the configuration file from enable to disable, save the configuration file, and reload the web server.
Sending Custom-Made Error Replies to the Client
In the previous section, the web server sends the default message for the HTTP error status code 403. This is the message:
403 – Forbidden
To customize the content of the error message, open the configuration file for editing.
$ sudo gedit /etc/lighttpd/lighttpd.conf
With the following line, set the server.errorfile-prefix directive and save the file:
Here, the –p option creates parent directories (www in this case).
Create next in the errors directory your customized status code web pages with the format:<errorfile-prefix><status-code>.html
<errorfile-prefix> is the value of the server.errorfile-prefix directive, and <status-code> is the specific error status code. For instance, for the HTTP error status code 403, create the file /srv/www/errors/status-403.html.
With the dir-listing.activate directive disabled, you can test the customized error page by using the URL of the directory dir1, created previously. Here’s an example:
The custom error page for the 403 HTTP error status code
Accessing the Lighttpd Log Files
Create and use Lighttpd log files to collect information about the visitors of your site. For instance, create a file called access.log in the /var/log/lighttpd/ directory with the following command:
$ sudo touch /var/log/lighttpd/access.log
Using the chown command, I set the owner of the file access.log to the Lighttpd process using the chown command. At this command I use: www-data:www-data the first www-data is the username, the Lighttpd process assumes the second www-data is the group this user belongs.
Include mod_accesslog in the group of modules to be loaded. It should appear after mod_alias since the order of the modules is the order they will be executed in. Include also the accesslog.filename directive to set the file name and path of the log file.
Reload the server to enable the changes in the configuration file.
$ sudo service lighttpd force-reload
To test the access.log file, first do a local client request, e.g., using localhost:8080 from a browser on the web server, and then do another request from any other computer, external to your LAN. Probably the nearest computer is your mobile phone. Figure 5-7 displays a connection to webtoolsonline.servehttp.com/index.html from a Samsung Galaxy S3 using the Google Chrome browser.
Figure 5-7
Connecting from a mobile phone to test access.log
Read the contents of access.log using the following commands:
$ sudo su
# cat /var/log/lighttpd/access.log
The output from the previous commands in this example is as follows:
The first recording provides details for the local connection, issued from the web server computer, while the second provides details for the remote connection, issued from the mobile phone.
Using Virtual Hosts with Lighttpd
In Chapter 1 you used IP-based, port number–based, and name-based virtual hosts with Apache. Those features are also available with Lighttpd. The names used in the name-based Apache virtual host tests were hostnames, like myserver.com, that used only locally on the web server. In Chapter 4, you created FQDN hostnames like christos.ddns.net and webtoolsonline.servehttp.com that could be used universally, throughout the Internet. Next you can apply those DNS names to create two virtual hosts that run simultaneously on the web server, with each one dedicated to a completely different site. The names created in Chapter 4 are actually not different because with the DDNS configuration, the name webtoolsonline.servehttp.com redirects to christos.ddns.net.
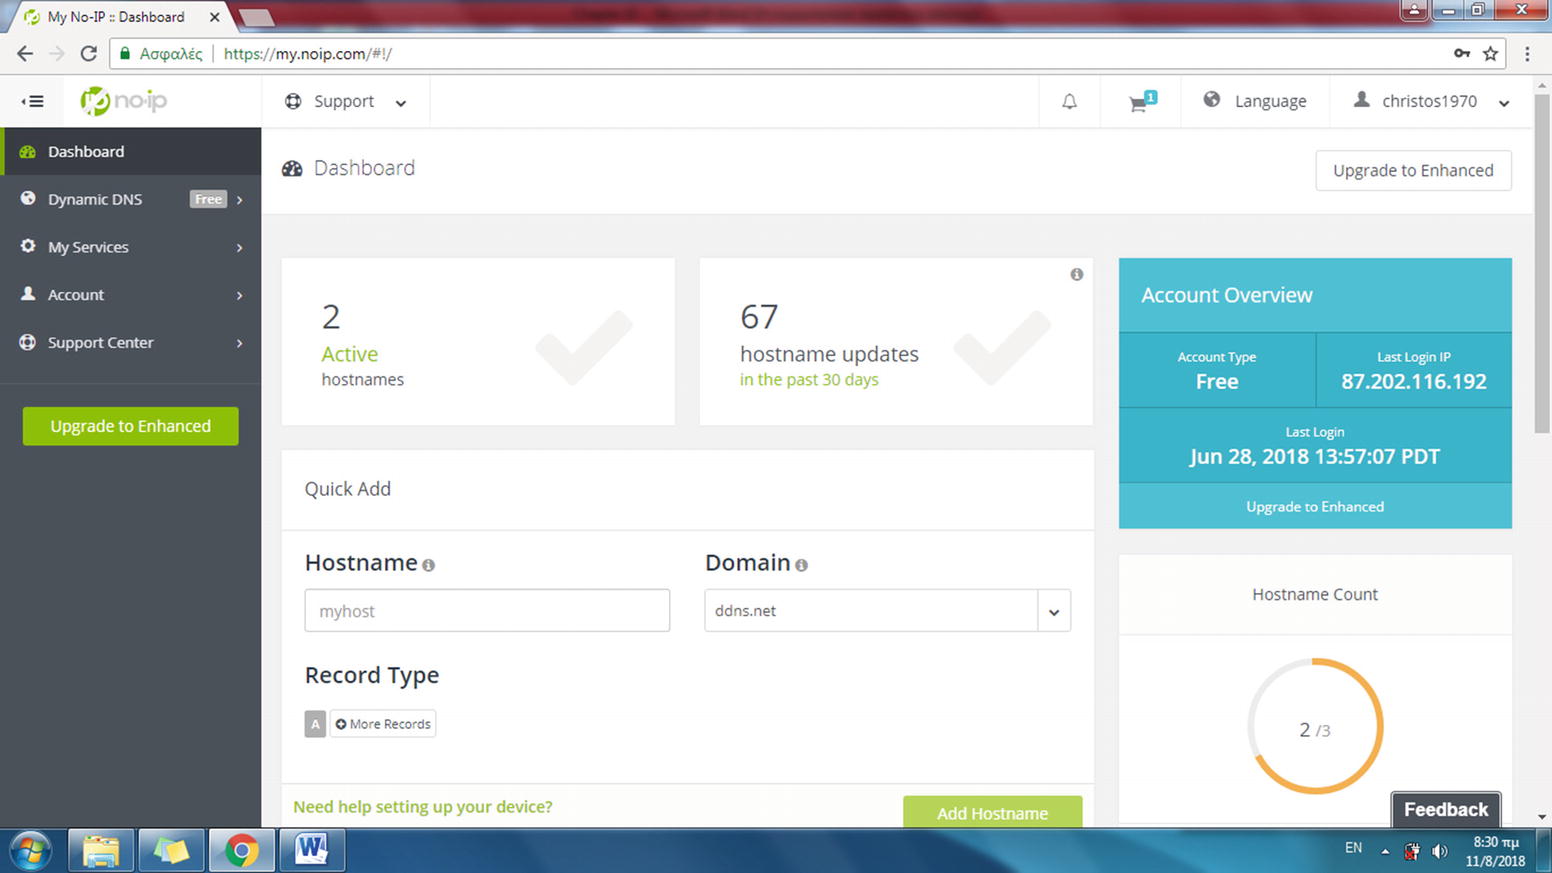
This is your chance to create a third DDNS name using the steps for creating the other two. You can use the third name for the first one of the two virtual hosts. Log in to the DDNS server provider’s web page, which is https://www.noip.com for the examples used in the book. Figure 5-8 shows the Dashboard web page.
Figure 5-8
The Dashboard web page of no-IP
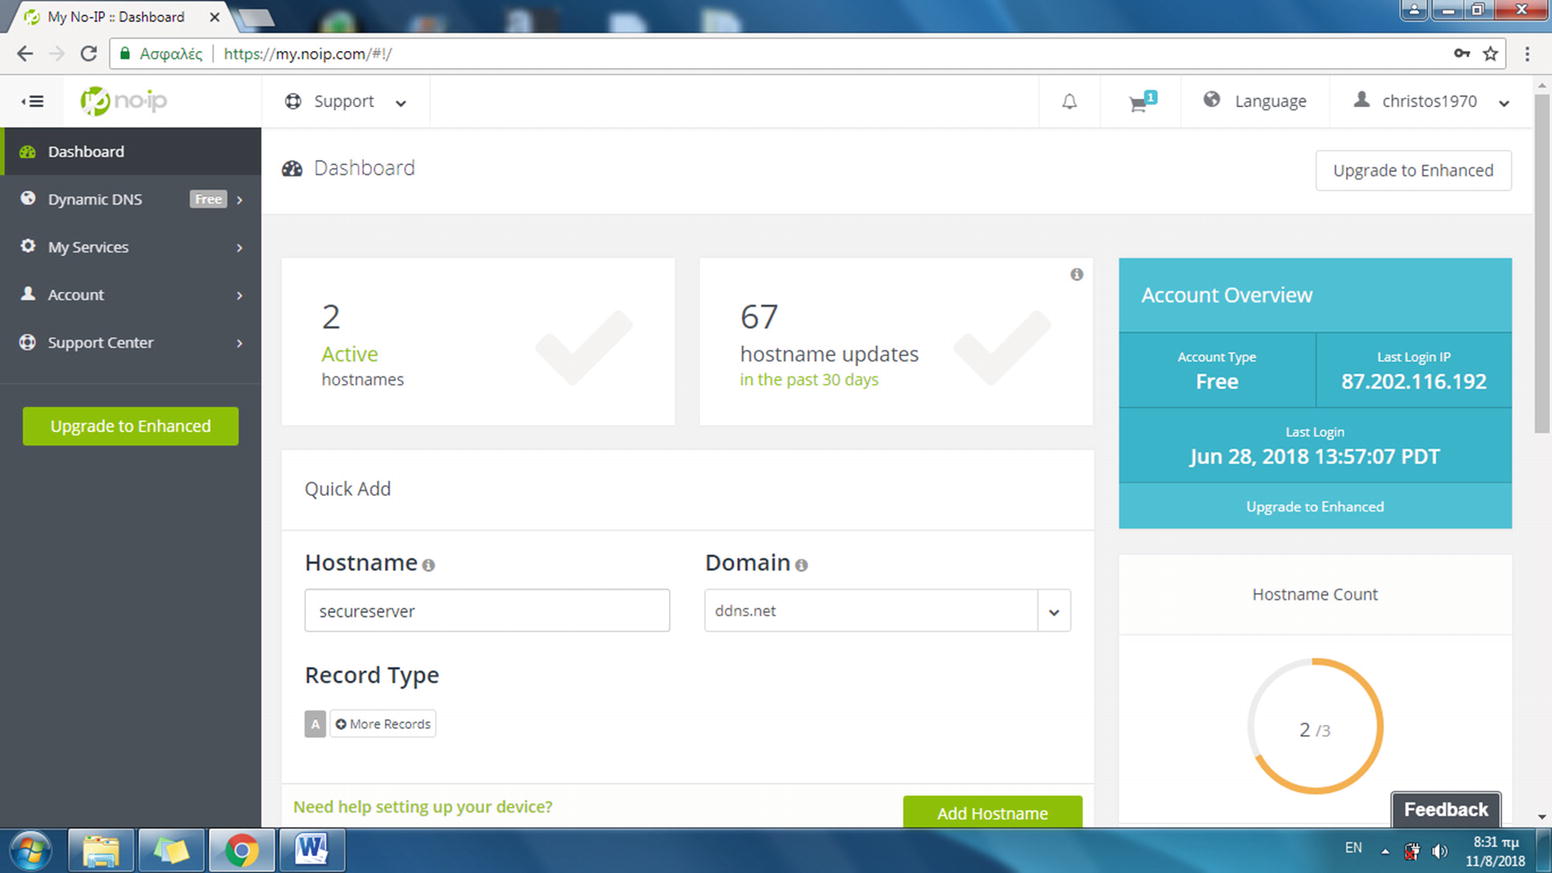
Enter the name of a server that is available in the Hostname field, for instance secureserver. In the Domain drop-down list, select a second-level domain name, e.g., ddns.net, as shown in Figure 5-9.
Figure 5-9
The Dashboard web page with the user settings for creating a new hostname
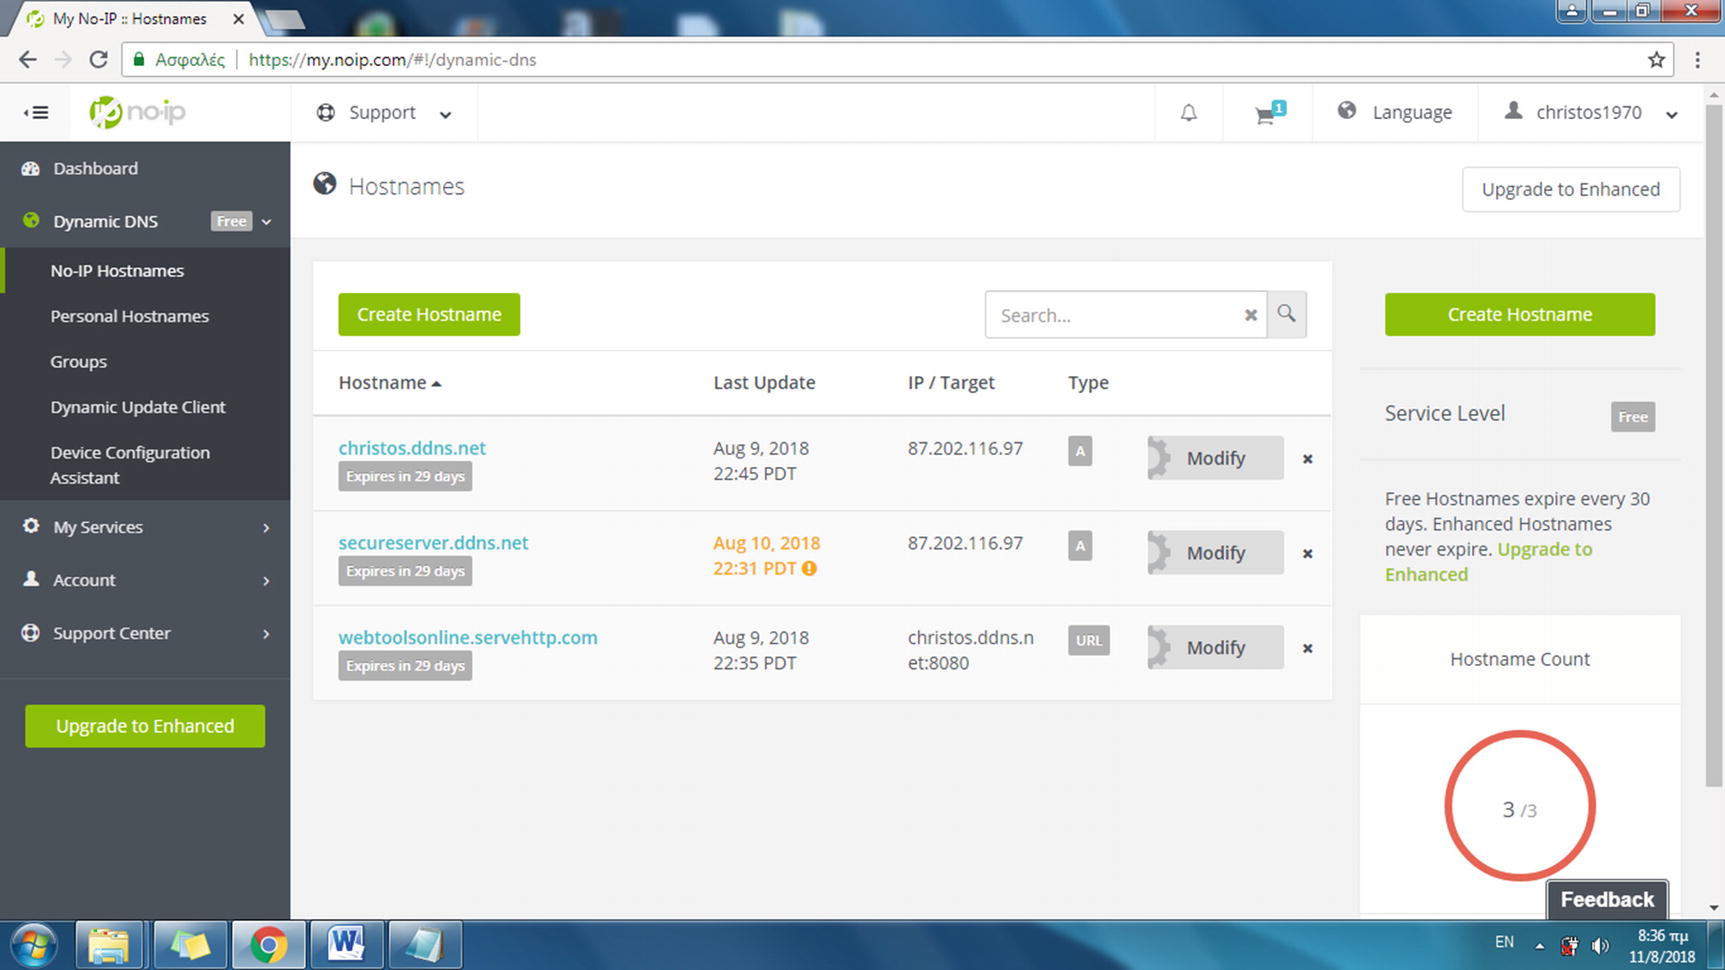
This name will also be used in Chapter 8, which is about cryptography and secure communication. Click the Add Hostname button to confirm your choice. Click also the Dynamic DNS menu on the left and then select the No-IP Hostnames option to view all the hostnames created so far. Figure 5-10 displays the Hostnames web page.
Figure 5-10
The Hostnames web page displays the hostnames already created
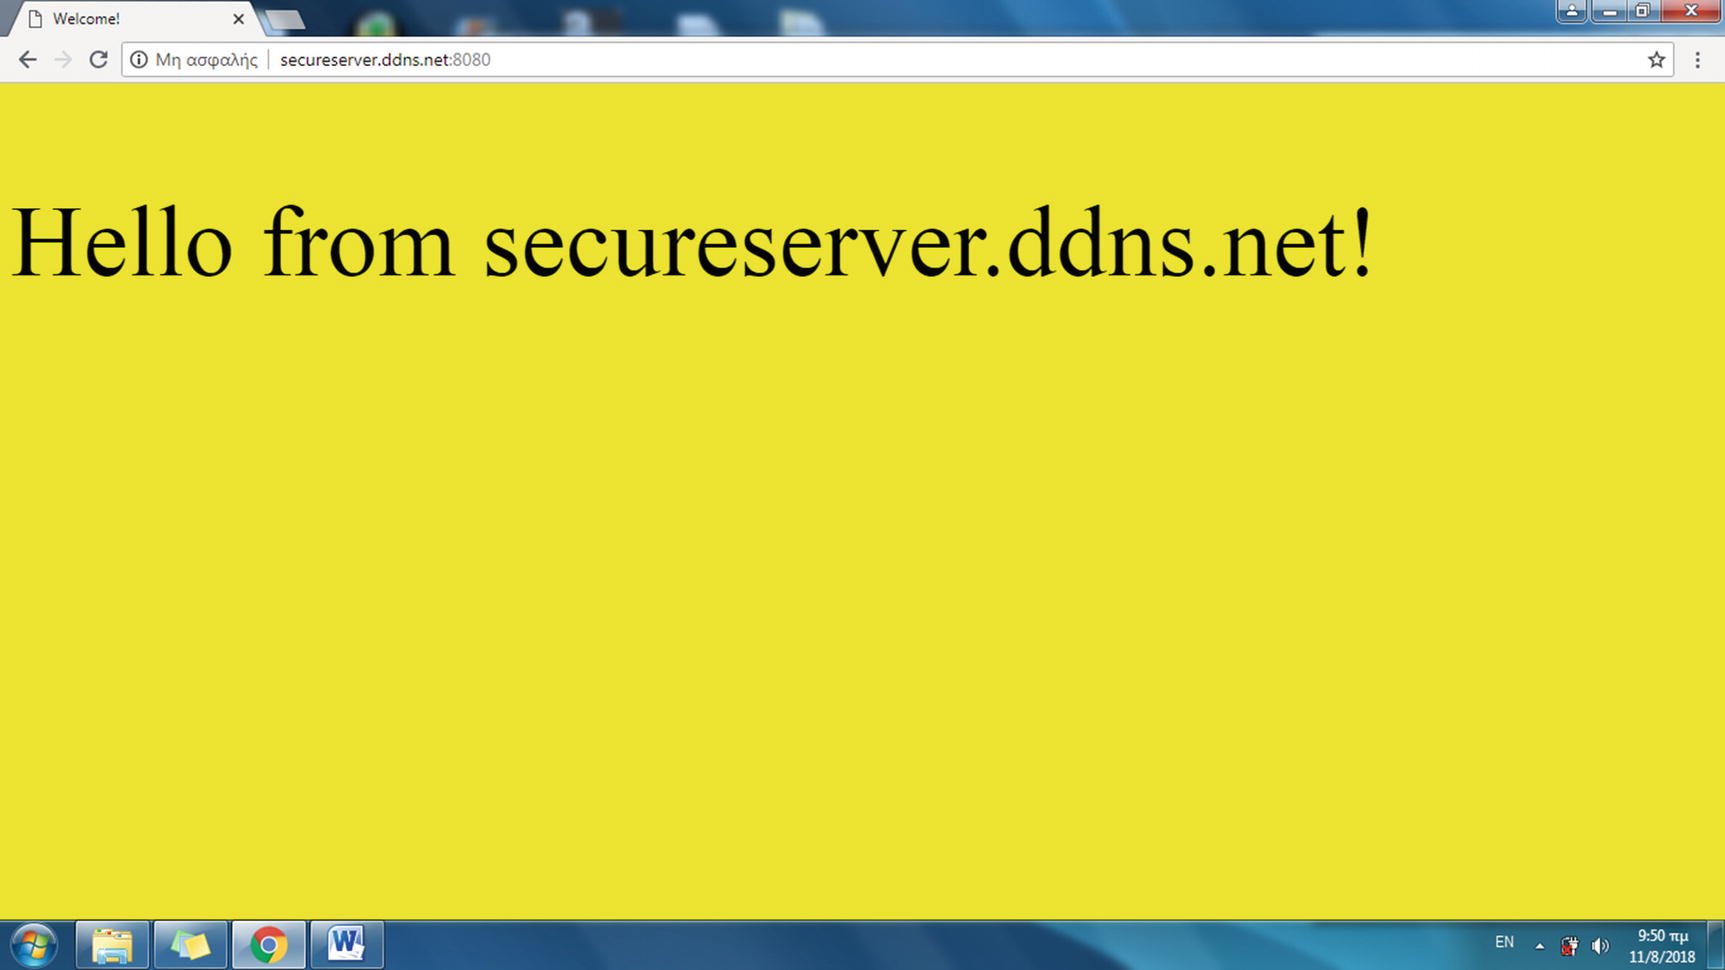
You can test your new hostname instantly by entering the following URL:
secureserver.ddns.net
or if you have configured the web server to listen on port 8080:
secureserver.ddns.net:8080
As displayed in Figure 5-11, the web page is loaded in your browser’s window.
Figure 5-11
Displaying a web page using the new hostname
To create two virtual hosts on Lighttpd, with each serving a different domain name, use the following steps.
Create two document root directories, one for each virtual host. Give the corresponding name of the domain name used to the document root directory.
For each document root, change the owner from root (the Linux administrator is the owner because the directory was created with the sudo command) to www-data, the one Lighttpd assumes. This user belongs to the group www-data (www-data:www-data).
With the previous conditional configuration, you will provide the option of using a different document root for each one of the previous domain names. The condition of the first directive checks whether the value of the Host HTTP protocol header of the client request corresponds to secureserver.ddns.net, and if this matches, the document root is set to /var/www/secureserver.ddns.net. In the second directive, the value of the Host header is also checked against christos.ddns.net, and if this matches, the document root is set to /var/www/christos.ddns.net.
Save lighttpd.conf and reload the server.
$ sudo service lighttpd force-reload
Test the two virtual servers from any computer on the Internet. For the first one, enter the following in your browser’s address bar:
secureserver.ddns.net
or if for the if the port 8080 configuration is used:
or if the configuration for the 8080 port is used:
christos.ddns.net:8080
The web page displayed in Figure 5-13 loads in your browser.
Figure 5-13
The directory index of the second virtual host
Hint!
A practical way to configure multiline options in lighttpd.conf is to create another file in the /etc/lighttpd directory and move the extra configuration there. Create, for instance, a second configuration file using the following:
$ sudo gedit /etc/lighttpd/vhost.conf
Cut the following conditional directives from lighttpd.conf and paste them into vhost.conf:
In lighttpd.conf, to create a link to vhost.conf, append the following directive to the end of the file:
include "vhost.conf"
Reload the server to enable the changes in the configuration files.
$ sudo service lighttpd force-reload
Using PHP with Lighttpd
To use PHP with Lighttpd, assuming that PHP 7.0 is already installed on your server, enter the following command at the Linux terminal:
$ sudo apt-get install php7.0-cgi
Test the PHP instantly using the file /var/www/html/info.php created in Chapter 2 for Apache. Because the original document root /var/www/html is different from those used for the virtual hosts, you can restore the configuration file to exclude virtual hosts. At the end of lighttpd.conf, comment out the include directive.
#include "vhost.conf"
Reload the web server to enable the changes in the configuration file.
$ sudo service lighttpd force-reload
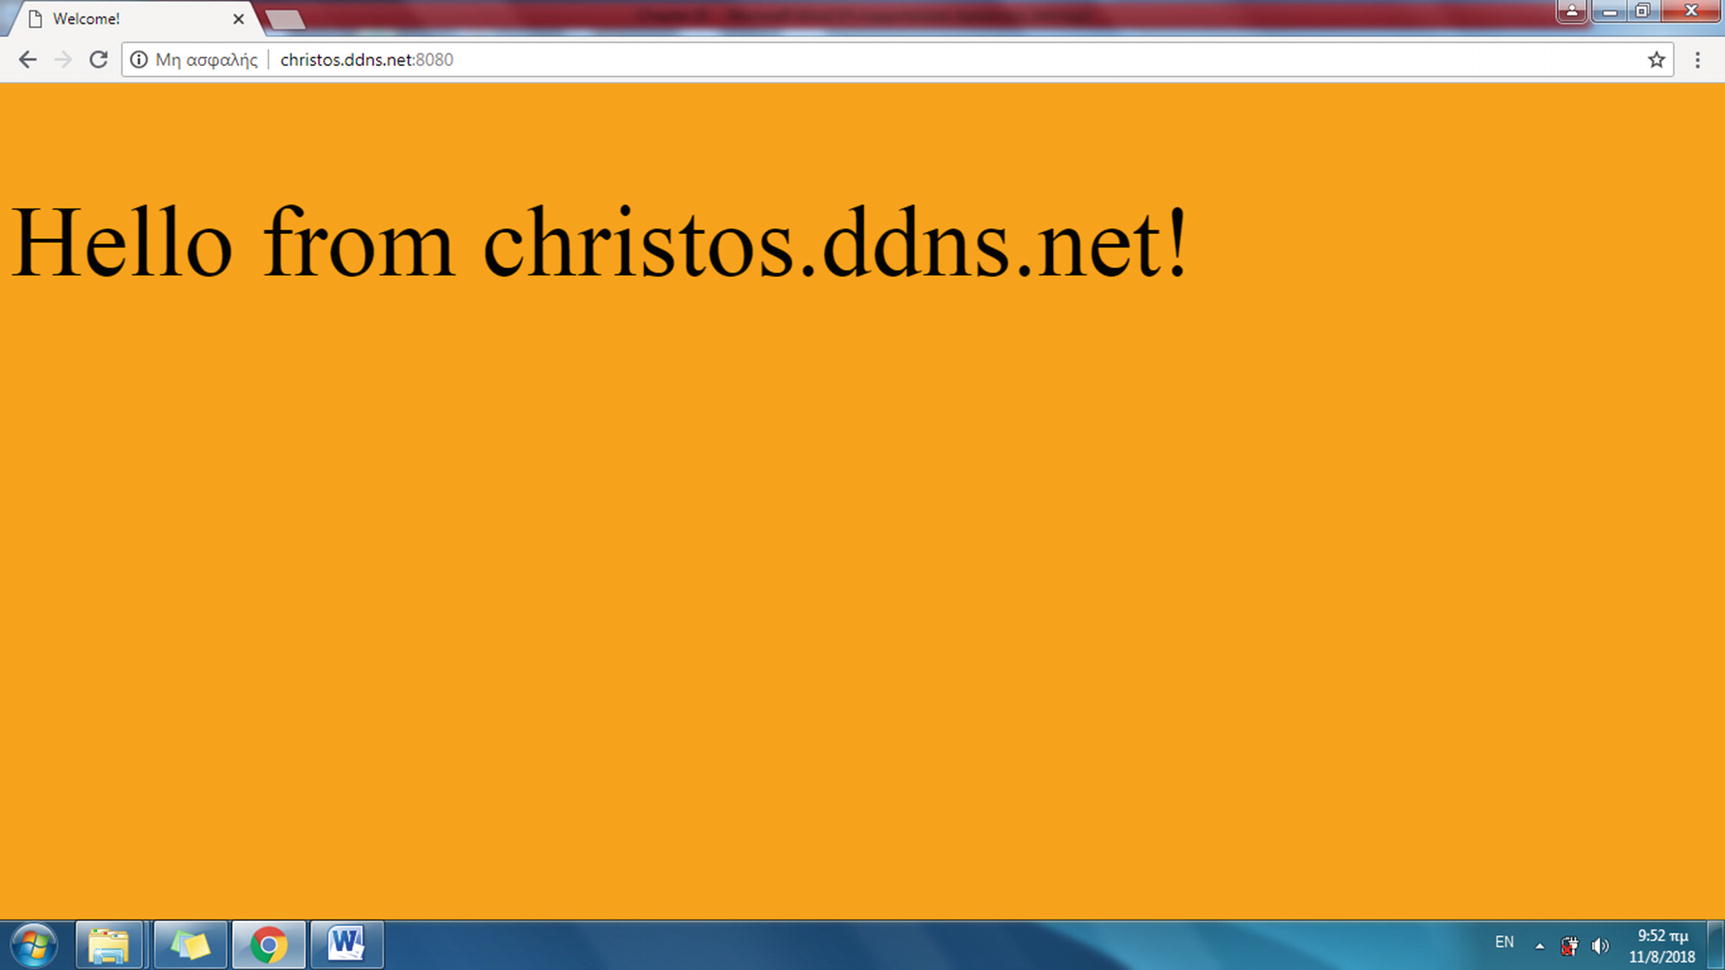
In your browser’s address bar, enter the following:
http://christos.ddns.net/info.php
Or, if your server listens on port 8080, enter the following:
http://christos.ddns.net:8080/info.php
As shown in Figure 5-14, the web page that appears displays the output of the phpinfo() function, indicating that PHP is up and running.
Figure 5-14
The web page with the evaluated phpinfo() function
With the basic Lighttpd server configuration options discussed in the previous sections, you can use Lighttpd in the following section to create your next online web service.
Creating Online Services with Lighttpd
In Chapters 3 and 4, you created online services with Apache. Here you’ll use the Lighttpd server and the PHP and JavaScript languages to create another online service. The service will simulate online web services that test sites remotely like the webpagetest.org site utilized in Chapter 3. Similar to the other PHP projects, you will start by preparing two basic web pages.
index.php, the web page that includes a form for submitting the URL of a site to the server.
screenshot.php, the program referred to in the action attribute of the index.php form, which processes the URL sent by the client and returns to the client’s browser an image of the corresponding web page. As shown in the Lighttpd configuration file, lighttpd.conf, the index-file.names directive has already set index.php as a directory index.
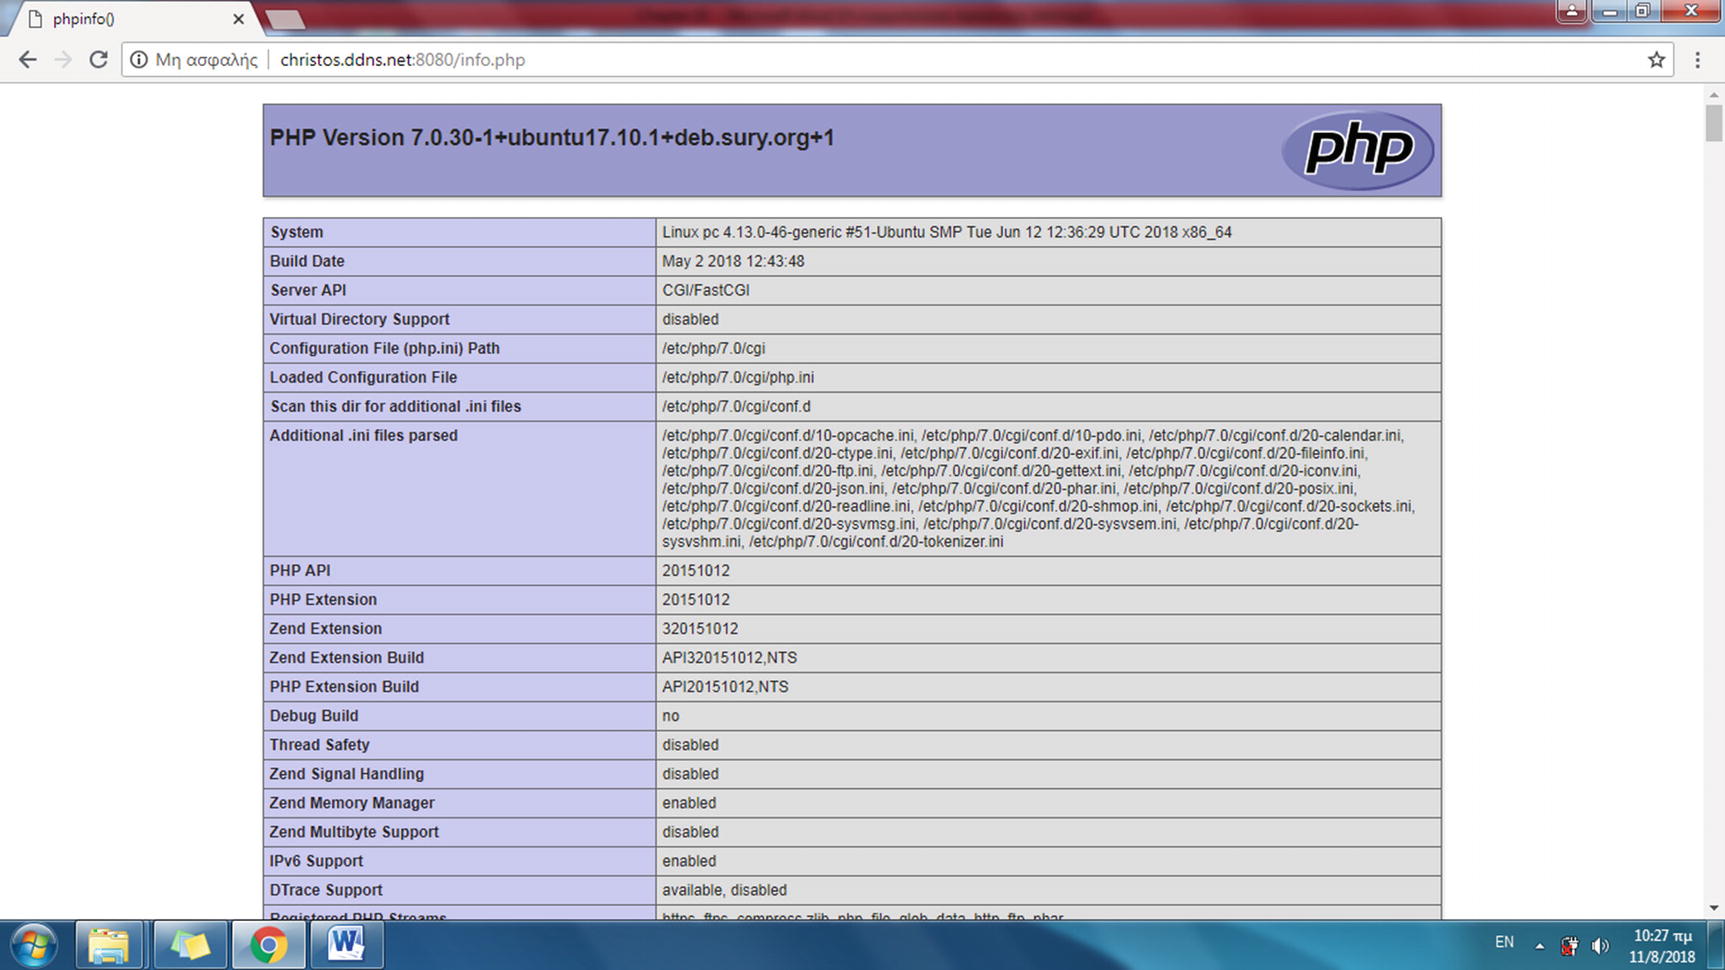
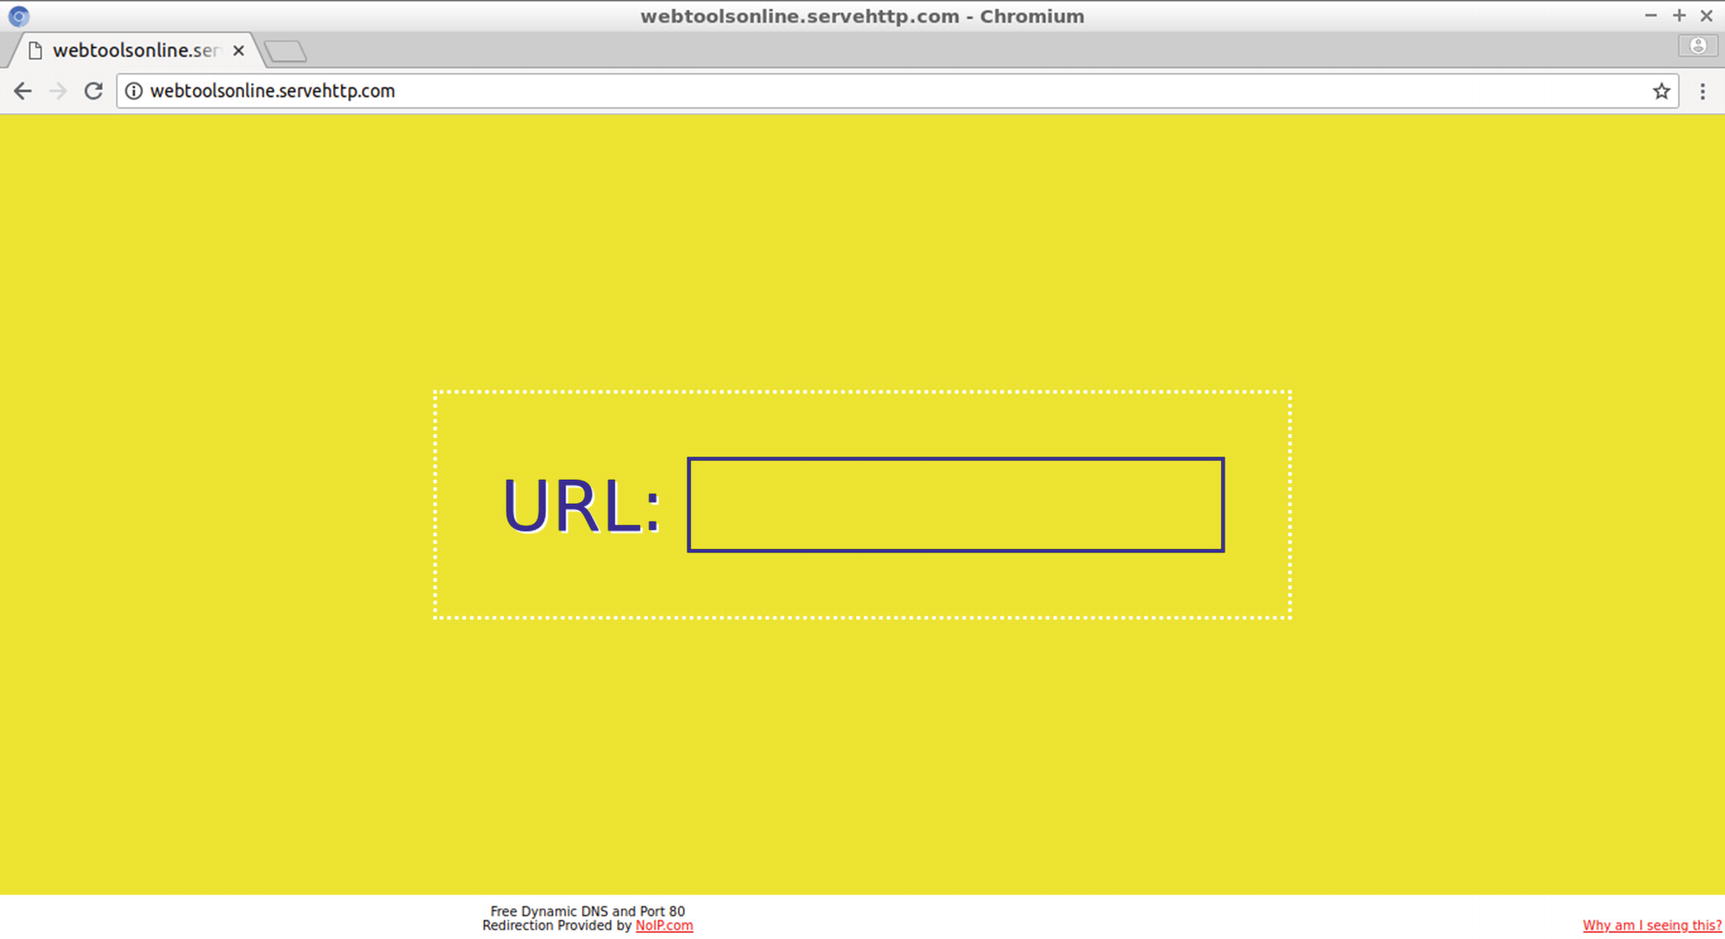
The file name index.php has precedence over the index.html and index.lighttpd.html file names. This means that by default the Lighttpd web server will serve index.php if this file name exists in the directory specified by the URL, for instance:
http://webtoolsonline.servehttp.com
When the user enters the previous URL in the browser’s address bar, index.php appears, as shown in Figure 5-15.
Figure 5-15
The home page of the online service
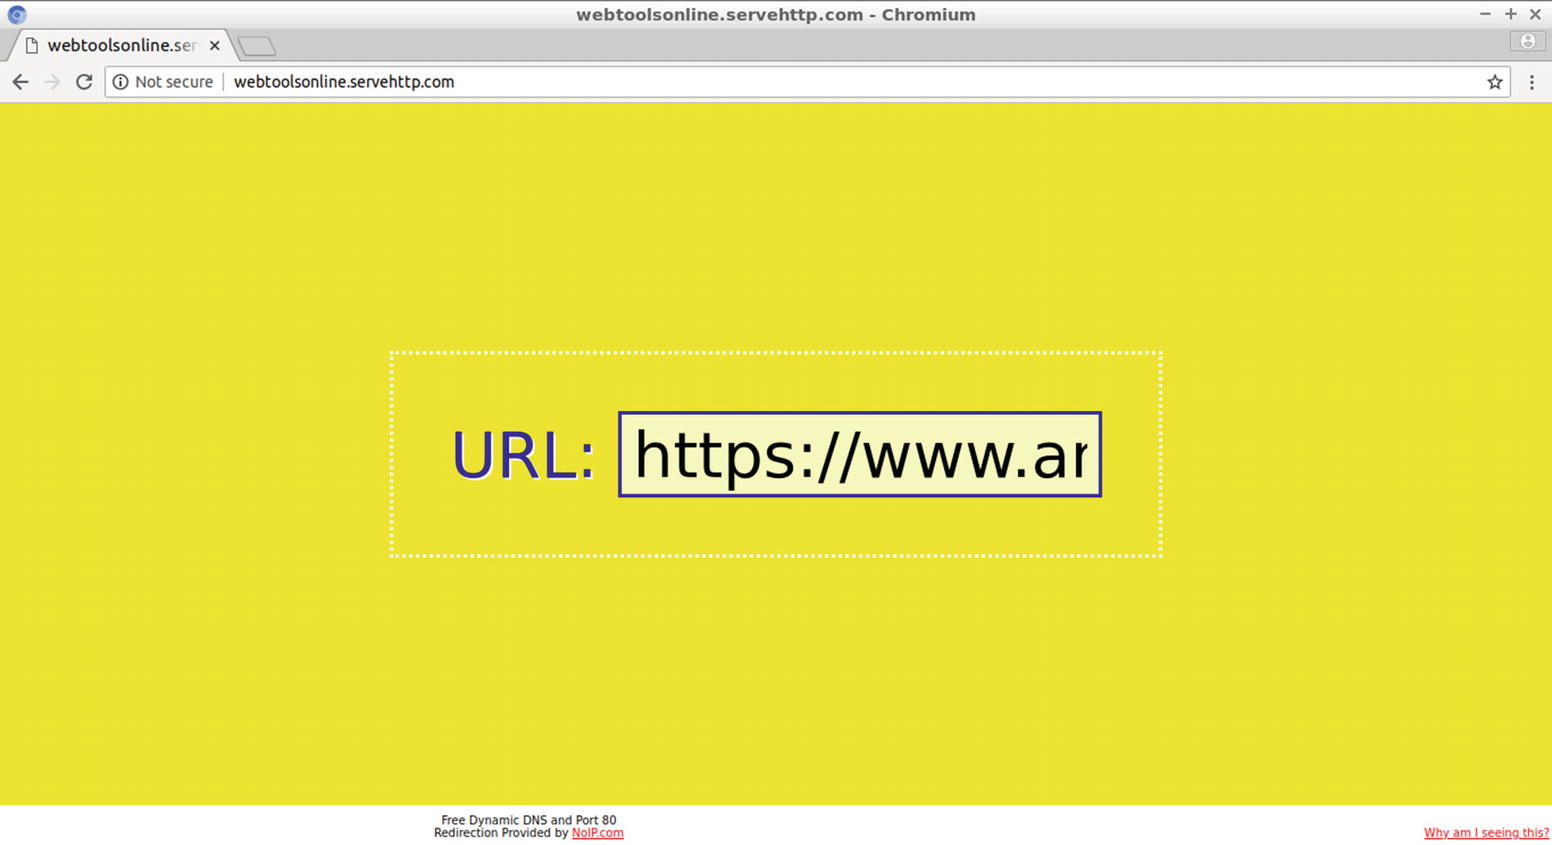
The form in index.php includes just one textbox, without any submit button. As shown in Figure 5-16, the user inserts the URL of a site in the textbox and presses the Enter key to submit the data.
Figure 5-16
Inserting a URL to the form’s textbox
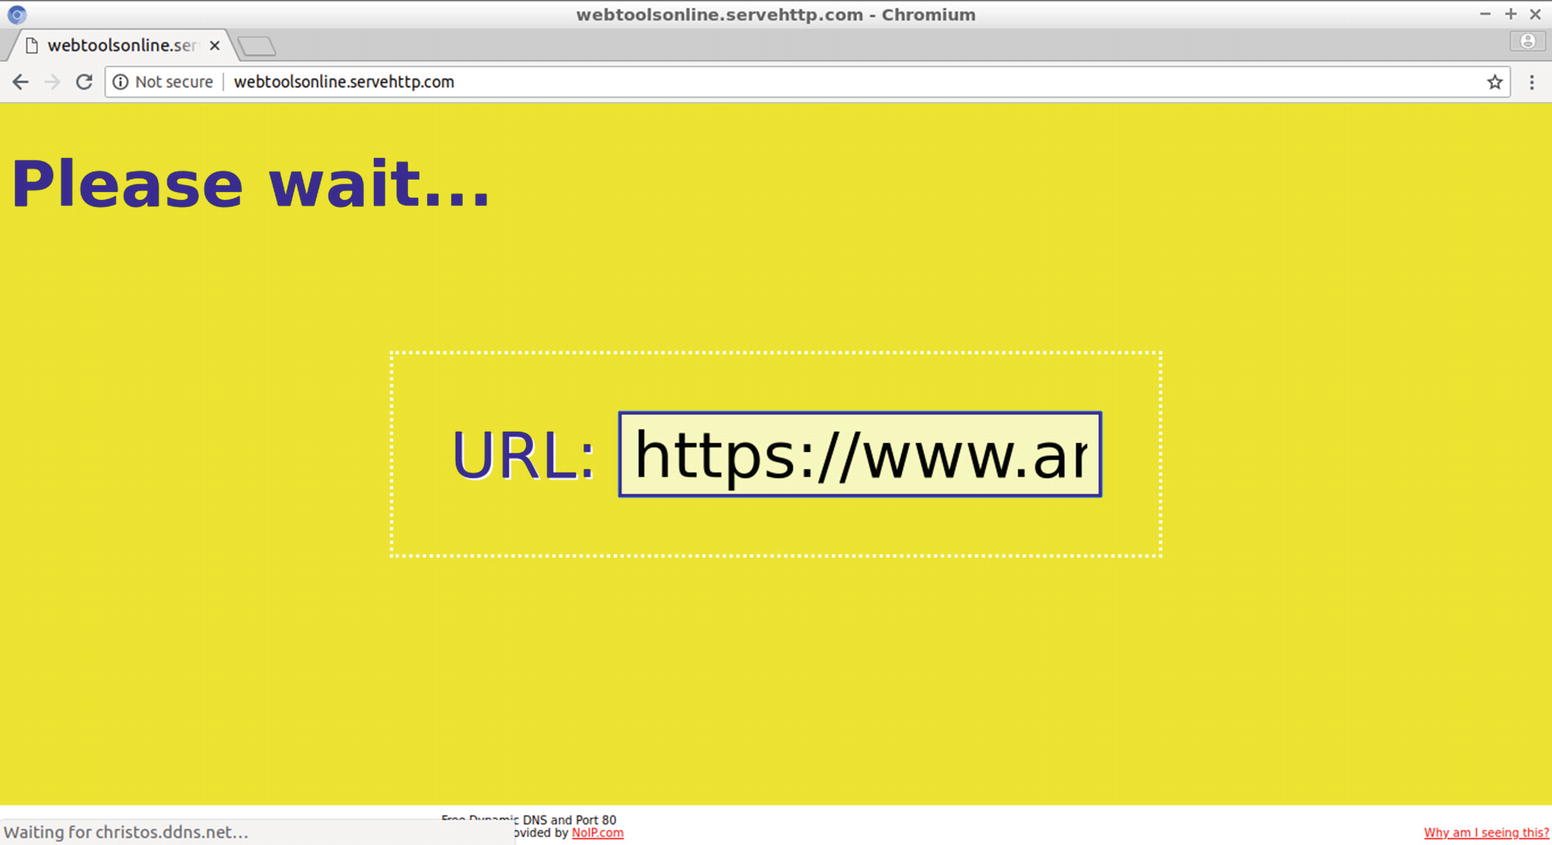
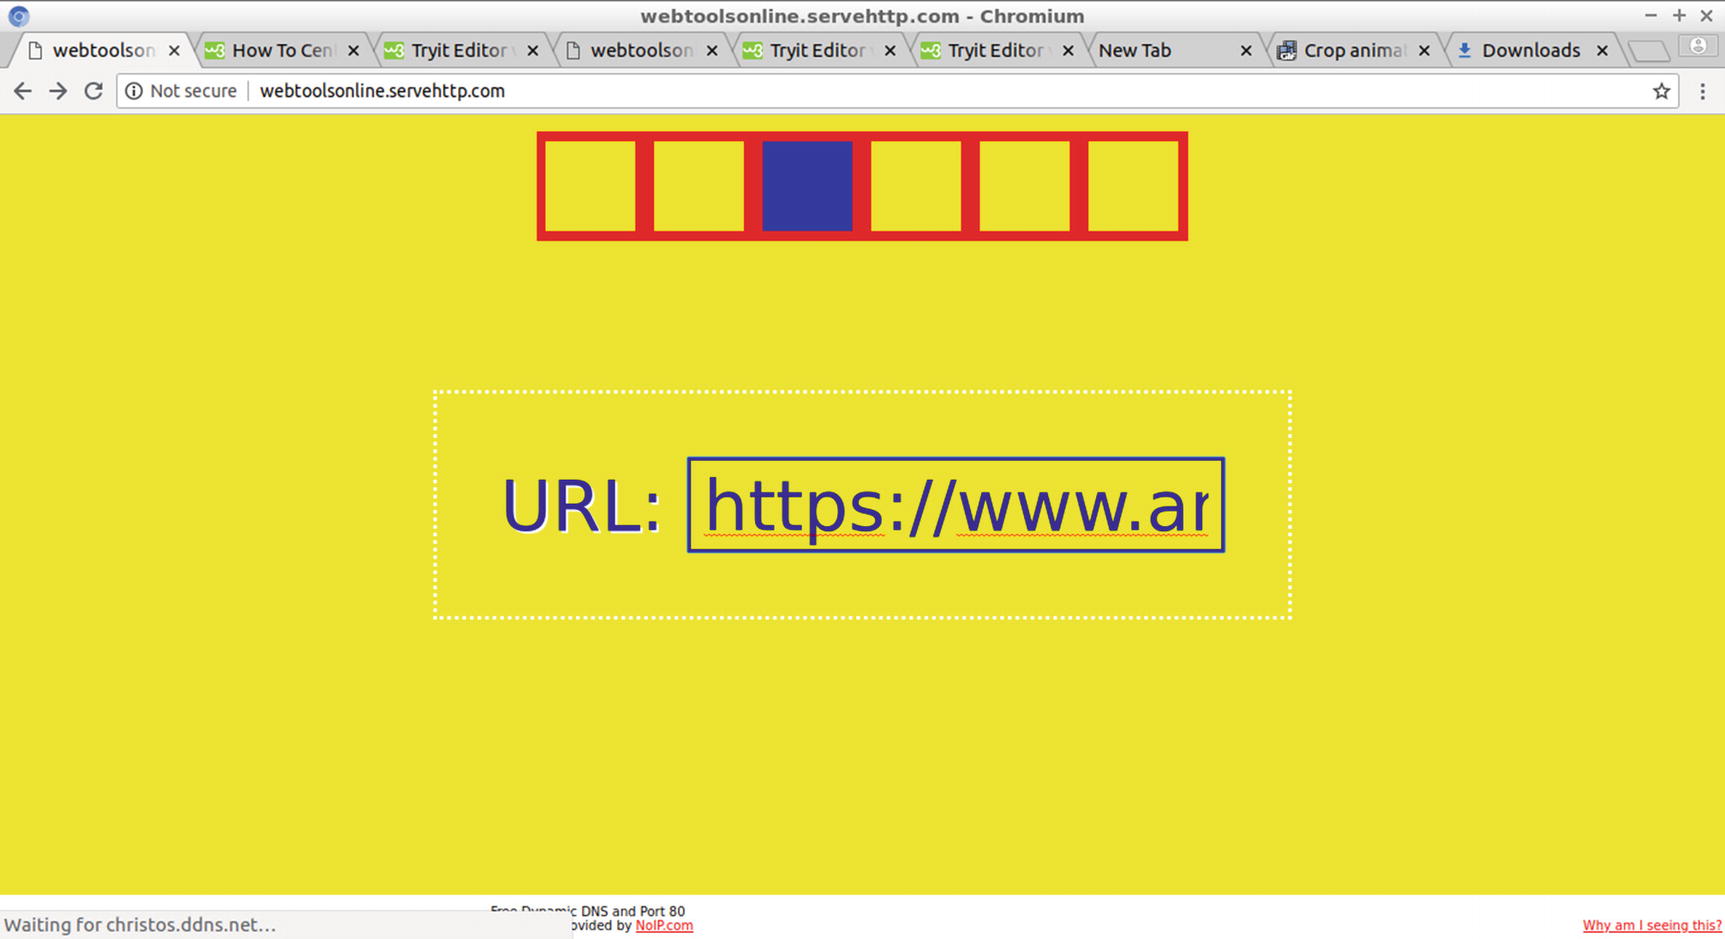
In the previous figure, the URL https://www.amazon.com was entered. The client request may take a few seconds to complete, so when the user presses the Enter key, the message “Please wait…” appears in the upper area of the browser’s window, as shown in Figure 5-17.
Figure 5-17
The message “Please wait…” appears when the user submits the data until the server responds
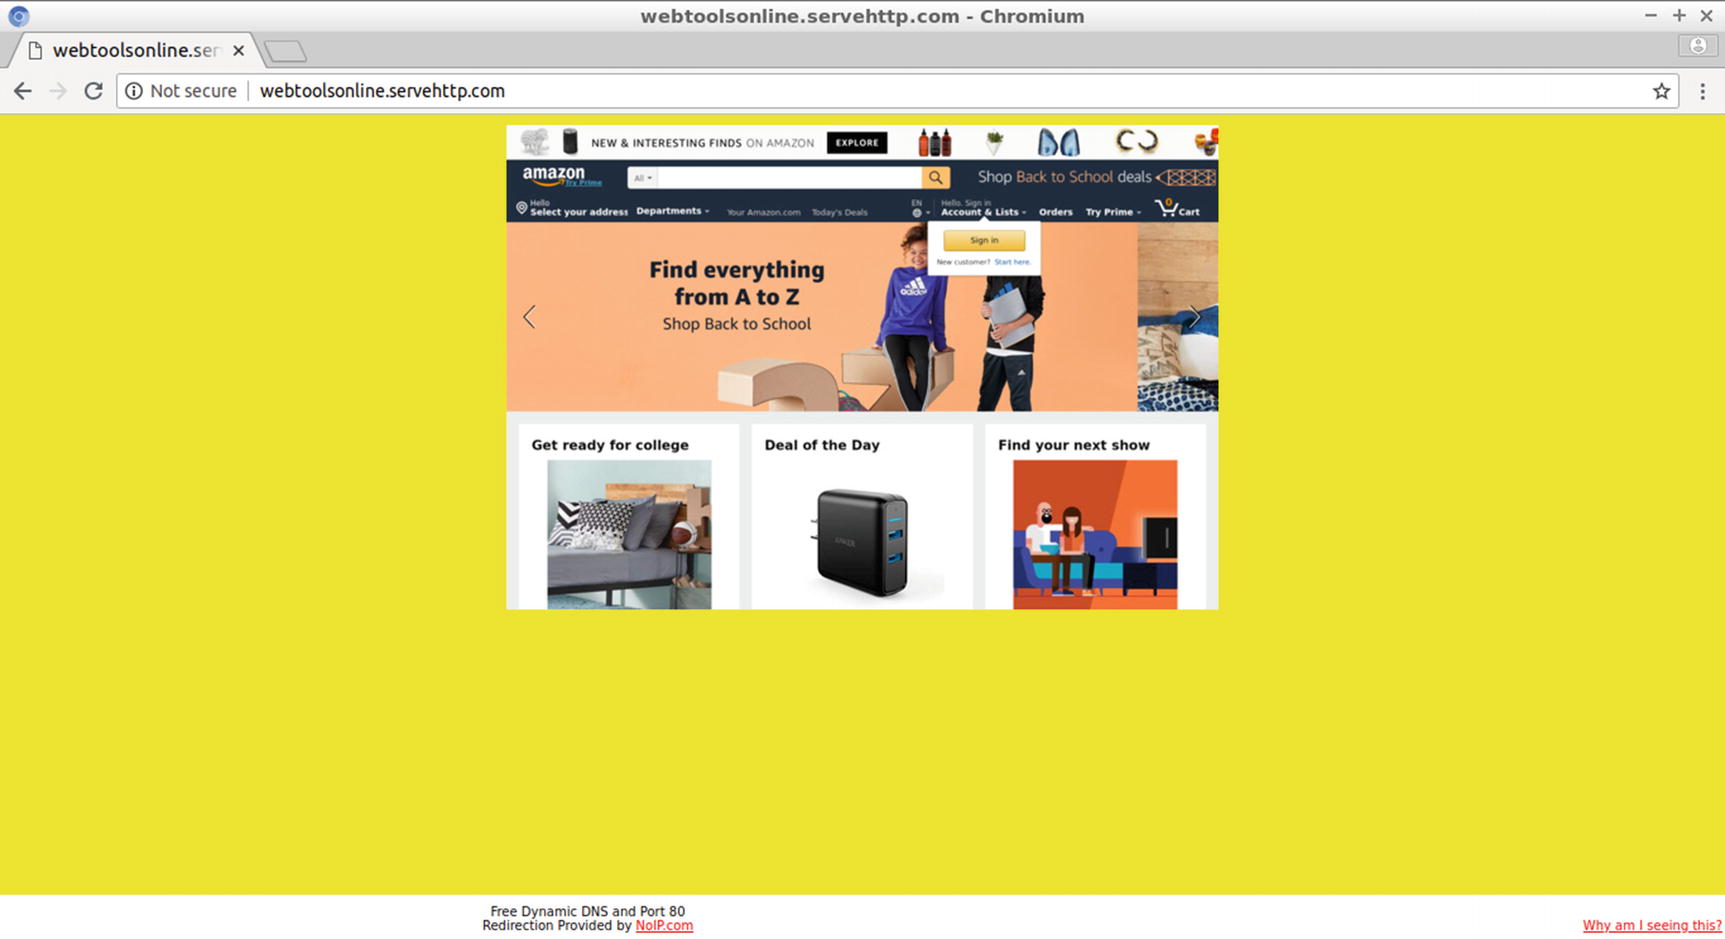
When the web server finishes processing the request, the web page replies with the evaluated code of screenshot.php. This is the web page that is set as the value of the action argument of the form tag. As viewed in Figure 5-18, for any valid URL, the screenshot.php displays a small-sized capture of the home page of the corresponding site.
Figure 5-18
The web server responds to the client request by displaying a screenshot of the web page specified by the user
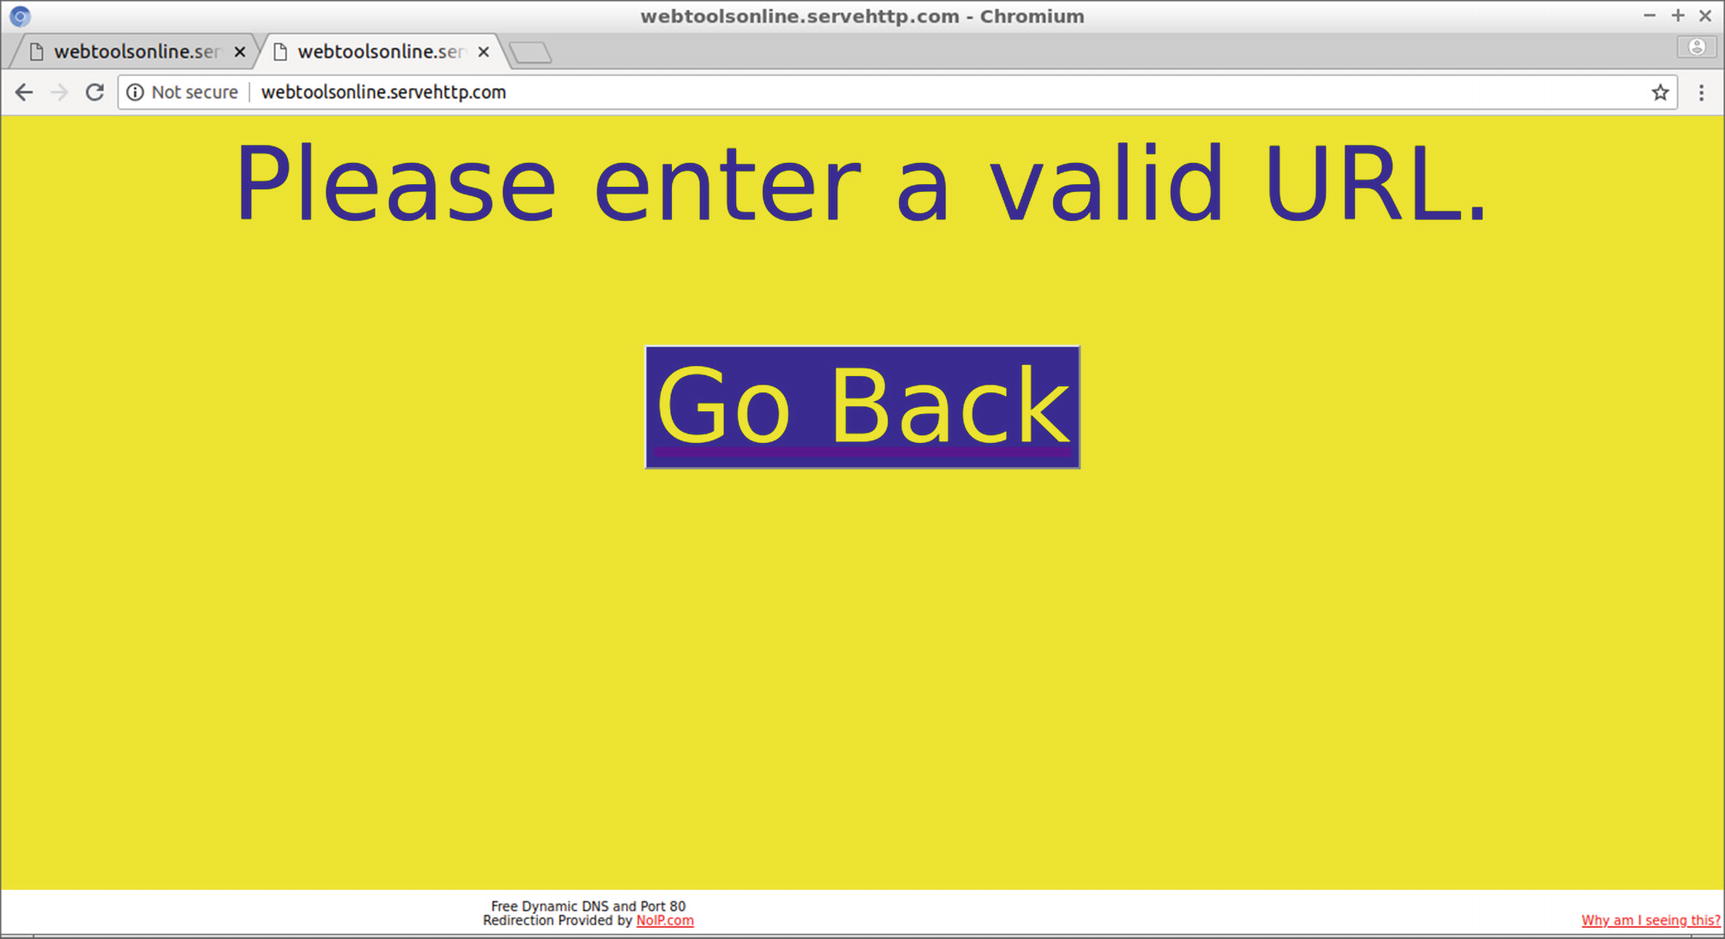
As shown in Figure 5-20, by pressing the Enter key, the screenshot.php code evaluates by displaying a message and a button instead of an image. These are used for getting back to the online service home.
Figure 5-20
The web server’s response to an invalid URL
Creating the Directory Index of the Online Service
Use the following commands at the Linux terminal to create index.php:
$ cd /var/www/html
$ sudo gedit index.php
Insert the following lines for the index.php source code and save the file:
This PHP web page basically includes the form that submits a URL to the web server. It includes a CSS section for defining properties for styling the HTML elements. The basic content of this web page is a form that includes just one textbox named url. This is the object the client uses to submit the site’s URL. The form’s method is POST, and the action is set to the PHP file screenshot.php. Therefore, screenshot.php will take action to process the user request on the web server since no other directory path is included.
A JavaScript onsubmit type function, named sub(), is assigned to the onsubmit event of the form. Therefore, the function sub() will execute when the form is submitted. One line is included in this function, shown here:
The web page’s HTML element with the value of the id (Identity) attribute equal to id1 is returned by getElementById(). getElementById() is a method of the document instance, and the document represents the current web page. The element of the current web page with id equal to id1 is the header with size 1 (<h1>). For this element, the innerHTML property indicates the header text, which is the text included between the start and end <h1> tags. When the user presses the Enter key and before the new web page loads, the message “Please wait...” will fill the text between the start/end <h1> tags, which is initially empty.
Creating the Action File for the Online Service
To create screenshot.php in the document root of the Lighttpd server, enter the following commands at the Linux terminal:
The PHP code accepts as $_POST["url"] the value submitted by the textbox named url in the form of index.php. This is then assigned as the value of the PHP variable $url. This value is the URL entered by the user, which may be valid or invalid, and it is the information that the web server requires to act. The PHP engine that evaluates the screenshot.php source code uses the URL to form the following string:
This string consists of the command and the command arguments that the PHP engine has to pass to the Linux terminal to create an image of the web site corresponding to the URL.
This certainly looks like a long command that requires some explanation. It uses the wkhtmltoimage open source command-line tool, which renders a web page into an image file. To enable the PHP engine to use the previous command, you have to download and install wkhtmltoimage using the following command at the Linux terminal:
$ sudo apt-get install wkhtmltopdf
An example of running wkhtmltoimage from the Linux terminal is as follows:
$ wkhtmltoimage https://www.amazon.com amazon.png
This creates the image amazon.png that depicts the home page of amazon.com. This is a large image because the Amazon home page spans many computer screens, as viewed in Figure 5-21.
Figure 5-21
The large image created by wkhtmltoimage for Amazon.com
To include only the upper part, the image must be cropped to the screen dimensions of the computer the program was used on, e.g., 1366×768, using the crop width (crop-w) and the crop height (crop-h) arguments.
Although the previous command runs if used directly at the command line, using it from the PHP engine may require an X Server specified for the graphics part. For this, you can download the Xvfb (X virtual framebuffer) server, which enables the PHP engine to run graphical applications without a display. Download and install Xvfb using the following at the Linux terminal:
$ sudo apt-get install xvfb
The following command, run from the PHP engine, starts wkhtmltoimage using the Xvfb server:
Notice that $command is the variable that stores the string of the command to run, and notice that escape characters () were used to retain the double quotes inside the string. Using the dot (.) notation, the $url variable (the URL sent by the client) is concatenated with two strings, i.e., the first part of the command and the file path of the image file, created by the command. To create the directory screenshot, use the following command:
$ sudo mkdir /var/www/html/screenshot
Because screenshot was created by the user root, with the previous sudo command, the screenshot’s owner is user root. You can verify this using the ls –l /var/www/html command. You need to change the owner of the directory to enable Lighttpd and the PHP engine to access it in order to store the image files it creates. Use the following command:
This command sets the new owner of /var/www/html/screenshot to the user www-data that belongs to the group www-data. The recursive (-R) option is used for www-data to retain the ownership to all subdirectories of screenshot.
Next, the string value of the $command variable is passed to the exec() PHP function.
exec($command, $out, $status);
In Chapter 4, you used the function shell_exec() to run terminal commands from the PHP engine. This time, the function exec() is used, which returns the return status of the command to its third argument ($status in this example). By checking the value of $status, you can find out whether the $command execution succeeded or failed. You can use an if condition and replace the //SUCCESS and //FAILURE comments with the appropriate actions.
if ($status===0) {
//SUCCESS
} else {
//FAILURE
}
For the success case, you can use the following source code lines:
A second PHP variable, $command2, is used to store another command, convert, which is used to resize the image at a rate of 50 percent. The file path is used twice because using convert you have the option to convert the file format, such as from PNG to JPEG. For this, you would enter the following at the command line:
This returns a web page with the message “Please enter a valid URL.” to the client and also creates a button that, when clicked, returns the user to the site’s home page.
Enabling the Site to Serve Multiple Client Requests
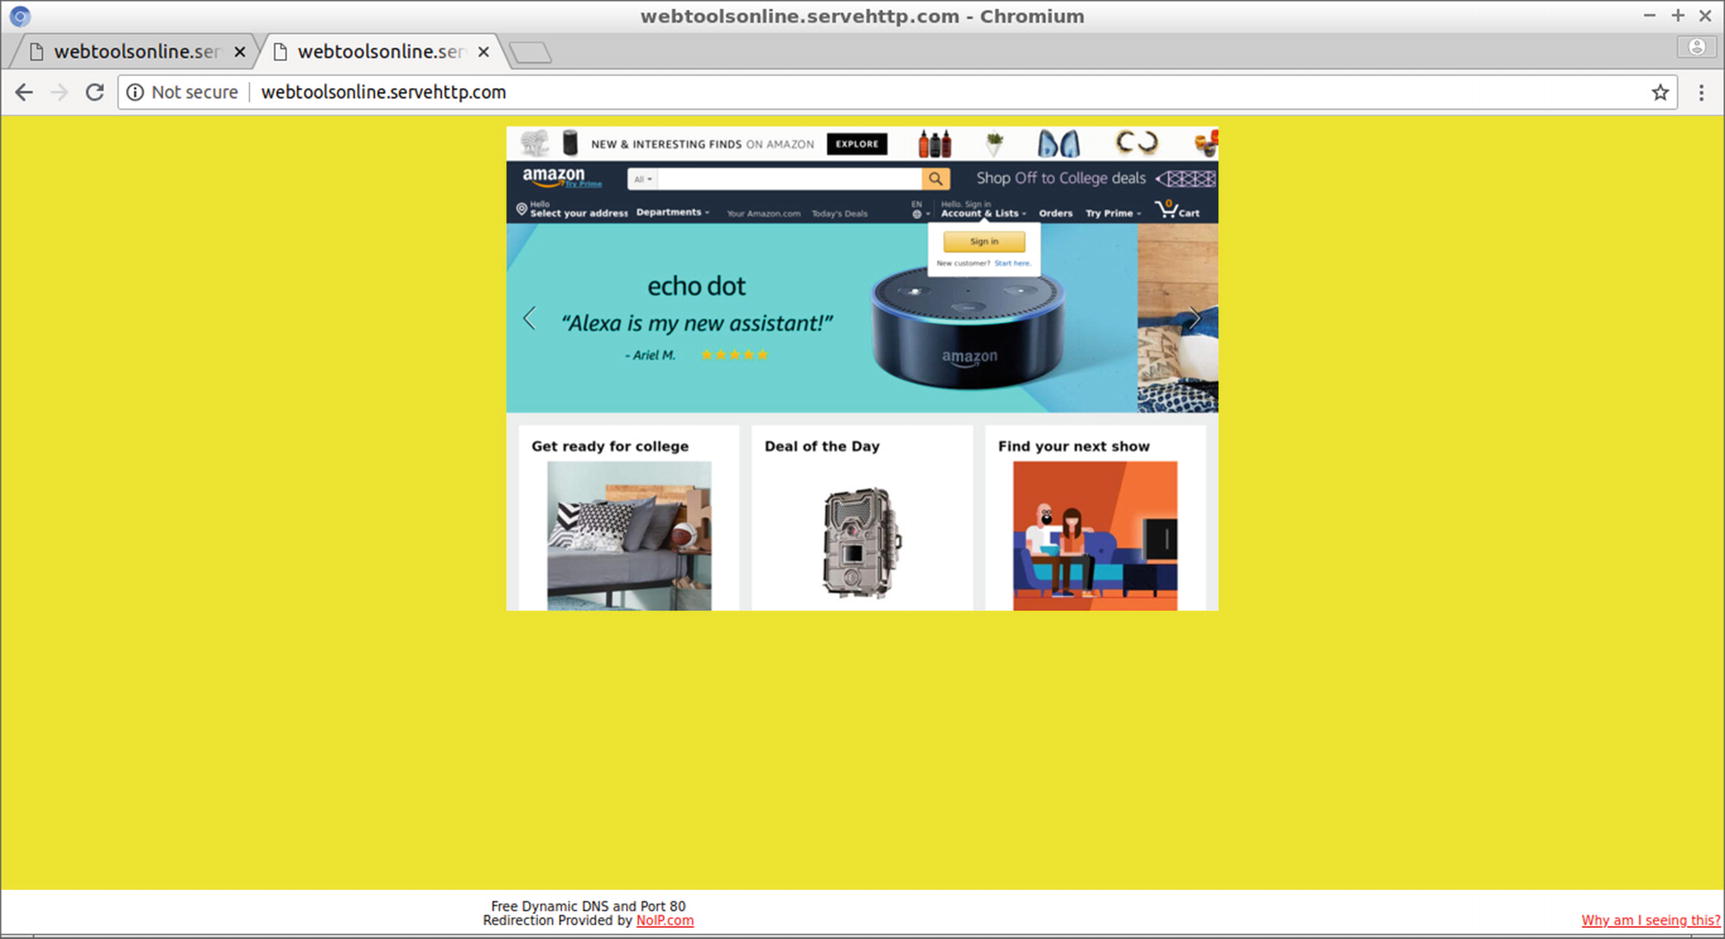
While the source code of screenshot.php works well for a single client request, as tested previously, the server cannot dispatch multiple client requests when they are issued simultaneously because two or more Xvfb simultaneously calls fail. To verify this, open two (or more) tabs in your browser, all using the URL http://webtoolsonline.servehttp.com. In the textbox of the first tab, insert a URL of a site for testing and press the Enter key. Switch quickly to the second tab and do the same. Notice that while the first client request is fulfilled, the second fails. Figure 5-22 displays two tabs, with the second one including the “failure” page.
Figure 5-22
Issuing two simultaneous client requests to the site
Hint!
You can also test this from the command line by calling the xvfb command used in screenshot.php twice (as fast as you can). Enter the following, for instance, at the Linux terminal:
Then enter at the same terminal a command like the following. By using the ampersand (&) symbol at the end of the command, you are running the command in the background and the terminal is released to wait for another command.
The following message is output to the terminal the second time:
xvfb-run: error: Xvfb failed to start
To solve this problem, create a second version of the site that will require replacing the action file screenshot.php with screenshot2.php in index.php. Use the following command to edit index.php:
$ sudo gedit /var/www/html/index.php
In the form tag, replace screenshot.php with screenshot2.php.
In the new version, the PHP file locking mechanism will be used to block all other client requests when an initial one is served. Therefore, only one request each time will be enabled to use the PHP code that creates the PNG file from a given URL. You’ll create a text file, e.g., lock.txt, to be used just for implementing the file locking mechanism, without serving any other purpose in the source code. At the Linux terminal, use the touch command to create the text file.
$ soudo touch /var/www/html/lock.txt
Also, use the chown command to set the new owner of the file to the user assumed by the web server and PHP, www-data.
The new text file will be used from the screenshot2.php source code as follows:
$fp = fopen("lock.txt", "w");
if (flock($fp, LOCK_EX)) {
// PHP source Code that previously conflicted
flock($fp, LOCK_UN);
}
fclose($fp);
In the previous lines, the file handle fp is created for writing (w) to lock.txt with a call to the function fopen(). Then comes a call to the function flock(), which locks the file exclusively (LOCK_EX). The PHP source code is therefore assured to be executed only from a single process. Other instances will find the file locked and will block until the file is unlocked. The role of this file is therefore to hand over permission to use the enclosed code from one process to the other, with the assurance that all other processes are waiting to take their turn and won’t return without serving the client. With the next flock() call in the LOCK_UN argument, the file unlocks when the current process is done.
The complete source code of screenshot2.php is as follows:
Test the new version of the site by opening two (or more) tabs in your browser and entering a URL in each web page’s textbox. As shown in Figure 5-23, all client requests are now dispatched.
Figure 5-23
Testing the site with multiple client requests succeeds
When you have issued the second request, switch to the Linux terminal and enter the following command:
$ sudo lslocks
This command displays information about the current file locks in the system. The output of the command includes two records about lock.txt, which means that there are currently two processes that lock or try to exercise a lock to the file test.txt. In this example, the records have the following form:
Here, 722 and 724 are the process IDs (PIDs) of php-cgi, the process that executes the PHP source code. Use, for instance, the following command to verify this:
$ ps xa | grep 724
The command’s output is as follows:
724 ? S 0:00 /usr/bin/php-cgi
When the first client request is dispatched and the image of the test page is rendered to the web page, enter the lslocks command at the terminal another time:
$ sudo lslocks
As the command’s output indicates, this time there is only one record about lock.txt, which means only one process locks lock.txt.
When the second client request is fulfilled, try lslocks again. This time, as expected, no records are output about lock.txt.
Creating an Animated PNG Image
In the project of the previous section, it is a good idea to include an animated image that appears while the client’s request is being processed to signify that the wait is because of the request processing and not because of any network latency or other problem. This improves the user’s experience and makes the waiting time less boring.
You can create animated images using software applications on your PC or using online tools. In this example, you will use the online tool https://ezgif.com/apng-maker to create an animated PNG image. The procedure of making the animated PNG file is similar to using other online PNG animation tools.
To create the animated PNG image file, you need to create a number of PNG files used as frames that will be displayed consecutively and create the effect of animation. There is a basic option you have to configure, which is the time that should elapse between each frame. All PNG frames, along with the time lapse information, are then packaged into a final PNG file, in other words, the animated PNG file.
Use your favorite image editor to create a PNG image like file 0.png, shown in Figure 5-24.
Figure 5-24
The pattern for making the images for the animated PNG image
This image will be used as a pattern that other PNGs will be based on. I purposely used black to paint the unused areas, because with the ezgif.com online service, it is easy to turn black to transparent. This means when the image is loaded in your web page, the black color will be replaced by the current background of the page. You can also use other colors for setting transparency, but because an RGB code is required, it is best to do this with black or with white.
Figure 5-25 displays the idea behind the animated PNG. You create six PNG files, file 1.png up to file 6.png, with each one lighting up a different square with a chosen color. For example, the first image lights up the first square, the second image lights up the second square, and so on. Rendering all images, one after the other, has the effect of moving the bright color from the first to the last square. Then just copy file 5.png as 7.png, 4.png as 8.png, 3.png as 9.png, and finally 2.png as 10.png. Therefore, after 6.png, the sequence returns backward until file 10.png, and then everything starts again from the beginning.
Figure 5-25
The PNG images required for creating the animated PNG file
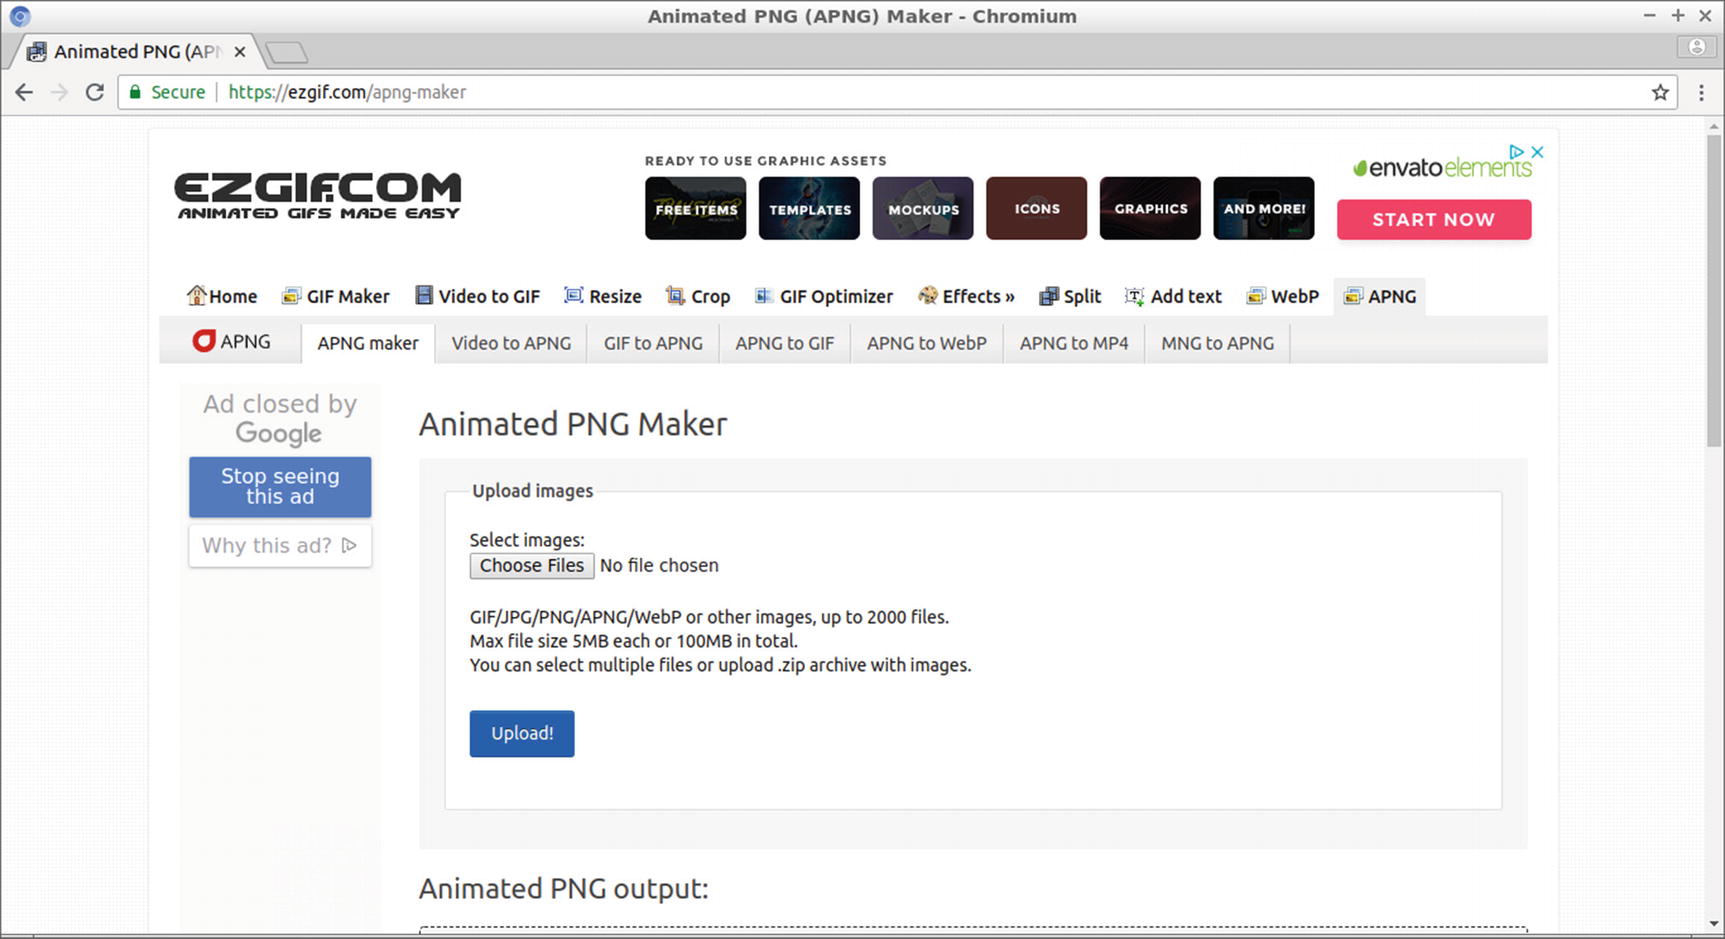
Place files 1.png up to 10.png in the folder png and zip the files, creating a zipped file. Enter the URL https://ezgif.com/apng-maker in your browser’s address bar to visit the web page, as shown in Figure 5-26. Click the Choose Files button and located the zipped folder with the PNG files in the directory tree of your computer. Click the Open button in the dialog and then click the Upload! button on the ezgif.com web page.
Figure 5-26
The Animated PNG Maker web page
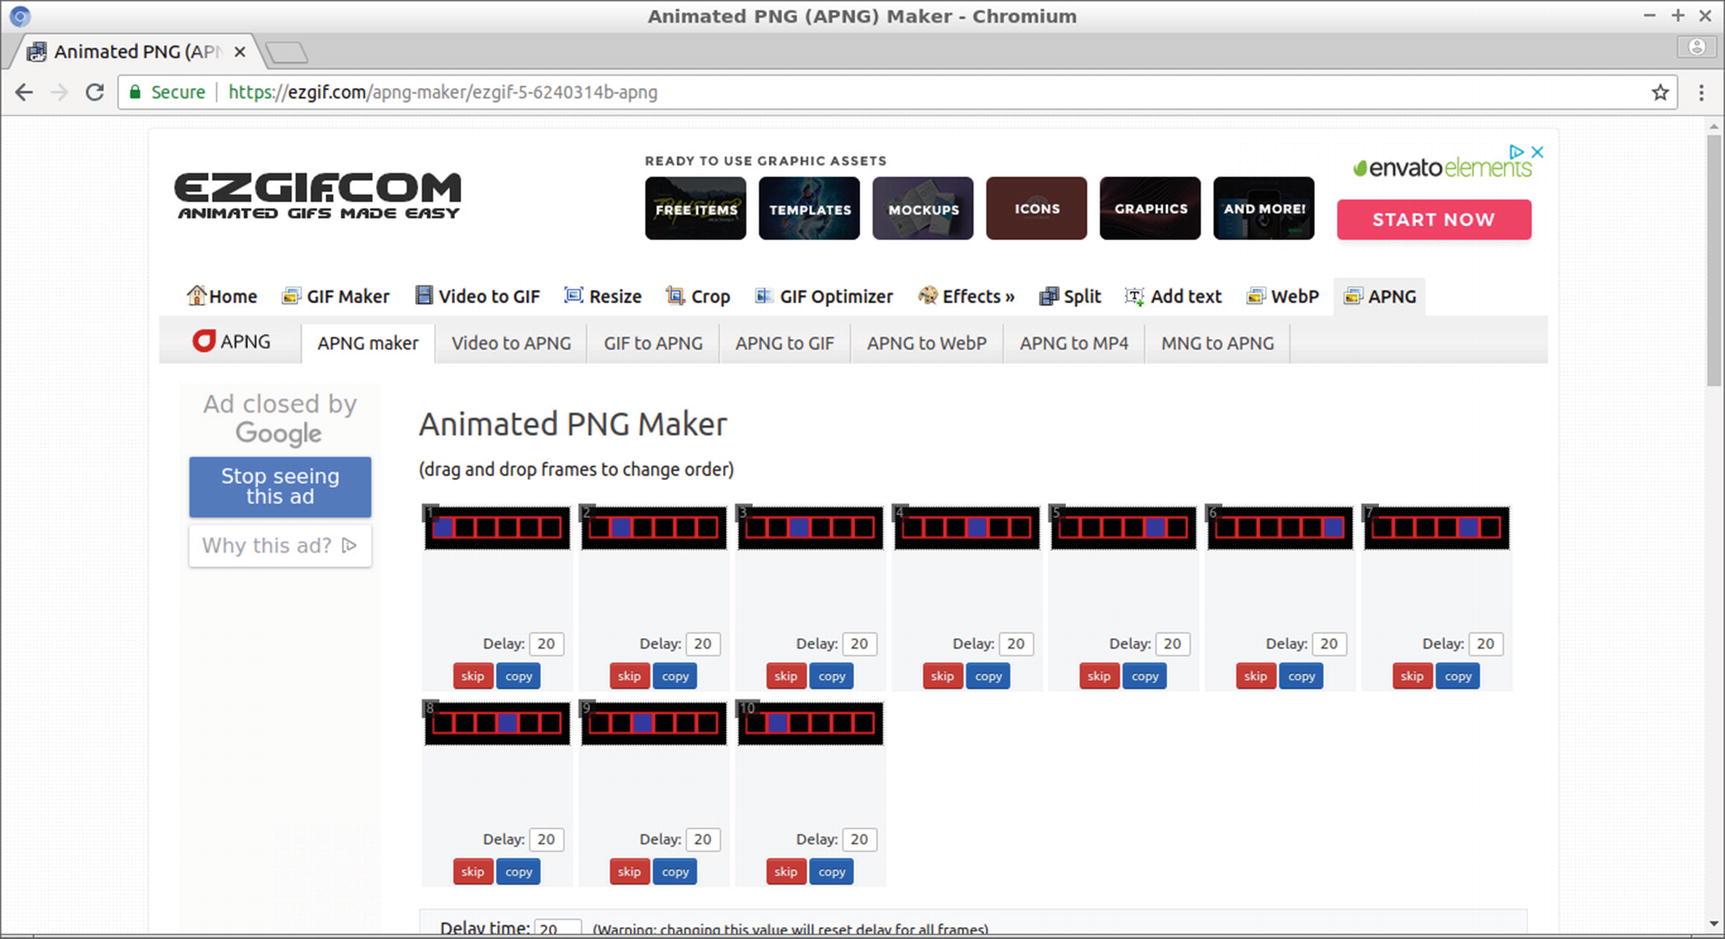
The uploaded zipped file is extracted, and all images are visible in your browser’s window, as displayed in Figure 5-27.
Figure 5-27
The uploaded images to the Animated PNG Maker site
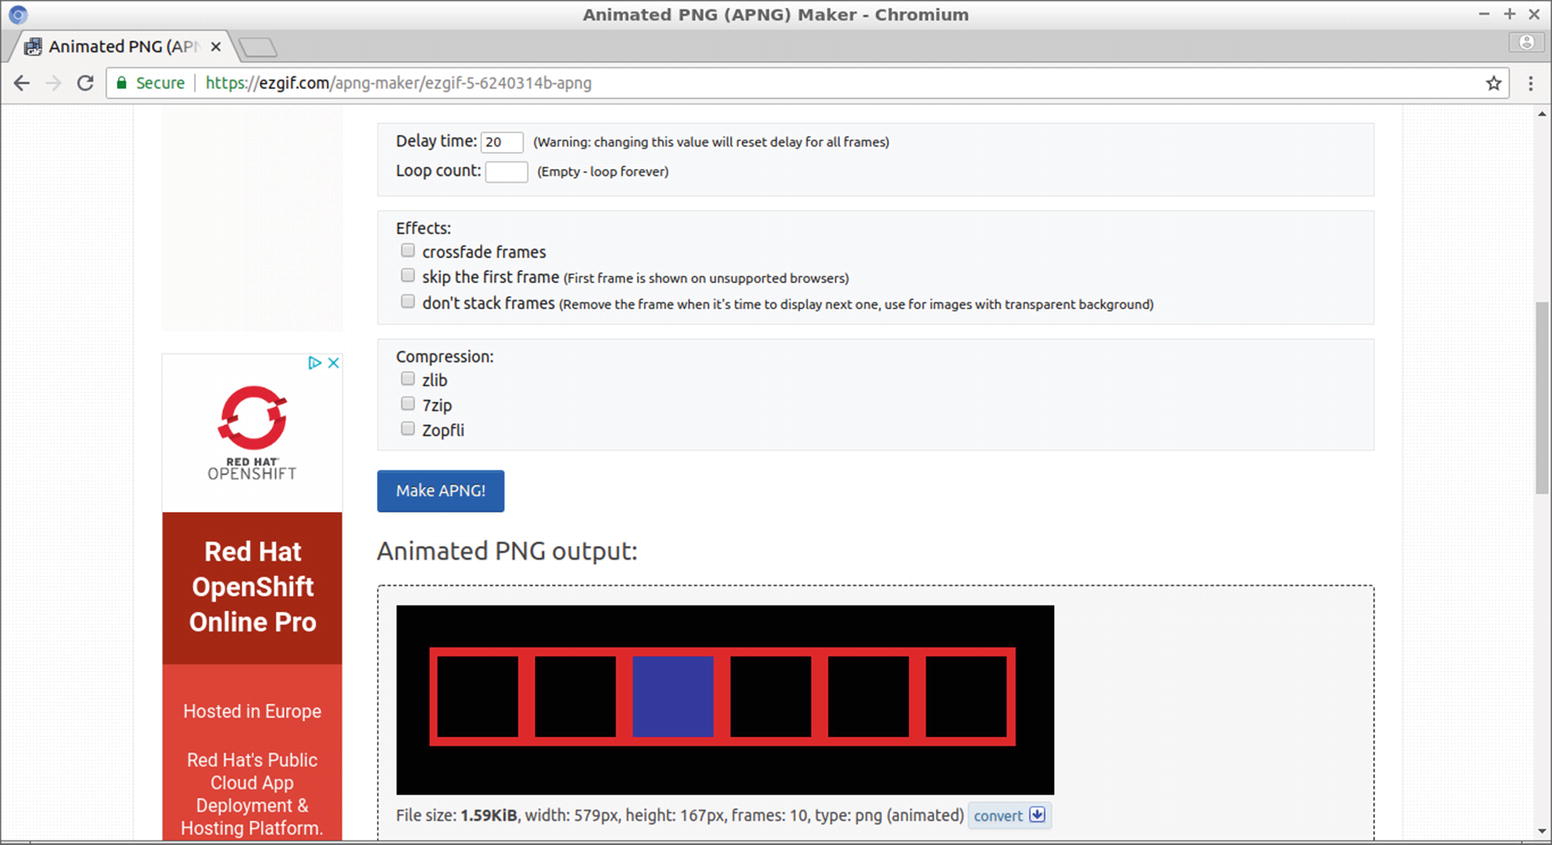
On this web page, you can set the delay time and also the loop count. You can leave those settings at their default values. Scroll down and click the Make APNG! button. As shown in Figure 5-28, the animated PNG file has been created under “Animated PNG output.”
Figure 5-28
The Animated PNG file displayed on the ezgif.com web page
Scroll down to view the toolbar, as displayed in Figure 5-29. Click the effects tool.
The web page displayed in Figure 5-30 appears. In the “Replace color with transparency” section, select the black box to turn all the black pixels of the PNG files transparent. Click the “Apply selected!” button.
Figure 5-30
The ezgif.com web page buttons for setting color transparency
The new processed image with the transparency set renders in the “Processed image” section and starts animating, as shown in Figure 5-31.
Figure 5-31
The processed image as viewed on the ezgif.com web page
Right-click the image, and in the pop-up menu that appears select “Save image as” (or your browser’s equivalent option). In the directory tree of the dialog that appears, set the destination of the home directory as animation.png. Use the following sudo command to enable copying the file to the document root of the site:
$ sudo mv ~/animation.png /var/www/html
Change the file owner (set with sudo to root) to www-data.
The function getElementById() in the JavaScript source code in this version of the function sub() accesses the element of the current web page (document) with a value for the attribute id equal to id1.
This id belongs to the image element. Its style is then accessed with the style property, which represents an element’s style attribute. The display style property is set then to block. In the CSS section of the source code, the display for the element with the id equal to id1 was previously set to none.
#id1{
display:none;
margin-left: auto;
margin-right: auto;
}
Therefore, by submitting the form, the function sub() runs, and this displays the animated PNG, which is the image with the id property equal to id1.
The new directory index when the user URL is processed looks like the one in Figure 5-32.
Figure 5-32
The animated PNG runs while waiting for the web server to respond
By creating an inspired animated PNG image, the waiting time is more fun.
Summary
In this chapter, you installed and set up Lighttpd, an open source web server. You had the chance to use features similar to Apache in another web server, and ideally this will make the transition to a third web server more straightforward. You mainly set the directory index, document root, listening port number, listening IP address or hostname, virtual servers, log files, and custom error reply web pages.
You also created another online web service that tests web pages remotely. In the following chapter, you will start using the MySQL database to take your online services to another level. With database queries enabled, your site’s capabilities greatly increase.