
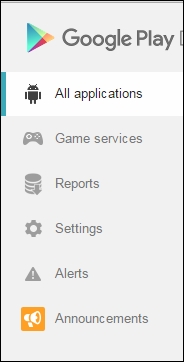
Log in to your developer account at https://play.google.com/apps/publish/. From the left-hand side of your developer console, make sure that the All applications tab is selected, as shown:
On the top right-hand side corner, click on the Add new application button, as shown in the next screenshot:
Now, we have a bit of form filling to do, and you will need all the images from the Preparing to publish section that is near the start of the chapter.
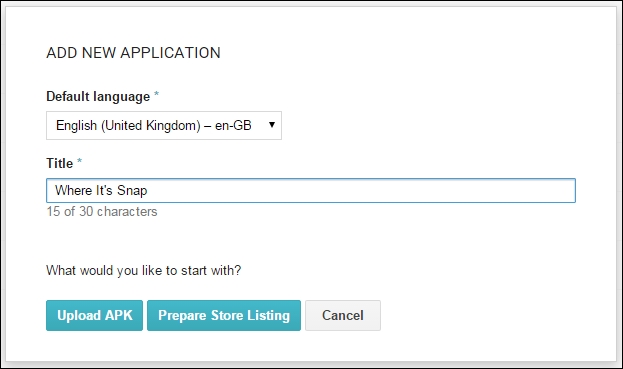
In the ADD NEW APPLICATION window shown next, choose a default language and type the title of your application:
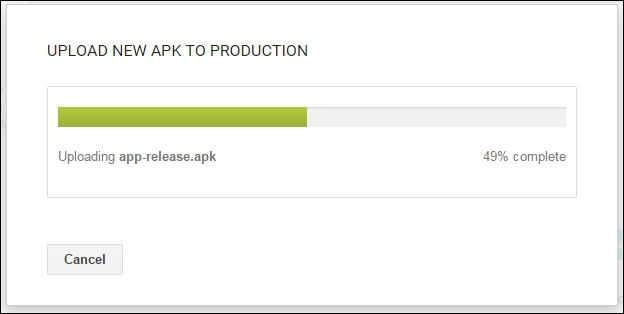
Now, click on the Upload APK button and then the Upload your first APK button and browse to the APK file that you built and signed in the Building the publishable APK file section. Wait for the file to finish uploading:
Now, from the inner left-hand side menu, click on Store Listing:
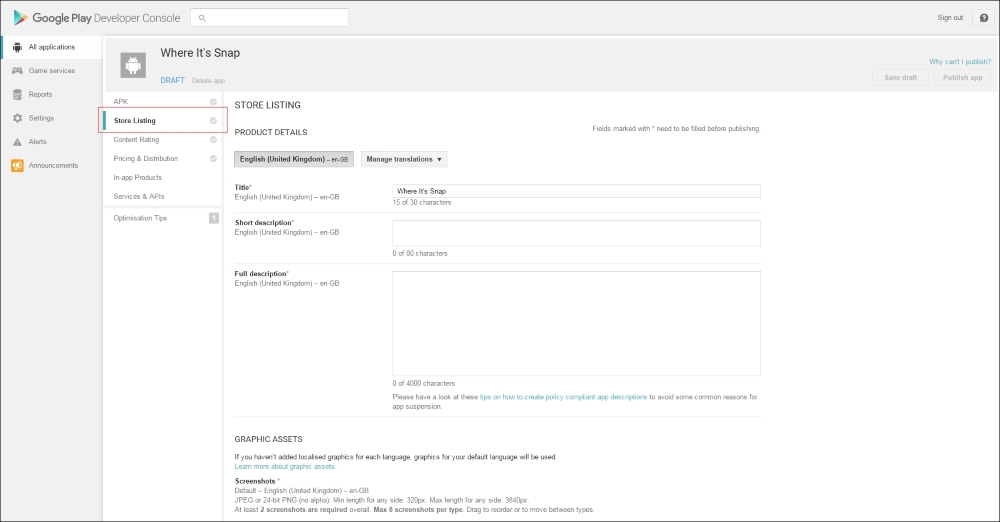
We are faced with a fair bit of form filling here. If, however, you have all your images to hand, you can get through this in about 10 minutes.
Almost all the fields are self-explanatory, and the ones that aren't have helpful tips next to the field entry box. Here are a few hints and tips to make the process smooth and produce a good end result:
- In the Full description and Short description fields, you enter the text that will be shown to potential users/buyers of your app. Be sure to make the description as enticing and exciting as you can. Mention all the best features in a clear list, but start the description with one sentence that sums up your app and what it does.
- Don't worry about the New content rating field as we will cover that in a minute.
- If you haven't built your app for tablet/phone devices, then don't add images in these tabs. If you have, however, make sure that you add a full range of images for each because these are the only images that the users of this type of device will see.
When you have completed the form, click on the Save draft button at the top-right corner of the web page.
Now, click on the Content rating tab and you can answer questions about your app to get a content rating that is valid (and sometimes varied) across multiple countries.
The last tab you need to complete is the Pricing and Distribution tab. Click on this tab and choose the Paid or Free distribution button. Then, enter a price if you've chosen Paid.
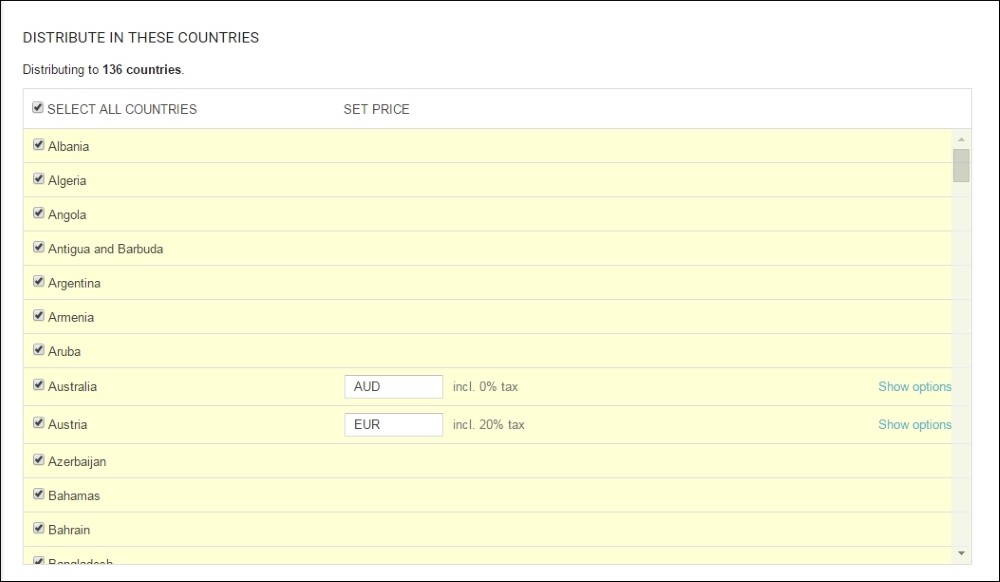
In the DISTRIBUTE IN THESE COUNTRIES section, you can select countries individually or check the SELECT ALL COUNTRIES checkbox, as shown in the next screenshot:
The next six options under the Device categories and User programs sections in the context of what you have learned in this book should all be left unchecked. Do read the tips to find out more about Android Wear, Android TV, Android Auto, Designed for families, Google Play for work, and Google Play for education, however.
Finally, you must check two boxes to agree with the Google consent guidelines and US export laws.
Click on the Publish App button in the top-right corner of the web page and your app will soon be live on Google Play. Congratulations.