
Use the Tile Map Editor
In the Scene Graph, right-click the Grass Tile Map and select the Edit Tile Map from the context menu; this action takes you into the Tile Map Editor, which looks like this:
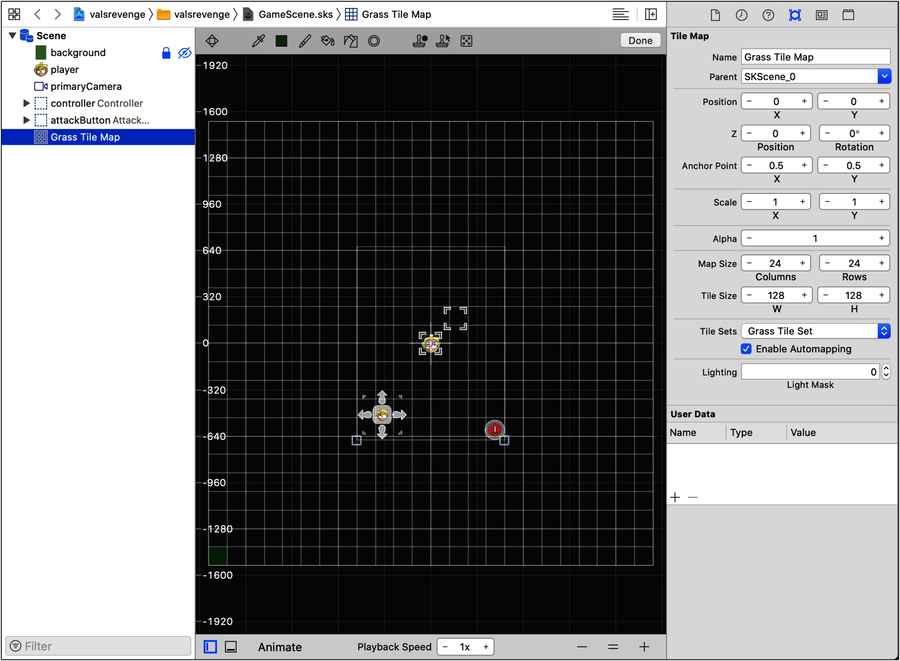
The Tile Map Editor is a powerful tool for painting your tiles onto a tile map node. With this editor, you have the option of automatically filling the map node with tiles from its corresponding tile set or individually selecting and painting tiles from the set.
Before you get into the nitty-gritty of painting tiles, let’s quickly go over the toolbar.
If you’ve ever used a drawing and painting application, you’re likely familiar with how most of these tools work. In order from left to right, you have the tools as shown in the first image.

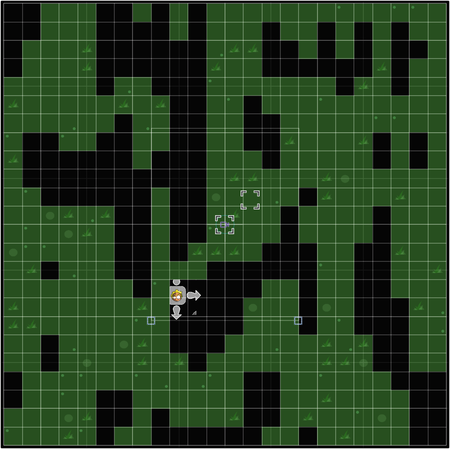
Click the Randomize tool a few times and watch as random grass tiles are placed within the map. When you’re done, you’ll end up with a random painting of grass tiles that almost certainly looks different than the example as shown in the second image.
Switch to the Brush tool and paint in the missing tiles, filling every column and row with a random grass tile. (You can also try using the Flood Fill tool on the larger areas.)
The keyword here is random. Click the Select Tile tool and you’ll see a single option, the Grass tile:
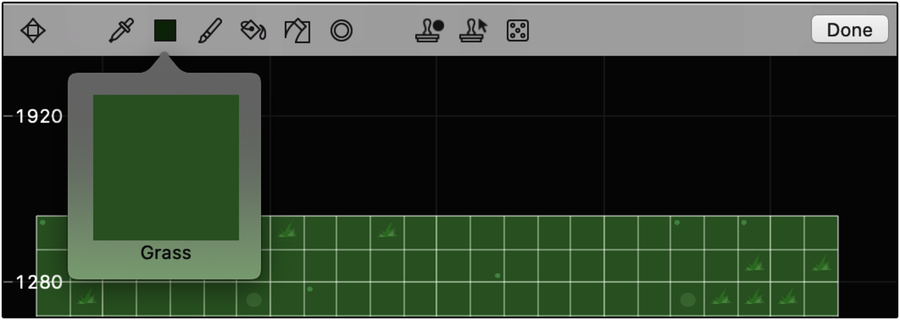
When the Enable Automapping option is enabled, the tile variant used is random. However, if you’d like a little more control over tile selection, you can disable automapping.
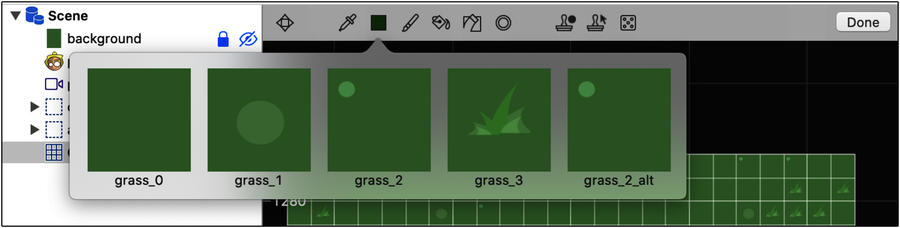
To disable the automapping option, remove the check mark in the Enable Automapping option (you’ll find this option in the Attributes Inspector immediately below the Tile Sets drop-down list). Now, click the Select Tile tool once again, and this time, you’ll see something more like this:
Having the ability to turn automapping on and off gives you greater control when you want more or less randomization or when you want to paint a specific tile at a certain location.
Before you build and run the project, you may have noticed that Val and the controllers are now nowhere to be found. That’s because the grass tile map node is on top of the controllers and player nodes.
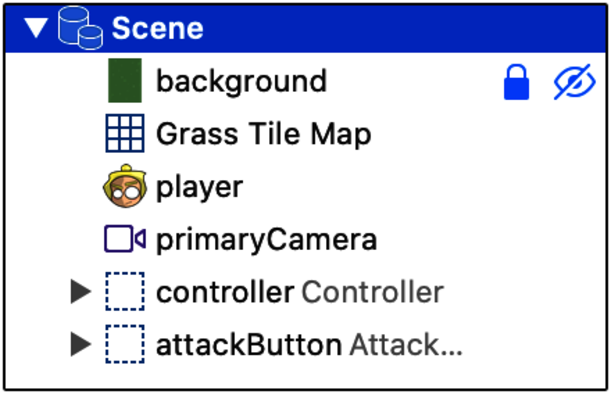
While you’re painting your tiles, having the map node above all the other nodes makes it easier to see what you’re painting, but you’ll need to move the map node to where it belongs before moving on to the next step. To do that, drag the Grass Tile Map node above the player node in the Scene Graph, like the image.
Build and run the project. You can now move the player around in all directions.

Notice how the player now has a lot more space to walk around and explore. While this is better than before, walking around an empty meadow, as lovely as it may be, isn’t exactly the most exciting game. Let’s liven things up with a dungeon.