
Lock the Location of the On-Screen Controls
At the moment, when you switch from portrait to landscape mode, the on-screen controls are located outside of the camera’s viewport. The same is true when the player navigates beyond the view. You will fix both of these problems now.
Creating an Extension to Find the View’s Edges
You first need to implement something similar to what you did in Working with Different Screen Sizes to help you find the edges of the view. However, instead of making an extension that uses methods to return values, you’ll create an extension that uses computed properties, as they’re more efficient and help to produce cleaner, more succinct code.
Create a new file using the iOS Swift File template. Name this new file SKScene+ViewProperties.swift and replace its contents with the following code:
| | import SpriteKit |
| | |
| | extension SKScene { |
| | |
| | var viewTop: CGFloat { |
| | return convertPoint(fromView: CGPoint(x: 0.0, y: 0)).y |
| | } |
| | |
| | var viewBottom: CGFloat { |
| | guard let view = view else { return 0.0 } |
| | return convertPoint(fromView: CGPoint(x: 0.0, |
| | y: view.bounds.size.height)).y |
| | } |
| | |
| | var viewLeft: CGFloat { |
| | return convertPoint(fromView: CGPoint(x: 0, y: 0.0)).x |
| | } |
| | |
| | var viewRight: CGFloat { |
| | guard let view = view else { return 0.0 } |
| | return convertPoint(fromView: CGPoint(x: view.bounds.size.width, |
| | y: 0.0)).x |
| | } |
| | } |
You’ll use these four computed properties to help locate the four corners of the view (the visible screen area). What’s nice about this code is that it works across all devices, for all orientations—and now that you have it packaged neatly in this tiny extension, you can use it with all of your SpriteKit projects, without the worry of extra bloat.
What’s in a Name? | |
|---|---|
|
|
You can name your files in many ways, particularly when it comes to extending existing functionality. In Gloop Drop, you created a SpriteKitHelper.swift file where you added all of your SpriteKit extensions. While this approach isn’t necessarily a problem, it can get difficult to maintain a file that includes many unrelated methods, enums, and extensions. With Val’s Revenge being a much bigger game, it makes sense to start thinking in terms of larger scope. One way to accomplish this is to adopt a common naming convention that uses the pattern ExtendedType+Functionality.swift. With this pattern, you’re able to quickly see that you’re dealing with an extension on a certain class. |
Now that you have the extension ready to go, you can use it to help resolve the placement issues with on-screen controls.
Using the Four Corners Extension
Switch back to the GameScene.swift file and add a new method below the update(_:) method:
| | func updateControllerLocation() { |
| | let controller = childNode(withName: "//controller") |
| | controller?.position = CGPoint(x: viewLeft, y: viewBottom) |
| | |
| | let attackButton = childNode(withName: "//attackButton") |
| | attackButton?.position = CGPoint(x: viewRight, y: viewBottom) |
| | } |
This new method updates the location of the on-screen controls using the extension’s properties (viewLeft, viewRight, and viewBottom). That’s great, but you still need to call this method—and timing is everything.
You may think the best place to call the updateControllerLocation() method is within the update() method (because it’s called every frame), but that won’t work. If you attempt to update the on-screen controls within the update() method, the on-screen controls will have a sort of bouncy lag. (You’re welcome to try it out because it’s difficult to explain what it looks like.)
Instead, you’ll call the updateControllerLocation() method from within another frame-cycle function: didFinishUpdate(). Place the following code above the updateControllerLocation() method:
| | override func didFinishUpdate() { |
| | updateControllerLocation() |
| | } |
Here, you’re overriding the didFinishUpdate() method to avoid the bouncy lag.
The didFinishUpdate() method comes in handy whenever you need to update nodes or logic after the scene finishes all of the steps required to process animations. For more information about the frame-cycle functions, read Apple’s online documentation.[38]
Build and run the project as shown in the image.
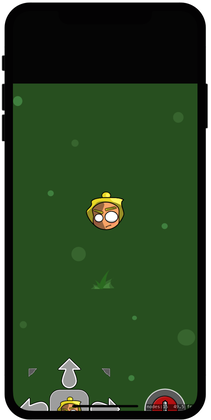
Things are starting to look better: when you rotate the device and move the player around the scene, the controls stay put. But there’s still something wrong: the controls are way too close to the screen’s edges.
Using Safe Areas and Margins for Better Placement
When your game supports multiple devices with different view sizes, it’s important to keep in mind exactly where you’re placing content. Thoughtful placement becomes especially important when you’re placing content near the edges of the view, and even more so when you’re dealing with the iPhone X and its infamous “notch.”
Right now, the on-screen controls are way too close to the edge. To fix this problem, you’ll use margins and safe areas.[39]
Still inside the GameScene.swift file, add a new property to store a hard-coded margin value:
| | let margin: CGFloat = 20.0 |
Regardless of the device or its orientation, you want to always include this margin, and always use the same value.
Now, modify the updateControllerLocation() method to use this new margin property. The updated method looks like this:
| | func updateControllerLocation() { |
| | let controller = childNode(withName: "//controller") |
| | controller?.position = CGPoint(x: (viewLeft + margin), |
| | y: (viewBottom + margin)) |
| | |
| | let attackButton = childNode(withName: "//attackButton") |
| | attackButton?.position = CGPoint(x: (viewRight - margin), |
| | y: (viewBottom + margin)) |
| | } |
Here, you’re adding (or subtracting, in the case of the right side) the view’s extension property values and the margin value. You’re then using the sum of their respective values to reposition your on-screen controls.
This change gets you part of the way there, but now you need to make sure you’re placing the content within the safe areas of the view—you don’t want content to get covered by the iPhone X’s “notch” or the home control indicator (the line at the bottom of the iPhone X’s screen).
Open the SKScene+ViewProperties.swift file. At the end of the extension, below the code for the viewRight property, add the following new property:
| | var insets: UIEdgeInsets { |
| | return UIApplication.shared.delegate?.window??.safeAreaInsets ?? .zero |
| | } |
The safeAreaInsets property helps you determine the safe area of your view by applying the insets in this property to the view’s bounds rectangle. You’ll do that next.
Go back to the GameScene.swift file, and for the last time in this chapter, update the updateControllerLocation() method to match this:
| | func updateControllerLocation() { |
| | let controller = childNode(withName: "//controller") |
| | controller?.position = CGPoint(x: (viewLeft + margin + insets.left), |
| | y: (viewBottom + margin + insets.bottom)) |
| | |
| | let attackButton = childNode(withName: "//attackButton") |
| | attackButton?.position = CGPoint(x: (viewRight - margin - insets.right), |
| | y: (viewBottom + margin + insets.bottom)) |
| | } |
Here, you’re adding (once again subtracting, in the case of the right side) the values of the safe area insets within your existing calculation.
Before you build and run the project, let’s do one more thing. Open the GameScene.sks file and drag the on-screen controls to their respective edges, like so:
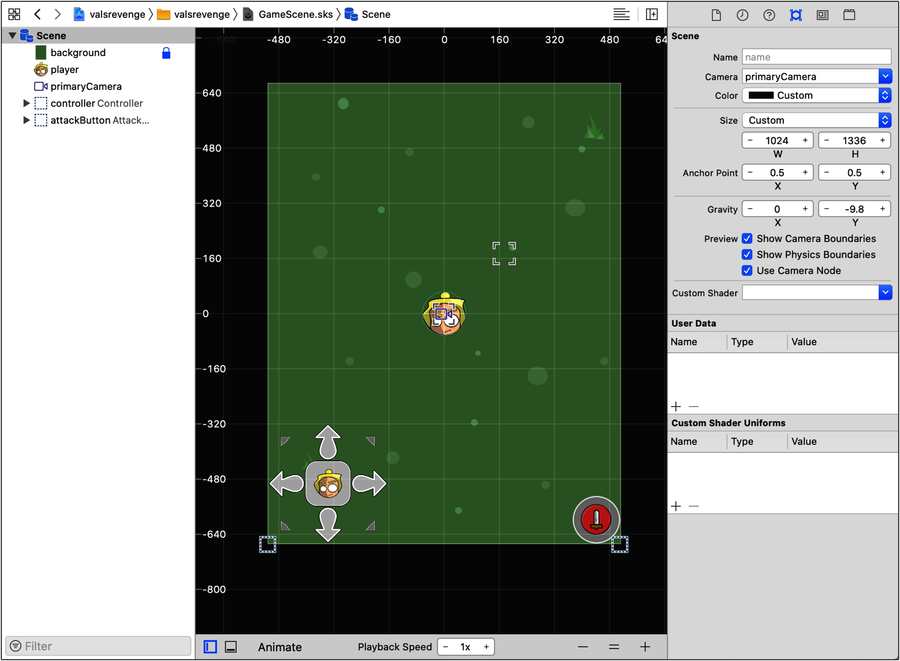
While this step isn’t necessary, it does help to keep the scene free of clutter.
Build and run the project.
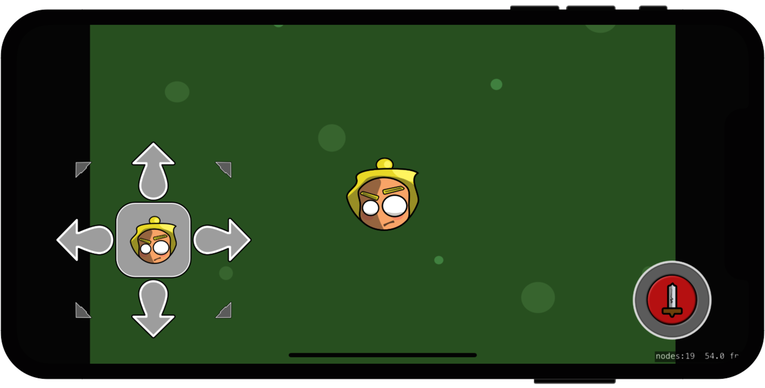
At this point, the player moves around the scene, the camera follows, and the controls are essentially pinned to the edges regardless of view size or device orientation. However, there’s a bit more refactoring you can do.