
Add New Scenes
At the moment, Val’s Revenge uses a single game scene. Although it’s entirely possible to stuff more content and logic into this game scene, you’ll take a different approach by creating two separate classes—TitleScene and GameOverScene—each using their own scene file. The benefit of multiple scenes and classes is that your game-related logic is kept separate from the other logic. Why is this important?
Suppose you had a menu scene or a settings scene where players were able to make certain selections or change options, like the game’s sound settings or whether or not the player prefers left-sided or right-sided controls. Now imagine if you stuffed the code necessary to support these two scenes inside of the GameScene class. Before you know it, you’d have a massive class that does way too much and will, no doubt, be difficult to maintain.
To avoid these massive, over-bloated classes, you’re betting off creating multiple classes and scenes, which is what you will do here. To help speed up this process, some of the work has already been done for you; you just need to add the resources to your project and make a few changes to the existing code.
Adding the Resources
To begin, open the valsrevenge project in Xcode.
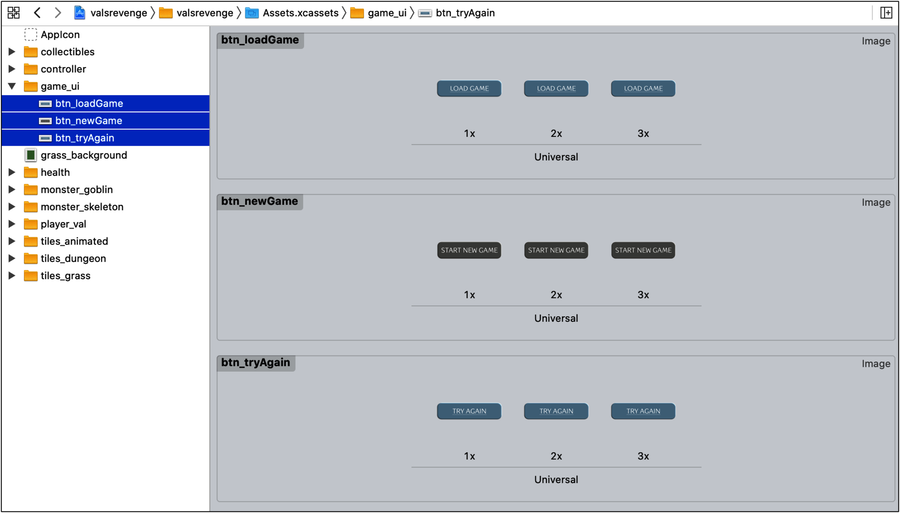
In the Project Navigator, select the Assets.xcassets asset catalog and create a new sprite atlas (click the + button at the bottom of the Outline View, and select New Sprite Atlas). Name the new atlas game_ui and delete the empty Sprite image set.
Xcode 12 and Sprite Atlas Creation | |
|---|---|
|
|
In Xcode 12, the New Sprite Atlas option does not exist. To create a new sprite atlas, click the + button at the bottom of the Outline View and select AR and SceneKit ▶ Sprite Atlas. |
Open Finder and drag the contents from this chapter’s resources/game_ui folder into the newly created sprite atlas; you’ll end up with the new image sets as shown.
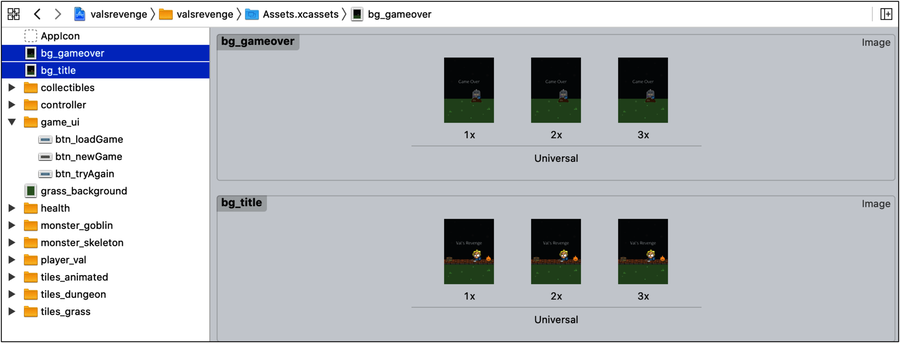
Next, open the resources/backgrounds folder and drag the contents of that folder directly into the root of the asset catalog. When you’re done, you’ll have two more image sets:
With the image sets in place, you’re ready to add the new scenes and the scene manager. The scene manager is an SKScene extension to help load your scenes. As you add these files, don’t forget to verify that the Copy items if needed and Add to targets options are both checked. Also make sure that the option to Create groups is selected.
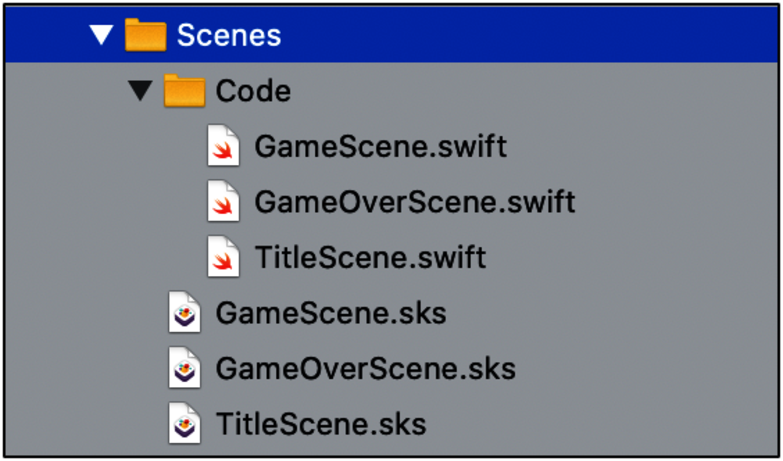
Still in Finder, open the resources/scenes folder and drag the four files from that folder into the Scenes group in the Project Navigator, placing them below the GameScene.swift file.
Finally, open the resources/extensions folder and drag the SKScene+SceneManager.swift file into the Extensions group in the Project Navigator, placing it just below the SKScene+ViewProperties.swift file.
To help keep your project organized, make another group inside the Scenes group and name it Code.
Then, place the GameScene.swift, GameOverScene.swift, and TitleScene.swift files into the newly created group:
Before moving on, let’s look at the new scenes and review the code in the SKScene+SceneManager.swift file.
Touring the New Scenes and the Scene Manager
In the Project Navigator, select the SKScene+SceneManager.swift file to open it in the Source Editor. Notice this file contains an SKScene extension with the following methods:
- startNewGame()
- resumeSavedGame()
- loadSceneForLevel(_:)
- loadGameOverScene()
The benefit to using an extension to manage your scene changes is that you can call these methods from any scene within your game. As you work through the rest of this chapter, you’ll see why this is helpful.
While you’re here, let’s examine the methods in this file from the bottom up, starting with the loadGameOverScene() method:
| | func loadGameOverScene() { |
| | print("Attempting to load the game over scene.") |
| | |
| | // Create actions to load the game over scene |
| | let wait = SKAction.wait(forDuration: 0.50) |
| | let block = SKAction.run { |
| | if let scene = GameOverScene(fileNamed: "GameOverScene") { |
| | scene.scaleMode = .aspectFill |
| | |
| | self.view?.presentScene(scene, transition: |
| | SKTransition.doorsOpenHorizontal(withDuration: 1.0)) |
| | } else { |
| | print("Can't load game over scene.") |
| | } |
| | } |
| | |
| | // Run the actions in sequence |
| | run(SKAction.sequence([wait, block])) |
| | } |
This small method uses SpriteKit actions to load the game over scene, which looks like this:
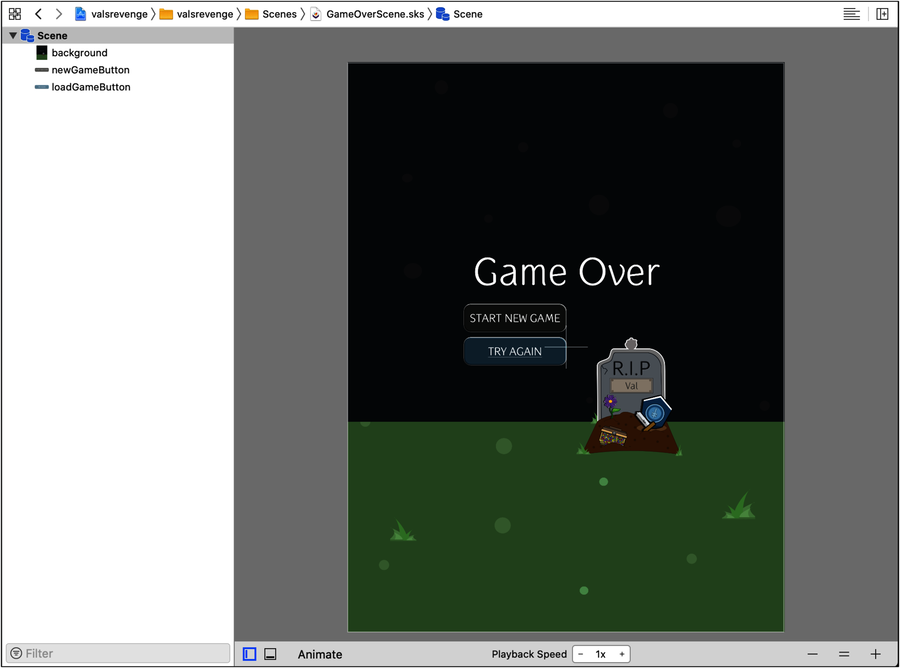
The two buttons you see here will either start a new game or let the player try again (or in other words, load the previously saved game). The method responsible for starting a new or previously saved game looks like this:
| | func touchDown(atPoint pos : CGPoint) { |
| | let nodeAtPoint = atPoint(pos) |
| | if newGameButton.contains(nodeAtPoint) { |
| | startNewGame() |
| | } else if loadGameButton.contains(nodeAtPoint) { |
| | resumeSavedGame() |
| | } |
| | } |
You’ll find this method in both the GameOverScene and TitleScene classes. The only difference between these two scenes are how they look, not how they function.
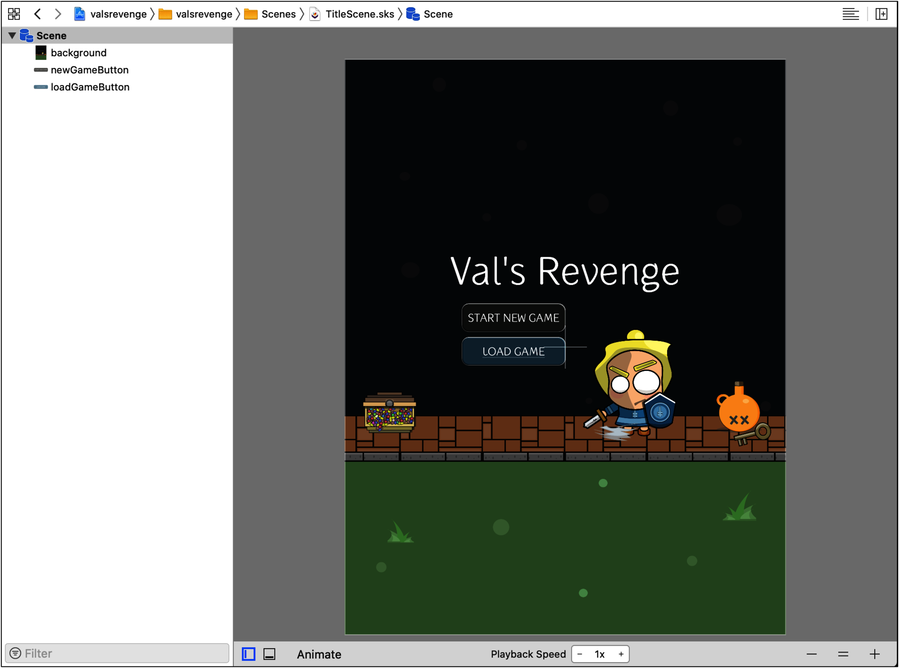
Here’s a look at the title scene for comparison:
The next method in the SKScene+SceneManager.swift file (from the bottom up) is the loadSceneForLevel(_:) method:
| | func loadSceneForLevel(_ level: Int) { |
| | print("Attempting to load next scene: GameScene_(level).") |
| | |
| | // Play sound |
| | run(SKAction.playSoundFileNamed("exit", waitForCompletion: true)) |
| | |
| | // Create actions to load the next scene |
| | let wait = SKAction.wait(forDuration: 0.50) |
| | let block = SKAction.run { |
| | |
| | // Load 'GameScene_xx.sks' as a GKScene |
| | if let scene = GKScene(fileNamed: "GameScene_(level)") { |
| | |
| | // Get the SKScene from the loaded GKScene |
| | if let sceneNode = scene.rootNode as! GameScene? { |
| | |
| | // Copy gameplay-related content over to the scene |
| | sceneNode.entities = scene.entities |
| | sceneNode.graphs = scene.graphs |
| | |
| | // Set the scale mode to scale to fit the window |
| | sceneNode.scaleMode = .aspectFill |
| | |
| | // Present the scene |
| | self.view?.presentScene(sceneNode, transition: |
| | SKTransition.doorsOpenHorizontal(withDuration: 1.0)) |
| | |
| | // Update the layout |
| | sceneNode.didChangeLayout() |
| | } |
| | } else { |
| | print("Can't load next scene: GameScene_(level).") |
| | } |
| | } |
| | |
| | // Run the actions in sequence |
| | run(SKAction.sequence([wait, block])) |
| | } |
This code should look familiar as it’s almost what’s being used now in the GameViewController.swift file to load the initial game scene. The difference is that you’re passing in the level so that the correct scene file gets loaded depending on which level the player is about to begin.
The remaining methods—startNewGame() and resumeSavedGame()—are, for the most part, empty. But they won’t be for long. Your job, with a little guidance, is to finish out those methods. But first, you need to get the title scene working.