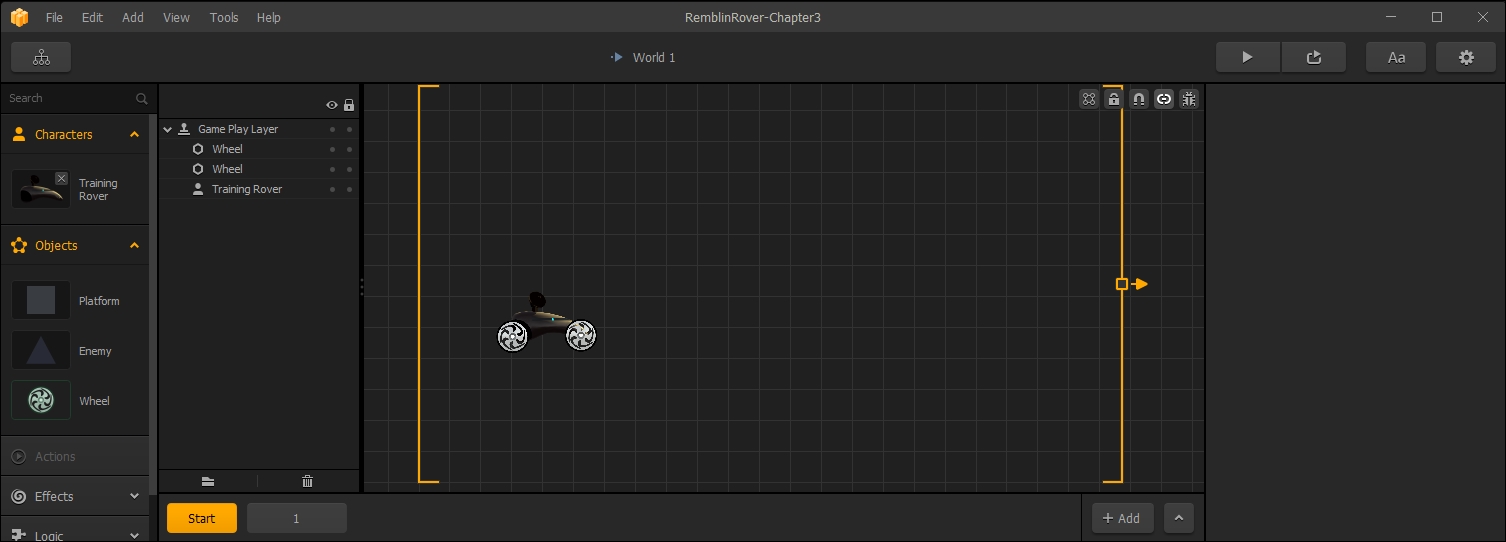
Let's zoom out so we can see the entire stage. After all, if we're editing something that affects the entire stage, we should probably see what we're working with. We should also remove all the obstacles and background objects in the scene.
In the Layer window, let's select each of the Platform objects and hit the Delete key on your keyboard. You might notice that both the DarkClouds and Background layers are locked. To unlock them, just click the little padlock icon on their layer. There is also a global background lock/unlock button (in the top-right corner of the viewport). It can make for an easy shortcut to lock, or unlock all of the background layers. Now you can select each of these layers and delete them the same way as the Platform objects. The result should look like this:
The reason we did this is that we're going to fully replace the background with several layers that will move in parallax. Parallax is a fancy way of describing an aspect of perspective. This movement gives the illusion that our character is moving through a three-dimensional world (even though it's not). You can demonstrate parallax to yourself pretty easily. Hold both of your hands up in front of your face, one in front of the other with about 6 inches of separation. Now, move them (together) back and forth (from left to right, then right to left). You'll see that across your visual area, the hand at the back crosses behind the hand at the front. That's parallax. How do we accomplish this? Let's place our backgrounds, and then you'll see how we can do this using movement parameters.
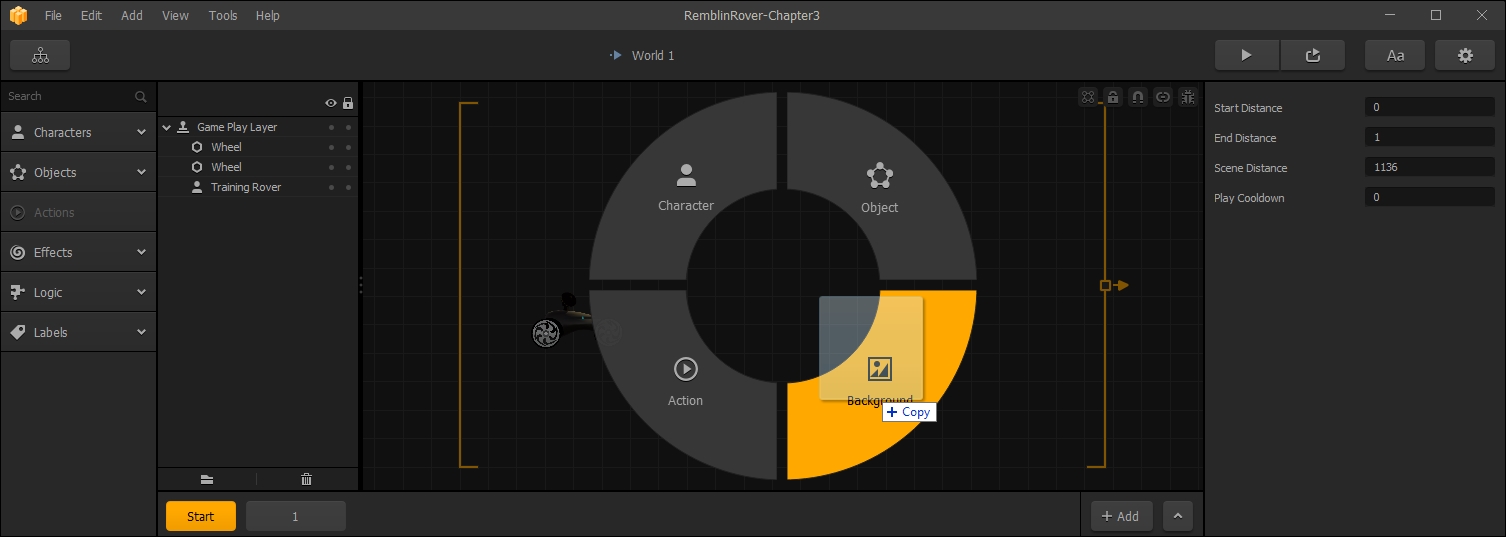
Start by navigating your file browser to Projects/RamblinRover/Backgrounds. Drag the MarsGradient.png to your stage, but DO NOT RELEASE your mouse button. You should see an overlay pop up over the stage that looks like the following screenshot. You can now release your mouse button over the Background section of this overlay (at the bottom right):
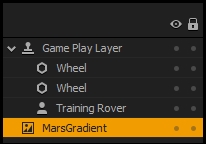
You should see the whole stage turn rather orange. Don't worry, this is normal. It's because all new objects appear at the top of the Layers. Just drag the MarsGradient object in the Layers window to the bottom, as you can see in the following screenshot:
Ok, so what we've just done is create the Martian sky. Just in case you haven't guessed by now, our first world will be on Mars. If you open the MarsGradient.png file in an image editing program, you'll notice that it's tall and very thin. The reason for this is that backgrounds are tiled horizontally. This means that the image is simply repeated infinitely from left to right. Since our image is just a gradient going from pink at the top to orange at the bottom, we didn't need to make it very wide. This helps us stay lean on resources. You should be constantly thinking of ways to cut down on your resource usage as you make your games.
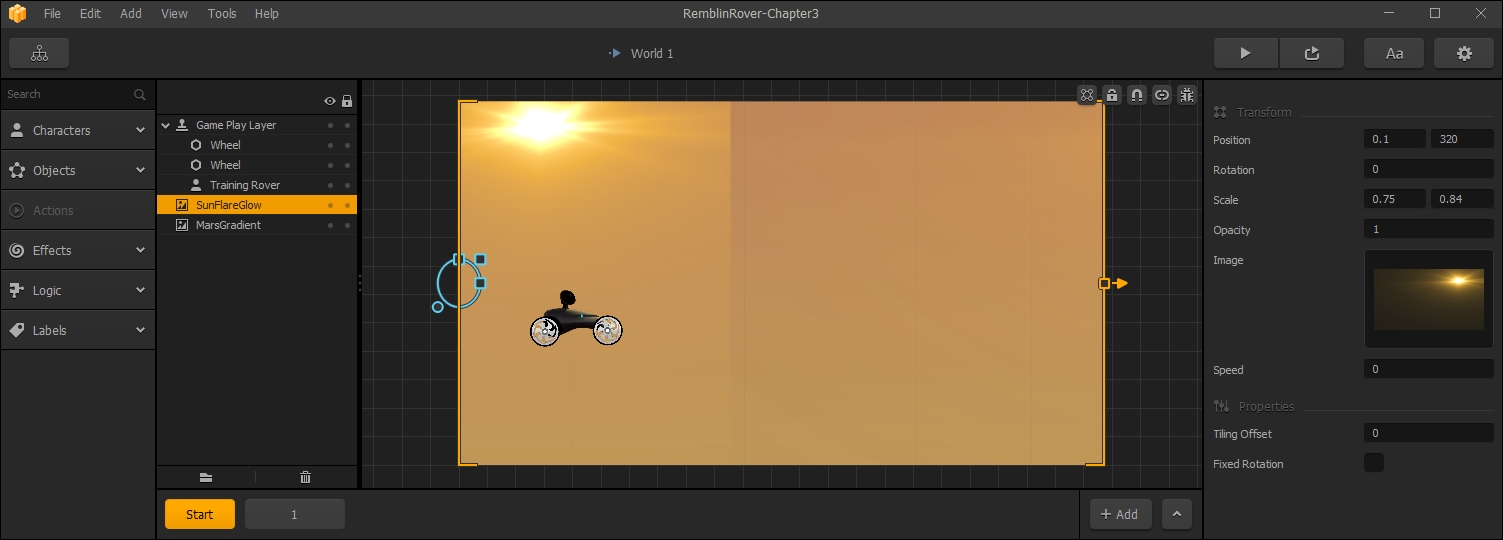
Ok, let's add another background element. Follow the same steps to bring in SunFlareGlow.png as a background layer. Put this layer just above the MarsGradient layer in the layer window. As you walk, or drive your car, what's the one piece of scenery that never moves? The Sun. So, we need to set the Speed parameter in the properties window to 0. Let's also set this graphic up so that it's positioned properly.
This graphic is one of only a few that is not seamless for the background. A seamless image is one that (when repeated) blends smoothly. You cannot see a seam in a seamless image. As the SunFlareGlow background is not seamless, we need to position it so that users do not see any seams.
We've already set it so that it never moves while the rover is driving. Let's set the Position attributes in the Properties window to 0.1 and 320 respectively. Now set the Scale attributes to 0.75 and 0.84 respectively. We know, it looks a little jacked up (in that we can see a clear seam) on our stage. The problem is not how our stage looks, it's how our playable game looks, and in that respect, the problem is solved. You'll see what we mean when we test the game.
We arrived at these numbers by opening the preview screen over and over again, and tweaking these numbers until the image was positioned properly. Your result should look like this:
To add some realism to our game, we're going to add some lens reflections as well. The sun shows up on a camera as a lens flare. There are several elements to a lens flare, but two major ones: the actual glow (which we've just placed) and lens reflections. Lens reflections show up as geometric shapes as light reflects off the layers of glass inside a lens. Since this light is reflecting inside the lens, these reflections show up on top of any other image the camera sees. This is why it's a separate image; so we can put this layer on top of everything else.
Drag the SunFlareReflections.png file onto the stage as a Background. This time, we'll leave this at the top of our Layer window. Set all of the parameters of this layer to the exact same values as our SunFlareGlow layer. The result should look like the following screenshot:
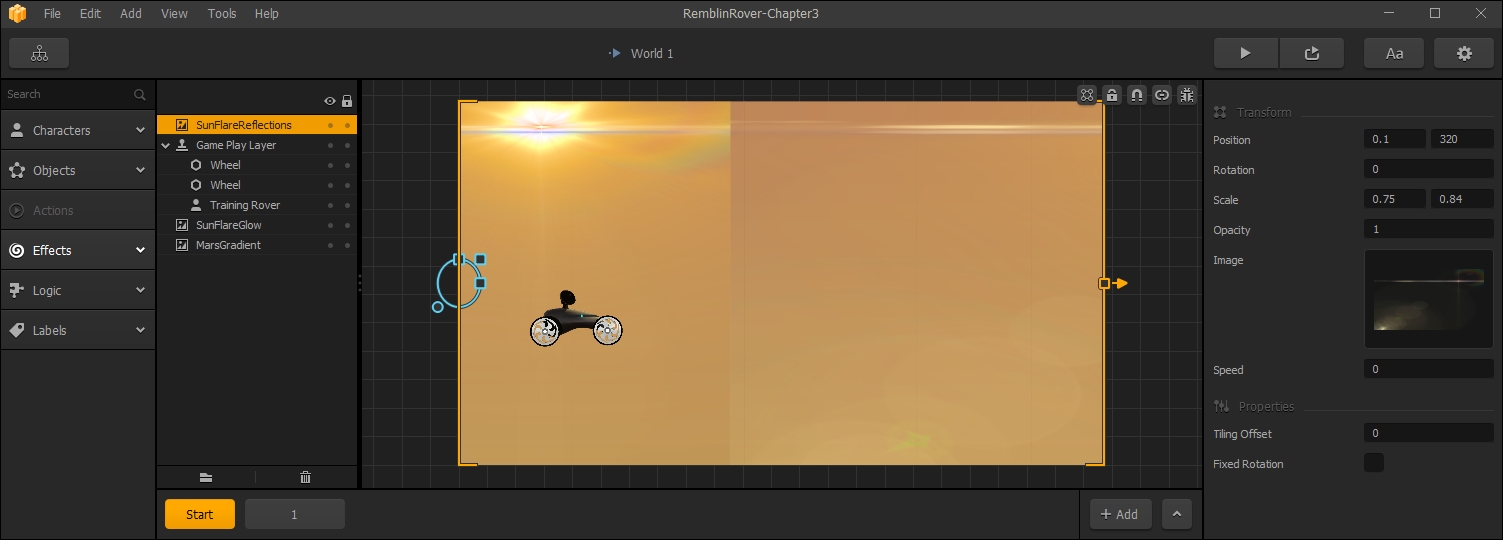
Granted, it doesn't look all that different. But this will add a nice effect that will give the game field a bit of extra polish. We've taken the first step toward parallax as well. We've identified a far-distant object (the Sun) that never moves. Now, let's build that forward.
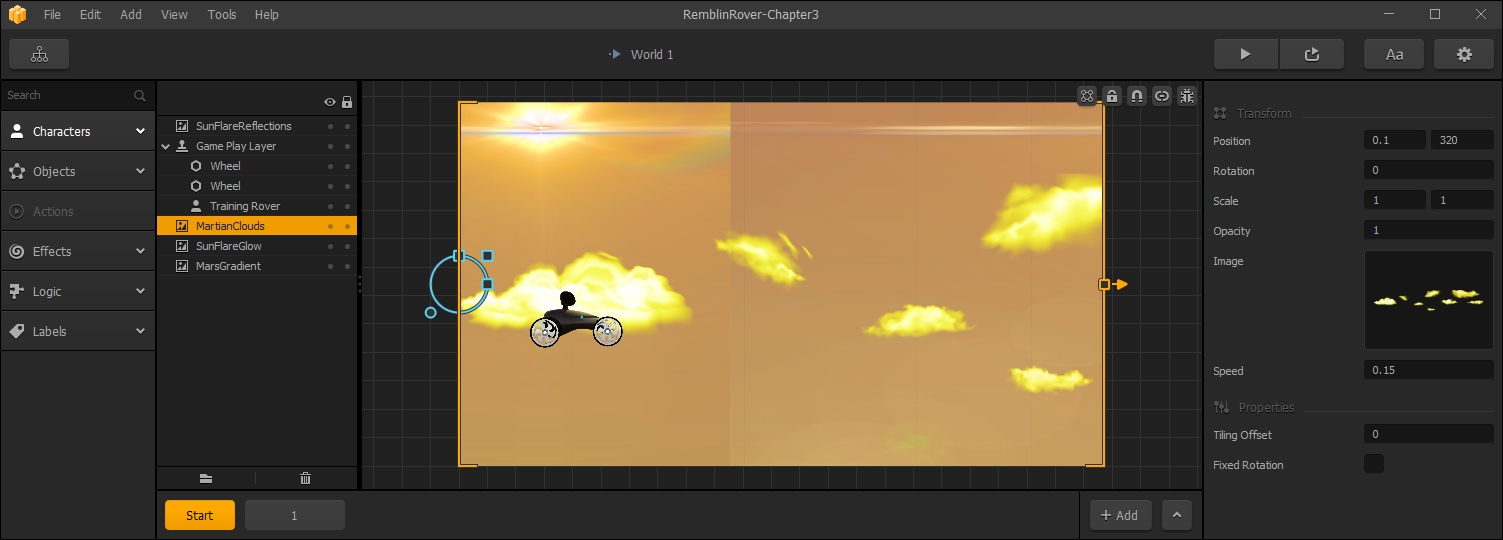
Go ahead and bring in the MartianClouds.png file as a Background. We'll move this layer down just above the SunFlareGlow layer. Its Position should be set to 0.1 by 320. We'll leave the scale alone. This image is seamless, and will move across the sky slowly as our rover drives. So, we'll set its Speed parameter to 0.15. The result should look like this:
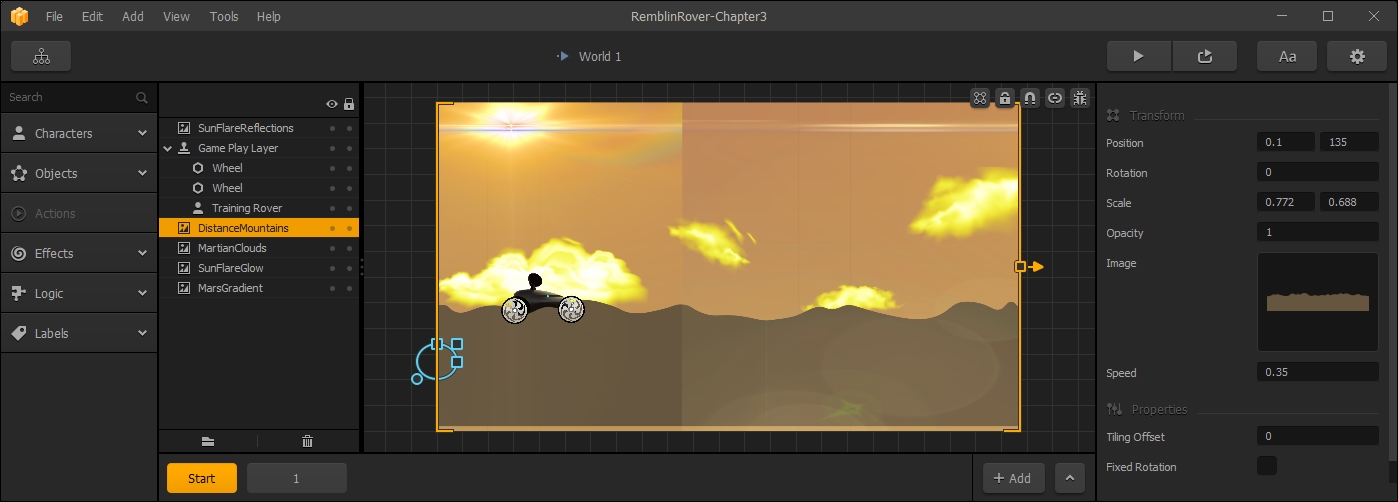
Now let's add some mountains. Bring in the DistanceMountains.png file just above the MartianClouds layer as (you guessed it) another Background. Set this layer's Position to 0.1 by 135, and let's scale it down a bit. Please set the Scale to 0.772 by 0.688. The mountains are still pretty distant, but much closer than the clouds. So their Speed will be 0.35.
Seeming tedious yet? With all of these parameters, scales, and positions, you may feel a bit lost in the numbers. Don't worry, we'll do one more background layer and then we'll explain everything that just happened. At this point, your screen should look like the following screenshot:
Now, we'll throw in our Martian landscape. This image was taken from the actual Mars Rover, and is really the surface of Mars! NASA is a great resource for images. They are a government agency, and thus all the images that NASA produces are considered public domain. What this means is that you're free to use them in any way you wish. It's just advisable to give these images a credit on your info screens.
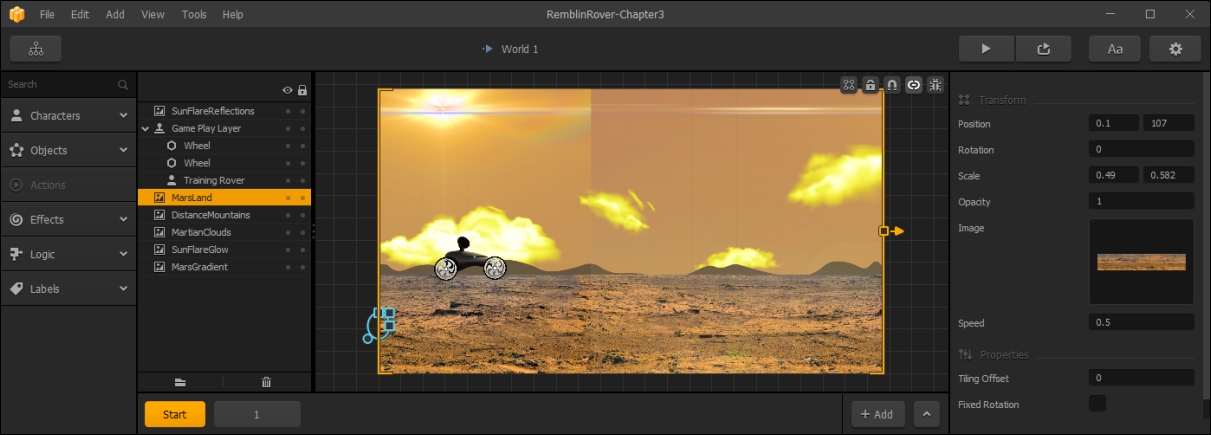
Go ahead and bring the MarsLand.png file in as a background and place it just above the DistanceMountains layer. Set the Position to 0.1 by 107 and the Scale to 0.49 by 0.582. Finally, since this is our mid-ground layer, let's set its Speed to 0.5. And, as always, your result should resemble the following screenshot:
Just in case you felt a bit lost with everything we just did, it's probably best to give it a brief once-over...or really a twice-over. Using rates of speed, we can create the illusion of parallax. The Speed parameter of a background lets you set how fast it scrolls by as you move. By setting the farthest object (the Sun) to 0 Speed, we've made it hold position no matter where our rover may go.
By setting the Speed value progressively higher with each object closer to our foreground, we can make them move by at faster rates. This is the essence of the illusion of Parallax. The one exception to this rule is the Sun FlareReflections layer. But since this is really just an additional part of the Sun, its Speed is the same as the Sun FlareGlow layer (which is 0).
We've also positioned all of our backgrounds in the proper places (clouds in the sky, mountains peaking over our landscape, and the Mars landscape at the bottom of the screen.)
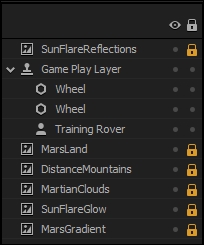
Let's make sure we don't inadvertently change the background that we worked so hard to place. Let's lock each layer we just worked on by clicking the little gray dot on the far right of each layer in the Layer window (the dot falling under the padlock icon at the top of the Layer window). You should now have a Layer window that looks like the following screenshot: