
Working with a Cube
Dimensions are useful only when incorporated into a cube. A cube uses dimension hierarchies to summarize measures from a fact table. A cube must always have at least one dimension, at least one measure, and one (and only one) fact table.
|
To create a cube that combines measures from multiple fact tables, you can use a virtual cube, as explained in “Creating Virtual Cubes” in Chapter 4. |
Use the Cube Editor
The Cube Wizard makes it easy for you to quickly put together a cube. But a cube has many properties that aren’t available when you use the wizard. So even if you use the wizard to create a cube, you’ll undoubtedly use the Cube Editor to refine it. In fact, it isn’t much harder to create a cube by using the Cube Editor than it is to use the Cube Wizard. In the following example, you’ll use the Cube Editor to create the simplest possible cube from a fact table.
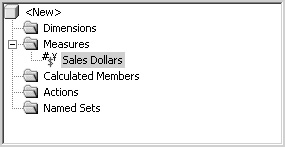
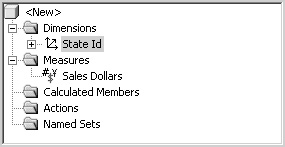
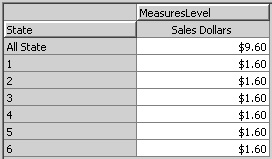
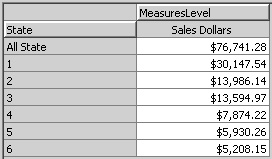
In this procedure, you created a simple cube—the smallest possible cube from the sample database. The cube has only one measure, and the one dimension has only a single, nondescriptive, level. The values you see in the Preview pane constitute the entire contents of the cube.
Note
With a private dimension, you use the Cube Editor, not the Dimension Editor, to edit all the dimension properties discussed earlier in this chapter. For example, for a private dimension, you can use the Cube Editor’s Properties pane to change the dimension name and the dimension type and to choose whether to allow duplicate names. And for a level in a private dimension, you can use the Cube Editor’s Properties pane to change the level Name, the Member Name Column, the Order By property, and so forth. You can also use the Cube Editor to add member properties to a private dimension.
Add a Shared Dimension by Using the Cube Editor
When you have shared dimensions already created, you can create a substantial new cube very quickly, even using the Cube Editor. From within the Cube Editor, you can create a new cube by using either the editor or the wizard. When using the wizard, you click the New Cube button. To create a new cube using the Cube Editor, select <New> from the Cube drop-down list. Use the Cube Editor to create a new Sales cube that uses all the shared dimensions you created earlier in this chapter.
1. | In the Cube drop-down list, select <New>. |
2. | Select SalesFact as the fact table, and click OK. Click Yes when cautioned about counting the rows in the fact table. |
3. | Drag the Sales_Dollars and Sales_Units columns from the SalesFact table into the Measures folder. |
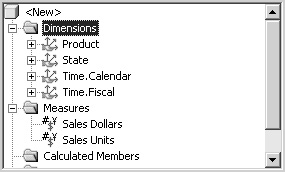
4. | Right-click the Dimensions folder, and click Existing Dimensions. Click the Add All Dimensions button (>>), and click OK.
|
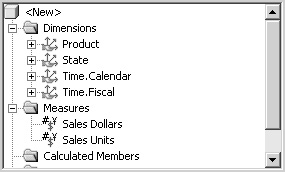
5. | In the Dimension folder, drag the Time.Fiscal dimension on top of the Time.Calendar dimension.
|
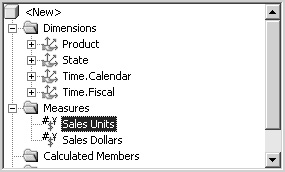
6. | Drag the Sales Units measure on top of the Sales Dollars measure to swap the order.
|
7. | Click the Process Cube button, and click Yes when asked to save the cube. Type Sales as the name of the cube, and click OK. Click No when asked to design aggregations, click OK to accept a full process method, and close the Process log window. Because the shared dimensions have not already been processed, processing the cube automatically process them. |
8. | Click the Data tab, and collapse the Country heading.
|
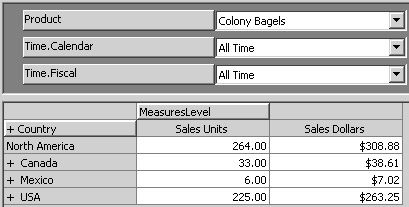
Note that Colony Bagels appears as the value for the Product dimension. That’s because you specified it as the default member of the dimension in “Specify a default member,” earlier in this chapter.