
SELECTING CONTROLS
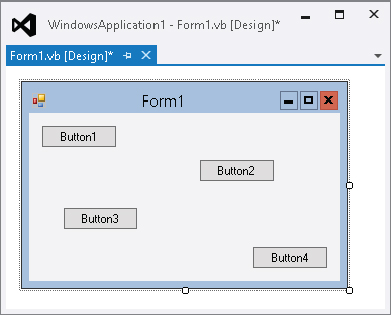
When you first create a control, the designer selects it. The designer indicates that the control is selected by surrounding it with white boxes. In Figure 3-2, the Button2 control is selected.
FIGURE 3-2: The designer surrounds a selected control with white boxes.
To select a control on the designer later, when you haven’t just added it, simply click it.
You can click and drag to select a group of controls. As you drag the mouse, the designer displays a rectangle so you can tell which controls will be selected. When you release the mouse button, all of the controls that overlap the rectangle at least partly are selected.
When you select a group of controls, the designer surrounds most of them with black boxes. It surrounds a special “master” control with white boxes. In Figure 3-3, four buttons are selected. Button1 is the “master” control so it is surrounded by white boxes.
FIGURE 3-3: The selection’s “master” control is surrounded by white boxes.
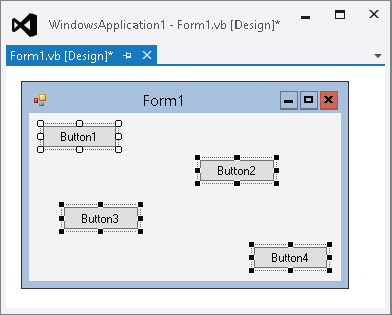
The designer uses the “master” control to adjust the others if you use the Format menu’s commands. For example, if you use the Format ⇒ Make Same Size ⇒ Height command, the designer gives the “black box” controls the same height as the “master” control. Similarly the Format ⇒ Align ⇒ Tops command moves the “black box” controls so their tops are aligned with the top of the “master” control.
To change the “master” control, simply click the control that you want to use as the “master.”
After you have selected some controls, you can Shift+Click or Ctrl+Click to add and remove single controls from the selection. You can Shift+Click-and-drag or Ctrl+Click-and-drag to add and remove groups of controls from the selection.