Our third project will be the final one that focuses on media consumption and a specialized operating system. We’ll be using Volumio to set up the Tinker Board as an audio streaming device.
But what is Volumio? Volumio is a specialized Linux distribution built on Debian for audio playback for a variety of file formats. It can play files that are stored locally or on a network drive, and even stream them from another device. It’s meant to be used as a headless device, meaning that it shouldn’t have a display or keyboard attached. Instead, Volumio is controlled remotely through a browser interface. It can also be accessed via SSH, which we explored in both the Lakka and Kodi projects.
With Volumio, you can use a variety of different outputs on the Tinker Board for playback. You can use the native outputs of either the headphone jack or HDMI, of course, but you can also use a USB-powered DAC or an I2S-based audio HAT (“Hardware attached on top”) that sits on the GPIO pins. The ability to use I2S is a big reason to use Volumio for your audio. I2S (inter-IC sound) is a serial bus interface that enables PCM audio data to be communicated between integrated circuits. Because of how the sound data is transmitted with separate clock and data feeds, I2S results in high-quality audio.
Support for the Tinker Board
Unlike the last two operating systems that we looked at, Volumio has an official release for the Tinker Board that is fully supported. As a result, we can easily download the ISO for it from Volumio’s web site. We can also check for any updates and peruse the forums for any issues people are having. Additionally, there are supported I2S audio DAC HATs that can be used with the Tinker Board, specifically the HiFiBerry series of I2S DACs and the IQaudIO DAC Plus, which also utilizes I2S.
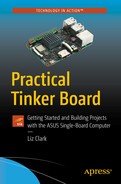
The HiFiBerry+ RCA DAC HAT
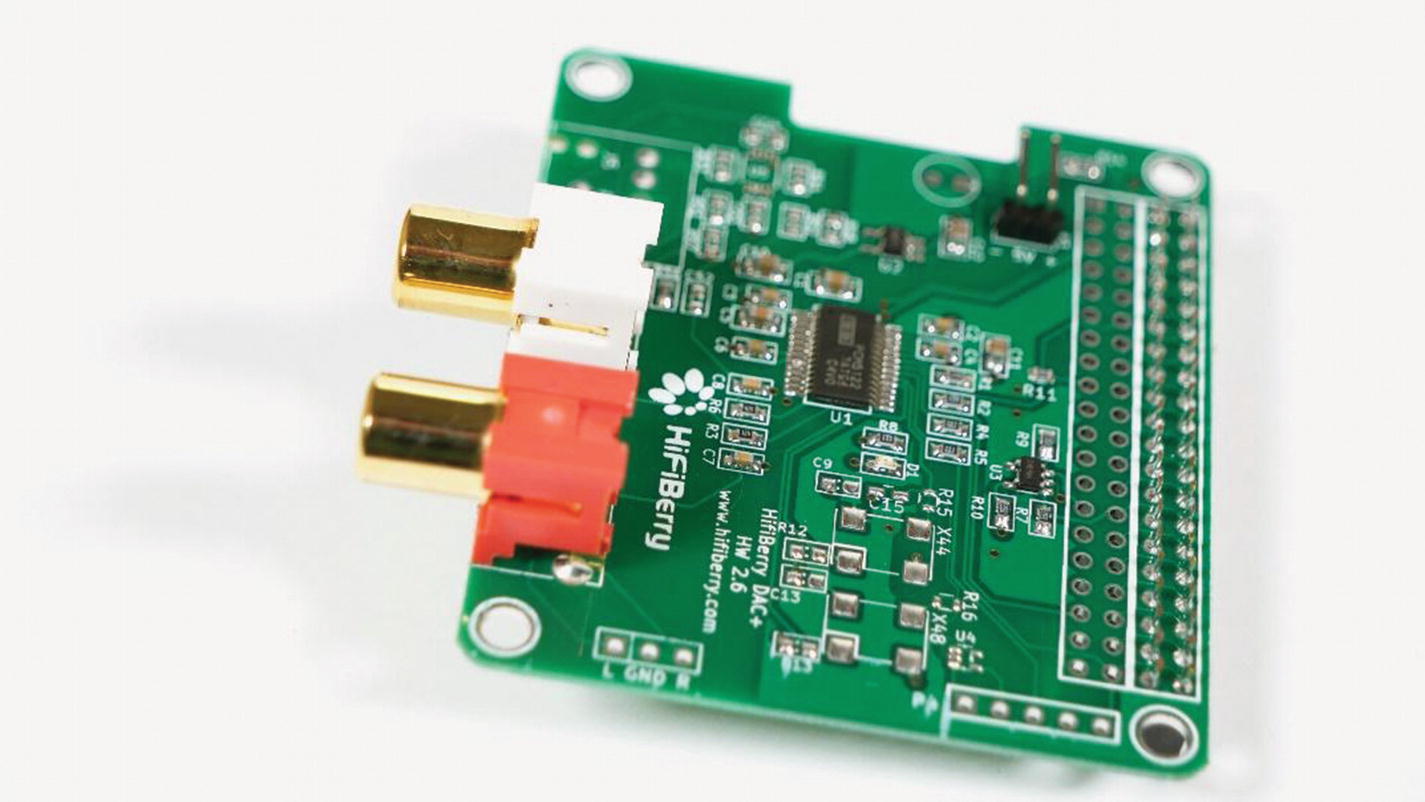
The IQaudIO DAC Plus HAT. Notice that it has both RCA and headphone outputs.

The HiFiBerry+ RCA DAC HAT and the IQaudIO DAC Plus HAT. The main differences between the two are in the audio output options.
Installing the Volumio Disk Image
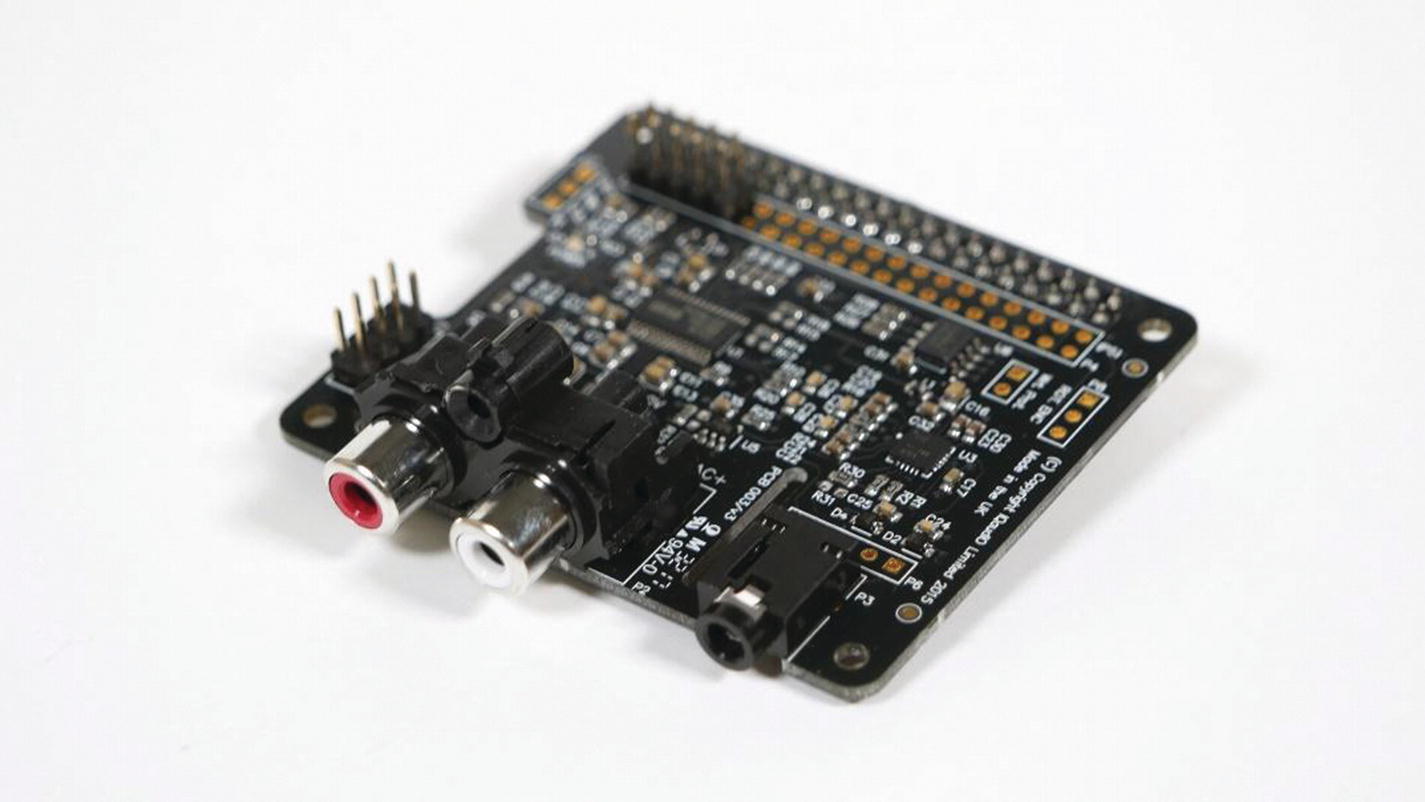
The Volumio disk image that is available for download for the Tinker Board
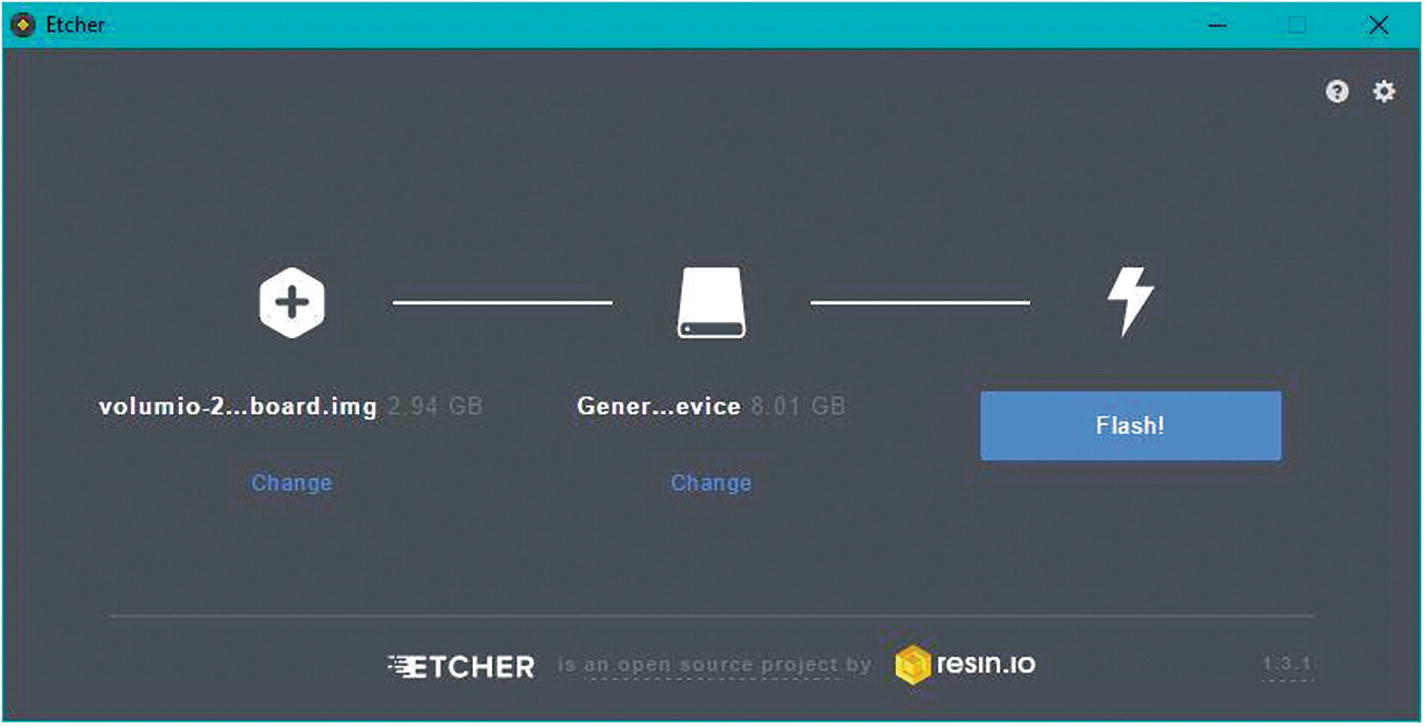
The Volumio ISO being burned to a storage device with Etcher
First Boot
Before you power up your Tinker Board with Volumio for the first time, it’s incredibly important to first attach all the necessary peripherals. You’ll of course need your power supply, but you will also need to attach your chosen audio playback method and a wired Ethernet connection for Internet connectivity.
During the first boot, the file system for Volumio is resized, and it looks for connected peripherals to the Tinker Board to configure settings. For example, if you attach an HDMI cable during the first boot, but not your audio HAT, Volumio will think that you want to utilize the HDMI output for audio and it will also disable the on-board headphone jack, which will make changing settings using the browser controller a bit difficult.
The wired Internet connection is needed because all control for Volumio takes place via a browser GUI interface. Here you can set up a wireless connection, which we’ll go over shortly, but that wired connection is needed to start. Once all these connections are ready, you can power-on the Tinker Board to begin using Volumio.
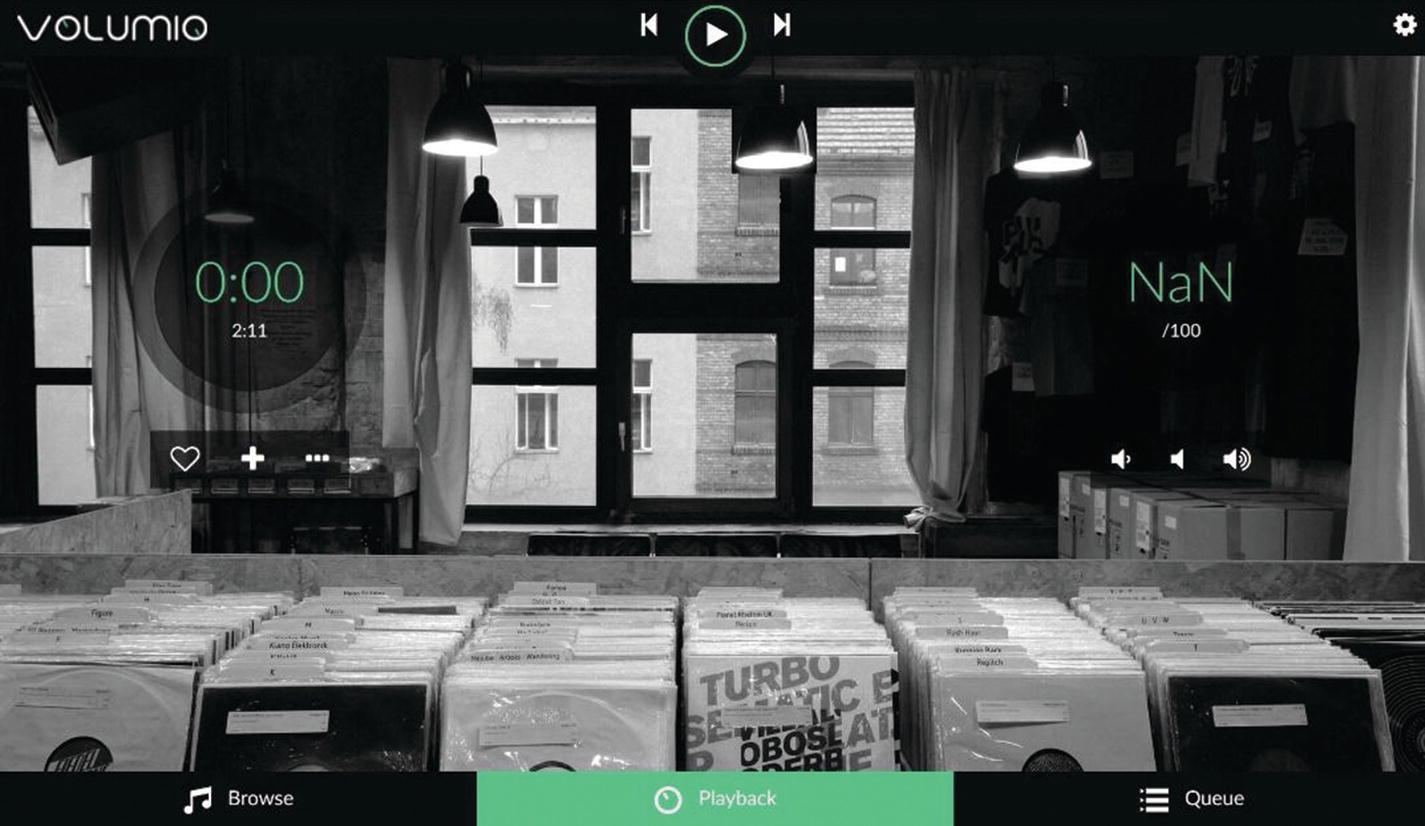
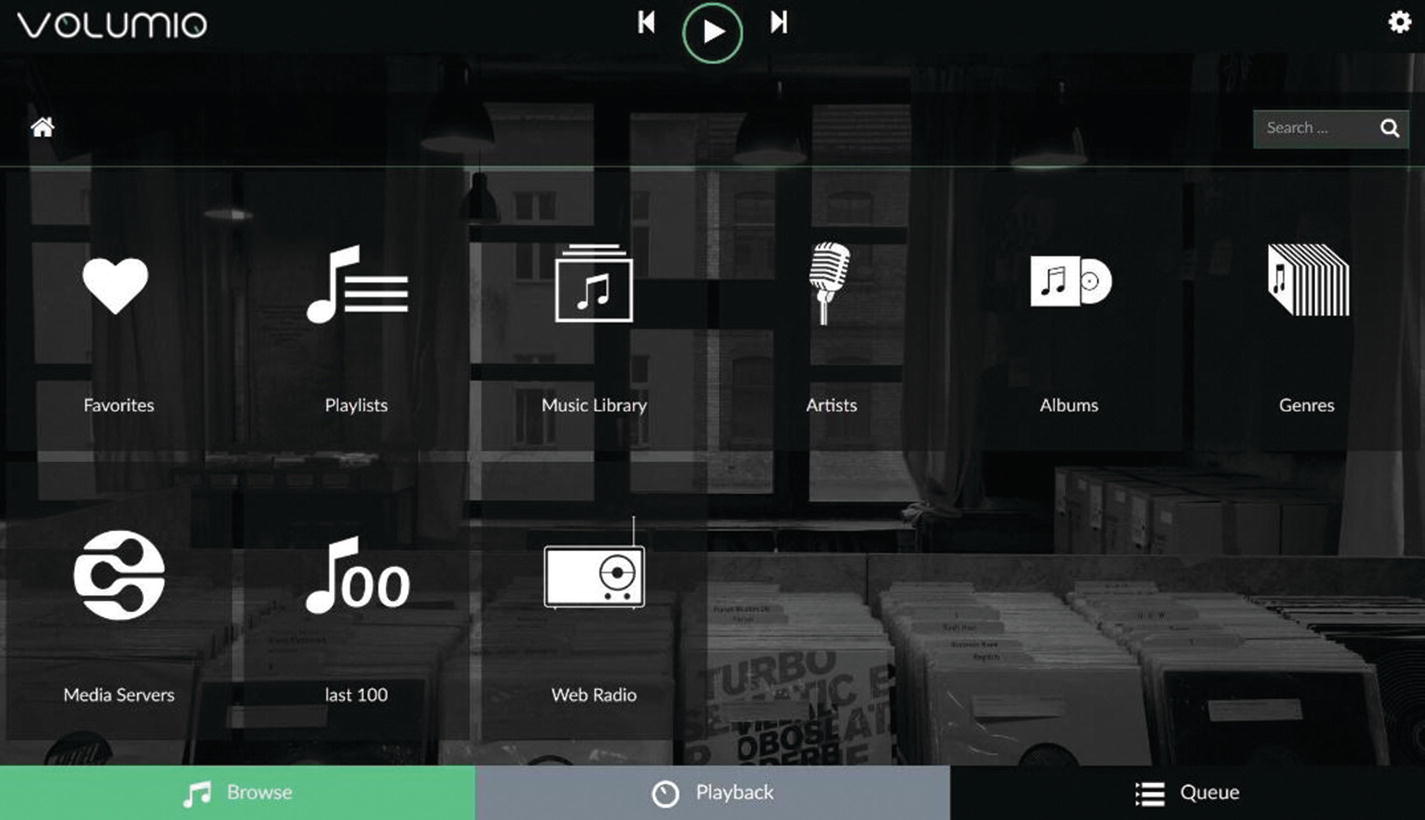
The landing page for the Volumio browser GUI
Configure Playback and Wi-Fi
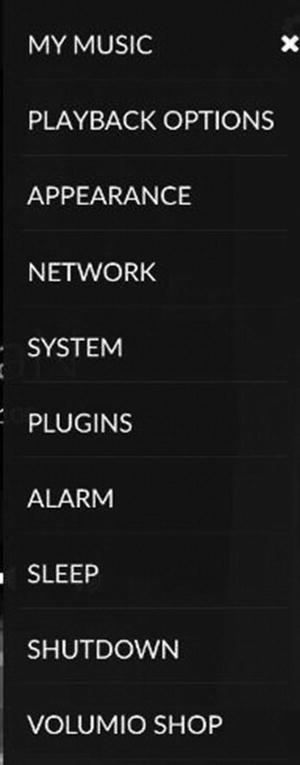
The Settings menu. Most options can be accessed through this menu.
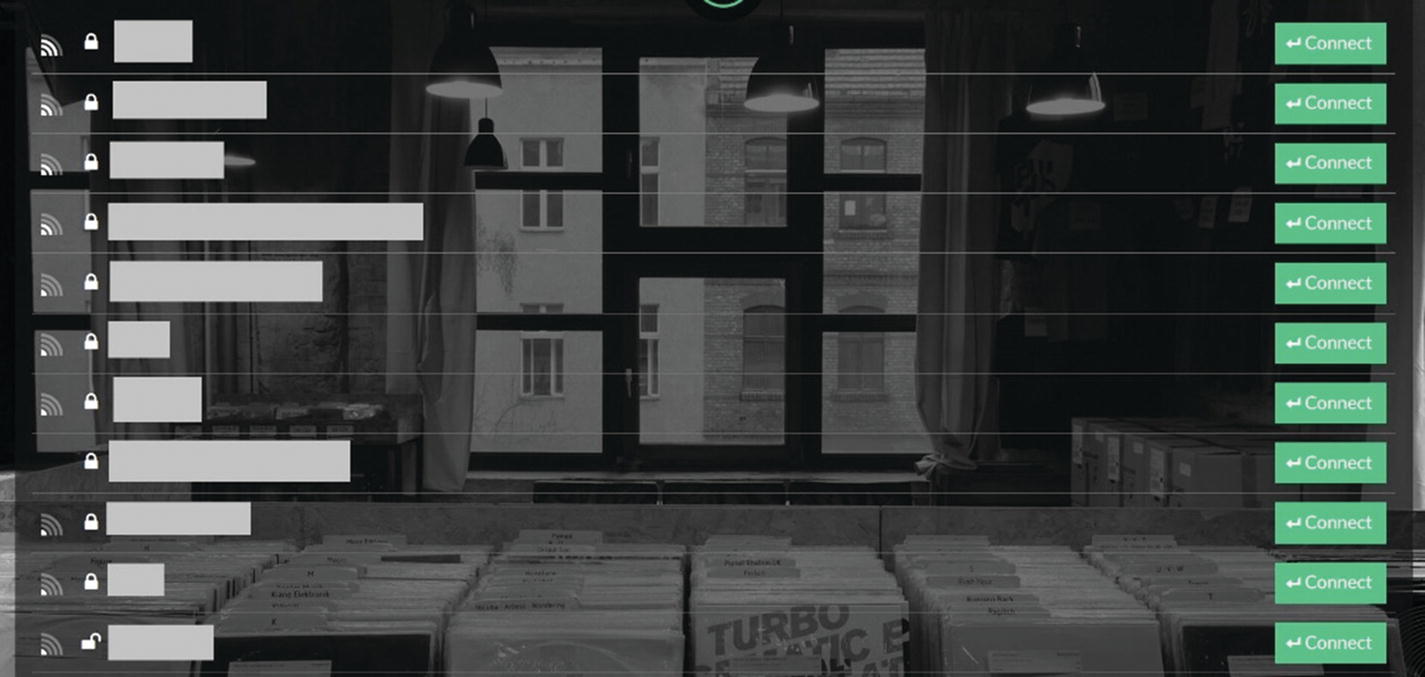
The available wireless networks under Network settings
Volumio functions well with Wi-Fi, since streaming music does not require as much bandwidth as video streaming. However, if your goal with Volumio is to stream music with a high bit rate and depth, then you may want to consider continuing a wired connection. This will also help to prevent any connectivity issues that can happen with Wi-Fi streaming.
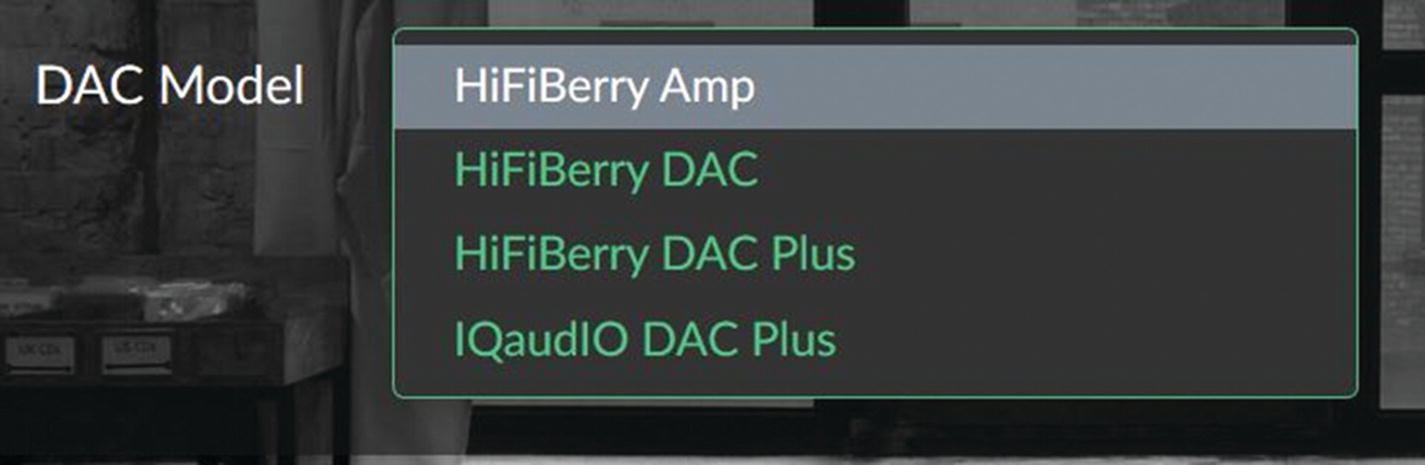
Next, we need to set up our audio output. In the Settings menu, select Playback Options. At the very top of that page you’ll see the Audio Output options. From the first dropdown menu, select the type of device you’re using.
The I2S DAC options under playback

The power options that are available after selecting Shutdown
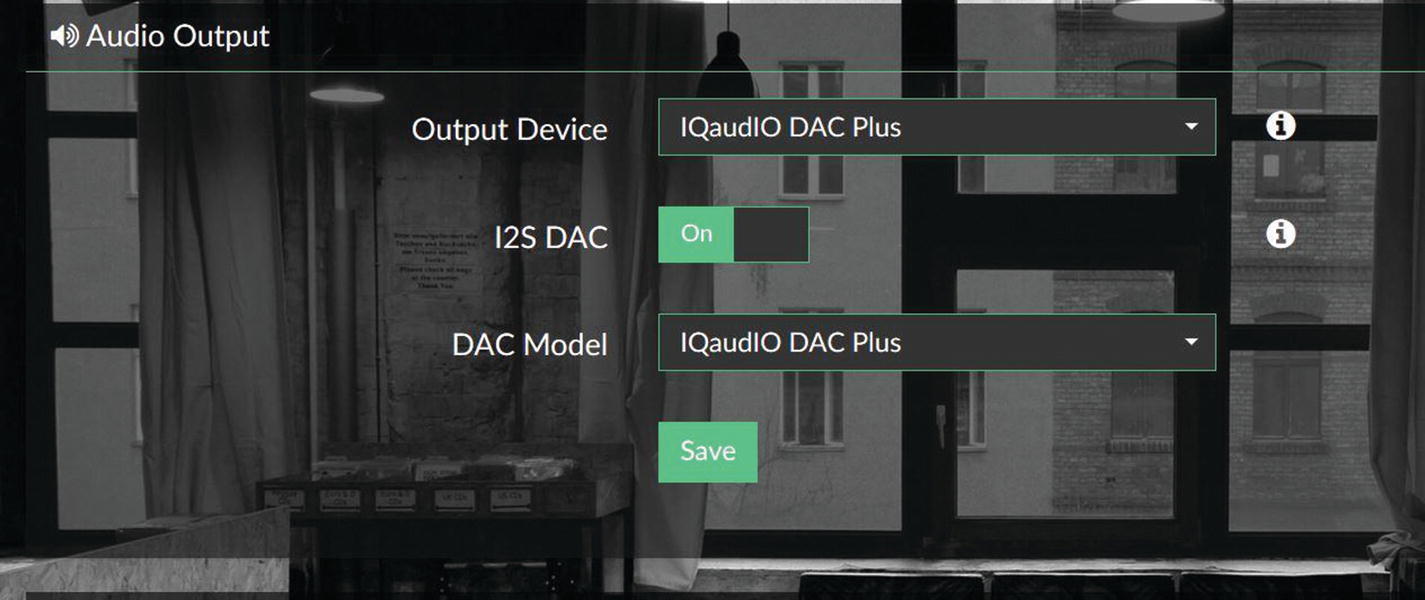
The I2S DAC audio output fully configured after reboot
Navigating the Browser GUI
Now that your basic setup is taken care of, we can take a quick tour of volumio.local to get a feel for the controls and options that Volumio offers. The browser interface is where you’ll be able to control all the basic options for Volumio, including playback and file access options.
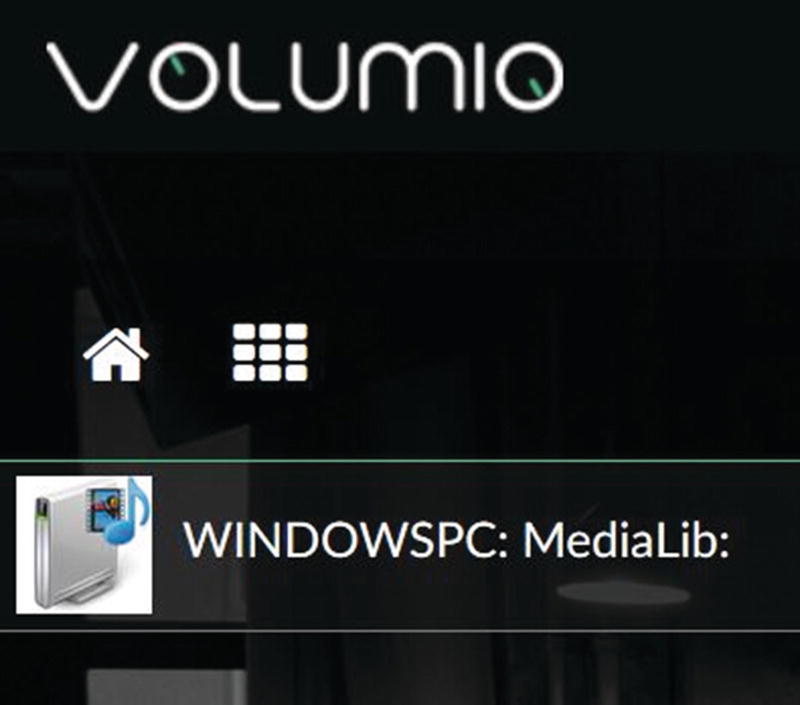
The file options available in the Browse tab
Local and network drive files can be sorted by the entire music library, artists, albums or genres. You can also favorite tracks to create a compilation of tracks that are sorted in Volumio. For local storage, you’ll simply attach a drive via USB, as we did with Kodi and Lakka. For accessing a network drive, though, there’s a little bit more setup involved.

The NAS configuration setup
UPnP and Internet Radio
A UPnP Media Server available in Volumio. This particular server was set up for Kodi in Chapter 8.
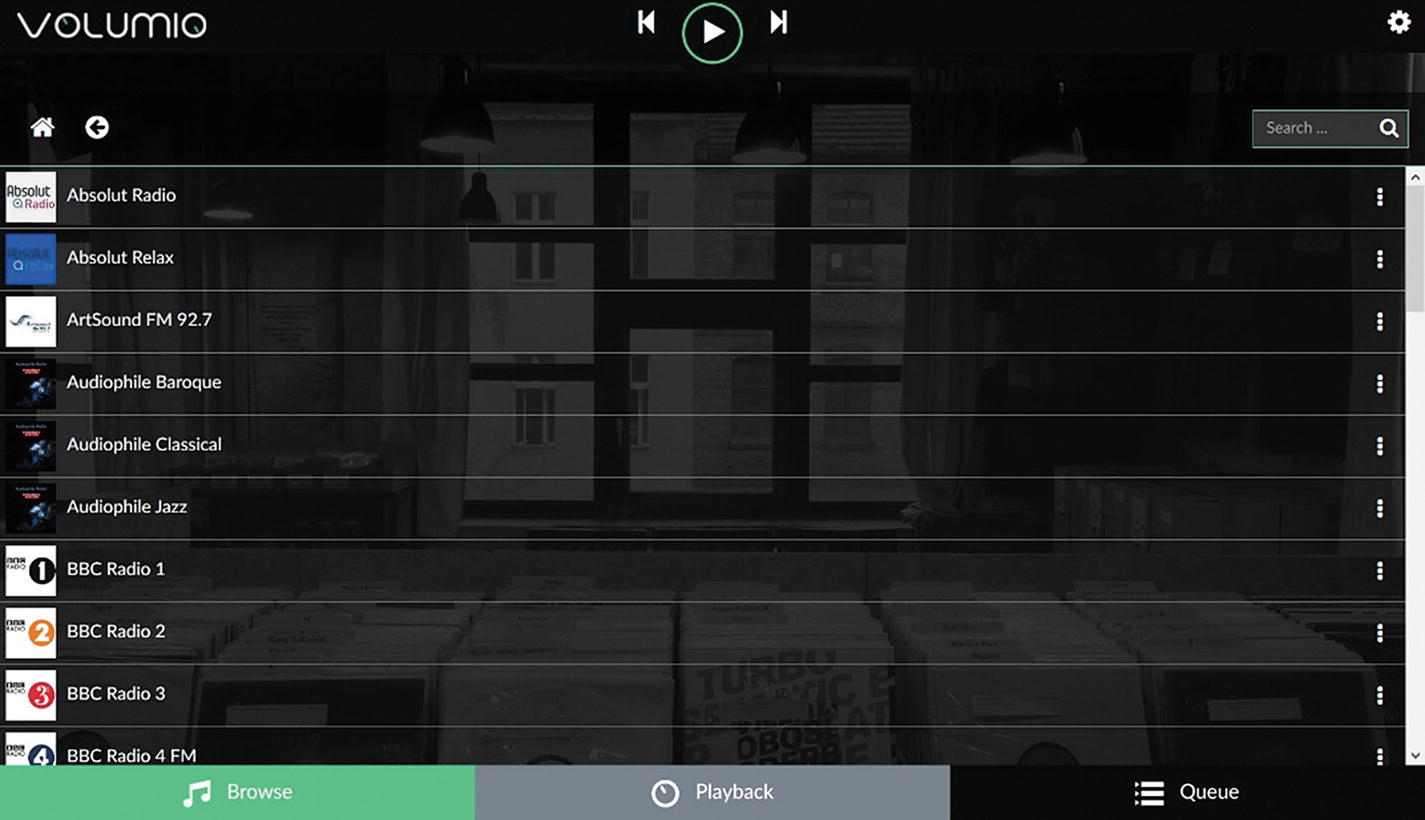
Some of the Internet Radio stations available with Volumio
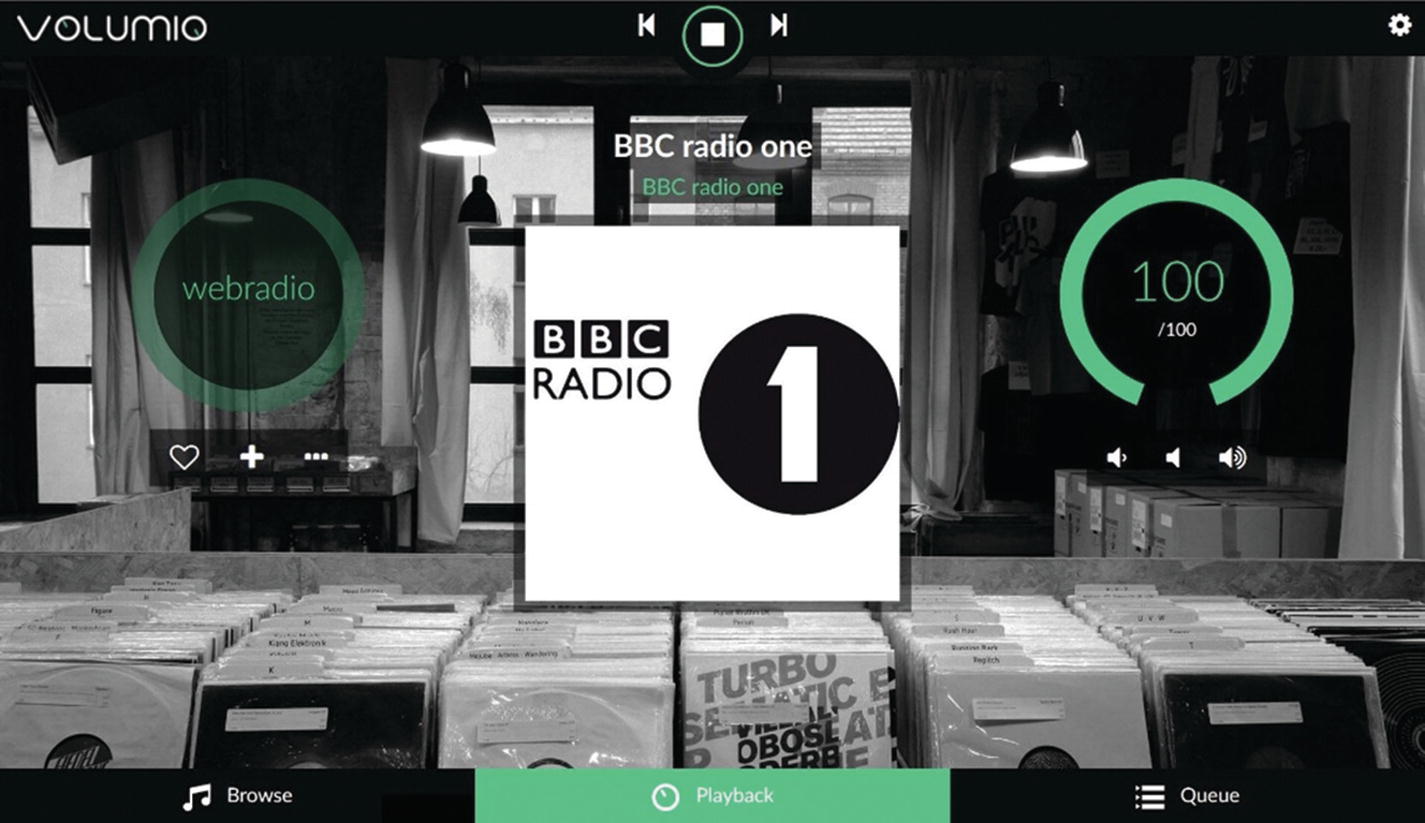
An Internet Radio station streaming with Volumio
Streaming via Airplay
One of the biggest features of Volumio is its ability to receive audio via AirPlay. This means that you can stream audio from your phone, laptop, tablet, or other device to Volumio.
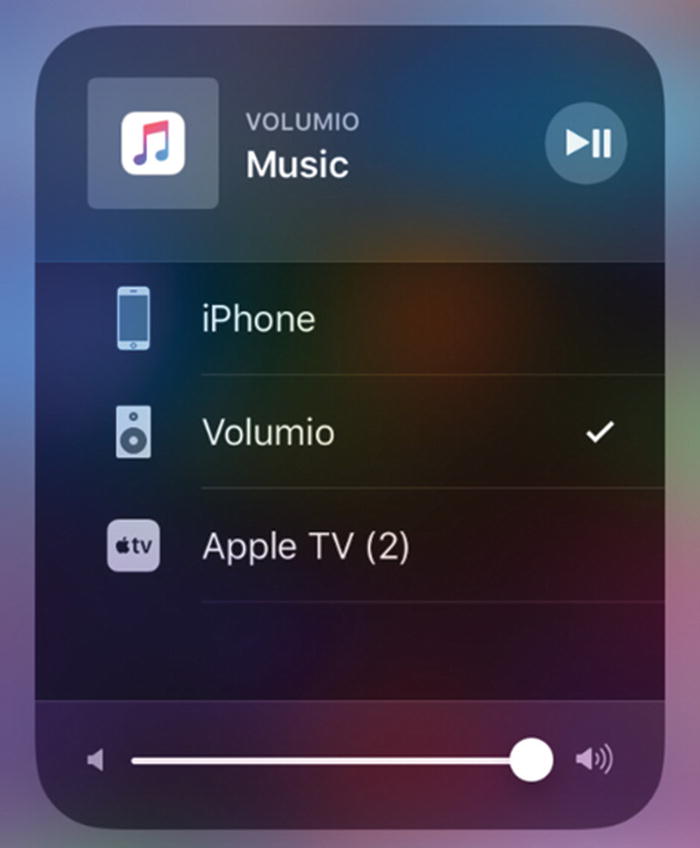
An example of Volumio being available as an AirPlay device
Issues with AirPlay
One problem that can occur with AirPlay is that sometimes there can be delays or random pauses and glitches with the audio playback. This can be caused by a variety of factors, including Internet bandwidth, device speeds, the size of the file being streamed, and software settings.
Particularly in Volumio, one setting you can adjust is the audio buffer size. A larger buffer will mean that a larger portion of the audio file will be buffered, or loaded, and ready to play, decreasing the chance of an audio file constantly starting and stopping. It does cause a delay in a file beginning to play, but it at least increases the likelihood of a successful overall listening experience.
If, however, after checking all the variables you’re still experiencing issues, we can edit the ALSA audio settings within Volumio to fix the issues once and for all. This also gives us the opportunity to try SSH with Volumio and experience the back-end of the distro.
Connecting to Volumio with SSH
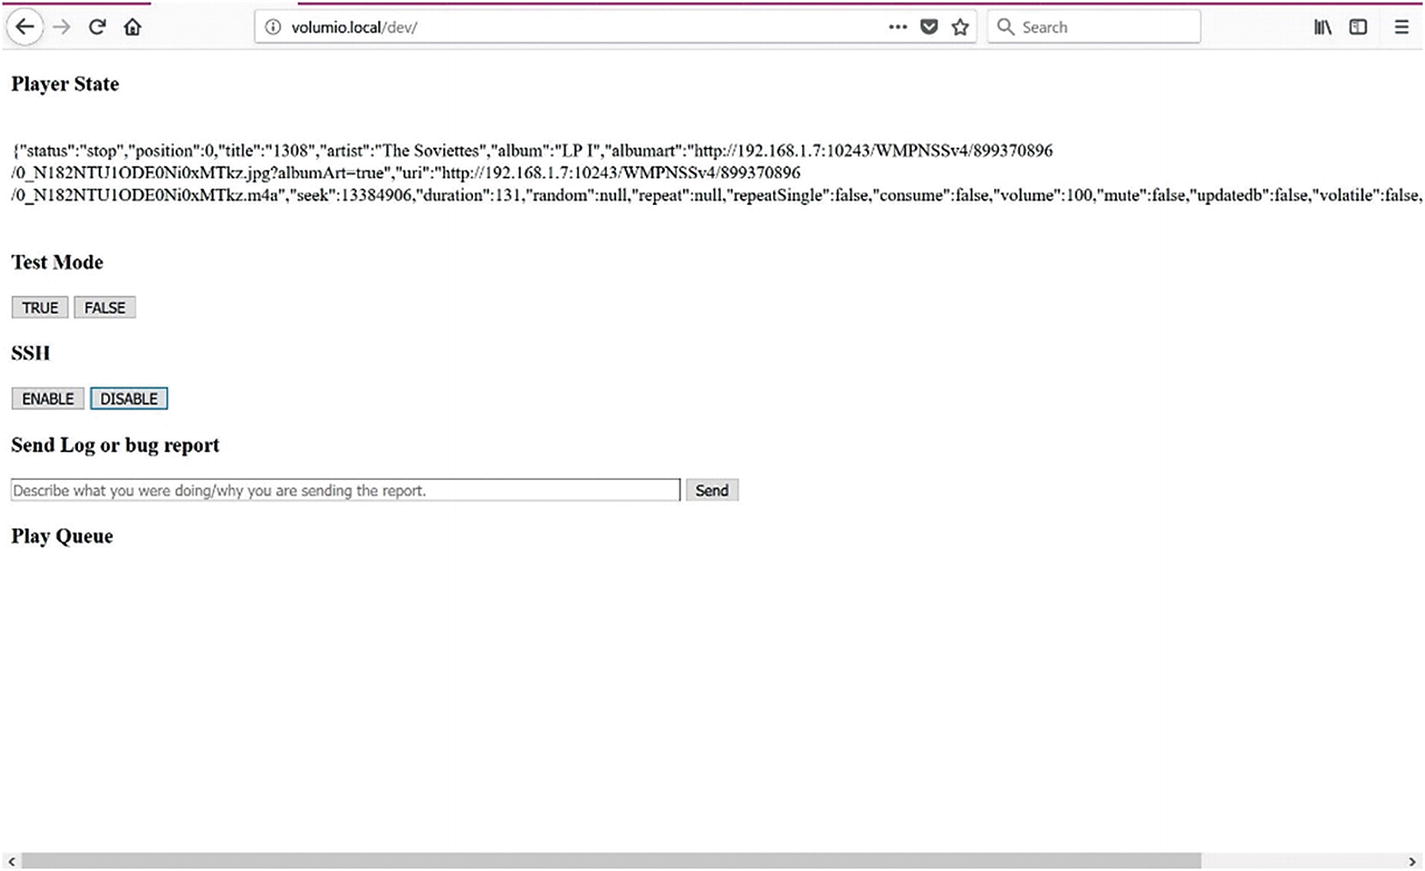
The volumio.local/dev browser page. Notice the toggle for SSH.
After enabling SSH, we’re going to use either PuTTY on Windows or the terminal on macOS and Linux to access Volumio, the same way we accessed Lakka with SSH in Chapter 7. To connect, we’ll need the Tinker Board’s IP address, which can be located with volumio.local under Network Settings.
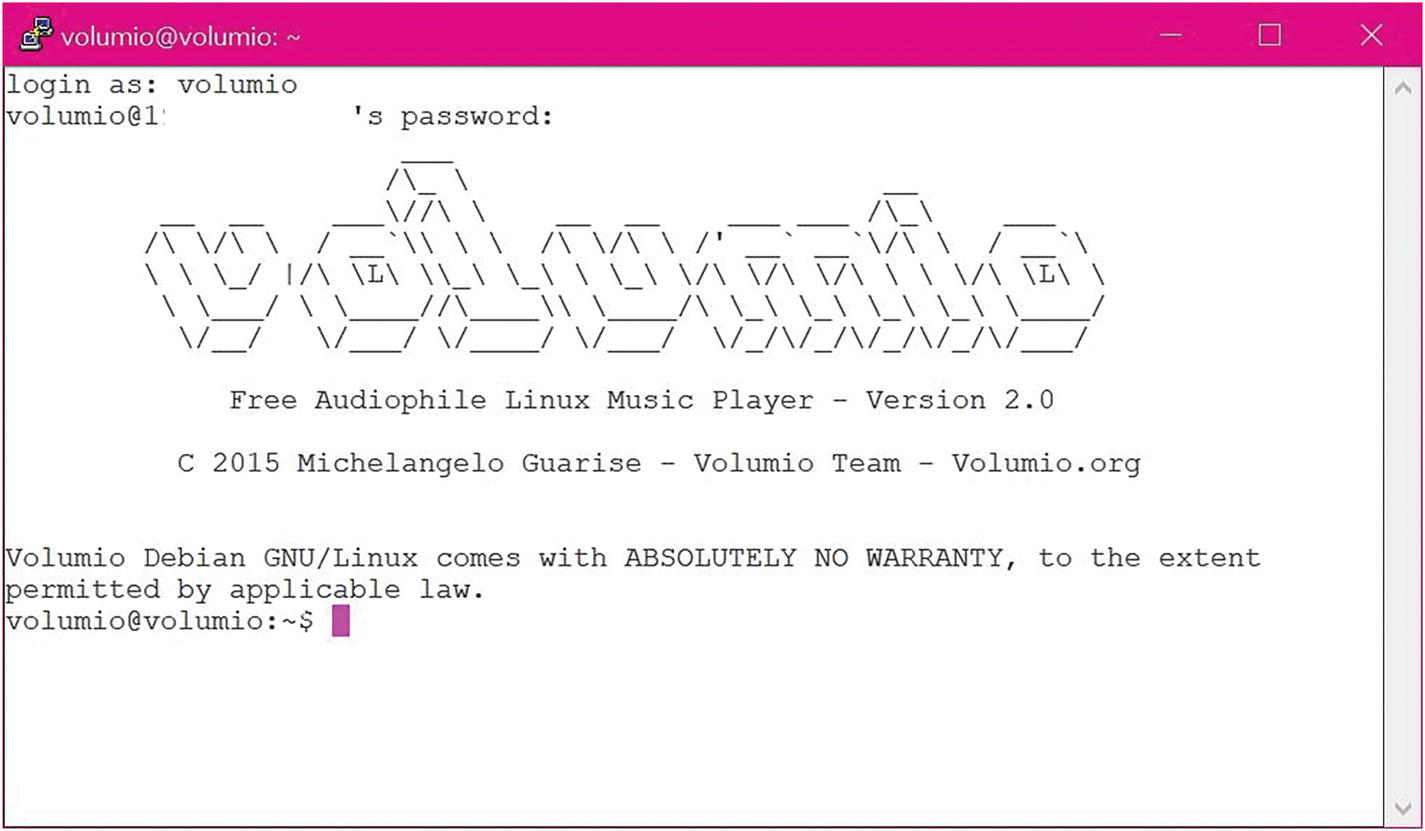
The default login via SSH for Volumio
After your edits are complete, save the file and then reboot from SSH using reboot to apply the changes. To test, try streaming via AirPlay to Volumio. If the fix was successful, you should notice that any playback glitches have been eliminated.
Finishing Touches
Once you’ve gotten Volumio all set up and have tested out your preferred options for audio playback, you may want to consider a case for your Tinker Board if it will be acting as a dedicated Volumio player. If you’re utilizing a DAC HAT, there are specialized cases available for use with most HATs on the market. If you can’t find one for your DAC HAT, you can also utilize a case that is designed for use with HATs in general, as long as it has access to the top to allow for the audio output connectors.
With a Wi-Fi connection, you’ll only need to connect power to the Tinker Board, meaning that it can operate without any other peripherals attached. As mentioned at the beginning of this chapter, a computer used this way is referred to as headless. Our next two projects will also have the Tinker Board operate as headless. Being able to use the Tinker Board this way makes it very convenient for standalone applications and adds to its versatility for projects. An additional benefit to being headless is that it can be kept discretely near your speakers or inside your media center.
Conclusion
We’ve now gone over three media projects, a genre that the Tinker Board really excels at thanks to its hardware specs, community support and software development. For our final two projects, we’re going to move on and branch out to different types of projects that will bring us back to TinkerOS and integrate some Python programming.