
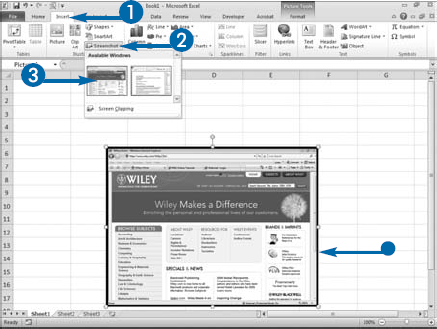
A screenshot is a picture of a computer screen. You can use Excel's screenshot option whenever you want to illustrate a worksheet by adding a picture of a computer screen. For example, you may want to include a screenshot of a Web page or a screenshot of a software application window in your worksheet.
You can take a screenshot of any open window; however, the window must be maximized. The shot can be of the entire window or a portion of the window. A screenshot of a portion of a window is called a clipping. If you only want a portion of a window, the window you want the clipping of should be the only window maximized.
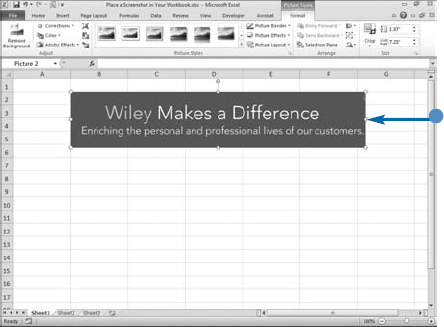
When you click a screenshot, the Picture tools appear and, just as you can with any other picture, you can adjust the brightness and contrast, apply artistic effects, compress the picture, change the picture, reset the picture, apply a style, insert the picture in a layout, resize the picture, or perform any other picture task. This chapter teaches you how to perform these picture tasks.
In Excel 2010 and Excel 2007, when you open a workbook that was created in Excel 2003 or earlier, you are working in compatibility mode. When you are in compatibility mode, the words "Compatibility Mode" appear on the title bar. You cannot use the screenshot option in compatibility mode. To enable the screenshot option, save your workbook as an Excel 2010 worksheet with an .xlsx extension.
Place a Screenshot in Your Worksheet
Take a Screenshot
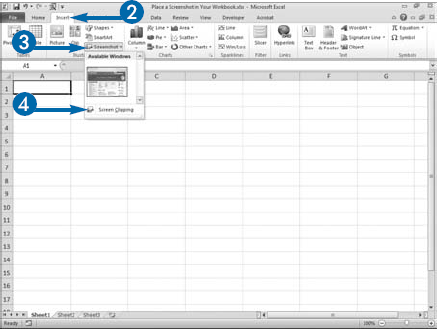
Take a Screenshot of a Portion of a Window


A menu appears.

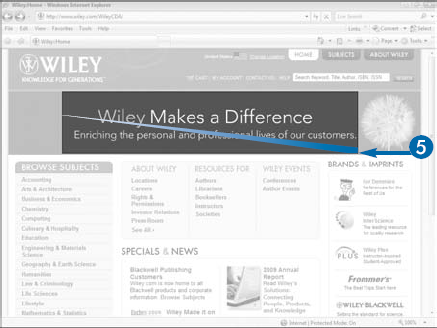
Excel moves to the maximized window and the mouse pointer becomes a crosshair.

When you release the mouse, the portion of the window you selected appears in your worksheet.
Extra
You can use the screenshot feature on maximized windows. A window is maximized when it fills your entire computer screen. A window is minimized when it appears on the taskbar, but cannot otherwise be seen. To open a minimized window, click the windows name on the taskbar. To maximize the window, click the Maximize button (
In Windows, you can take a picture of your computer screen at any time by pressing the Print Screen key. Pressing the Print Screen key places a copy of the screen on the clipboard. Once the screen is on the clipboard, you can paste it into Excel by clicking the Paste button on the Home tab or by pressing Ctrl+V. The screen arrives in Excel as a picture and when you click the picture, the Picture tools appear.
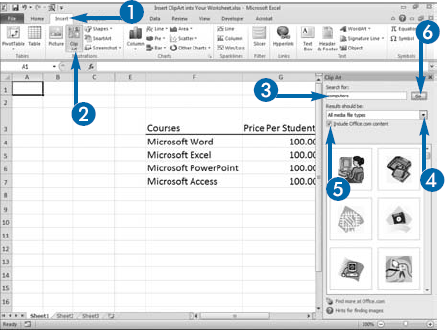
You can use clip art to illustrate your worksheet. Clip art comes with Microsoft Office. You access it through the Clip Art pane. You probably think of clip art as illustrations, but you can access illustrations, video, audio, and photographs by using the Clip Art pane.
You tell Excel what you are looking for by typing a word or phrase in the Search for field and then selecting the types of media you want. If you are connected to the Web, you can include Office.com media in your search.
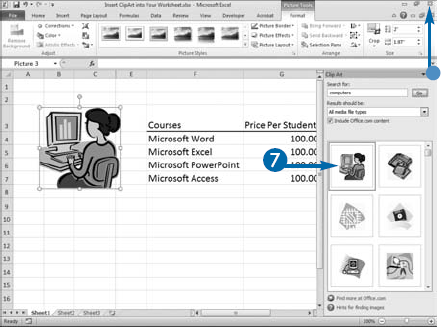
After you have inserted a clip art illustration or a photograph in your worksheet, you can move and resize it. You can also apply any of the Picture tools.
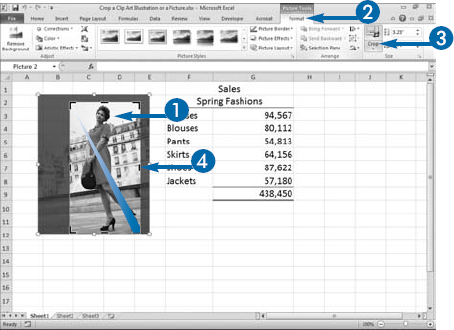
If a picture is too large or contains extraneous information around the edges, you can crop the picture to make it smaller or to remove the extraneous information. You can crop clip art illustrations and photographs, but you cannot crop shapes, text boxes, Smart Art graphics or WordArt.
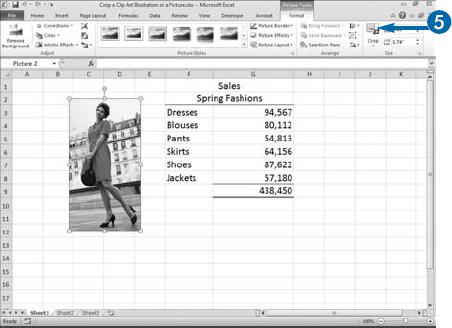
The crop tool places crop markers on the sides and corners of a picture. You can drag the markers to indicate the portion of the picture you want to keep. Excel will darken the portion of the picture it will remove when you press the Crop button.
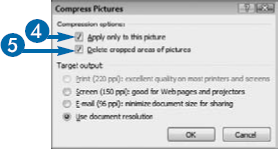
You compress pictures to make the file size smaller. When you compress a picture, you can further reduce the file size by telling Excel to delete the cropped areas of the picture. See the section, "Compress a Picture" to learn more.
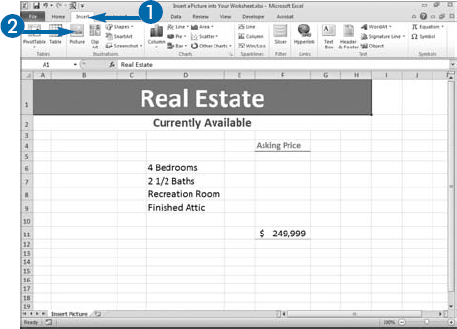
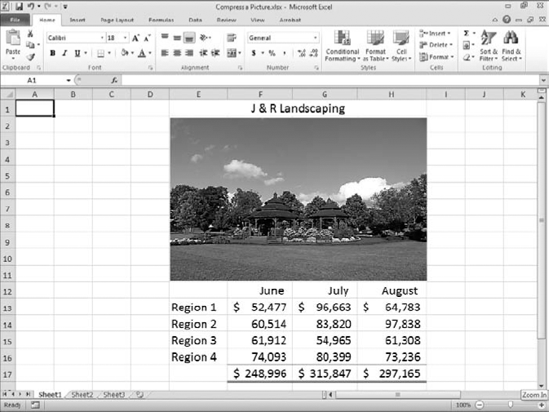
Pictures, like screenshots and clipart, can illustrate your point, emphasize your message, and enhance your worksheet. You can include pictures from your personal collections of digital drawings, digital photographs, or scanned photographs in your worksheet. For example, a real estate sales office can include in a worksheet pictures of all the homes available for sale.
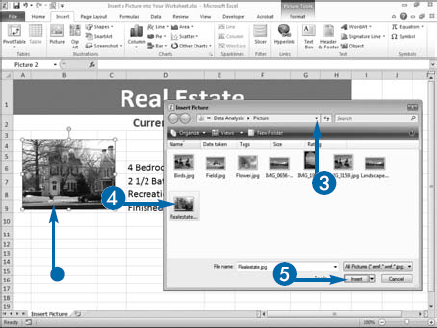
Adding a picture is easy. Just locate the picture and insert it. Once a picture is inserted, you can modify it by using any of the Picture tools. For example, you can adjust the brightness and contrast or you can use a style to add a border, reflection, and/or shadow to a picture.
Saturation is a measure of the intensity of color. In Excel, Saturation levels range from 0 to 400% with 400% creating the most vivid colors. If your image is dull or washed out, you may want to increase the saturation. If the colors in your image are too bright, you may want to decrease the saturation.
Color tone refers to temperature of an image. In Excel, temperature values range from 1,500 to 11,500. Warmer images have more red tones. You can use Excel's Color option to make your pictures warmer.
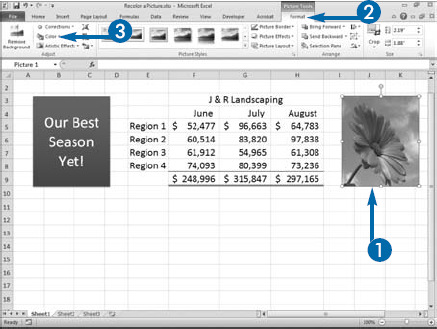
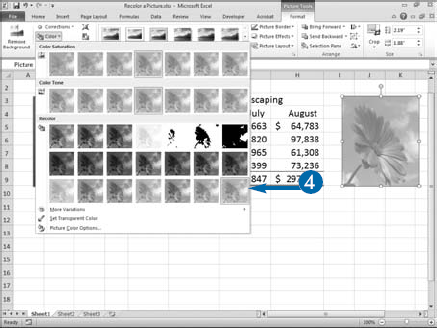
You can recolor your pictures by using Excel's Recolor option. You change an image to gray scale, sepia, or black and white, or you can use the Recolor option to add a color cast to your picture.
Sharpness is a measure of how clearly you can see the details in an image, brightness is a measure of how light or dark an image is, and contrast is a measure of the difference between the darkest and the lightest areas of an image. Pictures that are blurred are soft and have a low level of sharpness, pictures that are dark have a low level of brightness, and pictures that have little detail may have too much or too little contrast. In Excel, you can adjust the sharpness, brightness, and contrast of pictures.
Sharpness, brightness, and contrast are measured by values that range from −100% to +100%. To increase the sharpness, set the sharpness value higher. Conversely, to decrease the sharpness or make an image softer, set the sharpness value lower. To lighten an image, set the brightness value higher. Conversely to darken an image, set the brightness value lower. Contrast works in a similar fashion. To reduce contrast, lower the contrast value; to increase contrast, increase the contrast value.
In Excel, the Sharpen and Soften and Brightness and Contrast options display a preview of the selected image at various preset levels. Sharpen and Soften display five sharpness values: Soften 50%, Soften 25%, Sharpen 0%, Sharpen 25%, and Sharpen 50%. Brightness and Contrast display 25 brightness and contrast levels with preset values ranging from Brightness −40 Contrast −40 to Brightness +40 Contrast +40. As you position your mouse pointer over each option, you can see the effect the selection will have on your picture.
Adjust the Sharpness, Brightness, and Contrast
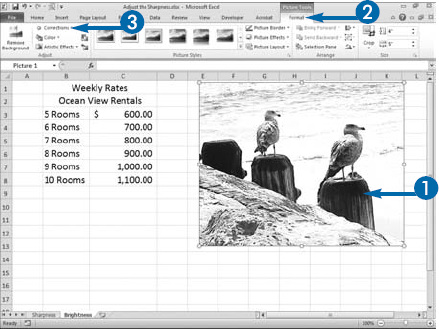
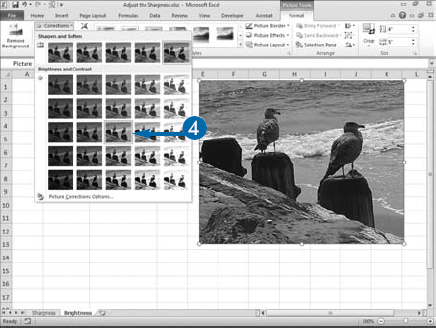
Adjust the Sharpness
The Picture tools appear.
The Sharpen and Soften options appear.
Excel applies the option to your image.
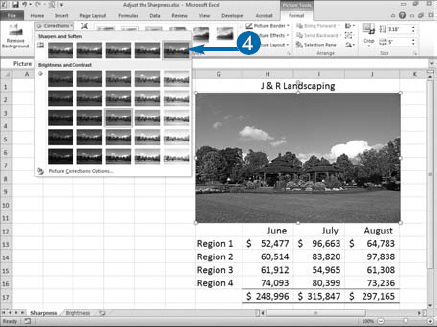
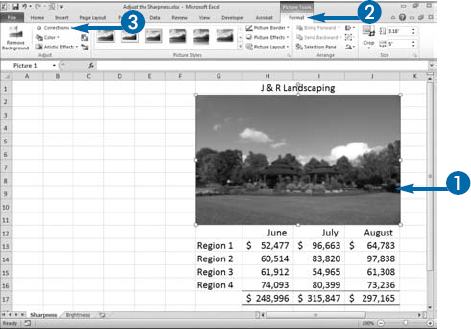
Adjust the Brightness and Contrast
The Picture tools appear.
The Brightness and Contrast options appear.
Excel applies the option to your image.
Apply It
When you click the Corrections button, Excel provides you with preset values for sharpness and brightness and contrast. If you want to manually set theses values, you can. Click the screenshot, picture, or clip art. The Picture tools appear. Click the Format tab and then click Corrections in the Adjust group. A menu appears. Click Picture Corrections Options at the bottom of the menu. The Format Picture dialog box appears with the Picture Corrections pane selected. You can use the Soften and Sharpen, Brightness, and Contrast sliders to incrementally adjust each of these values. When using the Format Picture dialog box, you can apply the full range of values, from −100% to +100%, and can adjust each of the options separately.
To set the image back to the state it was in before you made any adjustments, click the Reset button. To apply one of the preset values, click the down arrow (
Images, such as photographs, can be extremely large files and, as a result, you can dramatically increase an Excel workbook's overall file size. Large files take up a lot of space on your hard drive and if you e-mail them to someone else, they can take a long time to download. You can reduce the size of an image by compressing the image, reducing the resolution, and/or discarding cropped portions of the image. Compressing the image reduces the file size with no loss of quality. You can compress individual images or all the images in a workbook.
Digital photographs are made up of small dots called pixels. Each pixel represents a color and putting all the pixels together creates the photograph. Resolution refers to the number of pixels per inch. Images with more pixels per inch — higher resolution — show more detail. Reducing an image's resolution reduces the file size. It may also reduce the quality of the image. The Compress pictures dialog box provides you with several options for reducing resolution. Generally speaking, you want to lowest pixel per inch (ppi) that will give you a satisfactory quality. Excel provides some guidelines: for workbooks that will be printed, choose the Print option; for workbooks that will be primarily viewed on-screen, use the Screen option; and for workbooks that will be e-mailed, use the E-mail option. If you do not want to change the resolution, choose Use Document Resolution.
In Excel, when you crop an image, you hide portions of the image from view. Discarding the hidden portions reduces the size of the file.

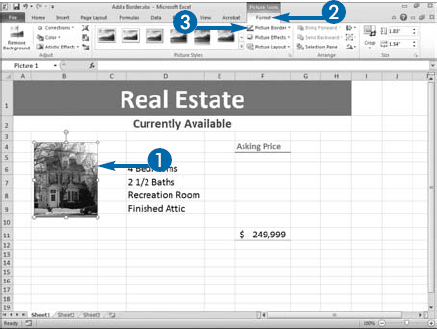
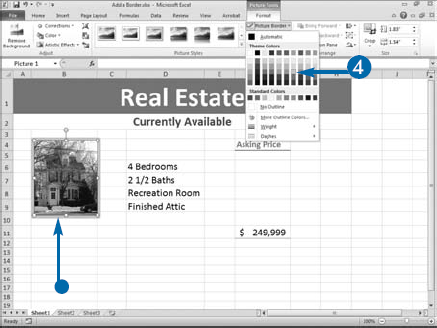
You can make a picture more attractive by adding a border. You can choose the color of the border from Theme Colors, Standard Colors, or the Microsoft Color Box. Theme Colors are sets of colors for use throughout a document. If you choose a Theme Color, and later change the theme, the color of your border changes to the appropriate color for the new theme.
Standard colors are popular colors that are often used. On the Picture Border menu, the More Outline Colors option opens the Microsoft Color Box. The Microsoft Color Box enables you to choose virtually any color. If you use a standard color or a color from the Microsoft Color Box, the color of your border will not change when you change the theme.
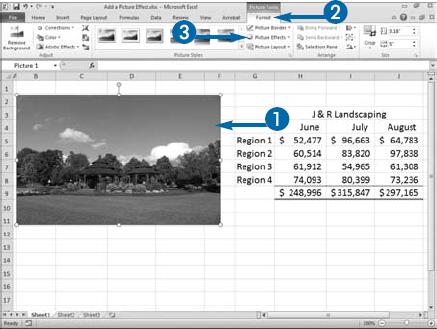
You can enhance the pictures in your Excel worksheets by adding the effects such as Shadow, Reflection, Glow, Soft Edges, Bevel, 3-D Rotation, and Preset.
Shadow effects apply a drop-shadow or inner shadow to the picture. A drop-shadow creates the illusion that the picture is above the worksheet and a shadow is being cast behind it. An inner shadow creates a shadow inside the picture.
Reflection effects create a transparent mirror image of the picture. You can choose how close the reflection is to the original picture and how large the reflection is.
Glow effects create a transparent border around the picture. You can choose the color and size of the border.
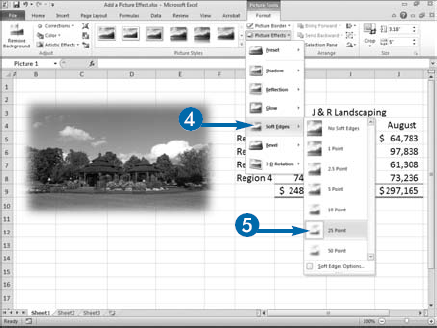
Soft Edges effects feather the edges of the picture so that the edges gradually become transparent. The picture seems to fade into the worksheet.
Bevel effects give the picture a three-dimensional look by making the edges appear to be beveled. You can choose from several bevel styles.
3-D Rotation effects rotate the picture so that the picture appears to be three-dimensional. You can choose the rotation angle.
Preset effects combine the Shadow, Reflection, Glow, Soft Edges, Bevel, and 3-D Rotation effects to create a variety of interesting results.
Picture effects can be applied to screenshots, clip art, photographs, and shapes. Some effects can also be applied to WordArt. You can even apply multiple picture effects to the same picture. To remove each picture effect, click the No option at the top of the effect's menu.
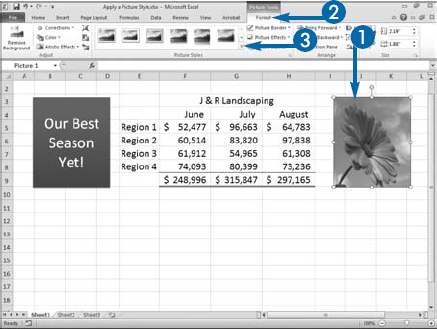
You can create a frame for a picture by adding a border. See the section, "Add a Border" in this chapter to learn more about borders. You can further enhance your picture by adding picture effects such as shadows, reflections, glows, soft edges, bevels, 3-D rotations, or presets. See the section, "Add a Picture Effect" in this chapter to learn more about picture effects. All these elements can be combined in a myriad of ways to create a myriad of effects. This can be fun, but also time-consuming. You can save time by using a Picture Style. Excel has combined a number of borders and picture effects and placed them in the Style gallery so that you can apply them with just a few clicks.

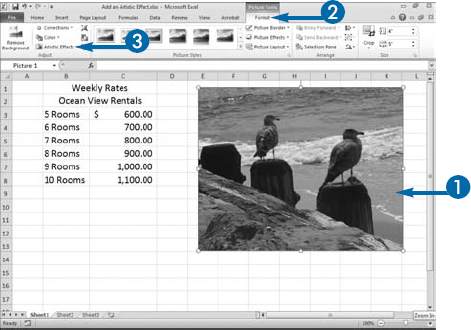
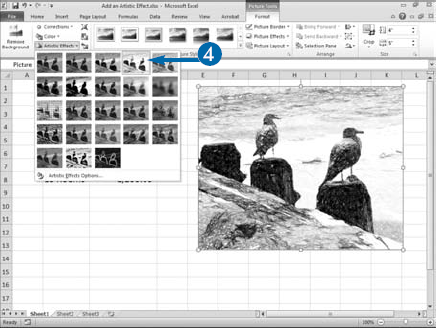
By adding an artistic effect, you can make a photograph appear to be a painting, a drawing, or an interesting piece of art. Applying an artistic effect is not complicated. After you choose the Artistic Effects option on the Format tab, you hover your mouse pointer over the items in the gallery; Excel displays the name of the effect and provides you with a live preview of how your picture will appear if you click the effect to choose it. There are many effects from which to choose. None is the first option. Choose None if want to remove an effect.
The Marker, Paint Strokes, and Watercolor Sponge effects each cause the picture to appear to have been painted by using a particular medium: the Marker effect, by using a marker; the Paint Strokes effect, by using a brush; and the Watercolor Sponge effect, by using watercolors with a sponge. The Texturizer and Cement effects add texture and cause your picture to appear to be painted on canvass.
The Pencil Grayscale, Grayscale Sketch, Line Drawing, and Chalk Sketch effects cause your picture to appear to be a drawing. The Pencil Grayscale effect changes your picture into a grayscale image and causes it to appear to be drawn in pencil. The Chalk Sketch effect changes your picture into a grayscale image and causes it to appear to be drawn in chalk. The Line Drawing effect causes your picture to appear to be drawn in colored pencils, and the Pastels Smooth effect causes your picture to appear to be drawn using pastels. Film Grain adds grain to your picture and Plastic Wrap causes your picture to appear to be molded from plastic.
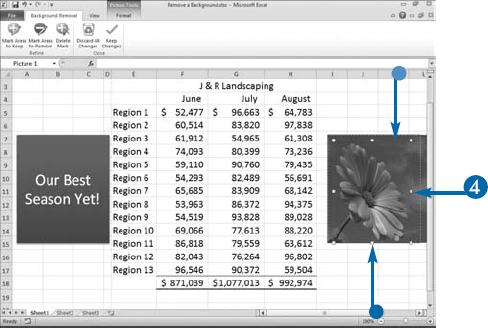
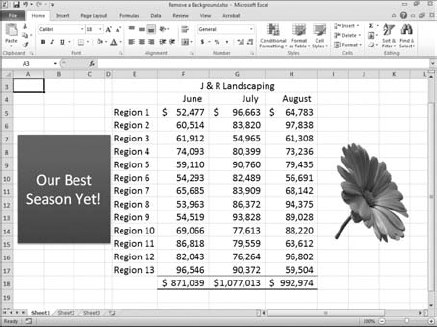
You can use Excel to remove a background from a picture. This option is useful when you like the person or object in the picture but you do not like the setting. The Background Removal tool works best when there is a clear color contrast between the object you want to keep and the background.
When you click the Background Removal button, Excel makes its best guess at what you want to remove. It places a rectangular bounding box around the rectangular area of the picture that it will include in the final picture. It covers the parts of the picture it will remove with a transparent purple film. You can click and drag the handles on the bounding box to increase or decrease the area of the picture that will be included in the final picture.
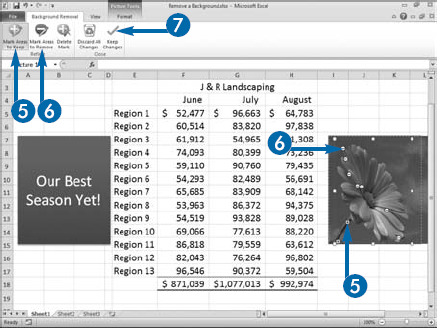
To keep parts of a picture that Excel wants to remove, use the Mark Areas to Keep button. Excel places a plus sign on the part of the picture you want to keep and keeps that portion of the picture. To remove parts of a picture that Excel wants to keep, use the Mark Areas to Remove button. Excel places a minus sign on the part of the picture you want to remove and removes that portion of the picture. If you change your mind about a portion of a picture that is marked to be kept or removed, use the Delete Mark button. When you close the Background Removal tool, Excel makes the area it removes transparent.
Remove a Background
The Picture tools appear.

The Background Removal tab appears.
Your picture appears with a bounding box.
A purple film covers the area to be removed.


Excel removes the background and replaces it with a transparent area.
Apply It
After you remove a background, you can add a new one. Click the picture. Click Format and then click the launcher in the Picture Styles group. The Format Picture dialog box appears. Click Fill. The Fill options appear.
To add a solid color fill, click the Solid Color radio button (

To add a gradient fill, click the Gradient fill radio button (

To add a pattern fill, click the Pattern fill radio button (
