
Most popular software used by professionals today has been around for a long time. Office workers spend large parts of their days using Microsoft Word, Excel, and PowerPoint. Those applications were introduced more than a quarter-century ago between 1983 and 1985.
Graphic designers may spend their days using Adobe Illustrator, which was developed in 1987, and Adobe Photoshop, which celebrated its 20th anniversary in a gala event in San Francisco in February, 2010. Even the Web, considered by many to still be new, will be about 20 years old by the time you read this, having been first developed in 1990.
Thus, while users may feel that they are constantly playing catch-up with a seemingly endless string of new versions, rarely do they have the opportunity to work with a brand-new application. If you are reading this book, however, that is precisely what you are contemplating: working with a never-before-seen application.
Using mature products that have existed since before many people began using computers, and in fact since before some of today's users were even born, has advantages, chief among them a strong base of experts who can teach and guide users through the program.
While Adobe marketing has decided to brand this new application as Flash Catalyst CS5, you should remember that it is in fact Flash Catalyst 1.0. While Catalyst will, in time, enjoy the same user base as more, shall we say, mature software, today you are no more or less an expert in the program than practically anyone else who is using it. By learning Catalyst now, you are truly getting in on the ground floor, a rare opportunity for many in today's software environment.
In 2002, software company Macromedia released new versions of its core design tools:
These latest versions of the programs were designed to work together to create a new paradigm in Web design, which the company termed Rich Internet Applications, or RIAs.
The development of the Web is credited to a physicist named Tim Berners-Lee. He did not develop it with the idea of creating a tool by which companies could sell books or friends could reconnect with high school acquaintances. Rather, he was building a system for his fellow physicists that would allow them to more easily exchange research data.
This original Web, therefore, did not focus on design or interactivity. Under Berners-Lee's vision, the presentation of Web pages would be left largely to the software used to display these pages, software that we would eventually come to know as browsers.
Berners-Lee knew that his creation had widespread potential, well beyond the insular world of particle physics, and yet he also knew that a closed or proprietary system would be unlikely to succeed, so he opened his technology to anyone who wanted to develop on it. Over the course of the next few years, the Web grew fairly quickly out of its infancy until in 1994 and 1995, companies began to realize the enormous marketing potential offered by the Web.
Yet, despite, or perhaps because of its open nature and extremely quick adoption, the Web still suffered from its original lack of true design capabilities. Many companies and individuals expanded on HTML, the language of Web pages, or built new tools such as Dreamweaver to try to overcome these limitations.
Nonetheless, it was this lack of true design capability and the continuing struggle by developers to enable easy cross-platform and cross-browser Web interactivity that led Macromedia to conceive of RIAs.
At the heart of the RIA idea was Flash Player. Already a mature product, Flash Player was by 2002 the most widely installed software in the world — a position it holds to this day. However, most designers and indeed almost all users saw Flash as a cool means by which you could build animation for your site, but little else.
Macromedia, however, saw Flash as an ideal tool by which developers could create engaging, truly interactive applications for the Web, and because applications in Flash Player run the same on every operating system, developers could conceivably code once; they would not have to struggle through browser-specific issues or hacks like their Web design brethren or create multiple complete copies of their applications like desktop application developers.
While many were quick to embrace the idea behind RIAs, Macromedia did face one large obstacle. If one was to build an application targeting Flash Player, one had to work in Flash Professional. This program, however, was — and is — a very powerful design tool. Developers found building applications that did not primarily rely on animating artwork difficult at best.
Macromedia was thus faced with a choice: It could convert Flash Professional into a development and coding tool, and thereby abandon its large Flash designer user base, or leave it for designers and create something new altogether for developers. Fortunately, it chose this latter option, and thus was born the Flex framework.
Every Flex developer must constantly answer the question, "What is Flex?"
I have found that the simplest answer is the one based on its history: Flex is, at its core, merely Flash for developers. Flex provides a base of code developers can draw upon to create RIAs. Most if not all of the work in building a Flex application is done in code, using two primary languages:
MXML. An XML-based tag language.
ActionScript. The scripting language originally introduced into Flash over a decade ago.
While Flex opened a whole new world of exciting development opportunities and freed those developers who fear drawing tools and timelines from having to deal with those or other designer issues, it at the same time suffered from its lack of a design base.
While creating beautiful applications was certainly possible in Flex, the nature of those persons who tended to devote the time and energy to becoming a Flex developer made artistically designed applications the exception rather than the rule. Generally, as reluctant as developers were to explore complementary color schemes, designers tend to be just as reluctant to write code. Most people who spend their days performing magic in Illustrator or Photoshop would rather volunteer for jury duty or go get their driver's licenses renewed before they'd consider sitting in front of a code editor and writing 500 lines of MXML and ActionScript.
Adobe, after purchasing Macromedia in 2005 and adopting the Flex framework, recognized this problem. To many, Adobe has long been a design company, so few people were surprised when it announced plans in 2007 to develop a new application that would bridge that gap.
As I will make clear through the course of this book, Catalyst is fairly unique in that it's not designed as a true stand-alone application. While it's theoretically possible to create a complete application in Catalyst, few if any serious users will take that approach. Rather, Catalyst is designed as a kind of middle-ware, sitting between Adobe's design-oriented programs on the one hand and the developer-centric Flex framework on the other. Therefore, a typical Catalyst workflow both begins and ends outside of the program.
When you create an RIA in the Flex framework and plan to use Catalyst, you will need to begin with a design comp. This is a visual representation of your application's interface. The design will almost always be created in one of Adobe's two oldest applications:
Illustrator
Photoshop
Only once this design is complete will you be ready to open it in Catalyst, which you will use to begin the process of converting the static drawing into an RIA. Then you will need to finish the programming of the application in Flash Builder, Adobe's tool for working with Flex applications.
By separating these three parts of the workflow (creating a design comp in Photoshop or Illustrator, converting the drawings in Catalyst, and programming in Flash Builder) into three or four distinct applications, Adobe has built in to the system the possibility of dividing the work among specialists.
If you are a designer who avoids code as much as possible, you can take on the task of creating the design comp in the familiar environs of Illustrator. On the other hand, if you're a developer whose artistic skills begin and end with simple stick figures, you can have someone else create the design while you focus on your strength, writing code.
In this situation, the designer can easily bring his or her comp into Catalyst and convert it into the beginnings of a Flex application, as you not only do not have to write code in Catalyst but, in fact, you cannot write code in the program. Alternately, the developer can take the designer's Illustrator file, open it in Catalyst, and simply convert the art into the components she needs for the application. While Catalyst has much more of a designer feel to it, either group can use it.
If you happen to be the kind of person who is as comfortable with design as with code, then nothing will stop you from creating the entire project, start to finish, yourself. You merely need to begin with your design, use Catalyst to convert it to Flex, and then finish with programming in Flash Builder.
The initial design of your application will be done in a graphics tool. Catalyst supports importing designs from either Adobe Illustrator or Adobe Photoshop.
Illustrator, long the industry standard for vector-based design, provides a slightly richer toolset for creating designs from scratch than does Photoshop, which is a raster-based tool more suited for manipulating existing graphics such as photographs. Therefore, while a chapter of this book is devoted to creating designs in Photoshop, the focus here will be on working with Illustrator.
Any introduction to Illustrator needs to begin with the interface.
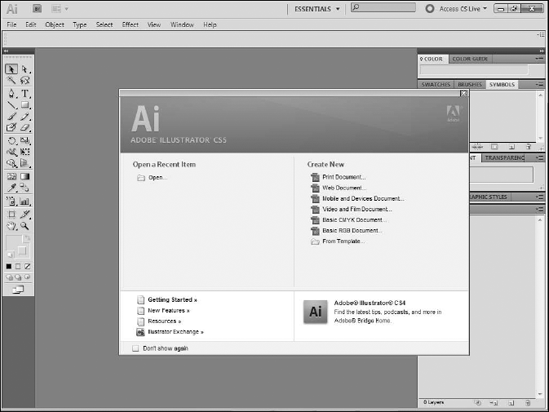
Launch the program. The Start screen appears.
Open an existing file or create something new (see Figure QS.1). When beginning work on a Catalyst project, you should select Web Document.
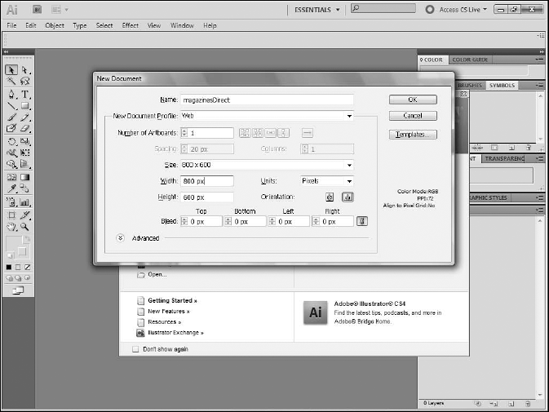
Set up the basic parameters of your document. Of particular importance are the width and height of the project (see Figure QS.2). Hopefully, you will have had discussions with everyone involved in the project — in particular, the developer and the client — as to what these dimensions should be.
Note
Chapter 5 presents a more detailed explanation of the other options in this dialog box.
Click OK to save your settings. You are ready to begin creating your design.
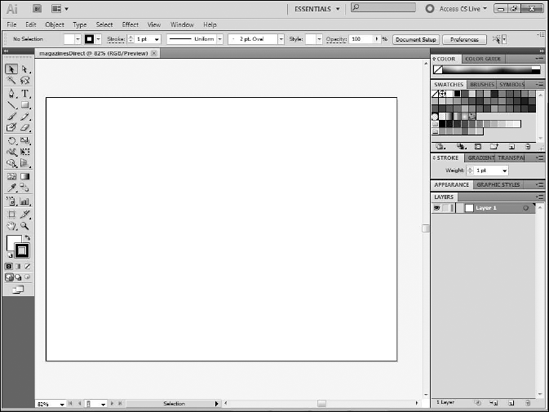
The main area in which you work in Illustrator is the artboard. You can select tools from the Tools panel, which by default appears along the left edge of the screen. Additional options and controls are located in the other panels, most of which are grouped on the right edge of the screen (see Figure QS.3).
You are basically free to use whatever tools exist within Illustrator to create your design comp. For the most part, your imagination is the only limit as to what you can design.
One of the ideas behind the creation of Catalyst and the changes to the Flex framework that have been made to support it is that applications do not have preconceived notions as to what things should look like. Buttons, for example, need not be boring, gray rectangles, but can instead be drawn however you like. Of course, you should not sacrifice usability for making things cool: A button may be made up of blue brush strokes, but it still needs to be obvious that it is something with which the user can interact.
Illustrator contains a host of drawing tools, including paint brushes, shape tools, and line tools. All of them draw vectors shapes that can be freely edited.
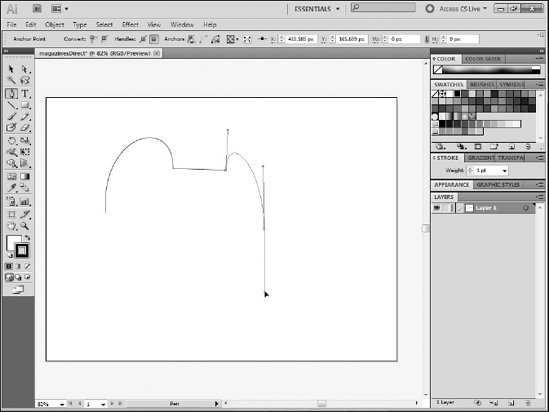
Illustrator's most powerful tool is the Pen tool. The Pen allows you to create precise lines and curves (see Figure QS.4). While the Pen can be somewhat difficult to learn and master, once you are comfortable with it, you will likely find that it is also perhaps Illustrator's most useful tool.
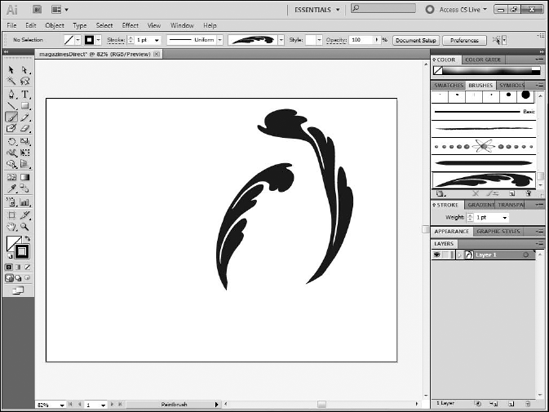
In addition to the Pen tool, Illustrator contains a Paint Brush tool. The brush's biggest advantage is not the ease with which you can draw by simply clicking and dragging with the mouse, but rather the fact that you can use it with a wide variety of brush tips to create anything from simple strokes to painted shapes (see Figure QS.5).
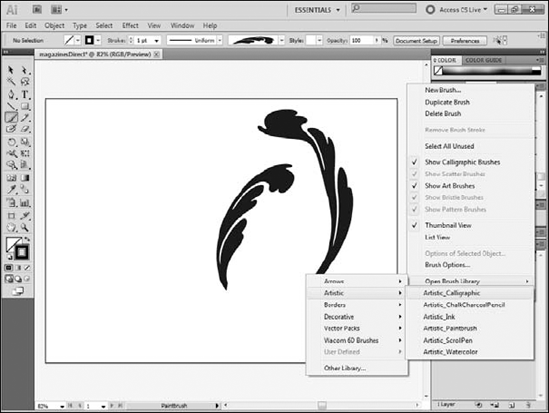
Illustrator ships with nearly 30 brush libraries, each containing from a few brushes to dozens of them (see Figure QS.6).
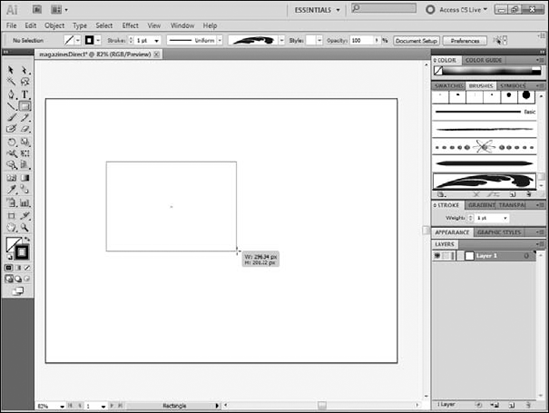
Not everything need be drawn by hand. Illustrator contains a large set of shape tools that you can use to draw rectangles, rounded rectangles, ellipses, polygons, starts, and flares. With each of these tools, you can create a shape by merely clicking and dragging on the artboard (see Figure QS.7). You can adjust the fill and stroke size and color either before you draw a shape or after.
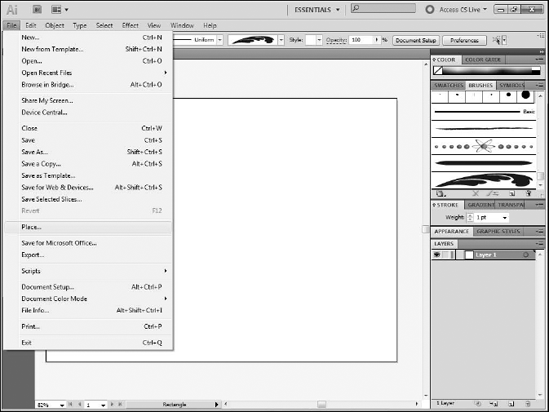
While most of your work in Illustrator will involve drawing new art, you can also import images for use in your design. Illustrator supports almost every image file format, including common image formats such as JPG and GIF and native files from other Adobe applications, including Photoshop PSD and Fireworks PNG files.
You can import files by following these steps:
Choose File

Select the image to import.
Click on the artboard where you want the image to appear (see Figure QS.9). The image appears on the artboard. Its top left corner will be at the point at which you clicked.
Illustrator designs become quite complex very quickly. Therefore, it is important to keep the file organized with layers. By placing each piece of your design on its own layer, you can keep the art separated into editable parts.
Layers are automatically created with each new shape you draw, and you can organize and controlled via the Layers panel (see Figure QS.10). You can move layers freely up or down to change the stacking order of objects on the artboard, rename them to be descriptive of their contents, and show and hide them as needed using the panel.
Once you complete your design, you can simply save it as an Illustrator file. You do not need to do anything special to save the file in order to import it into Catalyst (see Figure QS.11).
Once you complete your artwork, you are ready to import the piece into Catalyst and begin converting it from static art into the first stages of an RIA. Catalyst has been designed to look, feel, and behave similarly to other design tools such as Illustrator. In fact, as much as possible, Adobe's engineers borrowed names and even keyboard shortcuts from Illustrator. For example, the drawing area in Catalyst is known as the artboard, just as it is in Illustrator.
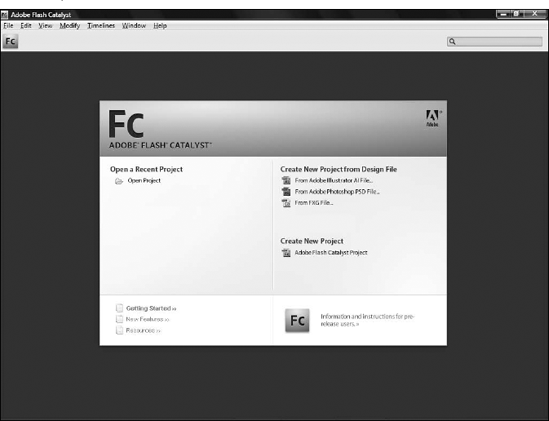
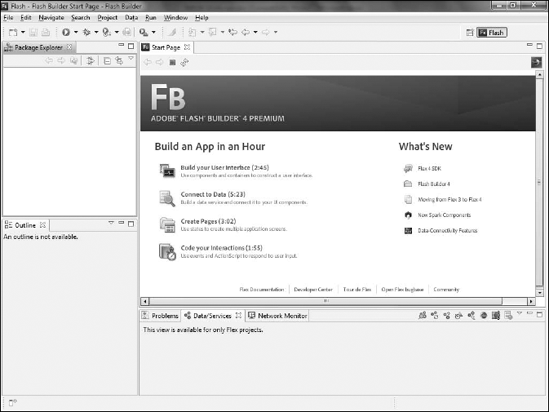
Also like Illustrator, Catalyst displays a Start screen when you first launch it (see Figure QS.12). The Start Screen provides options to create new projects from Illustrator, Photoshop or FXG files, or create a blank project into which you can draw using Catalyst's limited drawing tools. You can also open existing projects from here.
To import an Illustrator file to Catalyst, follow these steps:
Click the option on the Start screen to create a new project from an Illustrator file.
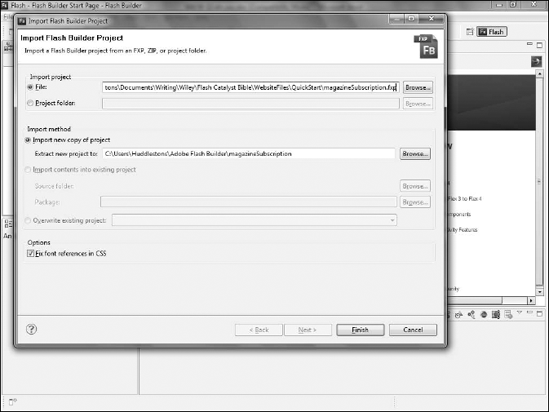
Select the file you saved from Illustrator, which has an AI extension. Catalyst then analyzes the file and displays a dialog box.
Confirm the dimensions of the project. These dimensions should already be set to the same values as the Illustrator file by default.
Specify how Catalyst should treat objects in the file (see Figure QS.13).
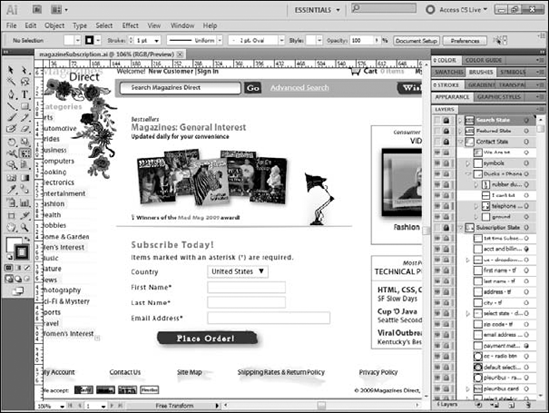
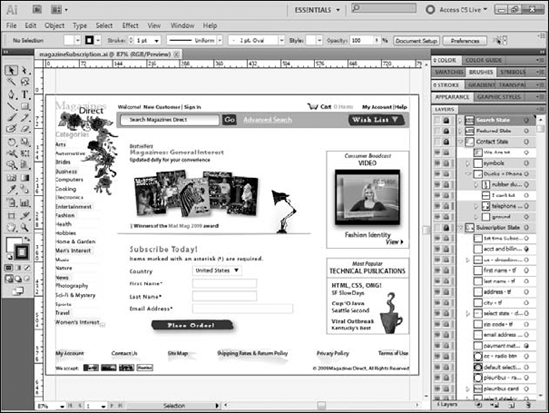
Click OK in this dialog box. Catalyst imports the file onto its artboard (see Figure QS.14). All of the layers you created in Illustrator will be converted to Catalyst layers.
Depending on the options you selected in the Import dialog box, you should be able to move, resize, and even edit the objects on the artboard.

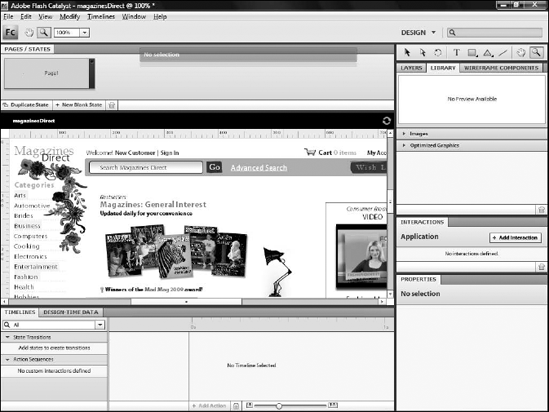
The Catalyst interface is similar to Illustrator's, albeit with fewer panels. The top panel displays the states or pages in the application. The right edge of the screen contains a toolbox, the Layers and Library panels, the Interactions panel, and the Properties panel. The Timeline and Design-Time Data panels stretch across the bottom. Floating somewhere on the screen is the heads-up display (HUD).
Note
You cannot customize the layout of panels in Catalyst.
Your first step in beginning to work with the file will be to optimize the graphics.
Every object you see on the artboard is being represented in Catalyst by code. Most objects will take multiple lines of code, so very complicated designs could require tens of thousands of lines. You do not need to worry specifically about this code, and in fact you cannot edit it directly in Catalyst, but the fact that so much of it will likely exist is going to almost certainly slow Catalyst down.
Optimizing images is an effective countermeasure: When you optimize the image, you combine it within Catalyst into a distinct object that can be rendered more easily. You should optimize any image that does not need to be manipulated as the project runs. These would include logos and images being used as separators or merely visual flair. You can optimize an image by following these steps:
Select the object you want to convert.
Click Optimize Image in the HUD (see Figure QS.15).
Note
If you import a very large and complex Illustrator file, Catalyst is likely to run very slowly at first. This performance will improve quite dramatically as you proceed through the process of optimizing images and converting objects to components. In the meantime, collapsing the Timeline panel by clicking its tab can help speed up the project.
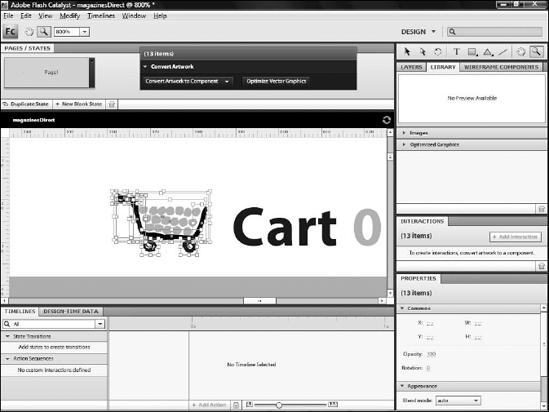
Your next step in Catalyst is to convert objects or groups or objects to components. Components are the building blocks of a Flex application. Each distinct section of your application will likely need to be converted to a component.
Catalyst allows you to choose from a variety of predefined components such as buttons and data lists, but most of the time you will create custom or generic components. Just as you did when optimizing images, you define components by selecting their elements and then using the appropriate option on the HUD (see Figure QS.16).

Traditional Web sites are made up of a series of pages, each representing a distinct state of the application.
Flex applications are run in a single file within Flash Player. Instead of breaking your application into separate files, you break it into states. For example, an e-commerce application in HTML would likely contain a product list page, a product detail page, a shopping cart page, and a checkout page. A similar Flex application would contain a product list state, a product detail state, a shopping cart state, and a checkout state.
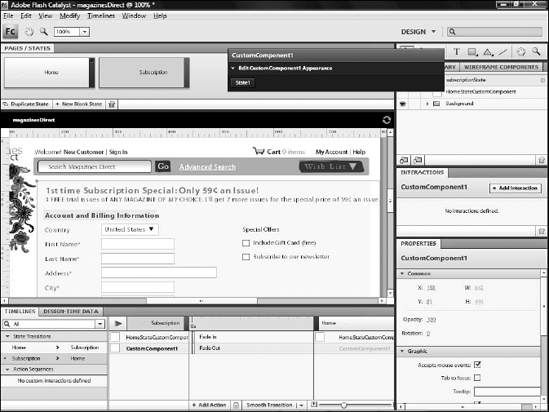
You create and name states in the Pages/States panel at the top of the screen. Each state can either be a duplicate of the state to its left or a blank state. They can contain any content. You should also plan for states early in the design process, and create their assets on separate layers in Illustrator.
After importing into Catalyst, you can convert these assets into components, and then show or hide them as needed from one state to the next (see Figure QS.17).
At the beginning of this Quick Start, I described Flex as Flash for developers. Your application will eventually end up running in Flash Player. Therefore, any of the things you would normally expect to see and do in Flash can be done in Flex, such as how a user interacts with your application.
One fairly obvious place where clients might expect to see animation is in the transitions between states. Fortunately, Catalyst makes creating this animation easy.
State changes are most often triggered by a user action. For example, the user might click an Add to Cart button to switch to the cart state. As I mentioned earlier, you can use any artwork to create buttons; follow these steps to create a button:
In Catalyst, select the artwork.
Choose Button as the component type in the HUD to create one (see Figure QS.18). The button is created.
Use the Interactions panel to define what occurs when the user clicks it. You can easily have the button trigger a state change by clicking Transition to State in the panel and then selecting the desired state (see Figure QS.19).
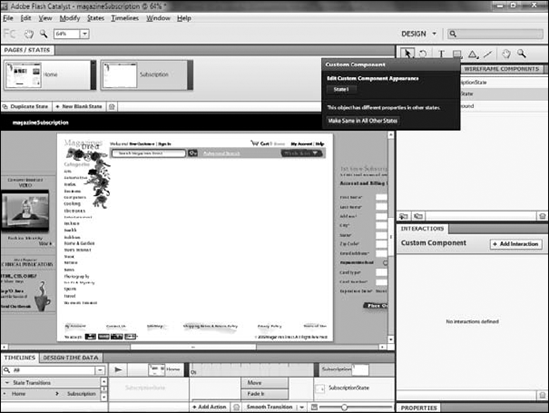
Once the interaction is defined, create an animated effect to hide the elements that will be removed from the state and show those that are being added. For example, you might have the old component slide off one edge of the screen while the new one slides in from the opposite edge.
You begin setting up an effect like this by simply positioning the elements where you need them to either start or stop (see Figure QS.20).
Control the effects and timing of the component animation by using the tools provided by the Timelines panel (located along the bottom of the screen). You can drag the bars that represent each component to change how long they animate and control their timing relative to other components (see Figure QS.21).


Once you complete your design work in Catalyst, you are ready to move to Flash Builder.
Catalyst, as I mentioned, is designed to bridge the gap between the designer and the developer. In a team setting, the designer is likely to be an expert in Illustrator but know little code, while the developer would be the opposite: an expert in coding with little design skill. Flash Builder is the developer's tool in the Catalyst workflow.
While Flash Builder contains a design interface, you will spend most of your time in the program working in code. Flex applications are made up of MXML and ActionScript. The MXML primarily describes the look and feel of the application and is mostly what Catalyst generates, while ActionScript is a true programming language and is used to create the core functionality of the application.
Flash Builder is built on the Eclipse toolset. Eclipse is a powerful and popular open-source platform for developers. As Flash Builder is built for coders, it has a significantly different interface than Adobe's design tools (see Figure QS.22).
Catalyst projects are saved as FXP files, which is the main file format for Flash Builder projects as well. Therefore, you can import a Catalyst project into Flash Builder by choosing File
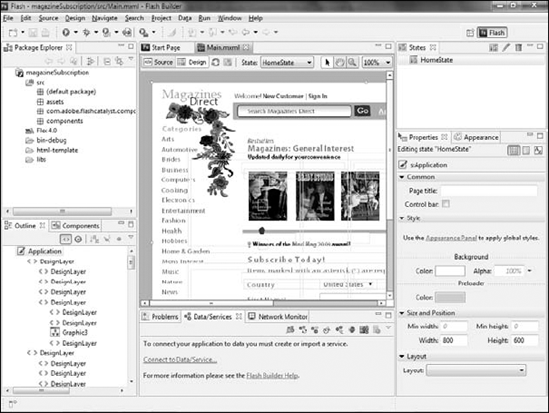
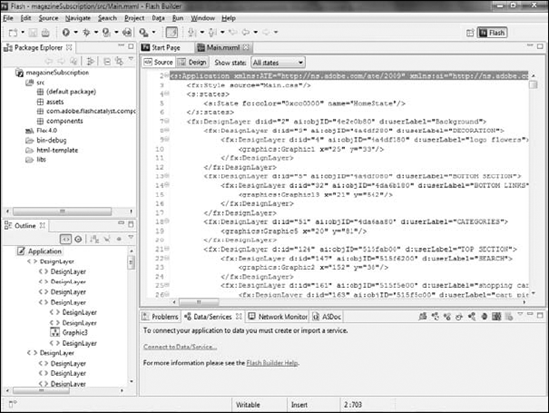
Once imported, you can view the project's files in the Package Explorer view or panel in the topleft corner. You can open files in either Design mode (see Figure QS.24), which provides a visual view of the project, or in Source mode, where you can work with code (see Figure QS.25).
This Quick Start was designed to help you understand a little history as to why Adobe created Flash Catalyst and to see its unique workflow and reliance on other applications. You saw:
How to create a design comp in Illustrator
How to import the comp in Catalyst
How to import the project into Flash Builder