
Often, you will be unable to import your entire project as a single design comp from Illustrator. In the case of the Magazines Direct application, the original design comp was too complex to be imported into Catalyst and had to be broken into smaller individual files that could be imported.
You may also on occasion have additional assets that will, for a variety of reasons, be created in separate Illustrator files or at later times. In the Magazines Direct example, the design requirements were changed after the initial design, so that the featured magazines are now displayed in a scrollable data list.
Changing the magazines to be displayed in a linear list was done easily enough in Catalyst, but the project now requires a scroll bar, which will need to be imported separately.
Note
Refer to chapters 19 and 20 to start the Magazines Direct application from the beginning.
Not all design work needs to be done in Illustrator. Illustrator is a fantastic tool for creating and manipulating vector artwork, but raster artwork is better handled by Photoshop.
Therefore, you may have assets such as photographs in Photoshop that need to be imported into your design. While these could have been imported into Illustrator in the initial design phase, they can also be brought directly into Catalyst.
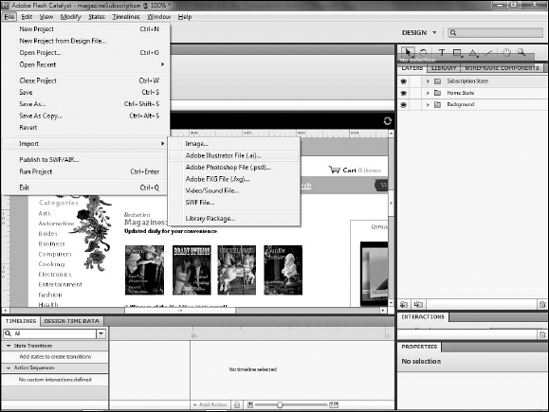
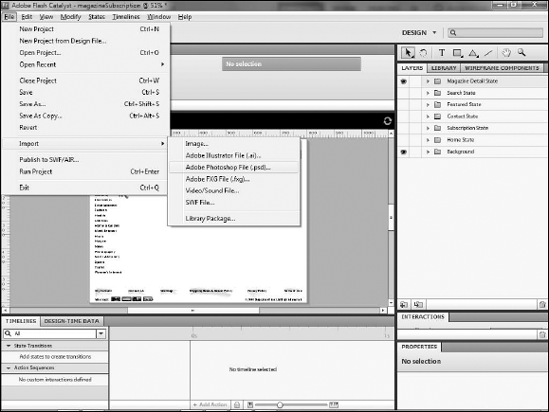
Artwork that is not part of the initial design in Illustrator can be imported into Catalyst at any time. Artwork in a distinct file can be imported from the File menu.
Note
If you did not create the new asset files in Chapter 19, you can download them from the book's Web site (www.wiley.com/go/flashcatalystbible).
Click the New Layer button. Creating a new layer for the imported assets will ensure that you know where they will be placed.
Name the new layer.
Note
See Chapter 20 for information on renaming layers.
With the new layer selected, click File

Navigate to the folder that contains the Illustrator file.
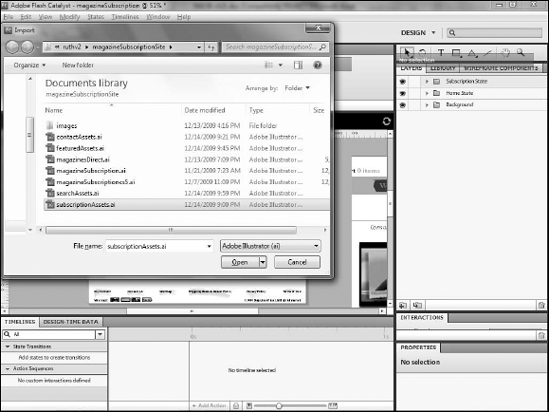
Select the file to be imported and click Open (see Figure 21.2).
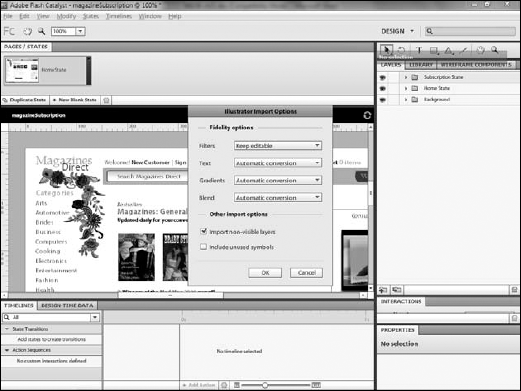
Just as when you created the project from an Illustrator file, the process of importing artwork begins with the import progress display on the Import Illustrator File dialog box. The Illustrator Import Options dialog box appears (see Figure 21.3) and contains many of the same controls as the dialog box you saw when you created the file, minus the size options.
Select the options for importing the artwork. In this example, the default selections are ideal.
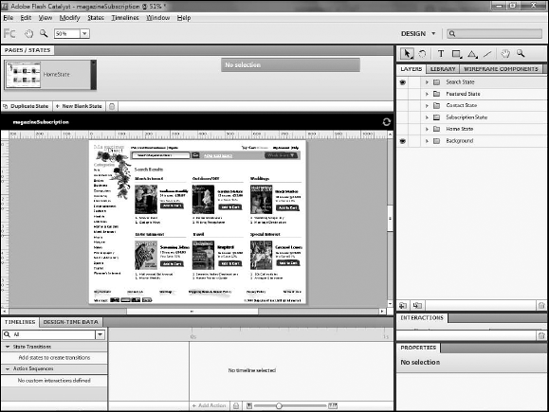
Click OK. The artwork is imported into the layer you created in Step 1 (see Figure 21.4). You may want to click the eyeball icon next to any existing layers to hide them so that you can see your new artwork.
If desired, you can hide the new layer by clicking the eyeball icon to the left of the layer name. The artwork being imported in this example is intended to be a new view state, so it is best to hide it until needed.
Optimize the graphics on the new layer as needed.
Note
See Chapter 20 for step-by-step instructions for optimizing images.
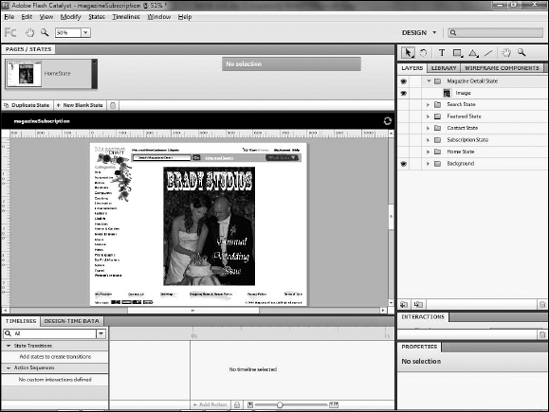
Repeat Steps 1 through 7 to import additional files from Illustrator as needed. Each planned view state is a separate file (see Figure 21.5), so you will need to import each in order to complete the steps in Chapter 23.

Photoshop is the industry standard graphics tool for working with bitmap or raster-based graphics such as photographs, and its import process is similar to Illustrator's. In the Magazines Direct application, you need to import an additional magazine cover.
Note
The magazine cover being imported in these steps can be downloaded from the book's Web site (www.wiley.com/go/flashcatalystbible).
Click the New Layer button. As with importing Illustrator graphics, creating a new layer for the imported assets ensures that you know where they will be placed.
Name the new layer.
Note
See Chapter 20 for more information on renaming layers.
With the new layer selected, choose File
Navigate to the folder that contains the Photoshop PSD file.
Select the file to be imported (see Figure 21.17) and click Open.
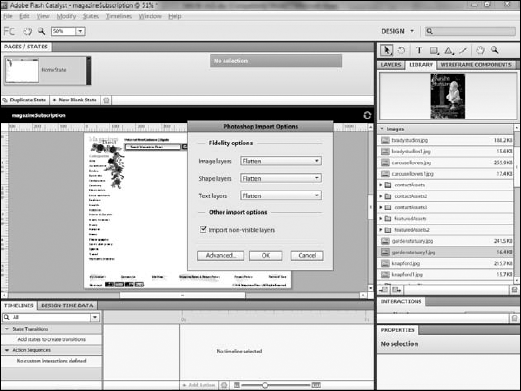
Importing Photoshop files follows the same basic procedure as importing Illustrator files, beginning with the import progress on the Import Photoshop File dialog box (see Figure 21.8). You will then be presented with the Photoshop Import Options dialog.
Note
See Chapter 8 for a detailed discussion of the options on the Import Photoshop File dialog box.
Select the options for importing the file. In this example, select Flatten for all three Fidelity options. We will not need to perform any editing on this image, so flattening each option will reduce the file size and improve performance within Catalyst. Note that this will not flatten the entire file into a single image, as the image, text and shape layers will still be independent of one another.
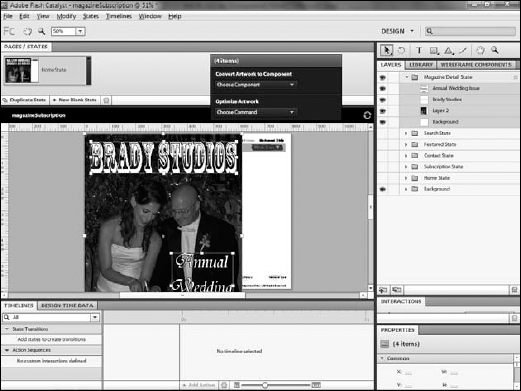
Click OK. The artwork is imported into the layer you created in step 1 (see Figure 21.9).
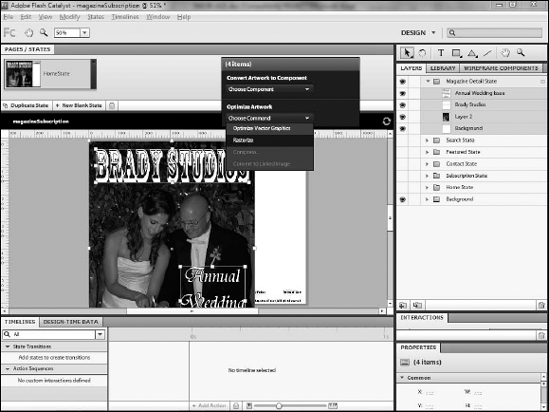
Because you do not need to edit the parts of the image individually, navigate to Choose Command
If desired, you can hide the new layer by clicking the eyeball icon to the left of the layer name. As the artwork being imported in this example is intended to be a new view state, it is best to hide it until needed.
Using the Select tool, resize the image to fit within the artboard. You can see the imported project in Figure 21.11.

The Import command allows you to easily import Illustrator and Photoshop files, but you are importing the entire file. Often, you only need a portion of the file. In our example, the newly required scrollbar has been added to the original Illustrator file.
While it could have been designed in its own individual file, building it in the original Illustrator file made it easier to create the scrollbar and maintain the same color scheme as the rest of the application. Therefore, the easiest means by which the scrollbar can be imported is via copy and paste.
Note
You can download a copy of the Illustrator design comp that contains the scrollbar from the book's Web site (www.wiley.com/go/flashcatalystbible).
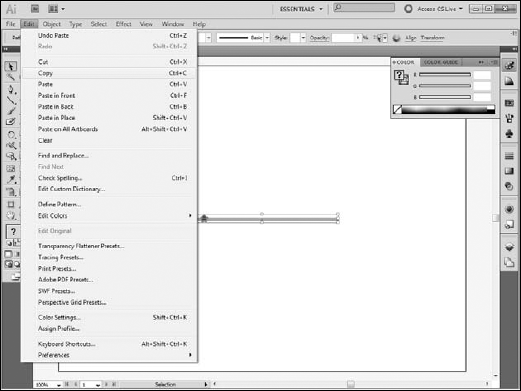
In Illustrator, select the assets to be copied using the Pointer tool (see Figure 21.12). You can press and hold the Shift key to select multiple assets. You can also select items by clicking the target icon in the Layers panel. If the artwork is in a distinct section of the artboard, you can click and drag a marquee selection around it to select.
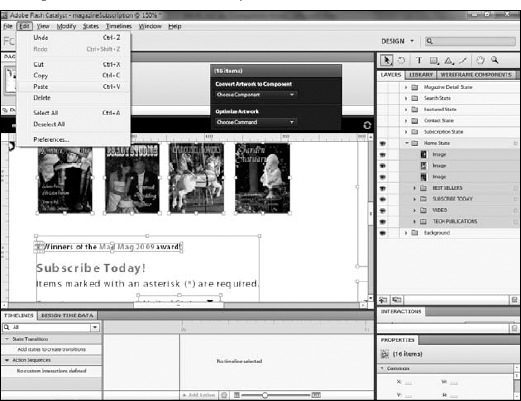
Click Edit
In Catalyst, select the layer into which you want to paste the artwork. Alternately, you can create a new layer or sublayer for the art. If you create a new layer or sublayer, be sure to name it. In this example, the artwork will be placed on the Home State layer.
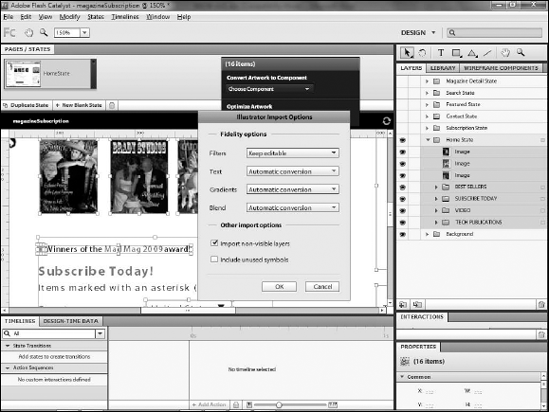
Choose Edit
On the Illustrator Import Options dialog box (see Figure 21.15), make any selections you deem necessary. In this case, the defaults will work.
Click OK. Once imported, the new artwork can be treated and manipulated just like any other art (see Figure 21.16). The scrollbar imported in these steps will be converted into an actual scrollbar in Chapter 22.

If you discover that an asset needs to be modified after import from Illustrator, you can use the Catalyst–Illustrator round-trip editing workflow to edit it and ensure that Catalyst immediately updates with the changes.
While the following steps detail the process with Illustrator, a similar process exists with Photoshop.
In Catalyst, click the Select tool.
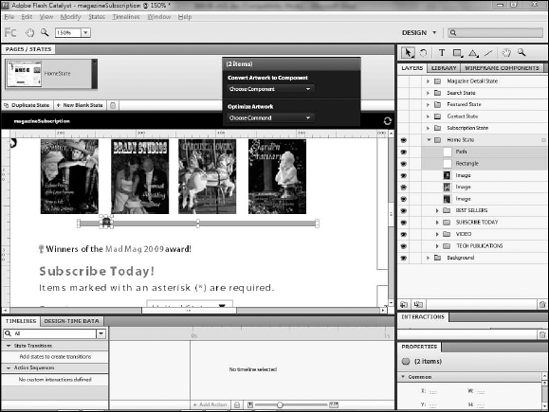
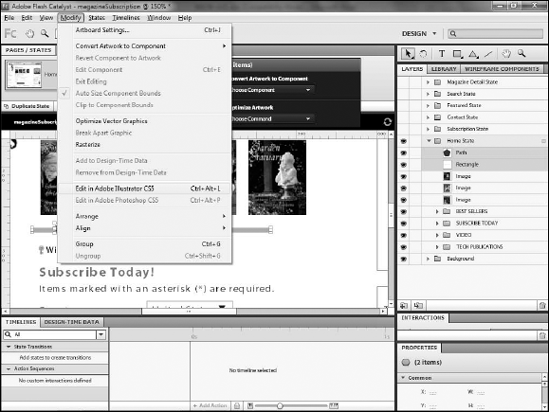
Click the artwork you want to edit in Illustrator (see Figure 21.17).
Choose Modify
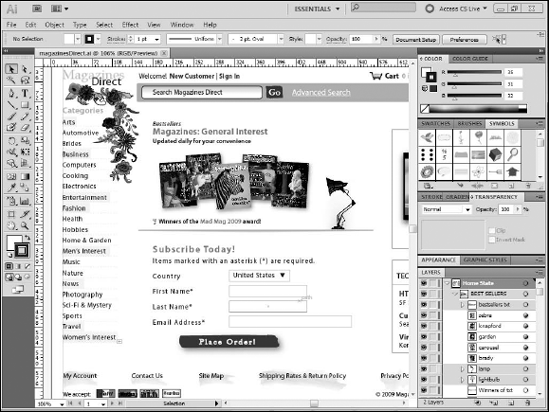
Illustrator launches, and the selected asset is displayed on the artboard. You can now perform whatever modifications you want on the asset. In this example, the color of the scrollbar's thumbnail will be changed.
Click the thumbnail of the scrollbar.
Choose Window
In the Fill section, select a new color.
Click Save. The file is saved, and Catalyst is updated.
Close Illustrator or switch back to Catalyst. The updated asset will be available immediately (see Figure 21.19).

This chapter detailed the process of importing additional assets from Illustrator and Photoshop. It showed you how to:
Import Illustrator files into an existing project
Import Photoshop files into an existing project
Use copy and paste to import portions of Illustrator and Photoshop files
Use round-trip editing with Illustrator to modify graphics