
Importing an Illustrator design into Catalyst
Organizing artwork
Resizing and moving artwork
Converting objects to optimized art
Once your design comp is complete in Illustrator, you will be able to import it into Catalyst and begin the process of converting it to an application. This chapter shows you how to perform this import step by step. Make sure that your layers are properly organized, and convert objects into optimized graphics to reduce the final project's file size.
To begin the process of bringing a comp over from Illustrator, you need to create a new Catalyst project from your design comp. This is a fairly straightforward process, although it might be slow depending on the size and complexity of the design and your computer's resources.
Open Flash Catalyst. On Windows, this will likely be in Start

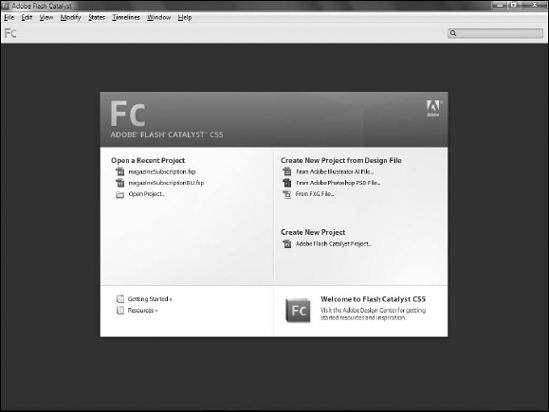
From the Start Screen (see Figure 20.1), click From Adobe Illustrator .AI File under the Create New Project from Design File heading.
Navigate to the folder that contains the AI file you wish to import.
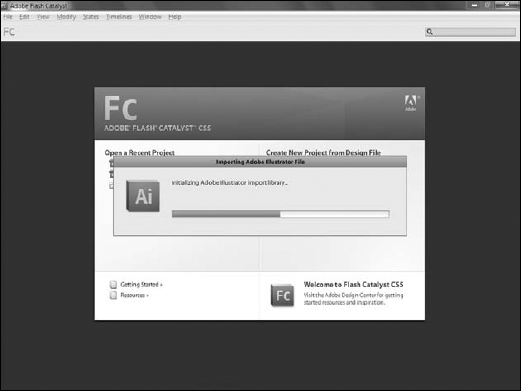
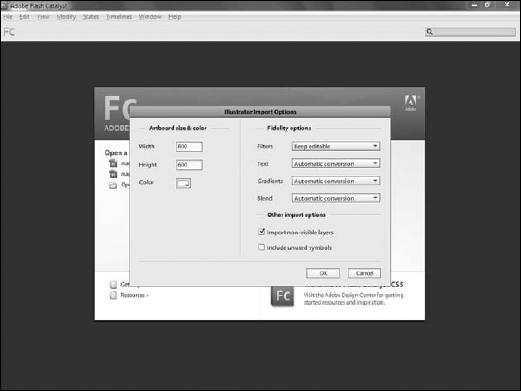
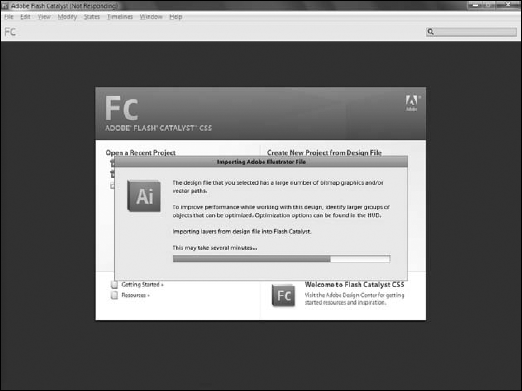
Click Open. Catalyst displays the Importing Adobe Illustrator File dialog box (see Figure 20.2) and shows a progress bar as it opens the Illustrator file, analyzes it, and prepares it for import. Once complete, the Illustrator Import Options dialog box appears (see Figure 20.3).
Note
If you have not created a design file to use, you can download
chapter20_start.aifrom the book's Web site (www.wiley.com/go/flashcatalystbible).Double-check that the artboard size and background color options are correct. The importer should have detected the correct size and background color from the artboard.
Set the Fidelity options and Other import options as desired. For this example, we will keep all of the defaults.
Note
See Chapter 5 for a detailed discussion on the Fidelity and other options in the dialog box.
Click OK. The Importing Adobe Illustrator File dialog box appears with a progress bar. Once complete, the design should open in Catalyst (see Figure 20.4).

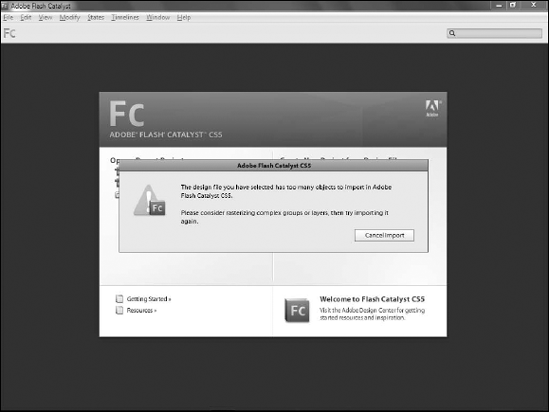
Catalyst cannot import extremely large or complex Illustrator files. If you get an error message during the import that tells you the file has too many objects to be imported, you will need to return to Illustrator and break the file into smaller, separate files that can be imported (see Figure 20.5).
Note
See Chapter 19 for details on breaking a design into smaller files to allow for import.
The Importing Adobe Illustrator File dialog box may update during import informing you that your artwork contains a large number of bitmap or vector graphics and that you may want to consider optimizing them (see Figure 20.6). This process is discussed later in this chapter. In addition, a dialog box may appear when you complete the import process informing you of problems that occurred (Figure 20.7).
Often, this occurs when your Illustrator design uses Illustrator features such as Live Paint or Live Trace, or when text could not be preserved as editable objects. These issues will rarely affect your work as you build the project in Catalyst. If this dialog box appears, simply click OK.

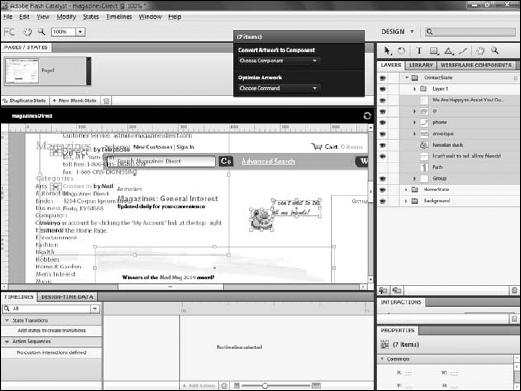
Once your file is imported into Catalyst, you will want to check the Layers panel and ensure that the artwork is organized the way you want. Ideally, this will be done in Illustrator, but in dealing with large or complex files, it can be easy to forget to rename layers or organize them into groups, so you will likely need to do at least some of that work in Catalyst.
Layers and layer groups will be imported from directly from Illustrator. Just as in Illustrator, you can double-click a layer name to rename it (see Figure 20.8).
Click the small arrow to the left of a layer group to expand it and examine its sublayers.
Double-click a layer you want to rename.
Type a new name and press Enter.
You can create new layers in Catalyst if you discover the need for a group that was not created in Illustrator.
Click the Create New Layer button at the bottom of the Layers panel. This creates a new layer at the top of the layers panel (see Figure 20.9).
Note
New layers are always added at the top of the Layers panel, regardless of the layer you currently have selected.
Double-click the new layer and type a new name.
Drag existing layers or groups onto the new layer to move those elements into the layer (see Figure 20.10).
Layers in Catalyst are top-level items and are placed at the top of the layer stack. If you want to create a new layer within an existing layer, you need to use the Create New Sublayer button.
Click the layer into which you want to add a sublayer.
Click the Create New Sublayer button. A new sublayer appears (see Figure 20.11).
Drag existing layers or layer groups onto the new layer to place them in the new sublayer (see Figure 20.12).
Occasionally, you may encounter situations where Illustrator creates layers that add unnecessary complexity to your project. These layers can be deleted.
Drag a sublayer's content to another sublayer.
Click the sublayer.
Click the Delete button in the bottom of the layer panel (see Figure 20.13).

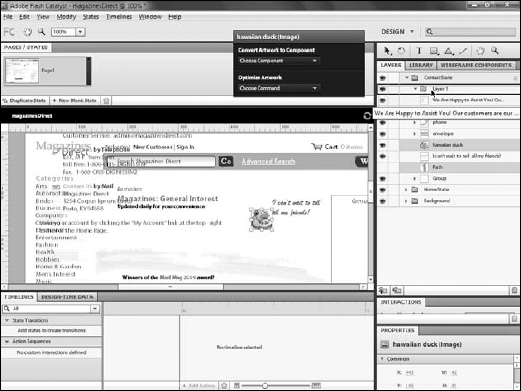
Almost all artwork from Illustrator will be in a group, which can, like unneeded layers, add complexity to your project. If you remove all of a group's contents, the group is deleted automatically (see Figure 20.14).
Should you change your mind about the size or location of artwork once you have imported a design into Catalyst, you can use its drawing tools to make the needed changes without having to go back to Illustrator.
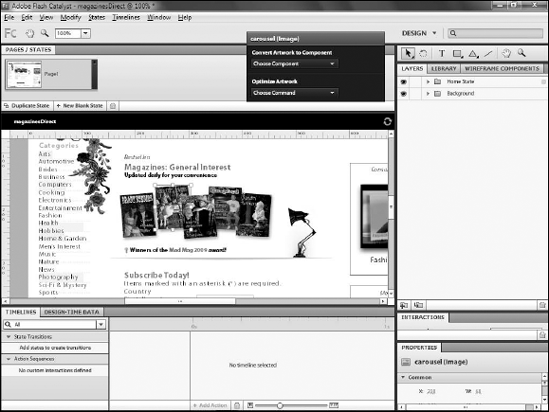
You may need to reposition artwork as the design of the project undergoes changes. In this case, the design initially had the featured magazines artistically placed at angles in a group, but the client has now requested that they be displayed in a linear fashion. This will allow you to convert them to a data list and eventually populate the list with data from a database.
Click the Select tool.
Click the item to be moved and drag it to a new location (see Figure 20.15).
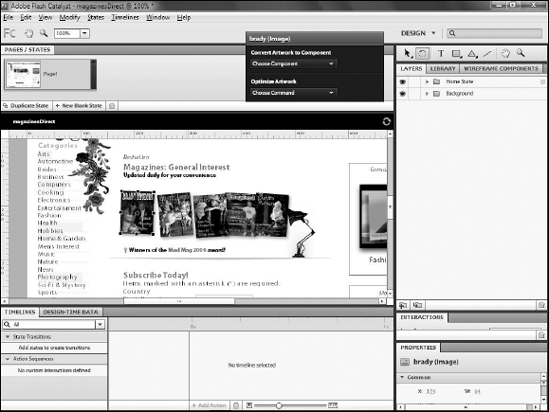
The magazines now need to be rotated so that they are straight.
Click the Select tool.
Click the object you want to rotate (see Figure 20.16).
Click and drag near a corner of the object until you reach the desired rotation.

You can resize the artwork using either the Select or Direct Select tools in Catalyst. Prior to converting artwork to components or optimized graphics, the two tools will work the same.
Click the Select tool.
Click the object you want to resize.
Click and drag one of the control handles — the white squares along the edge of the object — to resize (see Figure 20.17). You can resize while maintaining the shape's proportions by holding the Shift key while you drag one of the corner handles.
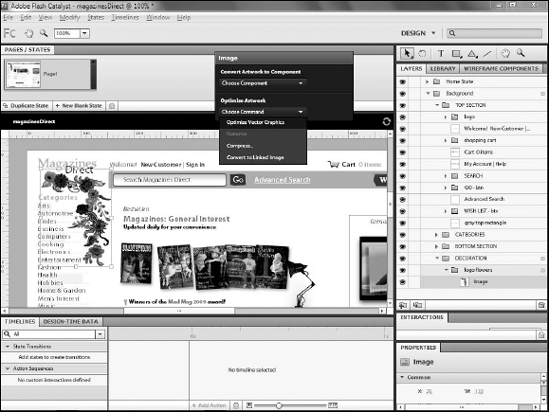
Most artwork that will not be converted to components should be converted to an optimized graphic. Complex artwork, particularly vector art created in Illustrator, requires significant overhead when rendered in Flash Player. Optimizing the graphic allows Catalyst to define it in such a way as to minimize this overhead.
Tip
Catalyst is generating code for every object it creates. MXML in Flex 4 provides the ability to define even extremely complex shapes through code. When you convert a shape to an optimized graphic, Catalyst removes its corresponding code from the main project file and places it in a separate file that is then referenced in the main code. This process allows Catalyst to keep the size of the main file smaller, allowing it to run more efficiently.
Warning
Do not optimize graphics that you will need to alter dynamically at runtime, as optimized graphics will become static artwork in your application.
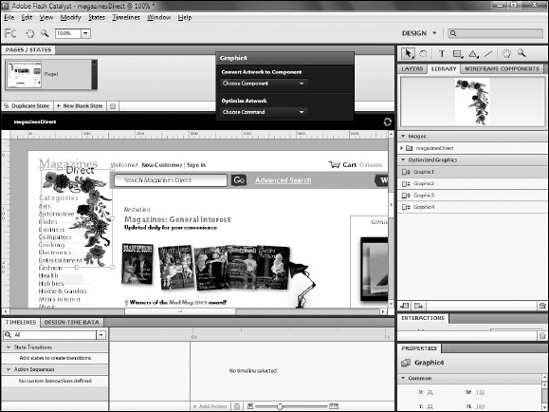
Once converted, optimized graphics are stored in your project's library. Therefore, if you want to reuse the graphic elsewhere in your application, you can simply drag it from the library to the artboard as needed.