We will look at three ways of creating an EC2 instance: manually via the Management Console, with the AWS Command Line Interface (CLI), and with Terraform.
Just to get a feel of AWS Management Console and to fully understand how much Terraform simplifies working with AWS, let's create a single EC2 instance manually:
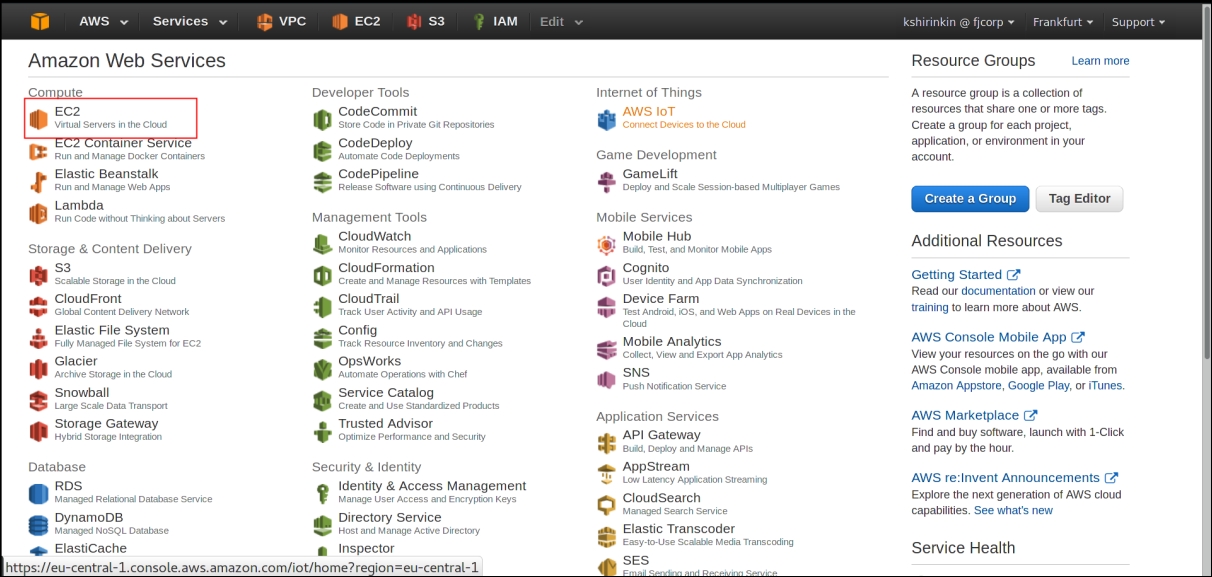
- Login to the console and choose EC2 from the list of services:
- Click on Launch Instance:

- Choose AWS Marketplace from the left sidebar, type Centos in the search box, and click on the Select button for the first search result:

- On each of the next pages, just click on Next till you reach the end of the process and you get a notification as follows:

As you see, it's not really a quick process to create a single virtual server on EC2. You have to choose AMI, instance type, configure network details, and permissions; select or generate an SSH-key; properly tag it; pick the right security groups, and add storage. Imagine that your day would consist only of manual tasks such as this. What a boring job would it be?
Note
AMI is a source image an instance is created from. You can create your own AMIs, use the ones provided by AWS, or select one from a community at AWS Marketplace. Security Groups (SGs) is like a Firewall. You can attach multiple SGs to an instance and define inbound and outbound rules. It allows you to configure access not only for IP ranges, but also for other security groups.
And, of course, we looked at only a single service: EC2. As you know already, there are over 70 of them, each with its own interface to click through. Let's take a look now at how to achieve the same with AWS CLI.
AWS provides CLI to interact with its APIs. It's written in Python. You can follow installation instructions from the official guide to get started, here is the following link:
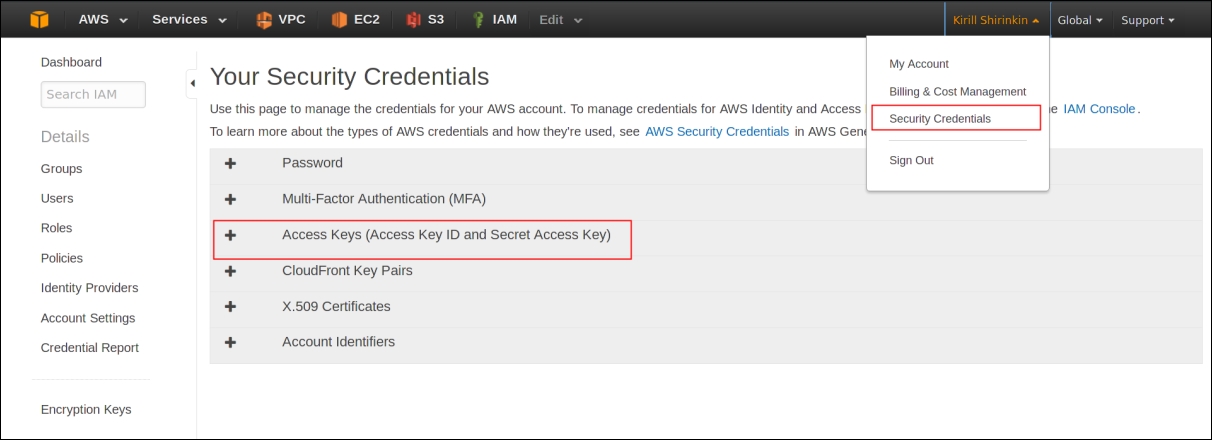
Perhaps, the most important part of setting up AWS CLI is access key configuration. We will also need these keys for Terraform. To get them, click on your username in top-right part of AWS Management Console, click on Security Credentials, and then download your keys from Access Keys (Access Key ID and Secret Access Key) menu:
Note
Using root account access keys is considered a bad practice when working with AWS. You should use IAM users and per-user keys. For the needs of this book, root keys are okay, but as soon as you move production systems to AWS, consider using IAM and reducing root account usage to minimum. Consider reading and applying AWS IAM Best Practices from http://docs.aws.amazon.com/IAM/latest/UserGuide/best-practices.html.
Once AWS CLI is installed, run the aws configure command. It will prompt you for your access key and region. Once you are finished, you can use it to talk to AWS API. Creating an EC2 instance will look as follows:
$> aws ec2 run-instances --image-id ami-xxxxxxxx
                                               --count 1
                                             --instance-type t2.micro
                                             --key-name MyKeyPair
                                             --security-groups my-sg
While already much better than doing it from Management Console, it's still a long command to execute, and it covers only the creation of an instance. To track if the instance is still there and to update and destroy this instance, you need to construct a similar long sequence of command-line commands. Let's finally do it properly with Terraform.