In this task, we show the bitmap graphics by loading them into the game.
In this task, we add the colored bitmaps and load them onto the game. These bitmaps are colored and exported from Adobe Flash.
So, make sure we have the PreloadJS file ready in the vendors folder and in the index.html file:
<script src="vendors/preloadjs-0.4.1.min.js"></script>
Let's follow the given steps to load the graphics into the game:
- In the
game.jsfile, we define theloadmethod:game.load = function() { // load bitmap assets before starting the game var loader = new createjs.LoadQueue(false); loader.addEventListener("fileload", function(e){ if (e.item.type === "image") { images[e.item.id] = e.result; } // assign to images object for assets.js to use }); loader.addEventListener("complete", game.start); loader.loadManifest(lib.properties.manifest); } - We originally have the
game.start()function calling in thegame.jsfile. We replace it with the following loading code:game.Load();
The artwork outlined in this game is drawn in Flash in the vector format. These vector graphics can be transformed into an EaselJS-drawing API without issues. Besides vector outlines, coloring is done in the bitmap format too. Bitmaps cannot be converted into graphics-drawing instructions. Instead, Flash outputs the bitmaps into JPEGs and loads them into the sprite using EaselJS's bitmap class.
We added a loader to load these bitmap graphics into the game. For each loaded graphic, we added the bitmap content to a global images object. This images object is used within the assets.js file to reference the bitmap data.
Let's take a look at the assets.js file that is generated by the Flash CreateJS toolkit. For this, we need to find a manifest array. Most likely, it is at the top of the file and within a lib.properties object:
// library properties:
lib.properties = {
width: 640,
height: 1000,
fps: 24,
color: "#FFFFFF",
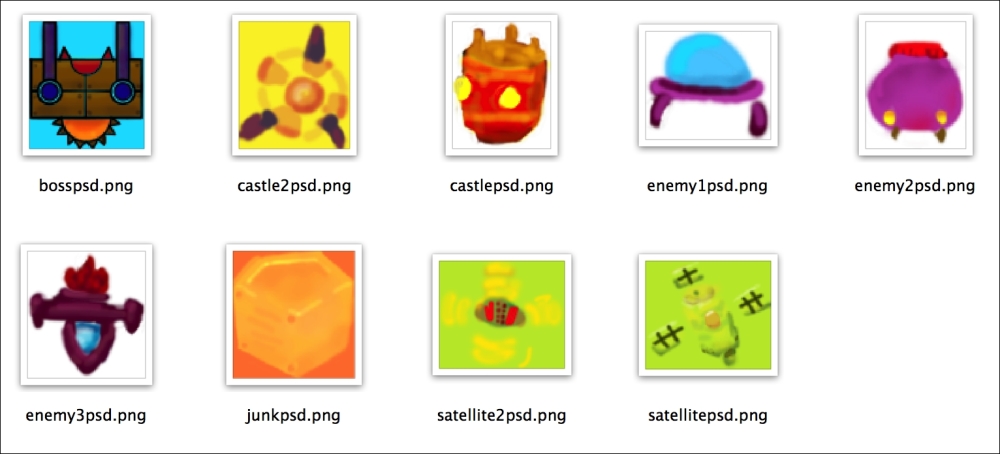
manifest: [
{src:"images/bosspsd.png", id:"bosspsd"},
{src:"images/castlepsd.png", id:"castlepsd"},
{src:"images/castle2psd.png", id:"castle2psd"},
{src:"images/enemy1psd.png", id:"enemy1psd"},
{src:"images/enemy2psd.png", id:"enemy2psd"},
{src:"images/enemy3psd.png", id:"enemy3psd"},
{src:"images/junkpsd.png", id:"junkpsd"},
{src:"images/satellitepsd.png", id:"satellitepsd"},
{src:"images/satellite2psd.png", id:"satellite2psd"}
]
};The LoadQueue method from the PreloadJS library initializes a loader. The loadManifest method from this loader then takes the files inside the manifest and loads the file source one by one. The IDs are used internally within the assets.js file.
Instead of calling the game.start method at the beginning, we load bitmaps and call the game.start method only after all the graphics finish loading.
In Project 8, Creating a Sushi Shop Game with Device Scaling, we will explore more on using PreloadJS by creating a loading progress screen.