Screw
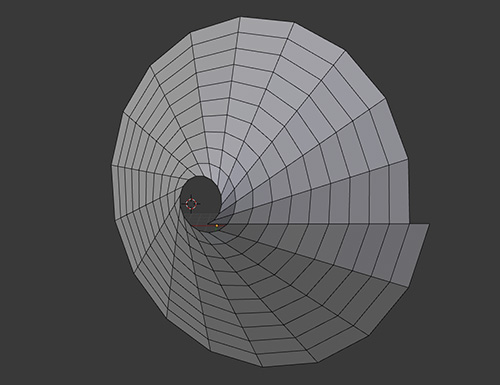
The Screw tool lets you add a “screwing” or spiral effect around the 3D cursor, and you can select the amount of turns, segments, and height of the generated screw (see Figure 6.18).
To use the Screw tool:
1. Select a string of vertices or edges. (This tool doesn’t work with faces.)
2. Place the 3D cursor where you want the center of the screwing effect to be.
3. Place your point of view in the direction in which you want to apply the effect. The center position will be defined by the 3D cursor, while the orientation will be determined by your point of view.
4. Access the Screw tool from the Tools Region.
After you perform the Screw operation, some options will be available to you, such as adjusting the center of the screw effect, its orientation, and the amount of turns and steps (segments) it has.
Tip
Keep in mind that when you modify the options in the Operator panel for an action, the next time you perform that action, those modifications will be its default values. For example, if you turn on the proportional size for an extrusion, next time you extrude, you’ll be using that same proportional size.

