Moving the Camera in Your Scene
Of course, you need a camera in your scene so Blender knows from which point of view to look when it takes the final render.
1. Select the camera in your scene or create a new one (Shift + A) if you deleted it previously.
2. Place the camera so it’s focused on the monkey head from a point of view that appeals to you. You can divide the interface into two different 3D Views; in one of them, you can look through the camera (NumPad 0), while in the other view, you can adjust the placement of the camera. Also, you can use the Walk or Fly mode (Shift + F) to position and orient the camera while in Camera View.
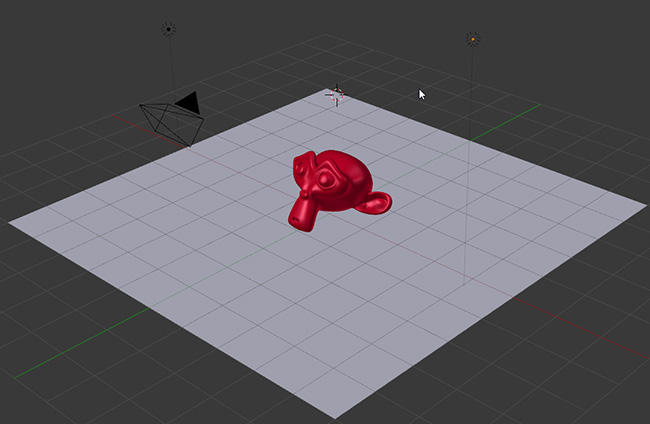
Figure 3.9 shows what your scene should look like.
Figure 3.9 At this point, your scene should look something like this. The monkey is on the floor, the camera is pointing at it, and two lights are illuminating everything in the scene.
Real Time Rendering
In Blender, you have options to see a rendered preview in the 3D View, while you work and adjust parameters. It’s very useful to be able to see what’s going on in the scene and how the shadows and materials behave as you arrange them.
Real Time Rendering, in this case, is not actually “real time”; it just means that you are performing the render interactively, and you can change things in the scene as you render it. The speed of the render depends, of course, on your computer’s processing speed. If you are using Cycles and you have a powerful GPU, you may want to use that GPU to increase the speed of the rendering.
To access Real Time Rendering Mode, just change the drawing method from the 3D View header to “Rendered.” When you’re done, you can go back to Solid Mode or any other 3D View display mode. Keep in mind that when you use the Real Time Rendering Mode, you won’t see the selection highlights or manipulators, so you may want to keep a second 3D View open to manipulate objects.

